
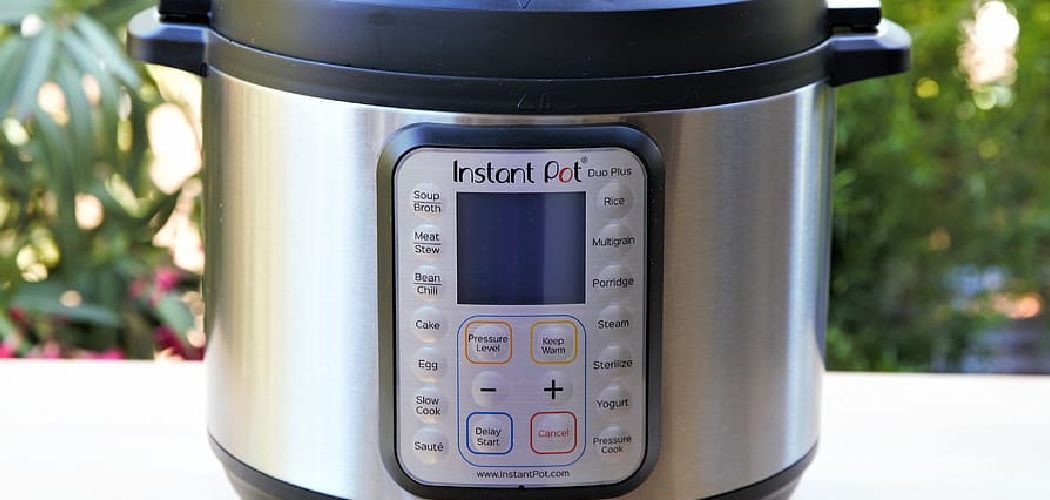
Picture this: dinner’s ready, but the family won’t sit down for another half hour. Instead of reheating cold food later, you want it hot and ready the moment everyone shows up.
That’s exactly where the Keep Warm setting saves the day. Many beginners ignore this handy feature, then scramble to warm up dishes that have gone lukewarm on the counter.
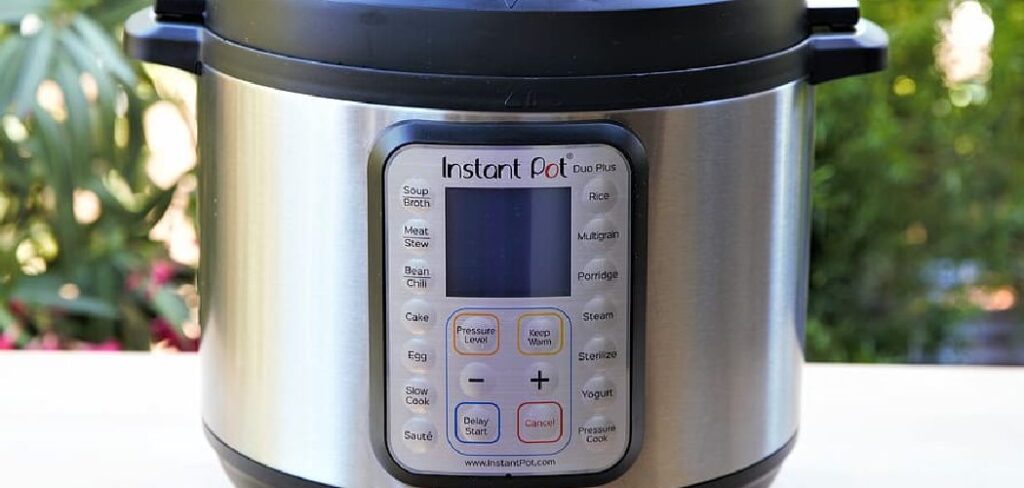
Learning how to use keep warm on instant pot settings takes just a few minutes, and it changes the way you serve meals. You’ll hold food at the perfect serving temperature without overcooking or drying it out.
No special tricks required. With a little know-how, you’ll time meals like a pro and keep everything tasting fresh.
This guide walks you through the whole process step by step, so you can serve warm, delicious food with total confidence.
Why Learning to Use Keep Warm on an Instant Pot Matters
If you cook on the go, this skill is a real lifesaver. The Keep Warm function shines in RV kitchens, shared cabins, and busy potluck gatherings where meal timing gets tricky.
Think about a campsite dinner where everyone wanders in at different times. Instead of cold stew, you keep your pot holding soup or chili at a safe serving temperature until the last person arrives.
It’s pure convenience for limited kitchen setups, too. When you only have one burner or a tiny counter, your Instant Pot doubles as both cooker and warmer, freeing up precious space.
For potluck travel, it means your dish stays hot from the moment you cook to the moment you serve. Master this feature once, and mealtime gets simpler everywhere you go.
Tools and Materials You’ll Need
Before you start, gather a few simple things. You probably already own most of them, and none cost much. Having everything ready keeps your cooking smooth and stress-free.
Here’s what to grab:
- Your Instant Pot with a clean, dry inner pot
- The sealing ring, seated properly in the lid
- A wooden spoon or silicone spatula for stirring
- A reliable food thermometer to check serving temperature
- A ladle or serving spoon for dishing out food
- A heat-safe trivet or mat to protect your counter
- Mild dish soap for cleanup afterward
- Optional: A clip-on timer or your phone alarm, which helps you track how long food has been holding
Set these out before you press a single button. A little prep now means smoother serving later, and you’ll never scramble for a spoon mid-meal.
Step-by-Step Guide on How To Use Keep Warm On Instant Pot
Step 1 – Finish Your Cooking Cycle First
Keep Warm works on food that’s already cooked, not raw ingredients. So start by finishing your pressure cooking, slow cooking, or sauté mode cycle as usual.
Let your rice, soup, or stew reach that perfect, fully cooked point. You’ll know it’s ready by the rich aroma rising from the pot and the gentle bubbling you hear inside.
This step matters because Keep Warm holds food at temperature rather than cooking it through. Trying to “finish” undercooked food on this setting won’t work and can leave you with a disappointing meal.
Take a quick taste or check with a thermometer if you’re unsure. Once your dish is done and delicious, you’re ready to move on and lock in that warmth.
Step 2 – Check the Lid and Float Valve
Before switching modes, glance at your lid position. For most dishes, you’ll keep the lid on to trap heat and moisture, which helps food stay hot and tender.
Check the float valve and steam release setting. If you’ve just finished pressure cooking, make sure the pressure has fully released and the float valve has dropped before opening or adjusting anything.
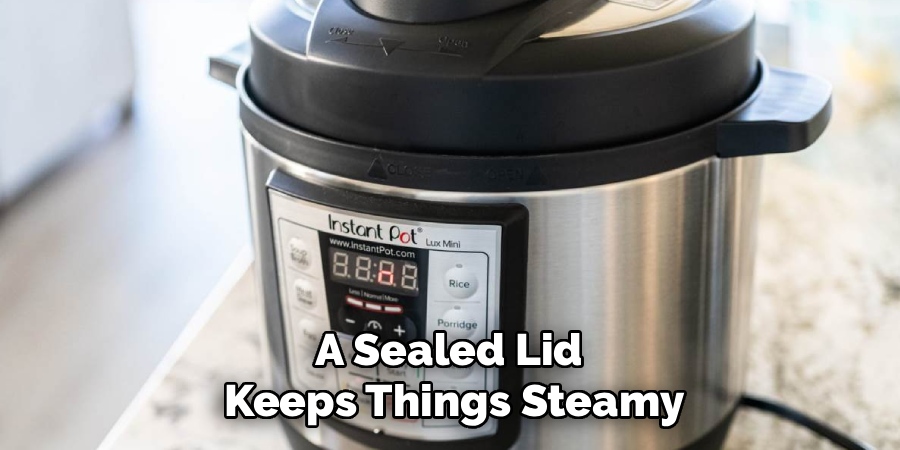
For soups and stews, a sealed lid keeps things steamy. For rice, the gentle trapped heat prevents drying out.
A quick look here prevents surprises. You’ll feel the warmth radiating from the lid, a good sign that heat stays where you want it. This small check sets you up for safe, even warming every time.
Step 3 – Select the Keep Warm Setting
Now for the main event. Look at your display panel and find the Keep Warm button, sometimes labeled separately or shown after a cooking cycle ends.
On many models, the auto keep warm function kicks in automatically once cooking finishes. You’ll notice the display switch over and a small indicator light up, telling you the warming cycle has begun.
If it doesn’t start on its own, simply press Keep Warm to turn it on. The pot will begin holding your food at a gentle, steady serving temperature.
This is the heart of how to use keep warm on instant pot cooking, and it’s wonderfully simple. One press, and your dinner stays hot and ready while you handle everything else.
Step 4 – Set or Adjust the Timer
Most Instant Pots track how long food has been warming. Watch the display panel and you’ll often see a timer counting up, showing the elapsed warming time.
This count helps you keep an eye on your serving window. As a general rule, food stays best within the first hour or two of warming.
Some models let you set a custom hold time, while others simply run until you stop them. Either way, knowing the timer is there gives you peace of mind.
Glance at it now and then as you prep the rest of your meal. A quick check tells you exactly how long your soup or stew has been holding, so you serve it at its tasty best.
Step 5 – Stir Occasionally for Even Warmth
Give your food a gentle stir every so often, especially thick dishes like stew or chili. This spreads the heat evenly and prevents the bottom from getting too warm while the top cools.
Use a wooden spoon or silicone spatula to protect your inner pot’s surface. Stir slowly, and you’ll feel the warmth folding through the dish, with steam curling up as you mix.
Stirring also keeps creamy soups and sauces from forming a skin on top. A quick swirl every fifteen or twenty minutes does the trick nicely.
For rice, fluff it lightly instead of heavy stirring. This little habit keeps everything tasting fresh, evenly warm, and ready to serve whenever your hungry crowd arrives.
Step 6 – Watch for Condensation
As food warms under the lid, condensation naturally builds up inside. You’ll see droplets clinging to the lid and maybe a little extra moisture pooling in your dish.
For soups and stews, this is no big deal and even helps keep things moist. For rice or drier dishes, though, too much condensation can turn food soggy.
Lift the lid carefully now and then to let a little steam escape if needed. Watch out, since that trapped steam is hot and rises quickly.
Wipe the underside of the lid with a clean cloth if moisture builds up too much. Managing condensation keeps your food’s texture just right, whether you want it saucy or fluffy and light.
Step 7 – Monitor the Holding Time
Keep Warm holds food, but quality changes the longer it sits. After a couple of hours, delicate dishes can dry out, overcook slightly, or lose their fresh flavor.
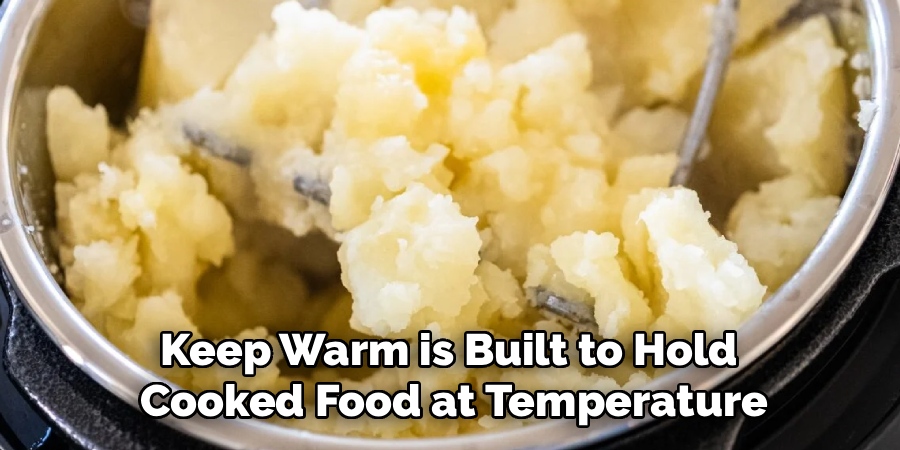
This is the difference between holding and reheating. Keep Warm is built to hold cooked food at temperature, not revive it after it’s gone cold for hours.
Check your food now and then. If it looks dry, give it a stir and add a splash of broth or water to bring back moisture.
Use your timer or phone alarm to track holding time. For the best taste and texture, plan to serve within your safe serving window. Fresh-tasting food rewards a little attention here.
Step 8 – Turn Off and Serve Safely
When everyone’s ready to eat, press the Cancel button to turn off the warming cycle. The display panel will switch off the Keep Warm indicator, letting you know it’s done.
Before serving, check the food temperature with your thermometer. Hot food should sit at a safe serving temperature to keep everyone healthy, especially with meats and dairy-based dishes.
Open the lid away from your face, since steam escapes quickly and can surprise you. Then ladle out your warm, ready-to-eat meal.
Store any leftovers promptly in the fridge rather than leaving them in the pot. Quick cooling keeps food safe. With that, you’ve served a hot, delicious meal right on time, no reheating scramble required.
Critical Mistakes When Using Keep Warm on an Instant Pot
Even an easy feature has pitfalls, so let’s cover the slip-ups that catch beginners. The biggest mistake is treating Keep Warm like a cooking mode. This setting holds food at temperature; it won’t cook raw ingredients or finish undercooked dishes. If your rice or stew isn’t done, switch back to the proper cooking program first.
Another common error is holding food far too long. Quality fades after a couple of hours, and delicate dishes dry out or overcook slightly. Worse, leaving food in a danger zone too long raises safety concerns. Keep an eye on your timer and aim to serve within a sensible window.
Many people also forget about condensation. Trapped moisture turns rice and crispy dishes soggy, so lift the lid occasionally and wipe it down when needed.
Skipping the occasional stir causes trouble, too. Thick soups and stews heat unevenly, scorching at the bottom while cooling on top. A gentle stir every fifteen minutes fixes this easily.
Finally, don’t forget to check food temperature before serving. A quick thermometer reading ensures your meal sits at a safe serving temperature for everyone at the table.
Expert Tips
Want to get the most from this feature? Add a splash of broth or water to soups and stews before warming. This keeps them moist and prevents that thickened, gluey texture during a long hold.
For rice, place a clean cloth or paper towel under the lid to catch extra condensation. Your grains stay fluffy instead of turning mushy.
Remember the difference between reheating and holding. Keep Warm shines at holding freshly cooked food, but it works slowly to reheat something already cold, so plan ahead.
When cooking in an RV or cabin, the warming cycle pairs perfectly with meal timing. Cook early, then hold dinner until everyone gathers.
Finally, always serve dairy and meat dishes within a safe window. A quick thermometer check protects both flavor and everyone’s health.
Frequently Asked Questions
Can Keep Warm cook raw food in my Instant Pot?
No, and this trips up a lot of beginners. Keep Warm is designed to hold already-cooked food at a safe serving temperature, not to cook raw ingredients. It runs at a low, gentle heat that won’t bring meat, rice, or vegetables up to a properly cooked state. Always finish your pressure cooking or sauté cycle first, then switch to Keep Warm to hold dinner until you’re ready.
How long can I safely leave food on Keep Warm?
For best quality, aim to serve within one to two hours. Food stays at a safe serving temperature during this window, but texture and flavor slowly fade the longer it holds. Watch a few things:
- Soups and stews hold well with occasional stirring
- Rice can dry out, so add moisture if needed
- Dairy and meat dishes need a temperature check before serving
When in doubt, serve sooner rather than later.
Should I keep the lid on or off while warming?
Usually, keep the lid on. It traps heat and moisture, helping food stay hot and tender. For soups and stews, a sealed lid works beautifully. For rice or drier dishes, lift the lid occasionally to release steam and prevent sogginess. Just make sure the float valve has dropped after any pressure cooking before adjusting the lid, and always open it away from your face.
Why does my food get watery on Keep Warm?
Condensation is the culprit. As food warms under the lid, steam rises, hits the cool lid, and drips back down as droplets. This adds extra moisture to your dish. To fix it, lift the lid now and then to let steam escape, or wipe the underside dry with a clean cloth. For rice, a paper towel under the lid catches drips and keeps grains fluffy.
Does Keep Warm turn on automatically after cooking?
On most Instant Pot models, yes. The auto keep warm function kicks in once your cooking cycle ends, and you’ll see the display panel switch over with an indicator light. If yours doesn’t start automatically, simply press the Keep Warm button to turn it on. When you’re ready to serve, press the Cancel button to shut it off completely.
Conclusion
Using the Keep Warm feature really comes down to a few simple habits. Finish cooking first, switch to Keep Warm, stir occasionally, and watch your holding time. Do that, and your meals stay hot, fresh, and ready exactly when you need them.
Keep these key takeaways in mind:
- Keep Warm holds cooked food at temperature; it won’t cook raw ingredients
- Serve within one to two hours for the best flavor and texture
- Manage condensation by lifting the lid and stirring now and then
- Always check food temperature for a safe serving window
These small steps make a big difference, whether you’re serving family dinner at home or holding chili warm at a busy campsite.
Now that you know how to use keep warm on instant pot settings the right way, give it a try with your next meal. You’ll enjoy perfectly timed dinners, hot food on demand, and the quiet satisfaction of handling it all yourself. Happy cooking, and enjoy every warm, delicious bite!

About
Nick Hall has spent the last seven years working at the intersection of kitchen design and home repair — first as a design assistant at a residential renovation studio, then as a freelance writer covering everything from cabinet layouts to leaky faucet fixes.
Her approach is simple: kitchens should look good and function well. That means she’s just as comfortable talking about color palettes and counter materials as she is walking readers through how to fix a wobbly cabinet hinge or troubleshoot a garbage disposal.
Nick has worked directly with homeowners on small-space kitchen makeovers, budget-conscious renovations, and the kind of everyday repairs that don’t need a contractor — just the right instructions. She writes from experience, not theory, and tests most of the fixes and tips she shares before publishing them.
When she’s not writing, Nick is usually hunting for mid-century kitchen finds at estate sales or helping friends plan their own renovations. She lives in Columbus, Ohio.