
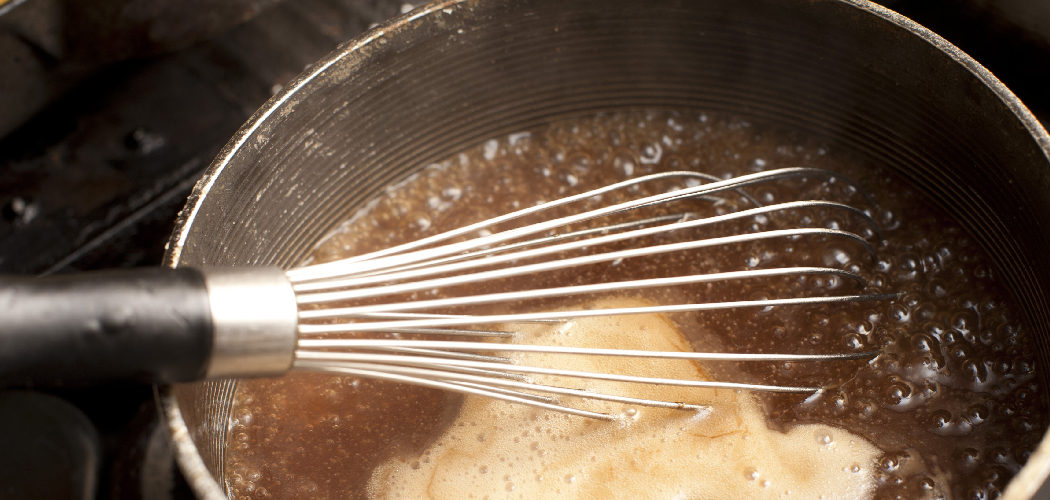
A whisk looks simple. A handle. A loop of wires. That’s it.
But that simple tool decides whether your eggs turn fluffy or flat. Whether your gravy runs smooth or lumpy. Whether your cream holds a peak or weeps into a puddle.
Most people grab a whisk and stir. That’s the mistake. A whisk doesn’t stir. It beats air into food. It pulls ingredients together. It breaks lumps before they form.
Learning how to use a whisk properly is one of the smallest kitchen skills with the biggest payoff. No fancy gadget. No technician. Just your hand and a few minutes of practice.
This guide walks you through every step, so the next time you reach for a whisk, you use it like you mean it.
Why Using a Whisk Matters
You already own a whisk. The question is whether you use its full power.
A good whisking technique saves you money. No need for an electric mixer for small jobs. No clumpy sauces tossed in the bin. No flat cakes that waste good ingredients.
It saves you time too. A few seconds of proper whisking fixes problems that lumps would force you to start over.
And it builds confidence. Once your hand learns the motion, you stop fearing recipes. Whipped cream? Easy. Smooth custard? Done. A meringue that holds its shape? You’ve got it.
A whisk gives you control. Control over texture. Control over air. Control over the final dish on the table.
That control is what separates a flat result from a proud one.
Tools and Materials You’ll Need
Get your setup ready before you start. A clean station keeps your hands free and your rhythm steady.
- A balloon whisk – the most common type, with rounded wires perfect for eggs, cream, and batter
- A flat whisk – ideal for sauces and gravies in shallow pans
- A deep mixing bowl – tall sides stop splatter and let you build air
- A second bowl – handy for separating eggs or staging ingredients
- A non-slip mat or damp cloth – place it under the bowl to hold it steady
- A rubber spatula – to scrape the bowl and fold ingredients
- Your ingredients – eggs, cream, flour, or sauce, measured and ready
Optional but helpful: a metal bowl chilled in the freezer for ten minutes. Cold metal helps cream and egg whites whip faster and hold their shape longer.
Step-by-Step Guide on How to Use a Whisk
Step 1 – Choose the Right Whisk for the Job
Start with the right tool. The wrong whisk fights you every step.
A balloon whisk has a wide, rounded shape. Those airy loops trap air fast, which makes it perfect for whipping cream, beating eggs, and lightening batter. You’ll feel the mixture grow lighter under your hand.
A flat whisk lies low and wide. It hugs the bottom of a shallow pan, so it’s your best friend for gravies and pan sauces. It reaches into corners a balloon whisk misses.
Pick up your whisk and feel its weight. A comfortable grip matters more than people think. Learning how to use whisk well starts with matching the tool to the task in front of you.
Step 2 – Set Up Your Bowl and Workspace
A bowl that slides around steals your energy. Lock it down first.
Place a damp cloth or a non-slip mat under your bowl. Press the bowl into it. Give it a gentle push to test. If it stays put, you’re ready.
Choose a deep bowl with tall sides. Shallow bowls send eggs and cream flying with every stroke. You’ll see the splatter on your counter and feel the waste.
Stand at a comfortable height. Your elbow should move freely without hunching. Tuck the bowl at a slight angle toward you so the wires reach the bottom edge easily.
This setup feels small. It isn’t. A steady bowl lets your wrist do clean, fast work without fighting the surface.
Step 3 – Hold the Whisk Correctly
How you grip the whisk changes everything. Most people hold it too tight.
Wrap your hand around the handle near the top. Keep your grip firm but relaxed. A white-knuckle hold tires your arm in seconds and slows your motion.
Let your wrist lead, not your whole arm. The wrist is faster, lighter, and lasts longer. Your shoulder should barely move.
Point the whisk straight down into the bowl. The wires should touch the bottom and curve up the sides as you move.
Test the feel with a few light strokes in an empty bowl. You’ll hear the wires tap softly against the surface. That tapping is your rhythm guide, and it tells you the whisk is reaching where it needs to.
Step 4 – Start Slow to Combine
Speed too soon makes a mess. Begin gently.
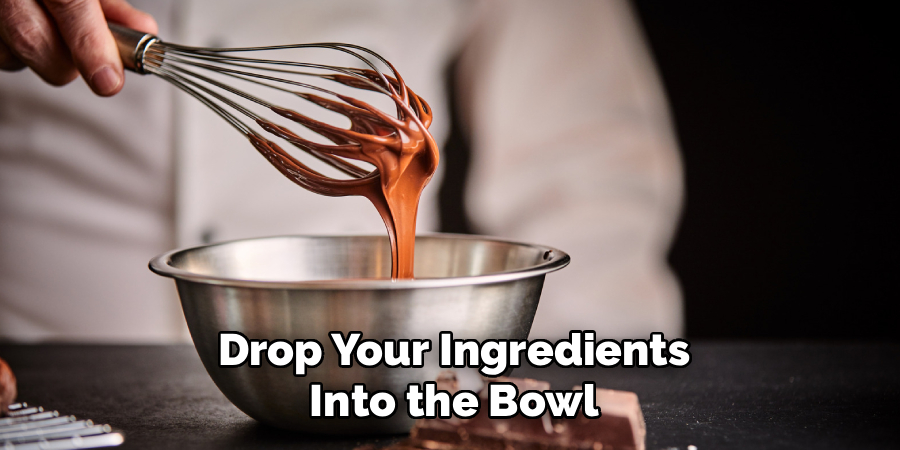
Drop your ingredients into the bowl. Start with slow, wide circles. This first stage just brings everything together. You’ll see streaks of yolk and white blend, or flour fold into liquid.
Watch for dry pockets. Flour loves to hide against the bowl’s sides. Slow strokes catch it before it clumps. Scrape the edges with your whisk as you go.
Keep the motion smooth and even. No need to rush. The mixture should look rough and loose at this stage, not airy yet.
Once everything looks combined, with no dry streaks and no separate layers, you’re ready to pick up speed. This slow start prevents the lumps that ruin sauces and batters later.
Step 5 – Build Speed to Add Air
Now the real work begins. This is how to use whisk for lift and volume.
Quicken your wrist. Move in fast, tight circles or a brisk back-and-forth W motion. You want to drag air into the mixture with every stroke.
Listen closely. The sound shifts from a wet slosh to a soft, airy whoosh. That change tells you air is folding in.
Watch the texture climb. Eggs turn pale and frothy. Cream thickens and ribbons off the wires. The mixture grows in the bowl right before your eyes.
Keep your strokes wide enough to lift the mixture from the bottom up. Quick, shallow flicks won’t do it. Full, fast motions pull the most air and give you the lightest result.
Step 6 – Whisk to the Right Consistency
Knowing when to stop is a skill of its own. Watch the signs.
For soft peaks, lift the whisk and look. The mixture should form a gentle curve that flops over at the tip. Cream and egg whites both show this stage clearly.
For stiff peaks, the tip stands straight up and holds. The surface looks glossy and firm. You’ll feel more resistance against the wires.
For a smooth sauce, look for a glossy, even surface with no lumps. Run the whisk through and check for any hidden bits.
Stop the moment you reach your target. The texture changes fast at the end, and a few extra strokes can tip you past the point you wanted.
Step 7 – Scrape and Fold When Needed
Whisking and folding are not the same. Know when to switch.
Once your mixture holds air, stop whisking hard. Heavy strokes now knock the air back out, and you’ll watch your fluffy mixture deflate.
Switch to a rubber spatula. Cut down through the center, sweep along the bottom, and lift up and over. Turn the bowl a quarter and repeat. This gentle fold keeps the air you worked so hard to build.
Scrape the bowl’s sides too. Stray bits of unmixed ingredients hide there. Folding them in gives you an even texture throughout.
Be patient here. Folding feels slow after fast whisking. But rushing it crushes the volume and undoes your effort in seconds.
Step 8 – Clean Your Whisk Properly
A clean whisk lasts years. A neglected one rusts and traps old food.
Rinse it right away, before batter or egg dries between the wires. Dried bits cling hard and need real scrubbing later. You’ll feel them crust over within minutes.
Run warm water through the loops. Work a little soap into the wires with your fingers or a brush. Pay attention where the wires meet the handle, since gunk loves to gather there.
Check the whisk against the light. Clean wires shine. Any film or residue tells you to rinse again.
Dry it fully before storing. A damp whisk in a drawer can spot and rust over time. A quick towel dry keeps it bright and ready for the next job.
Critical Mistakes When Using a Whisk
The biggest mistake is treating a whisk like a spoon. People stir slowly in tight little circles and wonder why their cream stays flat. A whisk needs speed and wide motion to drag air into food. Without that fast, sweeping action, you’re just mixing, not whisking, and you’ll never get the lift you want.
Another common error is using the wrong bowl. A shallow, wide bowl lets ingredients splash over the edges and never lets you build air properly. Worse, a bowl that slides around the counter forces you to chase it, breaking your rhythm. Always pick a deep bowl and anchor it with a damp cloth.
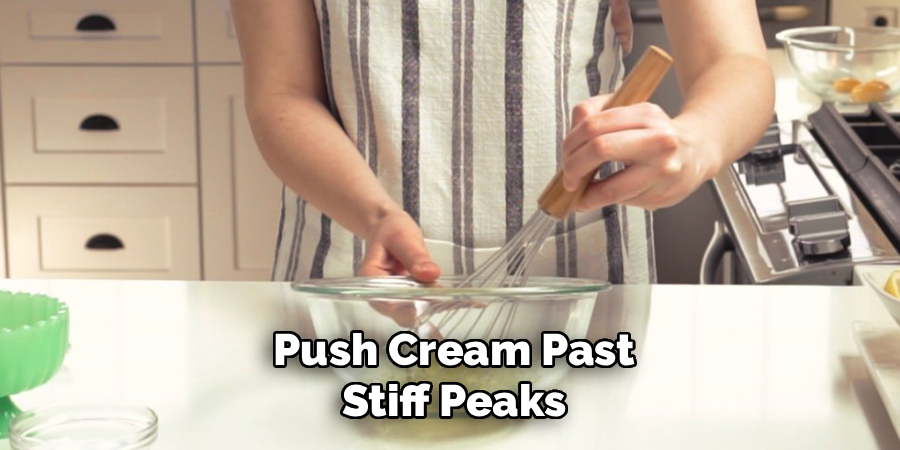
Over-whisking trips up many beginners too. Push cream past stiff peaks and it turns grainy, then splits into butter. Beat egg whites too long and they go dry and clumpy. The texture changes fast at the end, so watch closely and stop on time.
Many people also forget to scrape the bowl. Dry flour or unmixed yolk hides against the sides, leaving streaks and lumps in the final mix. A quick scrape with your whisk or spatula solves it.
Finally, leaving a dirty whisk to dry creates crusted gunk and rust. Rinse it right after use.
Expert Tips
A few habits turn good whisking into great whisking. Chill your bowl and whisk before whipping cream or egg whites. Cold metal helps fat and protein hold air, so your peaks form faster and stand taller.
Bring eggs to room temperature before beating them for volume. Cold eggs trap less air. A warm egg whips up bigger and lighter every time.
Add a tiny pinch of salt or a few drops of acid, like lemon juice or cream of tartar, when beating egg whites. It stabilizes the foam and helps it hold.
Whisk in a figure-eight or W pattern instead of plain circles. It pulls in more air and reaches more of the bowl with each pass. Small change, real difference.
Frequently Asked Questions
What Is the Best Whisk for Beginners?
A balloon whisk is the best starting point. Its rounded shape and airy wires handle the most common jobs with ease. Use it for:
- Beating eggs
- Whipping cream
- Mixing light batters
- Blending dressings
It’s forgiving, versatile, and easy to control. Once you’re comfortable, you can add a flat whisk for sauces and a smaller one for single eggs.
Can I Use a Whisk Instead of an Electric Mixer?
Yes, for most small jobs. A whisk handles whipped cream, beaten eggs, and smooth sauces well. It takes more arm work and a little more time, but the results are just as good. An electric mixer wins only for big batches or long beating tasks, like stiff meringue, where your arm would tire before the job is done.
Why Is My Cream Not Whipping?
A few things usually cause this:
- The cream isn’t cold enough
- The bowl and whisk are warm
- The cream is too low in fat
- You stopped whisking too soon
Use heavy cream with at least 35% fat. Chill everything first. Then whisk fast and steady. Cold ingredients and quick motion are the secret to thick, fluffy peaks.
How Do I Stop Lumps in My Sauce?
Start slow and stay patient. Add liquid gradually while whisking constantly, never all at once. Keep the whisk moving across the bottom and into the corners of the pan. A flat whisk works best here. If lumps still form, whisk harder and faster to break them apart before they set. Constant motion is your best defense against lumps.
How Do I Clean a Whisk Quickly?
Rinse it the moment you finish, before food dries between the wires. Then:
- Run warm water through the loops
- Work in a drop of soap with your fingers or a brush
- Focus on the spot where the wires meet the handle
- Dry it fully before storing
Quick action saves you from scrubbing dried-on batter later, and full drying keeps the wires from rusting.
Conclusion
A whisk rewards good technique. Match the tool to the task. Anchor your bowl. Hold the handle loose. Start slow, then build speed to pull in air. Watch your texture and stop at the right moment.
That’s the whole rhythm. Slow to combine. Fast to lift. Gentle to fold.
Your first try might feel clumsy. That’s normal. Your wrist needs a few rounds to learn the motion. By your third batch of whipped cream, your hand moves on its own. By your fifth, you won’t even think about it.
You now know how to use whisk like someone who’s done it for years. No electric mixer for small jobs. No lumpy gravy. No flat cake batter. Just light, smooth, airy results every single time.
So grab your whisk this week. Crack a few eggs or pour some cream. Feel the mixture grow under your hand and watch the peaks rise.
The skill is small. The payoff lands on every plate you serve.
