
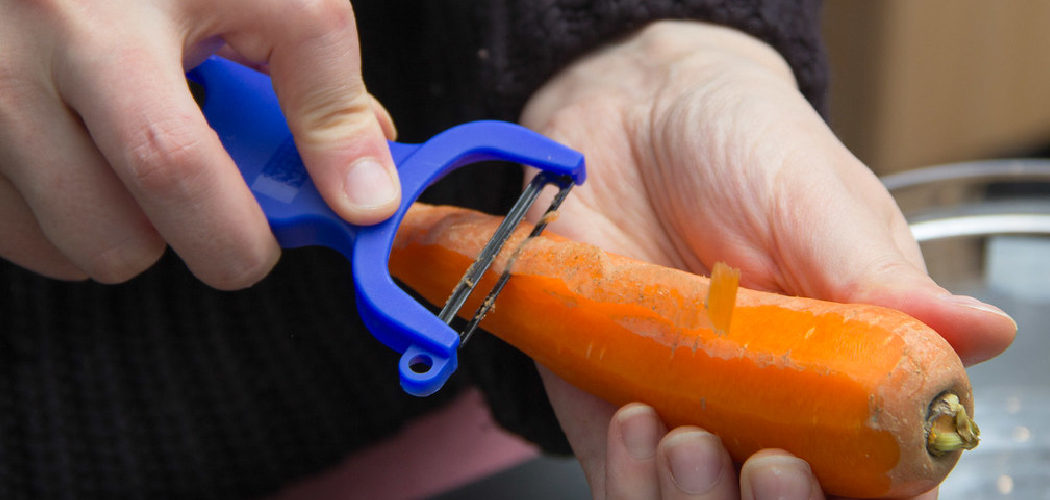
A peeler looks simple. A handle. A blade. That’s it.
But here’s the truth. Most people fight their peeler instead of letting it work. They press too hard. They slip. They lose half the potato to thick, wasteful strips.
It doesn’t have to be that way.
A good peeler glides. It strips away skin in one smooth pass and leaves the good flesh behind. You barely feel it. You just guide it.
Learning how to use peeler the right way changes your whole prep routine. Carrots, apples, cucumbers, potatoes — they all become quick work. No mess. No waste. No nicked knuckles.
This guide walks you through every step, so you peel with confidence, speed, and a clean, even finish every single time.
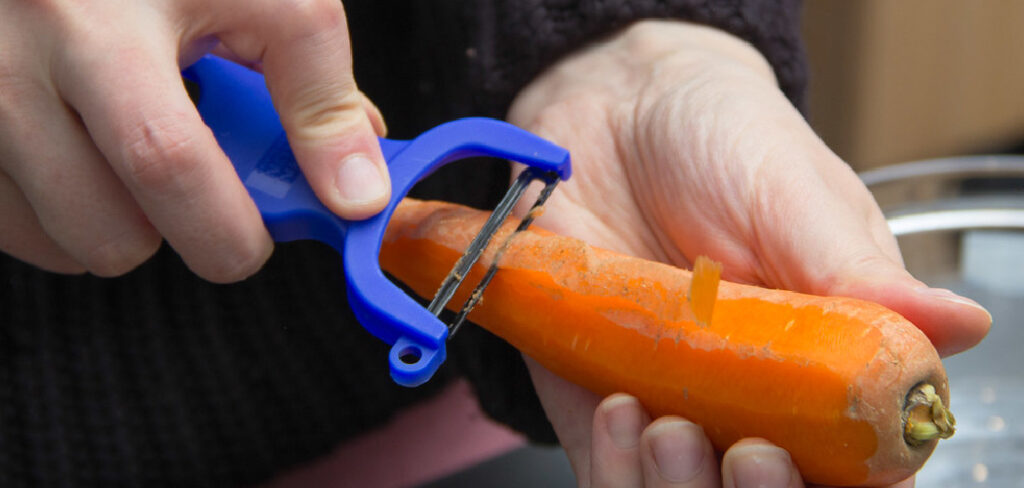
Why Using a Peeler Matters
You already have knives. So why bother with this little tool?
Because a peeler saves the good part. A knife cuts deep and takes flesh with the skin. A peeler skims the surface. You keep more food. You waste less money.
It saves time too. One smooth stroke clears a whole strip. No careful carving. No slow trimming.
It keeps you safer. A knife near slippery skin is risky. A peeler stays low, close to the surface, with a guarded blade.
And it builds confidence. Once your hands know the rhythm, no vegetable slows you down.
That control matters. Especially when dinner waits and your hands are full of carrots.
Tools and Materials You’ll Need
Set up before you start. A little prep makes the whole job smooth.
- A peeler – swivel, Y-shaped, or serrated, sharp and clean
- The produce you want to peel – carrots, potatoes, apples, cucumbers, and more
- A cutting board – a damp cloth underneath keeps it from sliding
- A clean bowl – to catch the peels for the compost or bin
- A second bowl of cold water – to hold peeled potatoes so they don’t brown
- A clean towel – to dry slippery produce before you start
Optional but helpful: a finger guard or cut-resistant glove. It costs little and protects your free hand while you build your technique. Worth it for beginners.
Step-by-Step Guide on How to Use Peeler
Step 1 – Choose the Right Peeler for the Job
Start with the right tool. Not every peeler suits every vegetable.
A swivel peeler follows curves well, so it shines on carrots and cucumbers. A Y-shaped peeler feels sturdy in the hand and tears through tough potato skin fast. A serrated peeler grips soft, slippery produce like tomatoes and peaches without slipping.
Pick the one that fits what’s on your board. Hold it. Feel the handle settle into your palm.
Run a thumb lightly near the blade edge. A sharp blade catches the skin instantly. A dull one drags and slips, and that’s where accidents happen.
Knowing how to use peeler well starts with matching the blade to the food in front of you.
Step 2 – Wash and Dry Your Produce
Rinse before you peel. Always. Dirt on the skin can smear onto the flesh as you work.
Hold each vegetable under cool running water. Rub gently with your fingers to loosen grit. Carrots and potatoes hide soil in their dimples, so give them a good scrub.
Now dry them. This part matters more than people think. A wet carrot turns slippery, and a slippery vegetable twists in your grip mid-stroke.
Pat each piece with a clean towel until the surface feels dry and steady.
A dry, clean vegetable sits firm in your hand. It won’t roll. It won’t slide. And a steady grip is the foundation of every clean, safe peel.
Step 3 – Hold the Produce Correctly
Your grip decides everything. Get it right and the rest feels easy.
Hold the vegetable in your weaker hand. Grip it near one end, leaving plenty of room for the blade to travel. Keep your fingers tucked back, well clear of the path the peeler will take.
For long produce like carrots, hold one end and angle the other slightly down toward the board or bowl.
For round produce like apples, cradle it in your palm and turn it as you go.
Keep a firm but relaxed grip. Squeeze too hard and your hand tires fast. Hold too loose and it spins. Find that middle ground where it stays put without strain.
Step 4 – Position the Blade at the Top
Now bring the blade to the skin. Start at the top, near your holding hand.
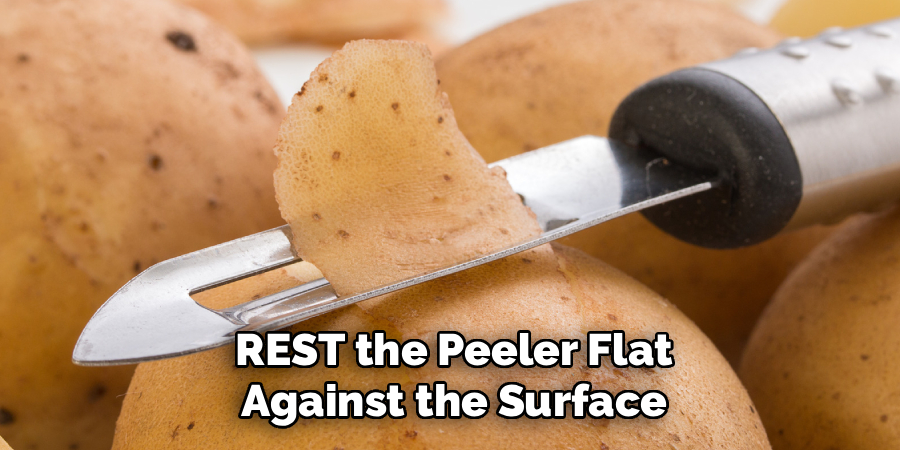
Rest the peeler flat against the surface. Tilt it slightly so the blade just bites into the skin, not deep into the flesh. You want a thin layer, nothing more.
Feel for the angle. Too steep and you gouge out chunks. Too shallow and the blade skips across without cutting.
Press the edge gently against the skin until you feel it catch. That small grip tells you the blade has found its bite.
Take a breath here. Line up your first stroke before you move. A good start sets the rhythm for every stroke that follows.
Step 5 – Pull the Peeler Toward You
Here’s the main move. Smooth and steady wins.
Draw the peeler down and away from your holding hand, toward your body. Use one long, even stroke. Let the blade do the cutting while you simply guide it.
You’ll hear a soft scrape and feel a gentle drag as the skin lifts away in a clean strip. That sound means you’ve found the right pressure.
Don’t saw back and forth. One firm pull peels better than ten nervous scrapes.
Keep the stroke long, from top to bottom in a single pass when you can. Lighten your grip on the blade if it digs too deep.
Always pull away from your fingers, never toward them. That keeps every stroke safe.
Step 6 – Rotate and Repeat
One strip down. Now cover the rest.
After each stroke, turn the vegetable a little in your holding hand. Bring fresh, unpeeled skin into the blade’s path. Pull again. Turn again. Pull again.
Work your way around the whole surface in even strips. Slightly overlap each pass so you don’t leave thin lines of skin behind.
Watch the color change. Bright orange under carrot skin. Pale cream under a potato. That clean, fresh surface tells you the strip came off properly.
Keep a steady rhythm going. Pull, turn, pull, turn. Your hands settle into it quickly.
Check the ends and any dips. Those spots hide skin and need an extra pass or two.
Step 7 – Tackle the Tricky Spots
Most of the vegetable peels fast. The awkward bits need patience.
Dimples, eyes, and curved ends resist the long stroke. Slow down here. Use the tip of the blade for short, controlled passes over those tight spots.
For potato eyes, many peelers have a small pointed tip or a looped end on the handle. Dig it gently into the eye and twist it out.
Around knobby ends, shorten your strokes and adjust your angle to follow the shape.
Don’t rush these parts. Rushing is how the blade slips and your knuckle pays for it.
Take your time on the curves. A few extra seconds gives you a clean, fully peeled vegetable with nothing left behind.
Step 8 – Clean and Store Your Peeler
A clean peeler lasts for years. A neglected one rusts and dulls.
Rinse it right after use, before bits of skin dry onto the blade. Run warm water through the slot and wipe the edge with a sponge, keeping your fingers away from the sharp side.
For stuck-on residue, a small brush clears the gap behind the blade where peels love to wedge themselves.
Dry it fully before you put it away. A wet blade spots and dulls over time.
Store it in a drawer with the blade guarded, or hang it by the handle. Loose blades in a crowded drawer get nicked and chip.
A clean, dry, sharp peeler is ready the moment you need it.
Critical Mistakes When Using a Peeler
The biggest mistake is peeling toward your fingers. People grip the vegetable, then push the blade straight at their own hand. One slip, and the blade catches a knuckle. Always pull the peeler away from your holding hand, or steady the vegetable on a board if a stroke must move forward. Direction is the difference between a clean strip and a nasty cut.
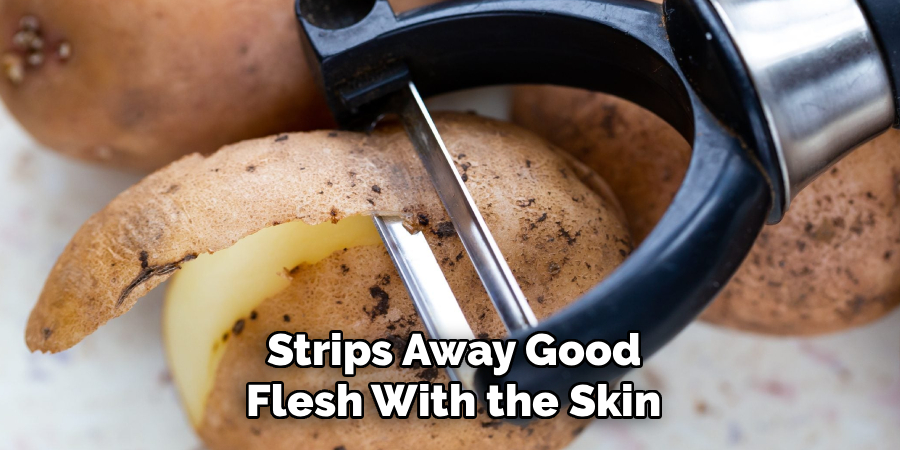
Another common error is pressing too hard. Beginners think force makes the job faster, but heavy pressure gouges deep and strips away good flesh with the skin. A sharp blade barely needs pressure. Let it glide. Light hands waste less food and leave a smoother finish.
Many people also fight a dull blade. A worn peeler drags, slips, and forces you to push harder, which raises the risk of an accident. Check your blade often. Replace cheap peelers when they stop biting cleanly. A sharp tool is a safe tool.
Then there’s peeling wet produce. A slippery carrot twists mid-stroke and throws off your aim. Dry everything first.
Finally, don’t ignore the dirt. Peeling unwashed produce drags grit across the clean flesh underneath. Rinse first, every time.
Expert Tips
A few small habits turn an everyday tool into a kitchen workhorse.
Peel over a bowl or a sheet of paper. Cleanup takes seconds instead of minutes, and your counter stays clear.
Peel away from the board, into open air, so long strips fall free without bunching up against the blade.
Keep your peeler sharp. The moment it starts dragging or skipping, it’s time to sharpen or replace it. A dull blade does more harm than good.
For waxy produce like apples and cucumbers, a serrated peeler grips far better than a smooth one.
And try peeling at room temperature. Cold, fridge-firm produce can feel stiff, while slightly warmed vegetables give a touch more easily under the blade.
Small moves. Big difference in your daily prep.
Frequently Asked Questions
Why Does My Peeler Keep Slipping?
Usually it’s one of two things: wet produce or a dull blade. A slippery surface twists under the blade, and a worn edge can’t grip the skin properly. Try these quick fixes:
- Dry the produce fully with a towel first
- Check the blade and replace it if it drags
- Hold the vegetable with a firmer, steadier grip
- Match the peeler type to the food
Dry surface, sharp blade, steady hands — slipping stops fast.
Which Vegetables Should I Not Peel?
Many vegetables keep most of their nutrients and fiber in the skin. You can leave the peel on cucumbers, zucchini, young potatoes, carrots, and apples if you wash them well. The skin adds texture and goodness. Peel only when a recipe needs it or the skin is tough, bitter, or waxy. When in doubt, scrub instead of peel and keep the nutrition intact.
How Do I Peel Without Wasting So Much?
Waste usually comes from pressing too hard. Let the blade skim the surface in thin strips:
- Use a sharp peeler with a light touch
- Tilt the blade shallow, not steep
- Pull in long, even strokes
- Overlap passes slightly to avoid re-peeling
A sharp blade and gentle hands keep almost all the good flesh on the vegetable, not in the bin.
Are Y-Peelers Better Than Swivel Peelers?
Neither is best for everything. A Y-peeler feels sturdy and rips through tough potato skin quickly, with a wide blade good for straight surfaces. A swivel peeler follows curves smoothly, so it shines on carrots and rounded produce. Many cooks keep both. Pick the Y-peeler for hard, firm vegetables and the swivel for delicate, curved ones. Try each and see which fits your hand.
How Do I Keep My Peeler Sharp?
Most peelers can’t be sharpened easily, so the trick is care and timing. Rinse and dry it right after use to stop rust. Store it with the blade guarded so it doesn’t chip against other tools. When it starts dragging, skipping, or needing extra pressure, replace it. Quality peelers are inexpensive, and a fresh, sharp blade is always safer than a tired one.
Conclusion
A peeler rewards a steady hand and a light touch. Choose the right blade. Wash and dry your produce. Grip it firm. Tilt the blade shallow, then pull in long, smooth strokes away from your fingers.
That’s the whole rhythm. Steady grip. Clean stroke. Light pressure.
Your first carrot might feel slow. That’s fine. By your third, your hands move on their own. By your fifth, you won’t even think about it.
You now know how to use peeler like someone who’s done it for years. No waste. No slips. No skin left clinging to the flesh.
So grab a peeler this week. Pick a carrot or a potato. Pull one clean strip and feel how little effort it really takes.
The tool does the work. You just guide it. And every meal that starts with fresh produce gets a little easier from here.
Will you give it a try tonight?
