
Picture this: you spot a slow drip under your sink, or you’re about to swap out an old dishwasher, and suddenly you need to stop the water fast. The thought of fiddling with valves and pipes can feel a little nerve-wracking, especially if you’ve never done it before.
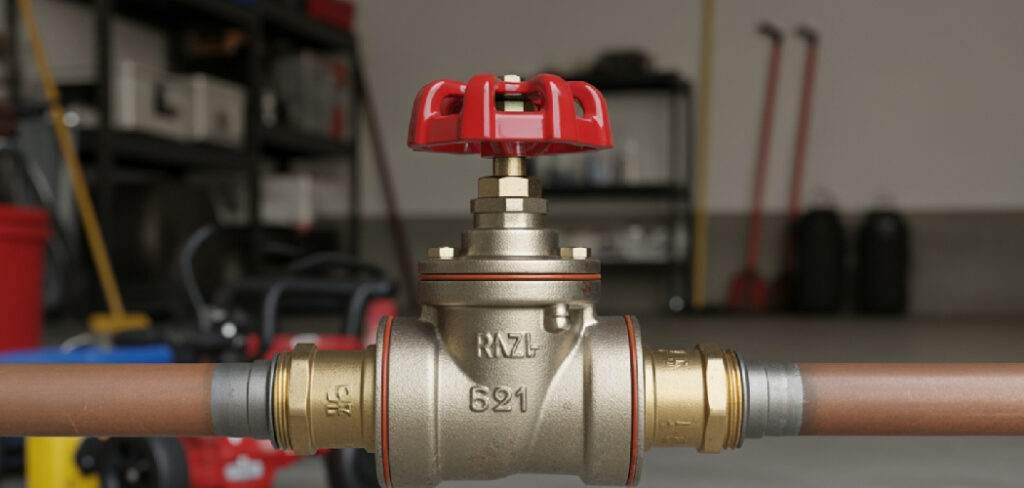
Here’s the reassuring part. Shutting off the water to your dishwasher is one of the simplest plumbing tasks you can learn, and you don’t need a technician to do it. With a few common tools and a calm approach, you’ll handle it in minutes.
This guide on how to turn off dishwasher water supply walks you through each step in plain, friendly language. The purpose here is simple: give you a clear, beginner-friendly plan to safely stop the water, avoid leaks, and feel confident under your own sink.
Why Learning to Turn Off Dishwasher Water Supply Matters
Knowing how to cut the water to your dishwasher gives you real control over your kitchen. You can stop a leak before it damages your cabinet, swap out a hose, or replace the whole appliance without calling for help or paying a service fee.
This skill travels well, too. Campers, RV owners, and outdoor beginners often deal with compact units and tight plumbing connections far from any repair shop. When you understand the shutoff valve and supply line, you can manage your setup confidently wherever you are.
For homemakers, kitchen enthusiasts, and DIY-minded folks, this know-how pays off again and again. You’ll handle small emergencies calmly, protect your floors from water damage, and tackle basic maintenance on your own. Little wins like this build real confidence around your whole home.
Tools and Materials You’ll Need
The good news is you won’t need a fancy toolbox for this job. A few basics will carry you through.
Keep a flashlight close, since under-sink spaces are dark and cramped. You’ll want to see the valve and the supply line clearly before you touch anything. An adjustable wrench is your main tool here, handy for any stubborn valve or compression fitting that needs a little persuasion.
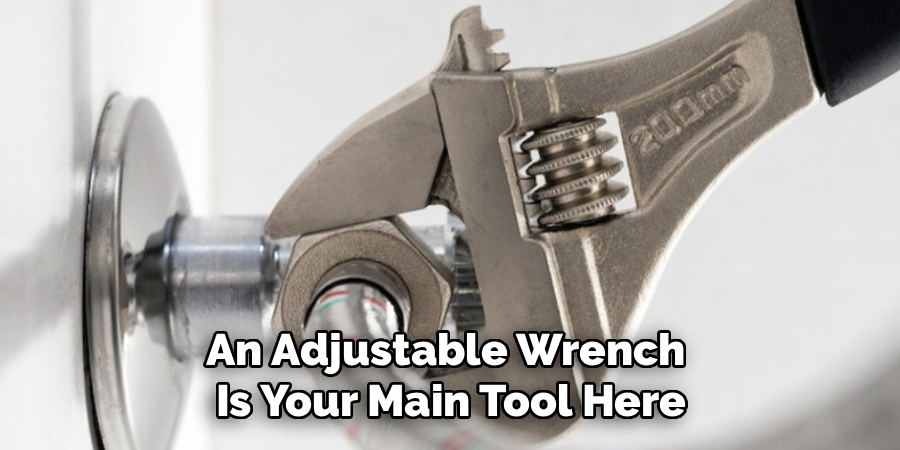
Lay down a dry towel to catch drips and wipe up small spills. A shallow pan or small bowl works wonders too, sitting under the connection to catch any water that escapes when you work. Slip on a pair of work gloves to protect your hands and improve your grip in that tight cabinet.
One optional convenience item is your smartphone. Snap a photo of the plumbing connection before you disconnect anything, so you remember exactly how it all goes back together.
Step-by-Step Guide on How to Turn Off Dishwasher Water Supply
Step 1 – Prepare the area and gather your tools
Start by clearing the space and getting organized, since a little prep makes the whole job smoother. Open the cabinet under your sink and take a quick look at what you’re working with.
Lay your flashlight, adjustable wrench, dry towel, and shallow pan within easy reach. Slip on your work gloves now, so you’re ready to grip and turn without fumbling later.
The air inside that cabinet often feels warm and a bit stuffy, especially near the plumbing. Give yourself room to move by kneeling on a folded towel for comfort.
Take a breath and look over the whole setup before touching anything. Knowing where everything sits helps you act calmly and confidently. A tidy, well-lit workspace turns this small task into an easy win.
Step 2 – Find the dishwasher shutoff valve
Now hunt down the valve that controls your dishwasher’s water. In most kitchens, you’ll find it under the sink, where a dedicated supply line branches off toward the dishwasher.
Shine your flashlight along the back wall of the cabinet. Look for a small handle or knob attached to a copper or braided line. This shutoff valve is often a little oval lever or a round knob you turn by hand.
Some setups tuck the valve behind stored cleaning bottles or trash bins, so it can hide easily. Trace the supply line with your eyes from the dishwasher connection back toward the wall, and the valve usually sits right at that junction.
Knowing how to turn off dishwasher water supply starts with spotting this exact valve, so take your time here.
Step 3 – Clear out under-sink storage
Before you reach in, pull out everything stored under the sink. Cleaning sprays, dish soap, sponges, and that overflowing trash bin all block your access and your view.
Set these items aside on the floor or counter where they won’t get in your way. You’ll be surprised how much easier the job feels with a clear, open cabinet in front of you.
This step matters more than people expect. A cramped space leads to bumped knuckles and missed connections. With the clutter gone, you can see the shutoff valve, the supply line, and any compression fitting clearly.
Take a quick photo with your smartphone too, capturing how everything connects. Good cabinet access keeps you safe and saves you from guessing later when you reassemble or reconnect anything.
Step 4 – Inspect the supply line path
With the cabinet clear, trace the water line carefully from start to finish. Follow it with your flashlight from the dishwasher connection, along the back of the cabinet, to the shutoff valve.
Look for any signs of a slight drip, corrosion, or a loose plumbing connection along the way. Damp spots or white mineral buildup often signal a small leak that’s been quietly forming.
Feel the line gently with a gloved hand. A braided steel hose feels firm and slightly textured, while older copper lines feel smooth and cool. Note any kinks or sharp bends that could weaken over time.
Understanding this full path helps you spot trouble early and confirms you’re about to turn the right valve. This quick inspection sets you up for a clean, leak-free shutoff.
Step 5 – Turn the valve clockwise
Now for the main move. Grip the valve handle firmly with your gloved hand, and turn it clockwise to close it. Remember the simple rule: righty-tighty shuts the water off.
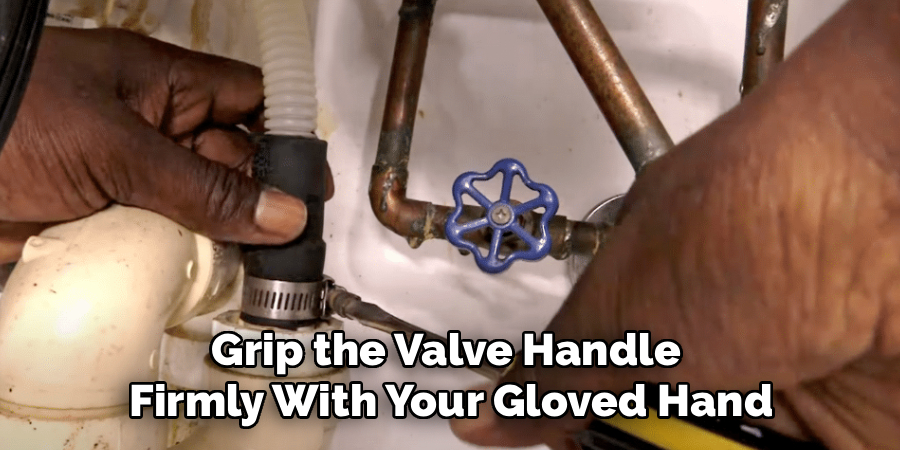
If it’s a quarter-turn lever, rotate it a full ninety degrees until it sits perpendicular to the line. A round knob style may need several full turns until it stops snugly.
Listen closely as you turn. You’ll often hear a soft change in water pressure, a faint hiss fading to silence as the flow stops. That quiet moment tells you the water is shutting down.
Don’t force a stubborn valve too hard, since older fittings can crack. If it resists, ease back and try a slow, steady pressure rather than a sudden yank.
Step 6 – Check for resistance or sticking
Some valves haven’t moved in years, so they stick or feel crusty with mineral buildup. If yours fights back, stay patient and gentle to avoid damage.
Wrap your dry towel around the handle for a better grip, or use your adjustable wrench for a little extra leverage on a tight angle stop. Turn slowly and steadily, never with a hard jerk.
If the valve still won’t budge, stop and reassess. A frozen valve sometimes loosens with a few drops of penetrating oil and a short wait. Forcing it risks snapping the line and creating a real flood.
Watch for any drip forming around the stem as you turn, since that signals a worn seal. A valve that moves smoothly and stops firmly means you’ve closed it correctly.
Step 7 – Verify the water is off
Never assume the water stopped just because you turned the handle. A quick test confirms the job is done right and protects you from surprises.
Start your dishwasher on a short cycle, or simply select a wash setting and let it try to draw water. With the valve closed, no fresh water should flow into the tub. The inlet valve may click or hum briefly, then go quiet.
Listen for the absence of rushing water and watch for any new drips under the sink. Knowing how to turn off dishwasher water supply correctly means seeing zero water enter the machine.
Once you confirm the dishwasher stays dry, cancel the cycle. This simple leak check gives you real peace of mind before you start any repair work.
Step 8 – Handle issues if no dedicated shutoff exists
Sometimes there’s no separate valve just for the dishwasher, and that’s common in older homes. Don’t worry, you still have a clear path forward.
In this case, look for the main shutoff valve under the sink that controls the hot water feeding both the faucet and the dishwasher. Turning that off stops water to everything on that line.
You may also find the connection routed through the kitchen faucet’s hot water angle stop. Closing it works just as well for your repair.
If you can’t locate any nearby valve, head to your home’s main water shutoff. Check behind the toe kick panel of the dishwasher too, since some models hide a connection there. When in doubt, shutting the main line keeps you safe.
Critical Mistakes When Turning Off Dishwasher Water Supply
Even an easy job comes with a few traps, so dodging these errors saves you time and trouble. The biggest mistake is forcing a stuck valve with brute strength. Old shutoff valves grow brittle with mineral buildup, and a hard yank can snap the handle or crack the line, turning a quick task into a flooded cabinet. Always turn slowly, and use penetrating oil on a frozen valve instead of muscle.
Another common error is skipping the verification step. Turning the handle feels like the finish line, but you must test the dishwasher to confirm the water truly stopped. A partially closed valve still lets water seep through during your repair.
People also forget to place a pan or towel underneath before working. Even a closed line holds residual water, and that slight drip can soak your cabinet floor if you’re not ready for it.
Finally, many folks turn the wrong valve entirely, especially in cramped under-sink spaces with multiple lines. Tracing the supply line carefully before turning anything prevents this confusion. Take that extra minute to identify the correct plumbing connection, and you’ll avoid shutting off the wrong appliance by accident.
Expert Tips
A few smart habits make this task even smoother. First, exercise your shutoff valve once or twice a year by turning it fully closed and open again. This simple maintenance keeps it from seizing up, so it works easily when you actually need it.
Always keep a small pan and towel under the sink as your go-to leak kit. When a drip surprises you, you’ll be ready in seconds instead of scrambling.
Snap a photo of every plumbing connection before you disconnect anything. That picture saves you real headaches during reassembly. And if your valve feels stiff every time, consider replacing it with a modern quarter-turn angle stop. These newer valves close with one easy motion and rarely stick, making future appliance repair and troubleshooting far less stressful.
Frequently Asked Questions
Where is the dishwasher water shutoff valve located?
In most kitchens, the dishwasher shutoff valve sits under the sink. Look for a small handle attached to a supply line that branches toward the dishwasher. If no dedicated valve exists, you may need to use one of these:
- The main hot water valve under the sink
- The kitchen faucet’s hot water angle stop
- Your home’s main water shutoff
Trace the line carefully before turning anything.
Which way do I turn the valve to shut off the water?
Turn the valve clockwise to shut off the water, following the classic “righty-tighty” rule. For a quarter-turn lever, rotate it ninety degrees until it sits crosswise to the line. For a round knob, turn it several times until it stops snugly. Listen for the water pressure fading to silence, which confirms the flow has stopped completely.
What if my shutoff valve is stuck or won’t turn?
A stuck valve usually means mineral buildup has frozen it over time. Don’t force it, since that can crack the line. Instead, wrap a towel around the handle for grip, or apply a few drops of penetrating oil and wait fifteen minutes. Turn slowly and steadily. If it still won’t budge, shut off your home’s main water supply instead.
Do I need to turn off the water before replacing a dishwasher?
Yes, always shut off the water supply before disconnecting or replacing a dishwasher. This prevents water from rushing out when you loosen the supply line or compression fitting. Confirm the valve is fully closed, then run a quick test cycle to verify no water flows in. Place a pan underneath to catch any residual water in the line.
How do I know if the water is fully turned off?
Run your dishwasher on a short cycle after closing the valve. With the water off, no fresh water should enter the tub, and you’ll hear the inlet valve click without any rushing sound. Watch for drips under the sink as a leak check. If the machine stays dry and quiet, your shutoff worked correctly.
Conclusion
Shutting off the water to your dishwasher feels intimidating the first time, but you now have everything you need to do it with confidence. A surprise drip, a hose swap, or a full appliance replacement is no longer a reason to panic or reach for the phone.
Keep the order in mind. Prepare your space and tools, locate the shutoff valve under the sink, and clear out the clutter for easy access. Inspect the supply line, turn the valve clockwise, and ease off if it sticks. Then test the dishwasher to confirm the water truly stopped.
The real secret is patience. Turn gently, trace the right line, and always verify your work before moving on. Those small habits prevent cracked valves and soggy cabinets every time.
Now you know exactly how to turn off dishwasher water supply using simple steps and a calm approach. So next time water trouble strikes, kneel down at that cabinet and handle it yourself. Your kitchen answers to you, and you’ve got this.

About
Nick Hall has spent the last seven years working at the intersection of kitchen design and home repair — first as a design assistant at a residential renovation studio, then as a freelance writer covering everything from cabinet layouts to leaky faucet fixes.
Her approach is simple: kitchens should look good and function well. That means she’s just as comfortable talking about color palettes and counter materials as she is walking readers through how to fix a wobbly cabinet hinge or troubleshoot a garbage disposal.
Nick has worked directly with homeowners on small-space kitchen makeovers, budget-conscious renovations, and the kind of everyday repairs that don’t need a contractor — just the right instructions. She writes from experience, not theory, and tests most of the fixes and tips she shares before publishing them.
When she’s not writing, Nick is usually hunting for mid-century kitchen finds at estate sales or helping friends plan their own renovations. She lives in Columbus, Ohio.