
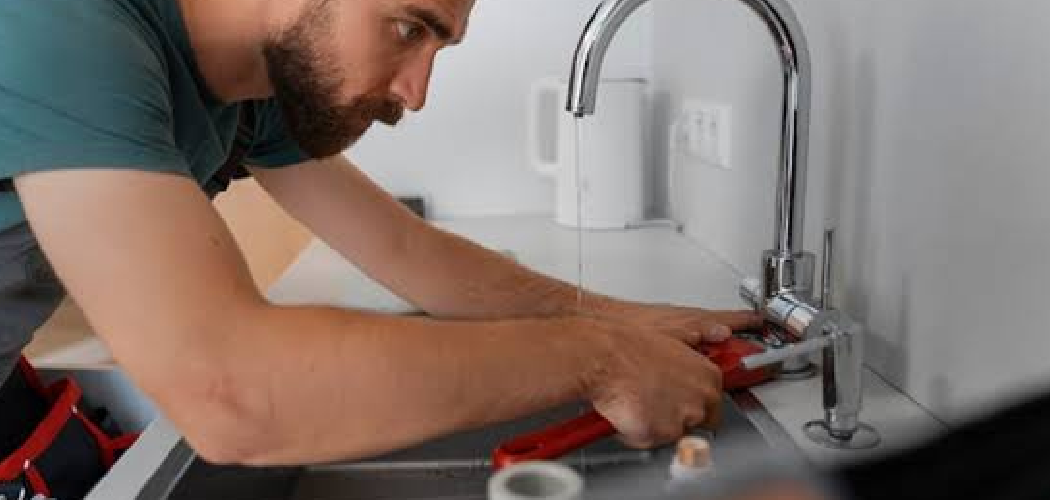

A loose, dripping, or outdated faucet can make the whole sink area feel harder to use. The good news is that learning how to install a single handle kitchen faucet is often simpler than it looks, especially when the sink holes, supply lines, and shutoff valves are already in place. You do not need advanced plumbing skills to handle a basic replacement.
A single handle faucet controls hot and cold water with one lever, which makes it popular in home kitchens, RV kitchens, cabin sinks, and utility spaces. The job mainly involves removing the old faucet, securing the new one, connecting the water lines, and checking for leaks. This guide walks you through each step with clear, beginner-friendly instructions.
Why Learning Single Handle Kitchen Faucet Installation Matters
Knowing how faucet installation works gives you more confidence around simple plumbing upgrades. It helps when you replace a worn kitchen faucet at home, add a cleaner fixture to a cabin sink, or improve a small RV kitchen where every part needs to work well.
Campers and outdoor beginners also benefit from this skill. Many outdoor prep stations, portable wash areas, and utility sinks use the same basic parts: supply lines, mounting hardware, hose connections, and a drain nearby. Once you understand how these pieces fit together, small repairs feel less stressful.
You also learn how to spot leaks early, protect cabinets from water damage, and choose fixtures that match your sink and space.
Tools and Materials You’ll Need
Gather everything before you crawl under the sink. The cabinet area can feel cramped and dark, so having the right tools nearby saves time and reduces frustration. Check the faucet box first because many models include supply lines, gaskets, O-rings, and mounting hardware.
- New single handle kitchen faucet
- Deck plate or escutcheon, if needed
- Adjustable wrench
- Basin wrench
- Bucket or shallow pan
- Clean rags or towels
- Flashlight or work light
- Plumber’s putty, if your faucet instructions allow it
- Silicone sealant, if recommended by the manufacturer
- Replacement supply lines, if the old ones are worn
- Optional convenience item: knee pad or folded towel for comfort under the sink
Step-by-Step Guide on How to Install a Single Handle Kitchen Faucet
Step 1 – Shut Off the Water and Clear the Cabinet
Start by turning the hot and cold shutoff valves under the sink clockwise until they stop. Open the old faucet to release water pressure. You may hear a short hiss or sputter as the lines empty.

Place a bucket under the supply lines before loosening anything. Even when the water is off, a little water usually sits inside the hoses. Clear out cleaning bottles, trash bags, and stored items so you can see the fittings clearly.
Use a towel to dry the cabinet floor. A dry surface makes fresh drips easy to spot during the leak test later.
Step 2 – Disconnect the Old Supply Lines
Use an adjustable wrench to loosen the supply lines where they connect to the shutoff valves. Turn slowly and keep the bucket close because water may run down the hose. If the fittings feel stiff, hold the valve body steady with one hand while you loosen the nut.
This stage is a key part of how to install a single handle kitchen faucet because old connections often reveal problems. Look for rust, cracked hoses, or mineral buildup around the threads.
If the old lines look damaged, replace them instead of reusing them. Fresh braided lines can prevent future leaks.
Step 3 – Remove the Old Faucet
Look up behind the sink basin and find the mounting nut that holds the faucet in place. This area is often tight, dim, and awkward, so use a flashlight and basin wrench. The basin wrench has a long handle that reaches nuts your fingers cannot easily grab.
Loosen the mounting nut and any extra brackets. Once the hardware is free, lift the old faucet from above the sink. It may stick to the surface because of old sealant, grime, or hard water deposits.
Clean around the sink holes with a rag. The surface should feel smooth before you install the new fixture.
Step 4 – Prepare the Sink Surface and Faucet Parts

Check how many sink holes you have and compare them with the new faucet. Some single handle faucets use one hole, while others include a deck plate or escutcheon to cover extra openings. Set the plate in place to see how it looks before sealing anything.
Inspect the O-rings, rubber gasket, and base of the faucet. These parts help block water from slipping under the fixture and into the cabinet.
If the instructions call for plumber’s putty or silicone sealant, apply a thin, even amount. Avoid using both unless the manufacturer says to do so.
Step 5 – Set the New Faucet in Place
Feed the faucet lines and sprayer hose through the correct sink hole from above. Lower the faucet slowly so the base sits flat against the sink or deck plate. The metal may feel cool and smooth as you guide it into position.
Stand in front of the sink and check the alignment. The handle should move freely, and the spout should face straight into the basin.
Hold the faucet steady while you move underneath the sink. If possible, ask someone to keep it centered from above while you secure the mounting hardware below.
Step 6 – Tighten the Mounting Nut
Slide the washer, bracket, and mounting nut onto the faucet shank from below, following the order in the instructions. Tighten the nut by hand first so it threads correctly. Then use a basin wrench to snug it down.
Do not overtighten. A firm fit keeps the faucet stable, but too much force can crack plastic parts or stress thin stainless steel.
This is another important moment in how to install a single handle kitchen faucet because a loose base will wobble during daily use. Check the faucet from above before the final turn and adjust it if needed.
Step 7 – Connect the Supply Lines and Sprayer Hose
Attach the hot and cold supply lines to the correct shutoff valves. Many faucets mark hot with red and cold with blue, but check the manual to be sure. Thread each connection by hand first to avoid cross-threading.
Tighten the connections with a wrench using small, careful turns. The fittings should feel secure, not crushed.
If your faucet has a pull-down sprayer, connect the sprayer hose under the sink. Clip the hose into place, then attach the weight at the marked location. The weight helps the sprayer retract smoothly after use.
Step 8 – Flush the Faucet and Run a Leak Test
Remove the aerator from the faucet spout before turning on the water. This small screen can trap grit from new lines. Slowly open the shutoff valves, then run warm and cold water for a minute to flush debris.
Turn the faucet off and reinstall the aerator. Test the handle, sprayer hose, and water pressure. The flow should feel steady, not weak or uneven.
Use a dry rag to wipe every connection. Then look again for beads of water around the supply lines, hose connections, mounting area, and shutoff valves. A careful leak test protects the cabinet from hidden damage.
Common Mistakes When Installing a Single Handle Kitchen Faucet
One common mistake is forgetting to check sink hole layout before buying the faucet. A one-hole faucet may work with a deck plate, but not every plate fits every sink. Always compare the faucet base, escutcheon size, and available holes before you begin.
Another mistake is overtightening the mounting nut or supply line fittings. Many beginners think tighter means safer, but too much force can damage threads, crush washers, or crack small parts. Snug and secure is the goal.
Skipping the aerator flush can also cause trouble. New lines can release small bits of rubber, grit, or mineral debris. If that debris clogs the aerator, your new faucet may have poor water pressure right away.
Some people also mix up hot and cold supply lines. This does not usually cause major damage, but it makes the handle work backward and feels confusing every day. Check the labels before tightening the final connections.
Finally, rushing the leak test can hide slow drips. Watch the fittings with the faucet running and again after the water is off.
Expert Tips
Read the faucet instructions before you remove the old fixture. Brands use different mounting systems, hose clips, weights, and gaskets. A five-minute review can prevent a long crawl back under the sink.
Take a photo of the old plumbing before disconnecting it. This gives you a quick reference if you forget how the supply lines or sprayer hose were routed.
Replace old supply lines if they feel stiff, look corroded, or show cracks near the ends. They are inexpensive compared with water damage.
Keep a flashlight under the sink during the first few days. Check the cabinet after normal use, especially after running hot water, cold water, and the sprayer.
Frequently Asked Questions
Can a Beginner Install a Single Handle Kitchen Faucet?
Yes, a beginner can install a basic single handle faucet if the sink holes match and the shutoff valves work. The job gets harder if old fittings are corroded, the cabinet space is very tight, or the plumbing needs changes. Work slowly, follow the manual, and test every connection before calling the project finished.
Do I Need a Basin Wrench?
A basin wrench is not always required, but it makes the job much easier. Faucet mounting nuts sit high behind the sink basin, where a standard wrench may not fit. A basin wrench reaches into that narrow space and grips the nut from below. It is especially helpful in deep cabinets or tight RV kitchen spaces.
Should I Use Plumber’s Putty or Silicone Sealant?
Use the sealing method recommended by the faucet manufacturer. Many faucets include a rubber gasket that does not need extra putty or sealant. Some deck plates may call for plumber’s putty or silicone to block water. Avoid applying sealant randomly because it can interfere with gaskets or make future removal harder.
Why Is My Water Pressure Low After Installation?
Low water pressure often comes from debris trapped in the aerator. Remove the aerator, run the faucet for a short time, rinse the screen, and reinstall it. Also check that both shutoff valves are fully open. If pressure stays low, inspect the supply lines for kinks and confirm the sprayer hose is not twisted.
How Long Does Faucet Installation Take?
Most first-time installers need one to three hours for a simple replacement. Removing the old faucet often takes the longest, especially if the mounting nut is rusty or hard to reach. The new faucet usually goes in faster once the sink surface is clean and the parts are organized. Give yourself extra time for testing.
Conclusion
A new single handle faucet can make your sink easier to use, cleaner to look at, and more practical for daily cooking, washing, and cleanup. The process is manageable when you follow a clear order: shut off the water, remove old parts, clean the sink surface, set the new faucet, tighten the mounting nut, connect the lines, and test for leaks.
Pay close attention to small details. Match the sink holes, protect the O-rings, avoid overtightening, flush the aerator, and check water pressure before you put items back under the cabinet.
Now that you know how to install a single handle kitchen faucet, you can handle a common home, cabin, RV, or utility sink upgrade with more confidence. Start with good lighting, keep a towel nearby, and let a careful leak test confirm your work.

About
Nick Hall has spent the last seven years working at the intersection of kitchen design and home repair — first as a design assistant at a residential renovation studio, then as a freelance writer covering everything from cabinet layouts to leaky faucet fixes.
Her approach is simple: kitchens should look good and function well. That means she’s just as comfortable talking about color palettes and counter materials as she is walking readers through how to fix a wobbly cabinet hinge or troubleshoot a garbage disposal.
Nick has worked directly with homeowners on small-space kitchen makeovers, budget-conscious renovations, and the kind of everyday repairs that don’t need a contractor — just the right instructions. She writes from experience, not theory, and tests most of the fixes and tips she shares before publishing them.
When she’s not writing, Nick is usually hunting for mid-century kitchen finds at estate sales or helping friends plan their own renovations. She lives in Columbus, Ohio.