
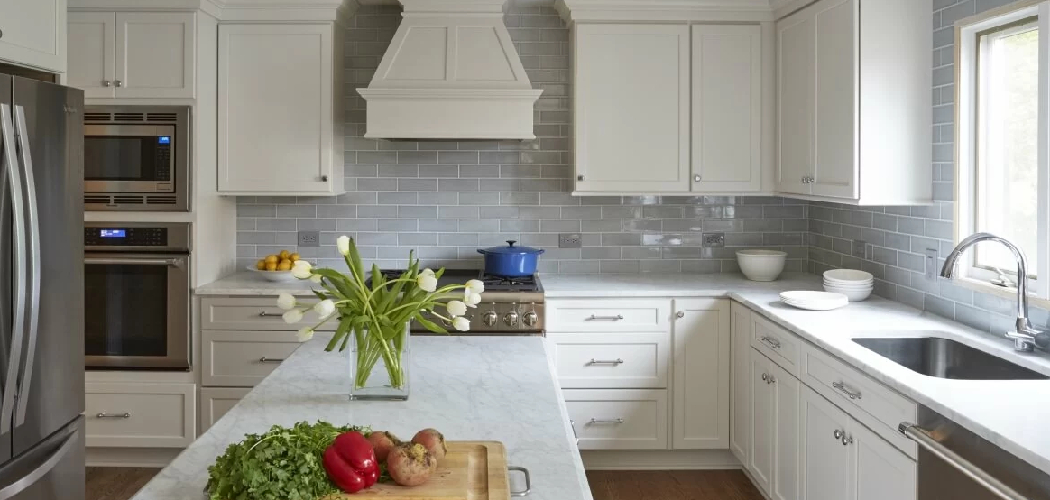
Kitchen outlets are small, but they can interrupt the clean look of a backsplash, island, or carefully planned cabinet wall. Bright white faceplates on dark tile, cords stretched across counters, and poorly placed receptacles can make even a new kitchen remodel feel unfinished. If you want to learn how to hide kitchen outlets, the goal is not to make them unsafe or hard to reach. It is to make them blend into the design while keeping them useful and code compliant.
You have several beginner-friendly options, from better outlet covers to under-cabinet outlets, pop-up outlets, and smart cord management. This guide will show you how to improve outlet appearance without sacrificing safety, access, or everyday function.

Why Hiding Kitchen Outlets Improves Your Space
Some project briefs mention campers or outdoor beginners, but this skill belongs firmly in the home improvement world. In a kitchen, outlets must stay accessible because you need them for countertop appliances, charging, lighting, and small daily tasks. Still, they do not have to become the first thing your eye sees.
Hiding or blending outlets can make a tile backsplash look smoother, help cabinet trim feel cleaner, and reduce visual clutter around the counter. It also supports a clean kitchen design, especially in open-concept homes where the kitchen is always visible. When you plan receptacle placement with care, you create a space that looks polished and works well during cooking, cleaning, and hosting.
Tools and Materials You’ll Need
Gather your supplies before you start so you can compare options and avoid rushed decisions. Some projects only need cosmetic changes, while others require a licensed electrician.
- Measuring tape
- Pencil and painter’s tape
- Screwdriver
- Level
- Matching outlet covers or a paintable outlet cover
- Low-profile faceplate
- Cord clips or cord management channels
- Under-cabinet outlet strip, if suitable
- Pop-up outlets for an island or countertop, if approved
- Tile or backsplash sample for color matching
- Optional convenience item: outlet cover sample kit for testing colors and finishes
If any project involves moving an electrical box, adding a receptacle, or changing wiring, call a qualified electrician.
Step-by-Step Guide on How to Hide Kitchen Outlets
Step 1 – Study Your Kitchen Layout
Start by looking at your kitchen from the spots where you spend the most time. Stand near the sink, stove, island, and entryway. Notice which outlets catch your eye and which ones already fade into the background.
This first review helps you understand what really needs attention. Some backsplash outlets may only need a better faceplate, while others may need a new location during a kitchen remodel. When planning how to hide kitchen outlets, think about both beauty and use. You still need power where you plug in a toaster, coffee maker, blender, or phone charger.
Step 2 – Check Safety and Code Needs
Before you change anything, remember that kitchen outlets follow strict electrical rules. Codes often require GFCI protection, proper spacing along countertops, and safe access near wet areas. You should never block a receptacle behind permanent trim, tile, or a heavy appliance.
If you are unsure, take photos and ask a licensed electrician what changes are safe. A professional can tell you whether an electrical box can move, whether under-cabinet outlets meet local code, and whether pop-up outlets make sense for your countertop. This step may not feel exciting, but it protects your home and keeps your kitchen practical.
Step 3 – Match Outlet Covers to the Backsplash
One of the easiest ways to reduce visual clutter is to change the outlet covers. A white faceplate can stand out sharply against dark stone, patterned tile, or a warm wood backsplash. A closer color match helps the outlet blend into the surface.
Bring a tile backsplash sample or clear photo to the hardware store. Look for outlet covers in metal, matte black, almond, gray, bronze, or clear styles. You can also use a paintable outlet cover if it suits the surface and local rules. Keep the finish simple. A cover that matches the tone of the backsplash often looks better than one that tries to become a decorative feature.
Step 4 – Use Low-Profile Faceplates
Standard faceplates can look bulky, especially on sleek tile or slab backsplashes. A low-profile faceplate sits flatter against the wall and creates a cleaner line. This small swap can make backsplash outlets feel less obvious without touching the wiring.
Turn off power at the breaker before removing any cover. Confirm the outlet is not live, then remove the old plate with a screwdriver. Install the new plate so it sits straight and snug, but do not overtighten it. Too much pressure can crack plastic covers or stress tile edges. Step back when you finish and check the view in natural light.

Step 5 – Hide Cords Near Countertop Appliances
Even if the outlet looks good, cords can ruin the clean effect. Coffee makers, mixers, air fryers, and chargers often create loops of black or white cable across the counter. Cord management can make the whole area feel calmer.
Place countertop appliances close to the outlet they use most. Coil extra cord behind the appliance, then use cord clips or a small channel to guide it along the wall or under a cabinet edge. Avoid running cords near burners, sinks, or sharp corners. The goal is a neat path that stays dry, cool, and easy to unplug when needed.
Step 6 – Consider Under-Cabinet Outlets
Under-cabinet outlets are a strong option when you want a smooth backsplash with fewer visible receptacles. They can sit along the underside of upper cabinets, often tucked behind cabinet trim or a light rail. From normal standing height, they almost disappear.
This is not a simple cover swap, so plan it with an electrician. The wiring, outlet spacing, and GFCI protection must meet code compliance rules. A smart approach to how to hide kitchen outlets is to move visual clutter away from the backsplash while keeping power within reach. Under-cabinet strips work especially well for coffee stations, prep zones, and long runs of countertop.
Step 7 – Explore Pop-Up Outlets for Islands
Kitchen islands can be tricky because cords stretch across open surfaces and wall outlets may sit too far away. Pop-up outlets solve this by staying hidden in the countertop until you need them. Press or lift the unit, and the receptacles rise into view.
These outlets work best during a remodel or countertop replacement because installation requires careful cutting, wiring, and product approval. Choose models designed for kitchens, not desks or dry office spaces. Think about spills, cleaning, and appliance use before choosing a location. A pop-up outlet should feel handy, not like an obstacle in your main prep area.
Step 8 – Create a Final Visual Check
After you make changes, step back and study the full kitchen. Look at the backsplash, cabinet trim, island, and appliance zones together. The outlet solution should support the room instead of drawing new attention.
Check the kitchen at different times of day. Morning sun may highlight a glossy cover, while evening lighting may reveal shadows under cabinets. Plug in your everyday appliances and make sure each receptacle remains easy to reach. If something feels awkward, adjust the cover color, cord path, or appliance placement. A clean design still needs to work during a busy breakfast or dinner prep.

Common Mistakes When Hiding Kitchen Outlets
One common mistake is trying to cover an outlet completely. You should never tile over a receptacle, hide it behind fixed panels, or block it with permanent cabinet trim. Outlets must stay accessible for safety, repairs, and code compliance.
Another mistake is choosing looks over function. A beautiful outlet location is not helpful if your coffee maker cord barely reaches it or your blender has to sit near the sink. Plan around the countertop appliances you use most often.
Many beginners also forget about GFCI protection. Kitchen outlets near water and prep areas often need this safety feature. If you replace a faceplate or move an outlet, make sure the protection still works.
Poor color matching can also make outlets more noticeable. A cover that is almost the right color may stand out more than a deliberate contrast. Test samples against your tile backsplash before buying several.
Finally, some homeowners install pop-up outlets or under-cabinet outlets without checking local rules. These upgrades can look excellent, but they need proper wiring, approved products, and safe placement.
Expert Tips
Start with the least invasive fix first. A better faceplate, low-profile cover, or cleaner cord path can make a major difference without electrical work. If those changes do not solve the problem, then explore under-cabinet outlets, appliance garage layouts, or new receptacle placement during a remodel.
Use finishes that already exist in your kitchen. Outlet covers can echo cabinet hardware, faucet finishes, or appliance trim. This creates a more connected look.
For a high-end backsplash, ask the tile installer and electrician to coordinate early. Centering outlets poorly on patterned tile can break the design. A little planning before installation can save you from expensive changes later.
Frequently Asked Questions
Can I legally hide kitchen outlets?
You can make kitchen outlets less visible, but you usually cannot make them inaccessible. Electrical codes require proper spacing, safe placement, and access for use and repair. Cosmetic changes, such as matching outlet covers, are usually simple. Moving receptacles, adding under-cabinet outlets, or installing pop-up outlets should involve a licensed electrician who understands local code requirements.
What is the easiest way to make outlets blend in?
The easiest method is replacing bright or mismatched faceplates with covers that match your backsplash, wall color, or nearby finishes. Low-profile covers can also help because they sit flatter and look less bulky. If your backsplash has strong color or texture, test several options before choosing. Small color differences can look more obvious once the cover is installed.
Are under-cabinet outlets a good idea?
Under-cabinet outlets can be a great idea when you want a clean backsplash and easy access to power. They work well under upper cabinets, especially near coffee stations or prep areas. However, they must meet electrical code and be installed correctly. They are best planned during a kitchen remodel or when you already have an electrician working in the space.
Can I paint outlet covers in the kitchen?
You can use a paintable outlet cover, but avoid painting directly over receptacle slots, switches, or electrical parts. Paint can chip, look uneven, or create safety concerns if it gets into the wrong areas. For the cleanest result, choose covers made to be painted and remove them before applying paint. Let them dry fully before reinstalling.
Where should outlets go in a kitchen remodel?
Outlets should go where they meet code and support how you cook, clean, and use appliances. Plan for coffee makers, mixers, toasters, charging stations, and island work zones. Backsplash outlets, under-cabinet strips, and pop-up outlets can all work, depending on the layout. Review the plan with your electrician before cabinets, tile, or countertops are installed.
Conclusion
Hiding kitchen outlets is really about balance. You want the backsplash, cabinets, and countertops to look calm and intentional, but you also need safe, easy access to power. Start with simple improvements, such as better outlet covers, low-profile faceplates, and cord management. Then consider larger options like under-cabinet outlets, pop-up outlets, or revised receptacle placement if you are planning a kitchen remodel.
If your goal is to learn how to hide kitchen outlets, remember that the best solution is not always the most complicated one. A small color change or cleaner cord route may solve the visual problem quickly. For anything involving wiring, electrical boxes, or new outlet locations, bring in a licensed electrician.
With careful planning, you can keep your kitchen functional while giving it a smoother, cleaner, and more finished look.

About
Nick Hall has spent the last seven years working at the intersection of kitchen design and home repair — first as a design assistant at a residential renovation studio, then as a freelance writer covering everything from cabinet layouts to leaky faucet fixes.
Her approach is simple: kitchens should look good and function well. That means she’s just as comfortable talking about color palettes and counter materials as she is walking readers through how to fix a wobbly cabinet hinge or troubleshoot a garbage disposal.
Nick has worked directly with homeowners on small-space kitchen makeovers, budget-conscious renovations, and the kind of everyday repairs that don’t need a contractor — just the right instructions. She writes from experience, not theory, and tests most of the fixes and tips she shares before publishing them.
When she’s not writing, Nick is usually hunting for mid-century kitchen finds at estate sales or helping friends plan their own renovations. She lives in Columbus, Ohio.