
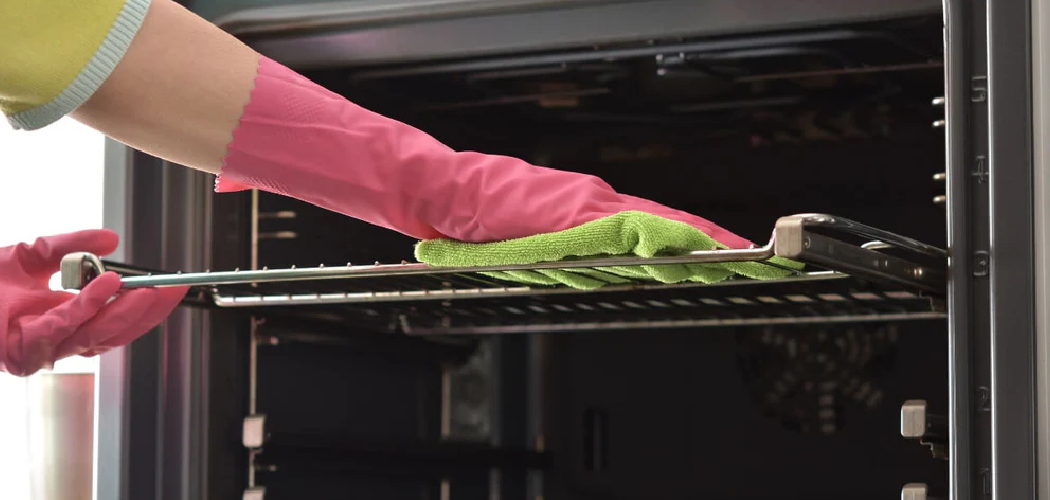
Your oven has a self-cleaning button, so why bother doing it by hand? Plenty of good reasons, actually. That high-heat cycle bakes your oven to extreme temperatures, which can stress the heating element, trip your electrical system, and fill your kitchen with smoke odor. Many home cooks prefer a gentler, safer approach that protects the appliance and skips the burning smell.
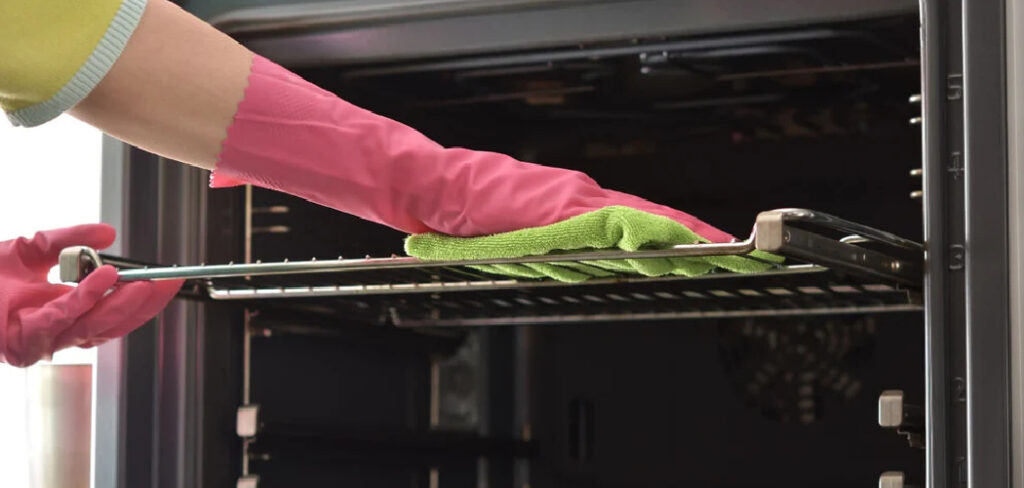
The good news is that learning how to manually clean a self cleaning oven takes no special skills, no harsh chemicals, and no expensive service call. You only need a few household items and a little patience. This guide walks you through every step, from loosening stubborn grease to wiping the glass crystal clear, so you can do the whole job yourself with confidence.
Why Manual Oven Cleaning Matters
Cleaning your oven by hand puts you in full control. The self-cleaning cycle reaches blistering temperatures that can crack the oven door glass, damage the heating element, or release strong fumes into your kitchen. Hand cleaning avoids all that drama.
This skill matters even more if you cook outdoors or camp often. Portable ovens, RV stoves, and camp setups rarely have a self-cleaning feature, so knowing how to scrub burnt-on food by hand keeps your gear ready anywhere. Outdoor beginners learn fast that manual cleaning is a must-have habit.
For everyday home cooks and DIY lovers, the payoff is simple. You save money, protect your appliance, and breathe easier without that acrid smoke smell. A clean oven also cooks more evenly, so your meals turn out better too.
Tools and Materials You’ll Need
Gather everything before you start so you don’t go hunting mid-job with greasy hands. Most of these items already live in your pantry or cleaning cupboard, which keeps this project cheap and easy.
- Baking soda for making a thick cleaning paste
- White vinegar in a spray bottle
- Warm water
- A non-abrasive scrub pad or sponge
- A few microfiber cloths
- Rubber gloves to protect your hands
- A plastic scraper or old spatula for stuck-on spills
- A small bowl for mixing
- A degreaser for heavy grease splatter
- Optional: a handheld vacuum to clear loose crumbs and ash before you begin
Lay out a towel or some newspaper beneath the oven door to catch drips and residue. Keeping your supplies within arm’s reach makes the whole process smoother and far less messy.
Step-by-Step Guide on How To Manually Clean A Self Cleaning Oven
Step 1 – Cool the oven and remove the racks
Make sure your oven is completely cool before you touch anything inside. A warm surface can burn your hands, and cleaning products don’t work well on hot enamel anyway.
Once it’s cool, slide out the oven racks and set them aside. You’ll clean these separately, since they need a good soak to release baked-on grease. Lay them in a bathtub or a large sink filled with warm, soapy water.
Look inside and notice where the worst grime sits. You’ll usually spot dark burnt residue near the back and greasy splatter along the walls. Knowing where the trouble spots are helps you focus your effort. Use a handheld vacuum to clear any loose crumbs or ash first.
Step 2 – Mix your baking soda paste
Grab your small bowl and scoop in about half a cup of baking soda. Add water a spoonful at a time, stirring as you go, until you get a thick, spreadable paste. It should feel like soft frosting, not runny soup.
This simple baking soda paste is the heart of how to manually clean a self cleaning oven without harsh fumes. It clings to grease, lifts burnt-on food, and breaks down stubborn drip residue overnight.
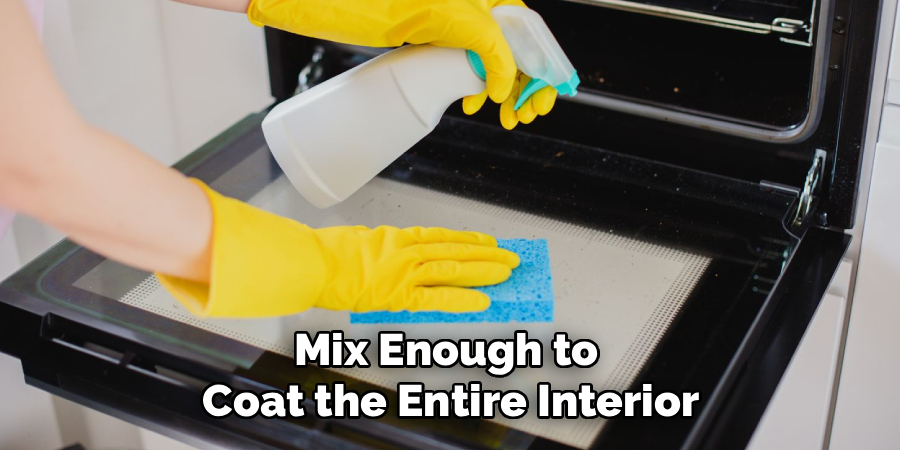
Mix enough to coat the entire interior. If your oven is especially dirty, double the batch so you don’t run short halfway through. Set the bowl beside you, slip on your rubber gloves, and get ready to spread it where it counts.
Step 3 – Spread the paste across the interior
Now scoop up the paste with your gloved fingers and spread it across the enamel interior. Coat the back wall, the sides, the floor, and the inside of the oven door.
Be generous on the dark, crusty spots where burnt residue builds up. Those areas need the most contact time to soften. Avoid the heating element and any open vents, since paste doesn’t belong on those parts.
You’ll feel the gritty texture grab onto the greasy film as you work. The paste may turn brown almost immediately where the grime is heaviest, which is a good sign. It means the baking soda is already pulling up the gunk. Cover every messy surface evenly for the best results.
Step 4 – Let the paste sit overnight
Patience pays off here. Close the oven door and walk away, leaving the paste to work its magic for at least twelve hours, ideally overnight.
During this time, the baking soda slowly breaks down hardened grease and loosens stuck-on spills. The longer it sits, the easier your scrubbing will be later. Rushing this step means fighting the grime by hand, so give it time.
While you wait, tackle those soaking oven racks. Scrub them with your non-abrasive pad, rinse them clean, and lean them somewhere to dry. Getting the racks done now saves you a step tomorrow. By morning, that crusty buildup will feel soft and ready to wipe away with minimal effort.
Step 5 – Wipe away the loosened grime
The next morning, grab a damp microfiber cloth and start wiping out the dried paste. You’ll see it lift away in dark, grimy streaks, taking the loosened grease and burnt-on food right along with it.
Work from the top down so falling residue lands on surfaces you haven’t cleaned yet. Rinse your cloth often in warm water to keep it from just smearing the mess around.
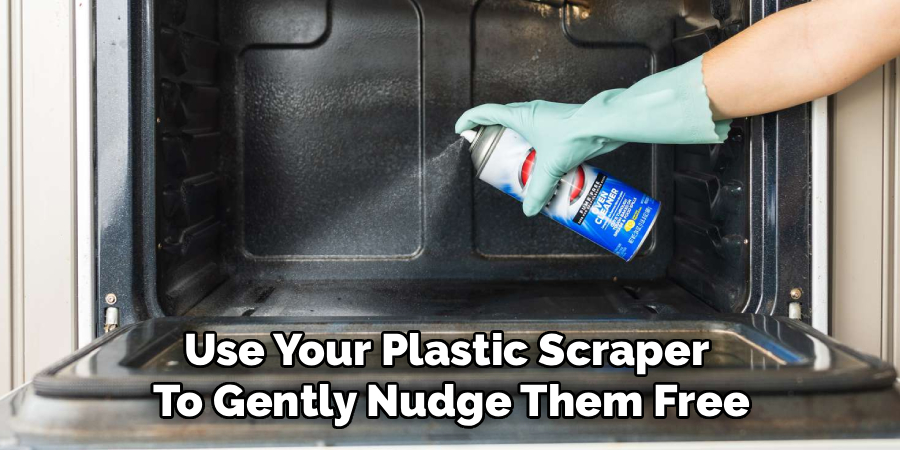
For stubborn patches that cling on, use your plastic scraper to gently nudge them free. Never gouge the enamel with metal. As you go, the interior should start to reveal its original color beneath all that grime. Keep wiping until most of the paste and dirt are gone.
Step 6 – Spray with vinegar to finish the job
Some baking soda residue will stubbornly cling to the surface, leaving a chalky film. This is where white vinegar steps in. Fill a spray bottle and mist the interior wherever you spot leftover paste.
You’ll hear a satisfying fizz as the vinegar reacts with the baking soda. That bubbling action lifts the last bits of residue and neutralizes any chalky streaks. The smell is sharp but fades fast, far gentler than smoke odor from a heat cycle.
Wipe everything down again with a fresh, damp microfiber cloth. The enamel interior should now feel smooth and look noticeably brighter. Repeat the spray-and-wipe on any spots that still feel grainy until the whole surface comes clean.
Step 7 – Clean the oven door glass
The door glass often hides a foggy layer of grease splatter that dulls your view. Knowing how to manually clean a self cleaning oven means giving this glass the attention it deserves.
Spread a little baking soda paste directly on the glass and let it sit for fifteen minutes. Then scrub gently with your non-abrasive pad in small circles. You’ll watch the haze break up and the glass start to clear.
Spray with vinegar, wait for the fizz, and wipe with a clean microfiber cloth. For a streak-free shine, buff the glass dry with a second cloth. Suddenly you can actually see your food baking inside, which makes the whole effort feel worthwhile.
Step 8 – Reassemble and air out the oven
With the interior sparkling, it’s time to put everything back together. Make sure your oven racks are completely dry, then slide them back into their slots. They should glide in smoothly.
Leave the oven door open for an hour or so to encourage air circulation. Good ventilation helps any lingering vinegar smell disappear and dries out remaining moisture. A quick burst of fresh air leaves your oven smelling neutral and clean.
To finish, run the oven empty at a low temperature for about ten minutes. This evaporates any leftover dampness and confirms everything works. Once it cools, give the front and handle a final wipe. Your oven is now fresh, safe, and ready for your next meal.
Critical Mistakes When Manually Cleaning A Self Cleaning Oven
Even simple jobs go sideways when you rush. The most common mistake is using harsh, abrasive scrubbers or steel wool. These scratch the enamel interior permanently, leaving rough spots that trap grease even faster next time. Always reach for a non-abrasive pad and a plastic scraper instead.
Another big error is getting cleaning paste or liquid on the heating element. Soaking that component can cause it to short out or smoke the next time you bake. Keep all paste and sprays well away from electrical parts and exposed vents.
Many beginners also rush the soaking time. Wiping off the baking soda paste after only twenty minutes leaves you scrubbing hardened grease by hand for ages. Give it the full overnight rest so the grime softens completely.
Skipping gloves is another regret waiting to happen. Even gentle ingredients dry out your skin during long cleaning sessions, so protect your hands. Finally, don’t forget ventilation. Cleaning in a stuffy kitchen traps fumes and moisture, so crack a window and let fresh air circulate while you work and afterward.
Expert Tips
Want professional-level results? Wipe up spills the moment your oven cools after cooking. Fresh drip residue lifts in seconds, while baked-on messes take real effort.
Line the bottom of your oven with a reusable mat or a sheet of foil placed below the heating element, never on it. This catches grease splatter and makes future cleanups a breeze.
For ongoing odor removal, place a small bowl of vinegar inside overnight to absorb stubborn smells. Run a quick monthly wipe-down so grime never gets the chance to harden.
Keep a dedicated microfiber cloth just for oven work so you never spread food grease elsewhere. And always test your degreaser on a small hidden patch first, especially on older enamel, to make sure it won’t dull the finish.
Frequently Asked Questions
Is it safe to skip the self-cleaning cycle entirely?
Yes, it’s perfectly safe to skip it. The self-cleaning cycle reaches very high heat that can stress the heating element, crack the door glass, or release strong fumes. Manual cleaning with baking soda and vinegar avoids those risks completely. Many appliance technicians actually recommend gentle hand cleaning to extend your oven’s lifespan and prevent costly repairs down the road.
How often should I clean my oven by hand?
It depends on how often you cook. A good rule of thumb:
- Light users: deep clean every three to four months
- Regular cooks: every one to two months
- Heavy bakers or messy roasters: monthly
Between deep cleans, wipe up fresh spills right away. Catching grease early stops it from hardening into burnt-on food that takes far more scrubbing to remove later.
Can I use commercial oven cleaner instead of baking soda?
You can, but read the label carefully. Many commercial degreasers contain harsh chemicals that leave strong fumes and need thorough rinsing. If you go this route, wear gloves, open windows for ventilation, and keep the product off the heating element. For most home cooks, a baking soda paste and white vinegar work just as well without the irritating smell or extra cost.
What’s the best way to clean the oven racks?
Soaking is your best friend. Lay the oven racks in a bathtub or large sink filled with hot, soapy water and let them sit for a few hours or overnight. The soak loosens baked-on grease so it wipes away easily. Then scrub with a non-abrasive pad, rinse thoroughly, and dry completely before sliding them back into place.
How do I remove lingering smoke odor after cooking?
Smoke odor clings to the enamel and lingers in the air. To clear it, wipe the interior with a vinegar-dampened cloth, then leave a small bowl of vinegar inside overnight to absorb the smell. Crack a window for air circulation while you clean. Running the empty oven at a low heat for a few minutes also helps burn off and ventilate stubborn odors.
Conclusion
Cleaning your oven by hand is one of the most satisfying kitchen projects you can take on, and now you know exactly how to manually clean a self cleaning oven from start to finish. With nothing more than baking soda paste, white vinegar, and a little patience, you can lift away grease, burnt-on food, and stubborn drip residue without harsh fumes or risky high-heat cycles.
Remember the key steps: cool the oven, soak the racks, spread your paste, and let it sit overnight before wiping it all away. Finish with a vinegar spray, clear the door glass, and let fresh air circulate before you cook again. Avoid abrasive scrubbers, keep liquids off the heating element, and never rush the soaking time.
The real reward is a cleaner, safer oven that cooks better and lasts longer, all without a service call. You’ve got the skills, the tools, and the know-how. So grab your gloves, mix that paste, and give your oven the fresh start it deserves. You can absolutely do this yourself.

About
Nick Hall has spent the last seven years working at the intersection of kitchen design and home repair — first as a design assistant at a residential renovation studio, then as a freelance writer covering everything from cabinet layouts to leaky faucet fixes.
Her approach is simple: kitchens should look good and function well. That means she’s just as comfortable talking about color palettes and counter materials as she is walking readers through how to fix a wobbly cabinet hinge or troubleshoot a garbage disposal.
Nick has worked directly with homeowners on small-space kitchen makeovers, budget-conscious renovations, and the kind of everyday repairs that don’t need a contractor — just the right instructions. She writes from experience, not theory, and tests most of the fixes and tips she shares before publishing them.
When she’s not writing, Nick is usually hunting for mid-century kitchen finds at estate sales or helping friends plan their own renovations. She lives in Columbus, Ohio.