
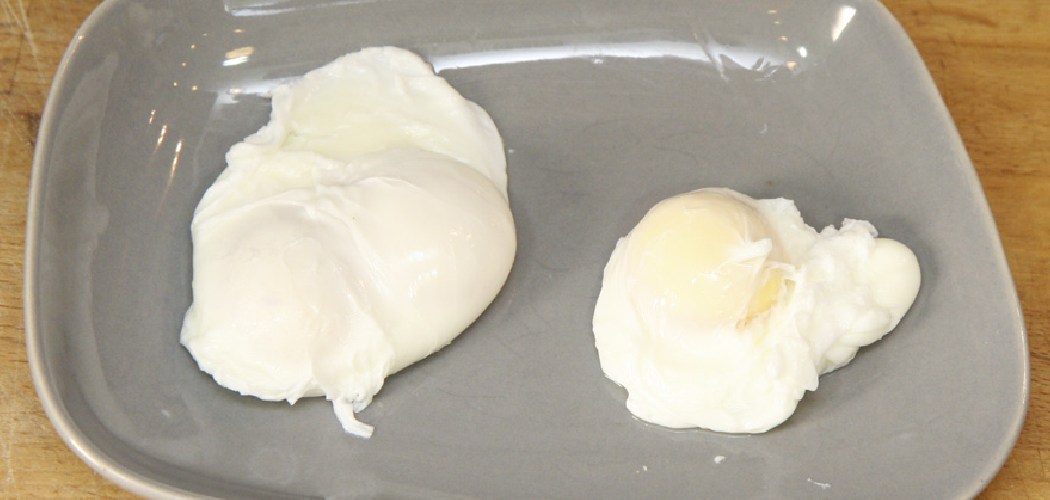
Poached eggs feel fancy, don’t they? Those soft, glossy whites wrapped around a golden, runny center seem like something only a restaurant chef can pull off. The truth is much simpler. With the right pan, you can make picture-perfect poached eggs at home without the swirling water, the vinegar, or the stress.
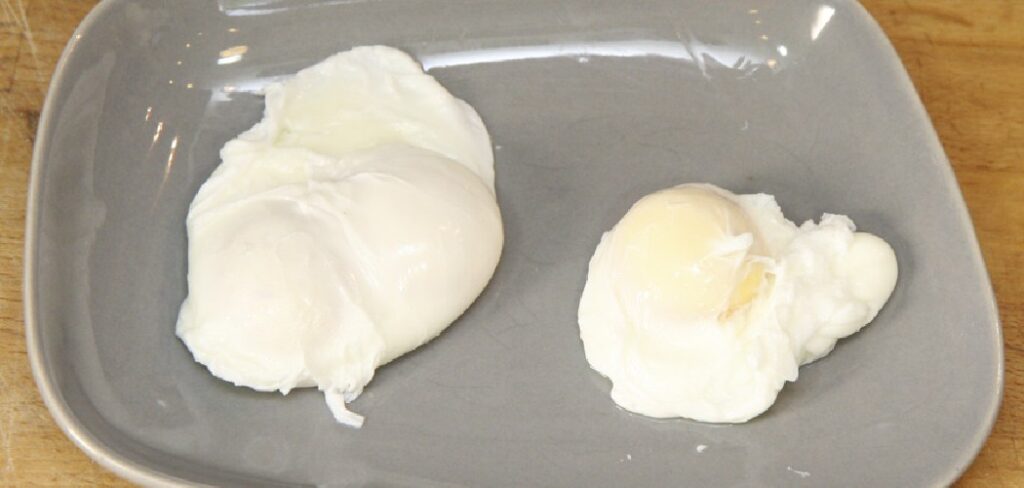
Learning how to use poach egg pan tricks turns a fussy technique into a quick, no-mess morning routine. You don’t need fancy skills or years of practice, just a little patience and a few easy habits.
This guide walks you through choosing your pan, prepping it correctly, cooking your eggs gently, and cleaning up fast, so you can enjoy reliable poached eggs every single time.
Why Learning to Use a Poach Egg Pan Matters
This skill shines far beyond your home stove. A simple egg poacher pan travels well and works almost anywhere, which makes it a quiet hero for campers and outdoor beginners.
Picture a chilly morning at a cabin, or a quick breakfast on a camp stove before a long hike. Portable burners and RV kitchens rarely give you the space or steady heat for fussy stovetop cooking, so a poacher pan keeps things simple. You drop in your eggs, cover the lid, and let gentle steam do the work.
In unfamiliar spaces, that reliability matters. You won’t waste eggs or fight with boiling water far from home. Whether you’re cooking in a tiny RV galley or over a portable burner, this little pan helps you serve a warm, satisfying breakfast with hardly any fuss.
Tools and Materials You’ll Need
You won’t need much to get started, and most of these items probably already sit in your kitchen. Gather everything first so your morning stays calm and smooth.
- A poach egg pan – a base pan plus a tray of poaching cups, ideally with a nonstick insert
- A matching lid – essential for trapping steam and cooking the eggs evenly
- Fresh eggs – the fresher, the better for clean, set whites
- Butter or oil – to grease the cups and prevent sticking
- A small spoon or silicone spatula – to loosen and lift the cooked eggs
- Measuring cup – to pour the right amount of water into the base
- A folding camp version (optional) – a handy collapsible poacher for trips and tight spaces
Keep these tools close before you turn on the heat. When everything sits within reach, you can focus on timing instead of scrambling mid-cook.
Step-by-Step Guide on How to Use Poach Egg Pan
Step 1 – Choose the Right Pan
Start by picking a pan that fits your needs. Most egg poacher pans come with a base for water and a removable tray holding individual poaching cups. Look for a sturdy nonstick insert, since it makes releasing the eggs far easier and keeps cleanup quick.
Check the number of cups too. A two-cup model suits solo breakfasts, while a four-cup version feeds a family in one go. Hold the lid and confirm it fits snugly, because a tight seal traps the steam you need.
Give the handle a quick check for a comfortable, heat-safe grip. A well-built pan should feel solid, not flimsy. Choosing wisely now means smoother mornings and far fewer eggs stuck to the cups.
Step 2 – Check the Inserts and Water Level
Before any heat, set up your pan properly. Lift out the cup tray and pour water into the base, just enough to create steam without touching the cups above. Usually a half inch to an inch works well, but check your pan’s guide.
Too much water bubbles up into the cups and waters down your eggs. Too little dries out and risks scorching the base. Aim for that gentle middle ground.
Set the tray back in and make sure each poaching cup sits level and secure. Wobbly cups spill yolks and cook unevenly. Run your finger around each insert to confirm it’s clean and dry inside. This quick check sets you up for steady, even steam cooking from the very first egg.
Read More : How to Maintain Kitchen Knives
Step 3 – Preheat the Pan Gently
Now place the base on your stovetop and bring the water to a soft simmer. You want gentle heat here, not a rolling boil. Medium-low usually does the trick.
Watch for small bubbles rising lazily to the surface and a faint wisp of steam. That soft simmer means the pan is ready without being too aggressive. Harsh, bubbling water creates rubbery, overcooked whites, so resist the urge to crank the dial.
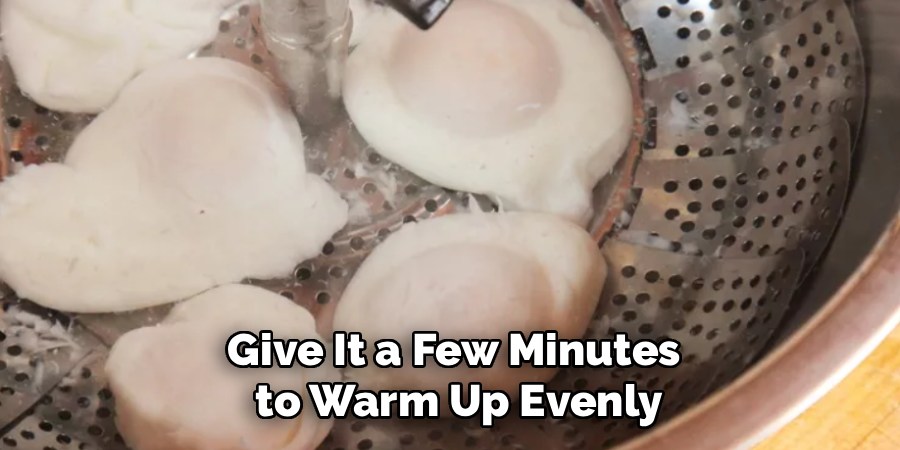
Give it a few minutes to warm up evenly. You’ll hear a quiet, steady hiss as the steam builds beneath the lid. Keeping the heat low and patient now protects your eggs from cooking too fast. Gentle, simmering water is the secret behind tender, perfectly poached results.
Step 4 – Grease the Poaching Cups
While the water warms, grease each cup well. This single habit makes the biggest difference between a clean release and a frustrating, stuck mess.
Rub a small pat of butter or a thin layer of oil around the inside of every cup. Cover the bottom and the sides, since the whites creep up as they cook. A quick swipe with a paper towel or your fingertip spreads it evenly.
Don’t skimp here, even with a nonstick insert. A light, even coat smells faintly rich as it warms and helps the finished egg slide right out. Greasing thoroughly takes ten seconds and saves you from scraping later. This tiny step rewards you with smooth, intact eggs and an easy cleanup afterward.
Step 5 – Crack the Eggs Into the Cups
Here’s where learning how to use poach egg pan techniques really pays off. Crack each egg first into a small bowl, then gently slide it into a greased cup. This little move keeps stray shell pieces out and gives you a tidy, whole egg.
Pour slowly so the yolk stays centered and the white settles evenly. If you want firmer results, you can lightly pierce the yolk membrane, though most cooks leave it whole for that lovely runny yolk.
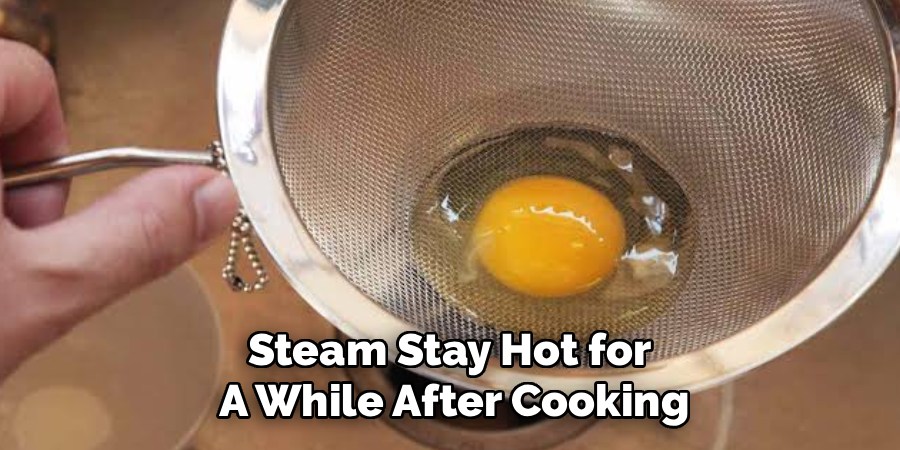
Work quickly so the pan stays hot. Notice how the egg sits snug in its cup, glossy and ready. Cracking carefully now prevents broken yolks and uneven cooking, setting you up for that picture-perfect poached look.
Step 6 – Cover and Steam the Eggs
Now lower the cup tray into the pan and place the lid on top right away. That lid is your best friend, trapping the steam that cooks the eggs gently from all sides.
Let them steam for about four to six minutes, depending on how firm you like them. Resist lifting the lid too often, since each peek lets precious steam escape and slows everything down.
Listen for the soft, steady simmer underneath and watch the whites turn from clear to cloudy white through the lid if it’s glass. The kitchen fills with a warm, comforting breakfast smell. This covered steam cooking is what gives you tender whites and a soft center without any fuss or watery mess.
Step 7 – Check Doneness and Remove Safely
Around the four-minute mark, lift the lid and check your eggs. The whites should look fully set and no longer clear, while the yolk stays soft if you like it runny. Give the cup a gentle nudge to see how firm the center feels.
If you prefer a firmer yolk, cover and steam another minute or two. For runny centers, pull them sooner.
Once they’re ready, turn off the heat and lift the cup tray out carefully, since the handle and steam run hot. Use oven mitts. Run a small spoon or silicone spatula around each egg, then tip or lift it onto your plate. The egg should slide free easily, glossy and whole.
Step 8 – Clean the Pan Properly
Cleanup is refreshingly simple, which is half the joy of this method. Let the pan cool a bit first, since the metal and steam stay hot for a while after cooking.
Pour out any leftover water and wipe the cups with warm, soapy water. The grease you added earlier means most residue lifts right off with a soft sponge. Skip harsh scrubbers on the nonstick insert, as they scratch the coating and shorten its life.
Dry every piece fully before storing, especially the base, to prevent rust or water spots. Stack the cups neatly inside so nothing gets bent. This easy cleanup takes just a couple of minutes and keeps your pan ready and reliable for tomorrow’s breakfast prep.
Critical Mistakes When Using a Poach Egg Pan
A few simple slip-ups can turn an easy breakfast into a frustrating one, so let’s clear them up before you start.
The most common mistake is using too much water. When water rises high enough to touch the cups, it seeps into your eggs and leaves them watery and pale instead of tender. Keep the level low, just enough to create steam beneath the tray.
Cranking the heat too high causes trouble too. A hard, rolling boil cooks the whites fast and tough, giving you rubbery eggs with overdone edges. Stick to gentle heat and a soft simmer for tender results every time.
Skipping the grease is another regret waiting to happen. Even with a nonstick insert, an ungreased cup grips the egg and tears it apart when you try to lift it out. A quick swipe of butter or oil prevents that mess.
Finally, many beginners lift the lid constantly to peek. Each time, steam escapes and the cooking slows, leaving you with uneven eggs. Trust the timer, keep the lid on, and let the steam do its quiet work.
Expert Tips
Want consistently flawless poached eggs? A handful of small habits make all the difference.
First, use the freshest eggs you can find. Fresh whites hold together tightly and set into a clean, compact shape, while older eggs spread thin and watery. This single choice improves your results more than anything else.
Next, bring your eggs to room temperature before cooking. Cold eggs straight from the fridge take longer and cook unevenly, so let them sit out for ten minutes first.
Try timing your toast and coffee to finish right as the eggs do, since poached eggs taste best fresh and warm. And if you cook for a crowd often, keep a small note of your perfect steam time taped near the stove. Once you nail your timing, repeating it becomes second nature.
Frequently Asked Questions
How long should I steam the eggs?
Most poached eggs need four to six minutes, depending on your preferred firmness. For a soft, runny yolk, pull them around four minutes. For a fully set center, steam closer to six. Cooking time also shifts with egg size and your stove’s heat. Check at the four-minute mark, then add a minute or two as needed until the whites look fully set and no longer clear.
Do I really need to grease the cups?
Yes, every single time. Greasing prevents the eggs from sticking and tearing when you lift them out, even with a nonstick coating. A light, even layer is all you need:
- Use a small pat of butter for flavor
- Or a thin coat of neutral oil for an easy release
Cover the bottom and sides, since the whites climb up the cup as they cook. This ten-second step saves you real frustration.
Why are my eggs watery or rubbery?
Two usual culprits cause this. Watery eggs come from too much water in the base, which splashes or seeps into the cups and dilutes the whites. Keep the level low, below the cups. Rubbery eggs come from heat that’s too high, cooking the whites fast and tough. Lower your burner to a soft simmer with just gentle bubbling, and your eggs will turn out tender and clean.
Can I cook more than eggs in this pan?
You can, and many cooks love the versatility. The gentle steam works nicely for small portions of vegetables, reheating soft foods, or even warming a couple of biscuits in the base if your model allows. Just grease anything that might stick and watch your timing, since most foods cook faster than eggs. Always check your specific pan’s guide before trying new ingredients to keep things safe.
How do I store the pan after cleaning?
Dry every piece completely before putting it away, since trapped moisture leads to rust and water spots on the base. Stack the poaching cups neatly inside the pan so nothing bends or warps in your cabinet. Store the lid on top or beside it to protect the nonstick surface. A fully dry, neatly stacked pan stays in great shape and is ready the moment you want breakfast tomorrow.
Conclusion
Poached eggs no longer have to feel intimidating or messy. With one simple pan and a few easy habits, you can serve soft, tender whites and a glossy center any morning you like, no swirling water or guesswork required.
Remember the basics: choose a pan with a good nonstick insert, keep your water low, and stick to gentle heat. Grease those cups well, crack your eggs carefully, then cover the lid and let the steam do the work. A quick doneness check and a careful lift give you perfect results, and the easy cleanup means you’ll actually want to make these again.
This skill follows you everywhere, from your home stove to cabins, RVs, and camp burners where a warm breakfast feels like a real treat. Once you know how to use poach egg pan techniques with confidence, those café-style eggs become a regular part of your routine.
So grab your pan, warm up the water, and make yourself a beautiful poached egg today. Your breakfast just got a whole lot better.

About
Nick Hall has spent the last seven years working at the intersection of kitchen design and home repair — first as a design assistant at a residential renovation studio, then as a freelance writer covering everything from cabinet layouts to leaky faucet fixes.
Her approach is simple: kitchens should look good and function well. That means she’s just as comfortable talking about color palettes and counter materials as she is walking readers through how to fix a wobbly cabinet hinge or troubleshoot a garbage disposal.
Nick has worked directly with homeowners on small-space kitchen makeovers, budget-conscious renovations, and the kind of everyday repairs that don’t need a contractor — just the right instructions. She writes from experience, not theory, and tests most of the fixes and tips she shares before publishing them.
When she’s not writing, Nick is usually hunting for mid-century kitchen finds at estate sales or helping friends plan their own renovations. She lives in Columbus, Ohio.