
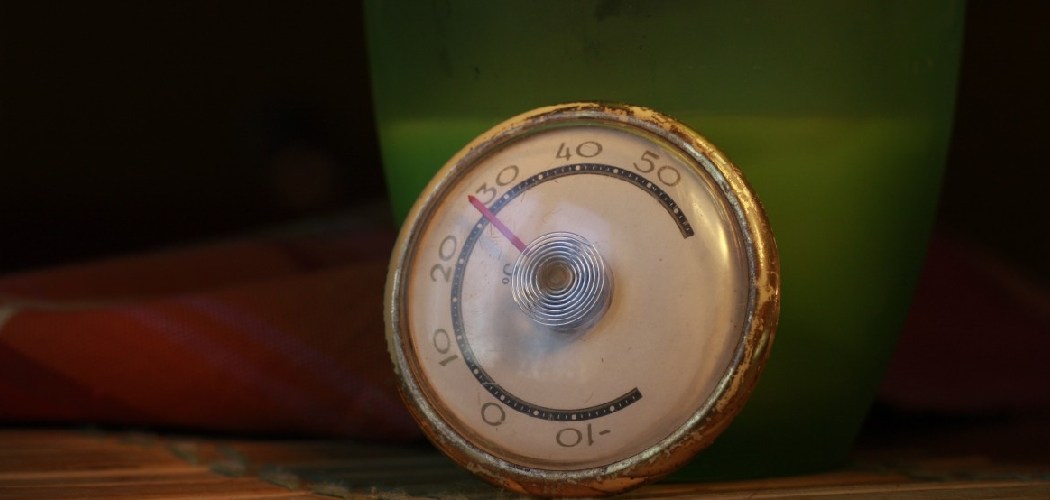
Have you ever baked a cake by the book, only to pull out something half-raw or strangely browned? The problem usually isn’t your recipe or your skills. It’s your oven lying to you. Most ovens run hotter or cooler than the dial claims, sometimes by 50 degrees or more. That’s where a small, affordable tool saves the day.
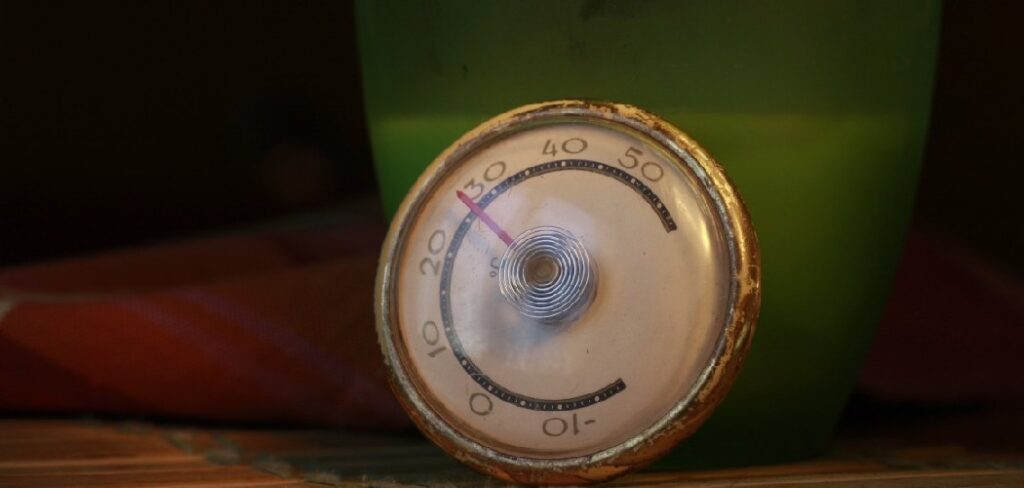
Learning how to use oven thermometer readings gives you real control over your cooking, so you stop guessing and start nailing results every time. You don’t need any special training, just a few simple habits and a little curiosity.
This guide walks you through choosing, placing, and reading your thermometer, then using what you learn to fix temperature problems and bake with confidence from the very first try.
Why Learning to Use an Oven Thermometer Matters
Knowing your true oven temperature is a quiet superpower, and it travels far beyond your home kitchen. When you understand how to read internal oven heat, you can cook well almost anywhere.
Picture yourself at a cabin with an unfamiliar wall oven, or fiddling with a portable oven on a long road trip. RV ovens are notorious for wild temperature fluctuations, and camp kitchens rarely come with reliable dials. A small thermometer becomes your trusted guide in every one of those spaces.
For campers and outdoor beginners, this skill means dependable backup cooking when nothing feels familiar. You’ll roast, bake, and reheat with the same accuracy you trust at home. Once you can read real heat instead of believing a worn-out knob, no strange oven can throw off your meals again.
Tools and Materials You’ll Need
You won’t need much to get started, and most of these items already live in your kitchen. Gather everything first so the process feels smooth and stress-free.
- An oven-safe thermometer – a quality dial thermometer or an oven-rated digital model
- Oven mitts or heat-resistant gloves – to protect your hands when checking readings
- A notepad and pen – to jot down temperature differences and track patterns
- A timer or your phone – to time preheating accurately
- A flat, heat-safe surface – to set hot trays or racks while you work
- A flashlight (optional) – to read the dial clearly through the oven door without opening it
Keep these tools within easy reach before you begin. When everything sits close by, you can focus on getting accurate readings instead of digging through drawers mid-test.
Step-by-Step Guide on How to Use Oven Thermometer
Step 1 – Choose the Right Thermometer
Start by picking a thermometer built for oven heat. A sturdy dial thermometer is a popular choice because it has no batteries to die mid-bake and reads at a glance. Oven-rated digital models work too, especially if you want quick, precise numbers.
Look for one with a clear face, a stable base, and a hook so you can stand it or hang it from a rack. Avoid flimsy or decorative models that warp under high heat.
Hold it in your hand and check that the markings feel easy to read from a distance. A good tool should survive temperatures up to 500 degrees or more without fading. Choosing wisely now means years of dependable oven temperature accuracy and far fewer baking surprises.
Step 2 – Place It Correctly Inside the Oven
Placement makes or breaks your readings. Set the thermometer on the center rack, right where most of your food cooks. This spot gives you the truest sense of the heat your dishes actually feel.
Keep it away from the oven walls and the back, since those areas trap extra heat and skew your numbers. Don’t let it touch metal sides or the heating element either.
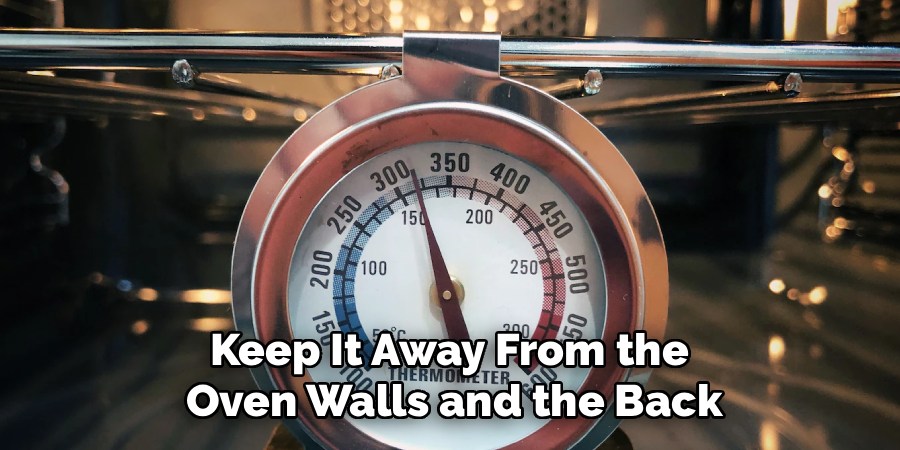
Stand it upright or hang it securely so it won’t tip when you slide the rack. Position the face toward the door so you can read it through the glass. Take a moment to confirm it sits steady and visible. Good placement on the baking rack means honest readings you can actually trust and act on.
Step 3 – Preheat Your Oven Fully
Now set your oven to a common testing temperature, like 350 degrees, and let it preheat completely. Don’t rush this. Many ovens beep “ready” long before they truly reach the set heat.
Give it a full 15 to 20 minutes to stabilize. You’ll often hear the heating element cycle on and off as the oven settles into its real temperature. That cycling is normal and a sign the oven is working to hold steady.
Resist the urge to open the door, since every peek lets warm air escape and resets the process. Instead, watch through the glass with your flashlight if needed. Proper preheating gives the cooking chamber time to even out, so your reading reflects the genuine internal oven heat, not a fleeting spike.
Step 4 – Read the Temperature Accurately
Once your oven has fully preheated, it’s time to read the dial. Knowing how to use oven thermometer readings the right way comes down to patience and a clear view.
Look through the door glass rather than opening it. Let your eyes settle on the needle or display and note exactly where it lands. If the face fogs slightly, give it a few seconds to clear.
Compare that reading to the temperature you set. A gap of 25 degrees or more tells you your dial isn’t telling the truth. Jot the numbers on your notepad so you remember them. This simple snapshot is the heart of the whole process, revealing how far your oven drifts from what you expected.
Step 5 – Test for Hot Spots
Most ovens don’t heat evenly, and finding those uneven zones helps you cook smarter. Move your thermometer to different areas, one at a time, to map the heat.
Place it in the front, then the back, then the left and right corners of the center rack. Preheat and read at each spot, giving the oven a few minutes to settle between moves. Write down each number as you go.
You’ll likely notice the back runs hotter and one side leans warmer than the other. These hot spots explain why cookies on one tray brown faster than the rest. Knowing where the heat pools lets you rotate pans mid-bake and place dishes in the gentlest zones for better baking consistency.
Step 6 – Adjust Your Temperature Settings
Now put your findings to work. Say you set 350 degrees but your thermometer reads 325. Your oven runs cool, so simply bump the dial up about 25 degrees to hit your true target.
If it reads 375 instead, your oven runs hot, so dial it down by the same amount. This quick mental math turns a misleading oven into a reliable one without any repair work.
For ongoing accuracy, some ovens let you handle temperature calibration through their settings menu, nudging the baseline so the dial matches reality. Check your manual to see if yours offers this. Whether you adjust by hand each time or recalibrate once, you’re now cooking by real heat instead of trusting a number that was never right.
Step 7 – Verify Your Baking Results
The real test happens with actual food. Bake something familiar, like a batch of cookies or a simple cake, using your adjusted temperature.
Watch how it behaves. Does the cake rise evenly? Do the cookie edges turn golden at the time the recipe promises? These clues confirm whether your adjustments hit the mark. Breathe in that even, toasty aroma and look for steady, uniform browning across the pan.
If results still seem off, recheck your placement and readings, then fine-tune again. Roasting a chicken or vegetables works as a great test too, since uneven heat shows up fast. Trusting your verified settings builds real confidence, and soon you’ll bake and roast knowing exactly what your oven will deliver every single time.
Step 8 – Clean and Maintain the Thermometer
A little care keeps your thermometer honest for years. Always let it cool completely before handling, since the glass and metal hold heat long after the oven shuts off.
Wipe the face and base with a damp cloth and mild soap, then dry it well. Never soak a dial model in water, as moisture can seep behind the glass and fog the reading. Skip harsh scrubbers that scratch the surface.
Store it in a dry spot where it won’t get crushed or bent. Check it now and then against a cup of boiling water, which should read close to 212 degrees at sea level. This quick test confirms it still works. Simple upkeep protects your accuracy and keeps every future bake on track.
Critical Mistakes When Using an Oven Thermometer
A few common slip-ups can undo all your careful testing, so it pays to know them before you start.
The biggest mistake is reading too soon. Many people check the dial the moment the oven beeps, but that beep often comes minutes before the oven truly stabilizes. Give it a full 15 to 20 minutes, or your numbers will mislead you and every adjustment afterward will be wrong.
Another frequent error is poor placement. Setting the thermometer against a wall, near the element, or in a back corner traps extra heat and inflates your reading. Keep it on the center rack, away from metal surfaces, for a fair measurement.
Opening the oven door repeatedly causes trouble too. Each peek releases a rush of warm air and forces the oven to reheat, resetting your test. Read through the glass instead and stay patient.
Finally, many beginners test only once and call it done. Ovens drift over time, and temperature fluctuations creep in as elements age. Recheck every few months, especially before holiday baking, so you always cook with current, trustworthy readings.
Expert Tips
Want your readings to be rock-solid? A handful of small habits make a real difference.
First, test your oven at the temperatures you actually use most, like 350 and 425 degrees. Ovens can run accurate at one heat and off at another, so checking both points reveals the full picture.
Next, always preheat with your racks in place, since metal absorbs heat and affects the chamber. Testing an empty oven with the racks set mirrors real cooking conditions far better.
Keep a small log taped inside a cabinet door, noting how your oven behaves at different settings. Over time, that cheat sheet becomes priceless. And when you bake delicate items, rotate the pan halfway through to beat those stubborn hot spots. These quiet habits turn guesswork into reliable, repeatable results.
Frequently Asked Questions
Where exactly should I place my thermometer?
Set it on the center rack, the same spot where most of your food cooks. This gives the most honest reading of real internal heat. Keep it away from the oven walls, the back, and the heating element, since those areas trap extra warmth and skew your numbers. Stand it upright or hang it from the rack so the face points toward the door for easy viewing.
How long should I preheat before reading?
Give your oven a full 15 to 20 minutes, even after it signals “ready.” That beep usually comes early, before the oven truly stabilizes. You’ll hear the heating element cycle on and off as the chamber settles into its real temperature. Reading too soon is the most common mistake, so be patient. A fully stabilized oven gives you an accurate, trustworthy number to work with.
What if my reading doesn’t match the dial?
A mismatch is completely normal and easy to handle. Here’s what to do:
- If it reads lower than set, your oven runs cool, so raise the dial to compensate
- If it reads higher, your oven runs hot, so lower the dial
- For a gap over 25 degrees, adjust every time you bake or recalibrate through the settings menu
Always retest after adjusting to confirm.
Can I leave it in the oven all the time?
Yes, and many cooks do exactly that. A quality oven-safe model is built to handle constant high heat, so leaving it inside means you always see the true temperature at a glance. Just position it where it won’t block airflow or touch food. Check it occasionally for fogging or damage, and remove it before any self-cleaning cycle, since that extreme heat can ruin it.
How often should I check my oven’s accuracy?
Test every few months, since ovens drift as their elements age and temperature fluctuations slowly creep in. Always recheck before big cooking events like holiday baking, when accuracy matters most. If you notice food browning unevenly or cooking slower than usual, that’s your cue to test again. A quick five-minute check now and then keeps your baking consistent and saves you from ruined dishes.
Conclusion
Your oven doesn’t have to be a mystery anymore. With one small tool and a few simple habits, you can finally cook by real heat instead of trusting a dial that was probably never accurate. The basics are easy to remember: choose a sturdy model, place it on the center rack, preheat fully, and read it through the glass.
From there, map your hot spots, adjust your settings, and verify everything with a familiar recipe. A little cleaning and the occasional retest keep your readings honest for years.
These skills follow you everywhere, from your everyday kitchen to cabins, camp stoves, and RV ovens that would otherwise leave you guessing. Once you know how to use oven thermometer readings with confidence, evenly baked cakes and perfectly roasted dinners become the norm, not happy accidents.
So grab your thermometer, run a quick test today, and see what your oven has been hiding. Your next bake will thank you, and your kitchen confidence will climb with every accurate, delicious result.

About
Nick Hall has spent the last seven years working at the intersection of kitchen design and home repair — first as a design assistant at a residential renovation studio, then as a freelance writer covering everything from cabinet layouts to leaky faucet fixes.
Her approach is simple: kitchens should look good and function well. That means she’s just as comfortable talking about color palettes and counter materials as she is walking readers through how to fix a wobbly cabinet hinge or troubleshoot a garbage disposal.
Nick has worked directly with homeowners on small-space kitchen makeovers, budget-conscious renovations, and the kind of everyday repairs that don’t need a contractor — just the right instructions. She writes from experience, not theory, and tests most of the fixes and tips she shares before publishing them.
When she’s not writing, Nick is usually hunting for mid-century kitchen finds at estate sales or helping friends plan their own renovations. She lives in Columbus, Ohio.