
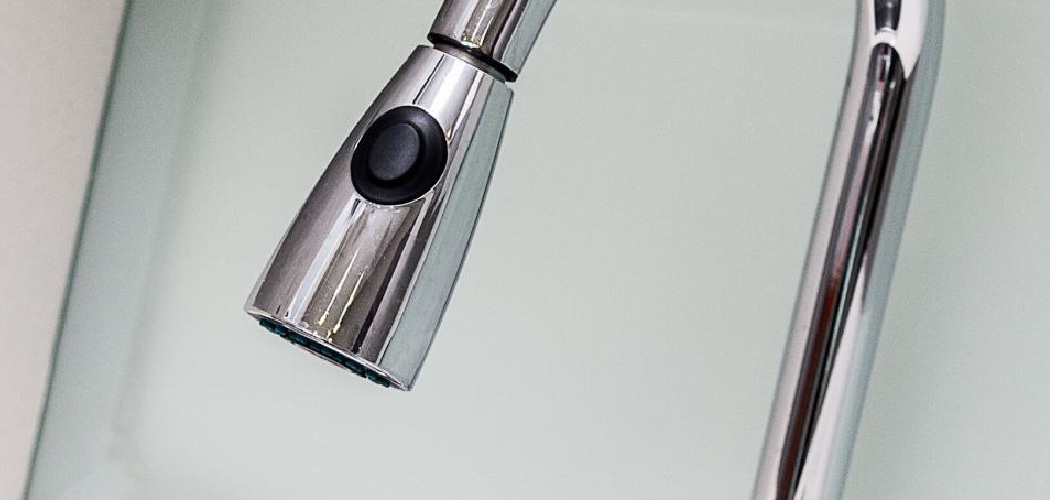
Has your faucet started spitting water in odd directions, or does the spray feel weaker than it used to? You’re not imagining it. Over time, mineral deposits and hard water leave a crusty film across the spray face, blocking those tiny nozzles and ruining the flow. The fix is easier and cheaper than you’d guess, and you won’t need a plumber or fancy gear.
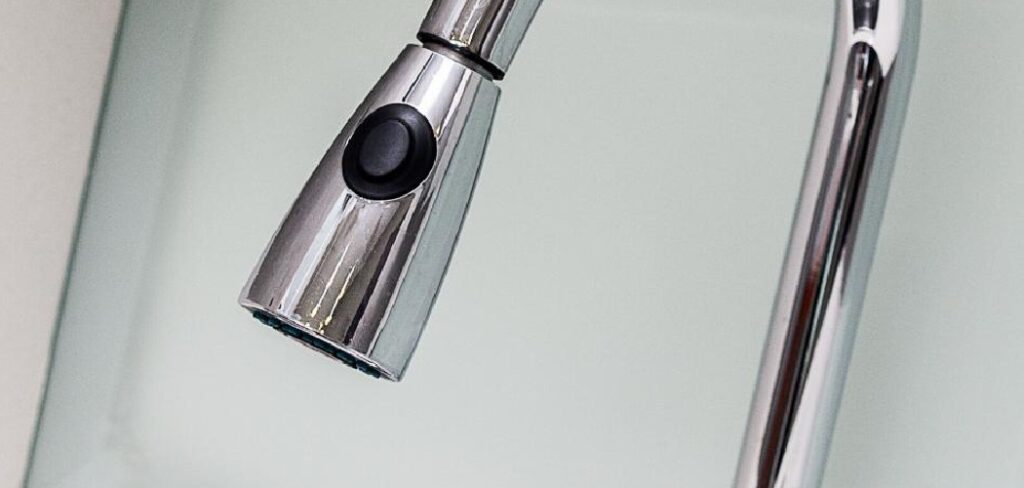
Learning how to clean kohler kitchen faucet spray head at home takes about an hour, mostly soaking time, and brings that crisp, even spray right back. You’ll save money, dodge frustrating dishwashing splatter, and feel pretty proud when you turn it back on. This guide walks you through every step, from spotting buildup to testing the spray pattern, so your sink works like new again.
Why Cleaning a Faucet Spray Head Matters
A clean spray head means dependable water flow, and that matters more than you might think. When limescale clogs the nozzles, your water pressure drops, dishes take longer to rinse, and the stream sprays everywhere but where you aim it.
This skill helps far beyond a standard kitchen sink. If you cook outdoors, rely on a portable sink, or wash up in an RV kitchen, hard water builds up fast and reliable flow becomes precious. A quick clean keeps your setup running smoothly wherever you are.
Regular cleaning also protects your faucet long term. Mineral deposits don’t just block water; they wear down silicone nozzles and the aerator over months. Spend a few minutes now, and you’ll avoid replacing parts later. Best of all, you build the confidence to handle small repairs yourself instead of calling for help.
Tools and Materials You’ll Need
Gather everything before you start so you’re not hunting for supplies with wet hands halfway through.
- White vinegar (a cup or two for soaking)
- A small bowl or sealable plastic bag for the vinegar soak
- A soft toothbrush for scrubbing the spray face
- A rubber glove to protect your hands
- Clean rags or paper towels
- A sewing needle or paperclip to poke clogged nozzles
- A wrench or pliers, only if your model needs the spray head detached
- A soft cloth to pad any tools and prevent scratches
- Optional: a citric acid powder packet, which works faster than vinegar on stubborn limescale
That citric acid is a small upgrade, but it cuts through heavy mineral deposits in half the time when your buildup is really baked on.
Step-by-Step Guide on How to Clean Kohler Kitchen Faucet Spray Head
Step 1 – Identify the Mineral Buildup
Start by getting a good look at the spray face. Turn the faucet on low and watch the stream. If water shoots sideways, dribbles weakly, or skips a few nozzles entirely, you’ve got a clogged sprayer.
Run your finger across the rubber spray face. You’ll likely feel a gritty, chalky texture, sometimes with white or greenish crust around the edges. That’s limescale and mineral deposits hardening over the silicone nozzles.
Knowing how to clean kohler kitchen faucet spray head begins with this honest inspection. Heavy buildup means a longer soak, while light residue may wipe away fast. Note where the worst clogs sit so you can target them later. A clear picture now saves you from repeating the whole job in a week.
Step 2 – Shut Off the Water If Needed
For most spray head cleaning, you can leave the water supply alone, since you’ll work on the head itself. But if you plan to fully detach the spray head from the faucet hose, shut off the water first.
Look under your kitchen sink for two small valves on the supply lines. Turn them clockwise until they stop. This prevents any surprise spray when you loosen connections.
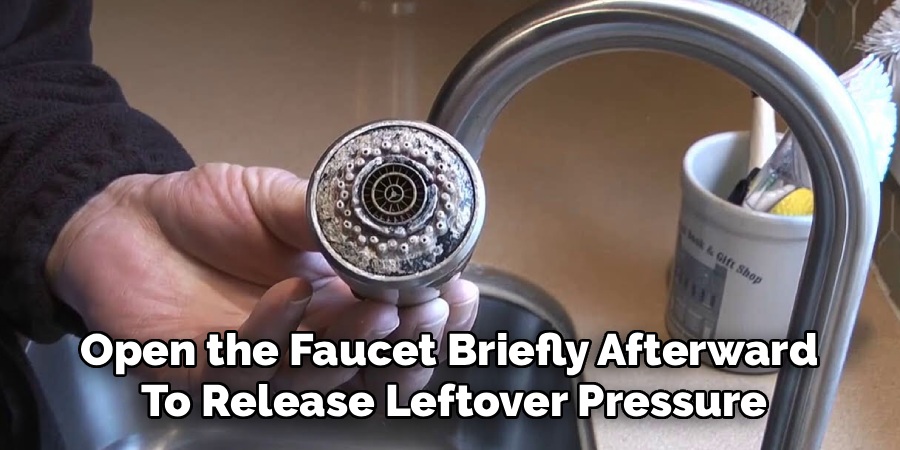
Open the faucet briefly afterward to release leftover pressure. You’ll hear a short hiss and see the last trickle drain out. That confirms the lines are clear.
If you’re only soaking the spray face in place, skip this step entirely. Either way, a dry, calm workspace makes the rest of the cleaning far easier and far less messy.
Step 3 – Detach the Spray Head or Handle It in Place
Now decide your approach. On most pull-down faucet models, you can unscrew the spray head from the hose by turning it counterclockwise by hand. It often loosens with a gentle twist and a soft click.
If it resists, wrap a soft cloth around the connection and use pliers for grip, but go easy to avoid scratching the finish. Set the retaining ring and any small washers in a safe dish so they don’t roll away.
Prefer not to detach it? No problem. You can clean the spray head while it stays attached by soaking just the face. This works well for lighter buildup. Either method gets the job done, so pick whichever feels more comfortable for your skill level and setup.
Step 4 – Soak in White Vinegar
Vinegar is your best friend here. Its mild acid dissolves limescale without harming the silicone nozzles or finish. Pour enough white vinegar into a bowl to cover the spray face completely.
If you detached the head, drop it right in. If it’s still attached, fill a sturdy plastic bag with vinegar, slip it over the spray head, and secure it with a rubber band so the spray face stays submerged.
Let it soak for 30 minutes to an hour. You’ll often see tiny bubbles forming as the acid works on the deposits. The sharp vinegar smell is normal and fades quickly once you rinse. For heavy buildup, swap in citric acid solution for a faster, stronger soak.
Step 5 – Clean the Aerator and Nozzles
After soaking, the real magic happens. Pull on your rubber glove and grab the soft toothbrush. Scrub the spray face in small circles, and you’ll watch loosened residue and softened scale flake right off.
Pay attention to the aerator, the small screen that mixes air into the water. Hard water clogs it fast, so brush it gently until the mesh looks clear again.
For stubborn nozzles, take your sewing needle or paperclip and poke each blocked hole carefully. Push straight through to clear the channel, but don’t widen or tear the silicone. You’ll feel each one pop free. Work across the whole spray face methodically so you don’t miss a single clogged opening hiding in the corners.
Step 6 – Brush Away Remaining Scale and Flush Debris
Some scale clings stubbornly even after soaking. Give the spray head a second pass with the toothbrush, focusing on the edges and seams where mineral deposits love to hide. A little extra vinegar on the bristles boosts your scrubbing power.
Wipe the spray face with a clean rag to lift away the gritty paste that forms. You’ll see chalky white residue transfer onto the cloth, which means you’re winning.
Now flush it. Hold the spray head under running water, or briefly run the faucet if it’s attached, and let a strong rinse cycle push loosened debris out through the nozzles. Watch the water run clear and even. That clean flow tells you the channels inside are finally open and free.
Step 7 – Reassemble the Spray Head
Time to put everything back together. If you detached the head, line up the retaining ring and any washers exactly as they came off. Thread the spray head back onto the faucet hose by turning it clockwise.
Start by hand to avoid cross-threading, which can damage the connection. You’ll feel it catch smoothly and tighten with light effort. Snug it firmly, but don’t force it with pliers unless a small final turn is needed for a leak-free seal.

Check that the flow restrictor and aerator screen sit properly in place. A misaligned part now causes weak water pressure later. Take your time aligning each piece, then give the whole spray head a quick wiggle to confirm it’s secure and seated correctly before you test it.
Step 8 – Test the Spray Patterns
Here’s the satisfying part. If you shut off the water, turn the supply valves counterclockwise to reopen them. Then run the faucet and watch closely.
Cycle through every spray mode your faucet offers, switching between stream and spray. The water should shoot out crisp, even, and strong, with no rogue side jets or weak dribbles. Run your hand under it and feel that restored water pressure.
Watch for any drips around the connection. A small leak means you need to retighten the spray head slightly. If it runs clean and dry, you’ve nailed the full process for how to clean kohler kitchen faucet spray head. Your kitchen sink is back to full power, ready for dishes, rinsing, and everything else you throw at it.
Critical Mistakes When Cleaning a Faucet Spray Head
The biggest mistake is reaching for harsh chemical cleaners or bleach. These can eat away at the silicone nozzles, dull your faucet’s finish, and leave streaks you can’t undo. Vinegar or citric acid does the job safely, so skip the heavy-duty stuff entirely.
Another common slip is forcing the spray head off with brute strength or bare pliers. Cranking too hard cracks the housing or strips the retaining ring, and metal jaws scratch the finish badly. Always pad your tools with a soft cloth and twist gently, letting the threads do the work.
Many people also widen the nozzles when poking out clogs. Jamming a thick pin through stretches the silicone holes, which ruins the spray pattern permanently. Use a thin needle and clear each hole with a light, careful push.
Skipping the rinse cycle is another costly error. If you don’t flush the loosened debris out, that softened scale just resettles inside the channels and clogs everything again within days. Always run a strong rinse until the water flows clear.
Finally, don’t lose the small washers or flow restrictor during reassembly. Missing parts cause leaks and weak pressure, leaving you worse off than when you started.
Expert Tips
Make this a habit rather than a rescue mission. A quick monthly vinegar soak prevents mineral deposits from ever hardening, so cleaning takes minutes instead of an hour.
Match your soak strength to your water. If you have very hard water, lean on citric acid for tougher buildup, and consider a longer soak for caked-on limescale.
Snap a quick photo before you take anything apart. When you reassemble the spray head, that picture shows exactly where each washer and the retaining ring belong.
Keep an old toothbrush dedicated just for this job, stored under the sink with your vinegar. Having supplies ready makes you far more likely to clean regularly. And always rinse thoroughly afterward, since lingering vinegar can leave a faint smell on your next glass of water.
Frequently Asked Questions
How often should I clean my faucet spray head?
It depends on your water hardness. In areas with hard water, aim for a light vinegar soak every month to keep mineral deposits from building up. With softer water, every two to three months works fine. If you notice weak water pressure, uneven spray, or a gritty spray face before then, clean it right away rather than waiting for your scheduled date.
Can I use something other than vinegar?
Yes, you have a few safe options:
- Citric acid powder dissolved in warm water works faster on heavy limescale
- Lemon juice offers a milder, natural alternative for light buildup
Avoid bleach or harsh chemical cleaners, since they can damage the silicone nozzles and faucet finish. Stick with mild acids, which dissolve scale without harming any part of your spray head.
Why is my faucet still spraying unevenly after cleaning?
A few culprits could remain. You may have missed a clogged nozzle, so inspect the spray face closely and poke any blocked holes with a thin needle. The aerator might still hold debris, so brush it again. Also check that the flow restrictor seated correctly during reassembly. If issues continue, the faucet hose or internal cartridge may need attention.
Do I need to turn off the water supply?
Not always. If you’re soaking the spray face while it stays attached, you can leave the water on. You only need to shut off the supply valves under your sink when you fully detach the spray head from the faucet hose. Turning them off prevents surprise spraying and pressure release. When in doubt, shutting them off adds a safe, mess-free buffer.
Will cleaning damage my pull-down faucet?
No, gentle cleaning actually protects it. Vinegar soaks and soft brushing remove harmful scale without hurting the finish or nozzles. Damage only happens when you use harsh chemicals, force parts apart, or scratch the surface with bare metal tools. As long as you twist gently, pad your tools with a cloth, and use mild acids, your pull-down faucet stays in great shape for years.
Conclusion
A clogged spray head is one of those small annoyances that quietly makes kitchen work harder than it needs to be. The good news is the fix sits well within your reach. You start by spotting the mineral buildup, shut off the water only if you’re detaching the head, then soak the spray face in vinegar to dissolve the limescale. After that, you brush the aerator and nozzles clean, flush the debris, reassemble carefully, and test every spray pattern.
The key lessons are simple: choose vinegar or citric acid over harsh chemicals, handle parts gently, clear each nozzle with a thin needle, and always rinse thoroughly. Keep your washers and flow restrictor organized, and the whole job stays smooth.
Now that you know how to clean kohler kitchen faucet spray head from start to finish, there’s no reason to put up with weak, splattering water. Grab some vinegar, set aside an hour, and treat your faucet to a quick refresh. One good cleaning, and you’ll enjoy that strong, even flow every single day.

About
Nick Hall has spent the last seven years working at the intersection of kitchen design and home repair — first as a design assistant at a residential renovation studio, then as a freelance writer covering everything from cabinet layouts to leaky faucet fixes.
Her approach is simple: kitchens should look good and function well. That means she’s just as comfortable talking about color palettes and counter materials as she is walking readers through how to fix a wobbly cabinet hinge or troubleshoot a garbage disposal.
Nick has worked directly with homeowners on small-space kitchen makeovers, budget-conscious renovations, and the kind of everyday repairs that don’t need a contractor — just the right instructions. She writes from experience, not theory, and tests most of the fixes and tips she shares before publishing them.
When she’s not writing, Nick is usually hunting for mid-century kitchen finds at estate sales or helping friends plan their own renovations. She lives in Columbus, Ohio.