
Notice a grimy, peeling line around your sink lately? That tired strip of sealant does more than look bad. It keeps water out of the gaps where your sink meets the counter. When it cracks or darkens, moisture sneaks underneath and trouble begins.
The good news? You don’t need a plumber for this. Learning how to recaulk kitchen sink edges is one of the easiest weekend fixes you can tackle, even if you’ve never picked up a caulk gun in your life. It takes patience, not skill.
This guide walks you through every step, from peeling off the old gunk to laying a clean, fresh bead that lasts for years.
Why Recaulking Your Kitchen Sink Matters
A fresh seal around your sink is your first defense against hidden water damage. When the old caulk fails, water slips into the seam between your sink and countertop. Over time, that moisture warps cabinets, rots wood, and feeds mold you can’t even see.
For homeowners, that means avoiding repair bills that climb into the hundreds. For renters, a quick refresh keeps your deposit safe and your kitchen looking cared for. And for any DIY beginner, it’s a confidence-building project that pays off fast.
Beyond the practical side, there’s the freshness factor. A bright, clean seal stops mildew from taking hold and keeps your sink area sanitary. Your kitchen simply looks newer and feels cleaner when that line is crisp and white.
Tools and Materials You’ll Need
Gather everything before you start so you’re not running around mid-project with sticky fingers. Most of these items are cheap and available at any hardware store.
- Silicone sealant – choose a kitchen-and-bath formula labeled mildew-resistant and waterproof
- Caulk gun – a basic dripless model makes smooth application easier
- Utility knife – for slicing through the old caulk cleanly
- Plastic scraper or putty knife – to lift stubborn residue without scratching surfaces
- Rubbing alcohol – cleans and degreases the surface for a strong bond
- Clean rags or paper towels – plenty of them
- Painter’s tape – masks off the edges for a neat line
- Caulk smoothing tool (optional) – gives you that pro-level finish, though a damp finger also works
Set aside an hour, plus drying time, and you’re ready to go.
Step-by-Step Guide on How To Recaulk Kitchen Sink
Step 1 – Clear and Dry the Work Area
Start by emptying everything from around the sink. Move the soap, sponges, and dish racks out of your way so you have a clean, open surface to work on.
Wipe the sink edge and surrounding countertop with a dry rag. Any standing water or dampness will stop fresh silicone sealant from sticking later, so this matters more than it seems.
Run your hand along the seam where the sink meets the counter. You’ll feel the old, rubbery caulk and probably notice spots where it’s lifting or cracked. Take a mental note of those weak areas.
Give yourself good light too. A bright kitchen makes it easy to spot every bit of old caulk you’ll need to remove next.
Step 2 – Cut Out the Old Caulk
Grab your utility knife and slice carefully along both edges of the existing bead. Hold the blade at a shallow angle so you don’t scratch your sink or countertop.
You’re aiming to cut the caulk free on the top and bottom, almost like releasing a long rubber band. Take your time here, since rushing leads to slips and gouges.
As you work, you’ll hear that satisfying soft tearing sound when a section finally lets go. Peel away the loosened strips and drop them straight into your trash bag.
Some kitchens have layers of old caulk built up over the years. Don’t be surprised if you uncover two or three faded layers hiding underneath.
Step 3 – Scrape Away Every Last Bit
Now switch to your plastic scraper or putty knife. Glide it along the seam to lift the bits of caulk your knife left behind.
Press firmly but gently. The goal is to remove all the residue without digging into the countertop surface. Plastic tools work best because metal can leave marks.
Look closely into the corners and tight spots near the faucet. These hidden pockets often hold stubborn chunks that love to cling on. Pick at them until the gap is completely bare.
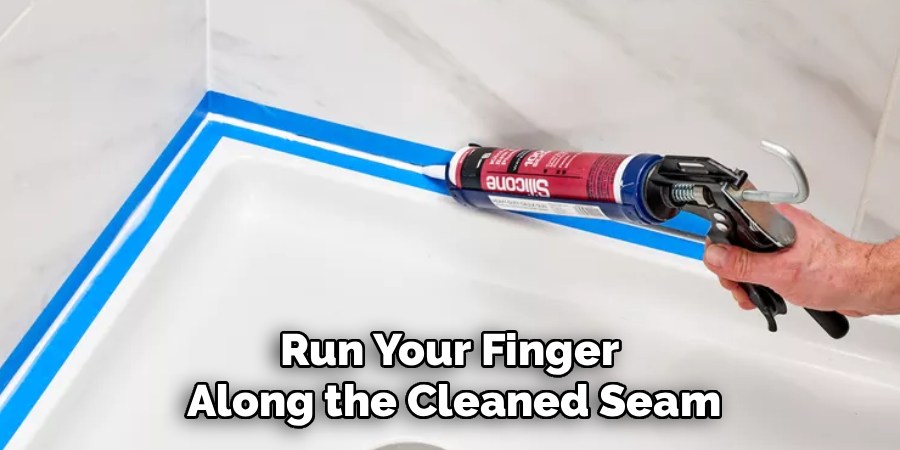
Run your finger along the cleaned seam. It should feel smooth and free of any rubbery leftovers. A clean surface here is the secret to a fresh seal that actually lasts.
Step 4 – Clean and Disinfect the Seam
With the old material gone, it’s time to prep the surface for new caulk. Dampen a rag with rubbing alcohol and wipe down the entire seam and surrounding area.
The alcohol cuts through grease, soap scum, and any leftover film. This step is huge because silicone won’t bond properly to a dirty or oily surface. Don’t skip it.
If you spotted any mildew earlier, scrub those spots well. A little extra cleaning now prevents dark stains from creeping back through your new bead.
Let everything dry completely, which usually takes about ten minutes. The seam should look bright and feel bone-dry before you go further. Patience here pays off in a stronger, cleaner finish.
Step 5 – Tape Off Both Edges
Painter’s tape is your best friend for a crisp, professional line. Run one strip along the countertop side of the seam and another along the sink side.
Leave a narrow gap between the two tape lines, just wide enough for your new bead of sealant. This little channel guides your caulk and keeps it from spreading messily across the surface.
Press the tape edges down firmly with your fingertip. Any loose spots let caulk seep underneath and ruin your clean line.
This is also the moment to figure out how to recaulk kitchen sink corners neatly. Cut the tape carefully around curves and tight angles so every section stays guided and tidy.
Step 6 – Load Your Caulk Gun and Apply
Snip the tip of the silicone tube at a 45-degree angle. Cut a small opening first, since you can always trim more for a wider bead later.
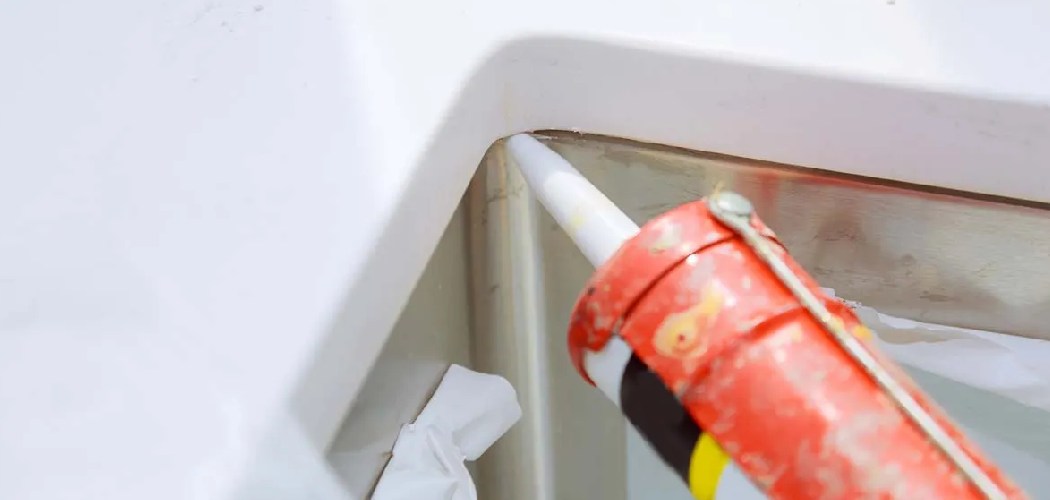
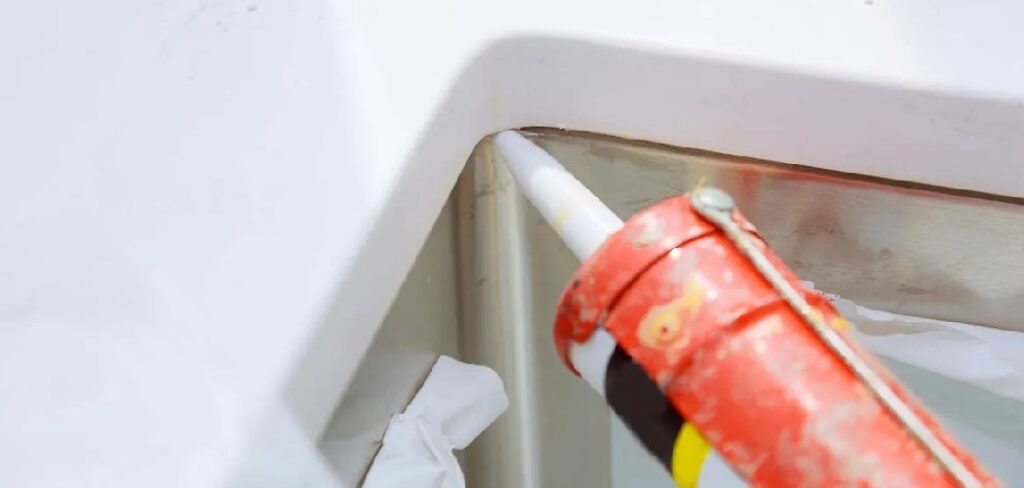
Load the tube into your caulk gun and squeeze the trigger gently until the sealant reaches the tip. Now position the nozzle at the start of your seam.
Apply steady, even pressure as you pull the gun smoothly along the gap. Keep moving at a slow, constant pace so the bead stays uniform. You’ll see a clean ribbon of waterproof seal filling the channel between your tape lines.
Work in sections if the full edge feels overwhelming. Short, controlled passes beat one long, shaky attempt every time.
Step 7 – Smooth the Bead
Right after applying, smooth the fresh bead while it’s still wet. Use your caulk smoothing tool or simply dip a finger in water and drag it gently along the line.
The damp surface keeps the silicone from sticking to your skin or tool. Press lightly and pull in one smooth motion to push the sealant deep into the gap.

You’ll feel the caulk fill the seam and watch it form a slight concave curve. That shape sheds water beautifully and looks professional.
Wipe excess sealant onto a paper towel between passes. Keep your strokes consistent so the whole line matches in depth and shine. A smooth, even bead is what separates an amateur job from a great one.
Step 8 – Peel the Tape and Let It Cure
While the caulk is still wet, slowly peel away both strips of painter’s tape. Pull at a low angle and away from the bead so you don’t smudge your fresh line.
You’ll reveal a sharp, clean edge underneath. If a tiny ridge appears, lightly smooth it once more with a damp finger.
Now comes the hardest part: waiting. Most silicone needs a full curing time of 24 hours before it touches water. Check your tube’s label to be sure.
Resist the urge to run the faucet or wash dishes during this window. Letting it set undisturbed gives you a tough, lasting bond that keeps moisture out for years.
Critical Mistakes to Avoid When Recaulking a Kitchen Sink
The biggest mistake beginners make is applying new caulk over old caulk. It feels faster, but the fresh sealant won’t bond to crumbling, dirty material underneath. Within weeks, the whole strip peels away and you’re back where you started. Always strip the seam completely bare first.
Another common slip-up is skipping the cleaning step. Grease and soap film create an invisible barrier that silicone simply can’t grip. Wipe everything down with rubbing alcohol, even if the surface looks clean to your eye.
Many folks also grab the wrong product. Standard caulk meant for trim or windows breaks down fast in a wet, humid kitchen. Choose a silicone sealant labeled for kitchen and bath use, ideally one that resists mildew.
Rushing the curing time ruins otherwise great work too. Running water on a bead that hasn’t set washes away your effort and weakens the seal. Finally, applying too much sealant creates a lumpy, hard-to-smooth mess. A thin, controlled bead always beats a thick, sloppy one.
Expert Tips
Want results that look like a pro did them? Warm your silicone tube slightly by setting it in a bowl of warm water for a few minutes. Warm caulk flows smoother and lays down in a cleaner line.
Keep a small dish of soapy water nearby for smoothing. The soap helps your finger glide without dragging or pulling the bead out of place.
Work in one continuous motion whenever you can. Stopping and starting creates bumps that are tough to fix later.
Always test your bead width on a scrap surface first. This quick practice run builds your confidence before you commit to the real seam. And remember, less is more, a thin, even line outperforms a thick one every time.
Frequently Asked Questions
How Often Should You Recaulk a Kitchen Sink?
Most kitchen seals last about five years before they need replacing. Watch for warning signs rather than waiting on a strict schedule. Replace your caulk when you notice:
- Cracking or peeling along the seam
- Dark mildew stains that won’t scrub away
- Water seeping behind the sink edge
Catching these early prevents bigger water damage down the road.
What Kind of Caulk Is Best for a Kitchen Sink?
Choose a 100% silicone sealant labeled for kitchen and bath use. Silicone stays flexible, resists moisture, and handles temperature changes near hot water. Look for a mildew-resistant, waterproof formula too. Avoid acrylic or latex caulk, since those break down quickly in damp areas and won’t give you a lasting seal around your sink.
How Long Does Caulk Take to Dry?
Most silicone sealants feel dry to the touch within 30 to 60 minutes. However, full curing time usually takes 24 hours. Avoid running water on the seam during this window. Drying and curing are different stages, so always check your specific product label. Giving the bead a full day to set creates the strongest, longest-lasting waterproof seal.
Can You Caulk Over Old Caulk?
No, and this is a mistake worth avoiding. New silicone won’t bond properly to old, dirty, or peeling caulk underneath. The fresh layer will lift and fail within weeks. Always remove the old caulk completely with a utility knife and scraper, then clean the seam thoroughly before applying anything new. A bare, clean surface guarantees a much stronger result.
Do You Need to Remove the Sink to Recaulk It?
No, you can recaulk a kitchen sink without removing it in nearly every case. The seal sits along the visible seam where the sink meets the countertop, so it’s fully accessible from above. Just clear the area, strip the old caulk, clean the surface, and apply a fresh bead. Removing the sink is only necessary for major leaks or full replacement.
Conclusion
Refreshing the seal around your sink is one of those small projects with a big payoff. You’ve now seen how a sharp utility knife, a good scraper, and a quality silicone sealant turn a grimy, peeling seam into a crisp, waterproof line.
The key takeaways are simple. Strip away every bit of old caulk, clean the surface thoroughly, tape your edges, and apply a thin, steady bead. Then let it cure fully before you run the water again. Skip the shortcuts and your seal will hold strong for years.
Best of all, you did it yourself, no technician, no service call, and no waiting around. That’s real money saved and a kitchen that looks brighter and stays cleaner.
So the next time you spot a tired, cracked seam, you’ll know exactly how to recaulk kitchen sink edges with confidence. Grab your caulk gun, set aside an hour, and give your sink the fresh, sanitary finish it deserves. You’ve got this.

About
Nick Hall has spent the last seven years working at the intersection of kitchen design and home repair — first as a design assistant at a residential renovation studio, then as a freelance writer covering everything from cabinet layouts to leaky faucet fixes.
Her approach is simple: kitchens should look good and function well. That means she’s just as comfortable talking about color palettes and counter materials as she is walking readers through how to fix a wobbly cabinet hinge or troubleshoot a garbage disposal.
Nick has worked directly with homeowners on small-space kitchen makeovers, budget-conscious renovations, and the kind of everyday repairs that don’t need a contractor — just the right instructions. She writes from experience, not theory, and tests most of the fixes and tips she shares before publishing them.
When she’s not writing, Nick is usually hunting for mid-century kitchen finds at estate sales or helping friends plan their own renovations. She lives in Columbus, Ohio.