
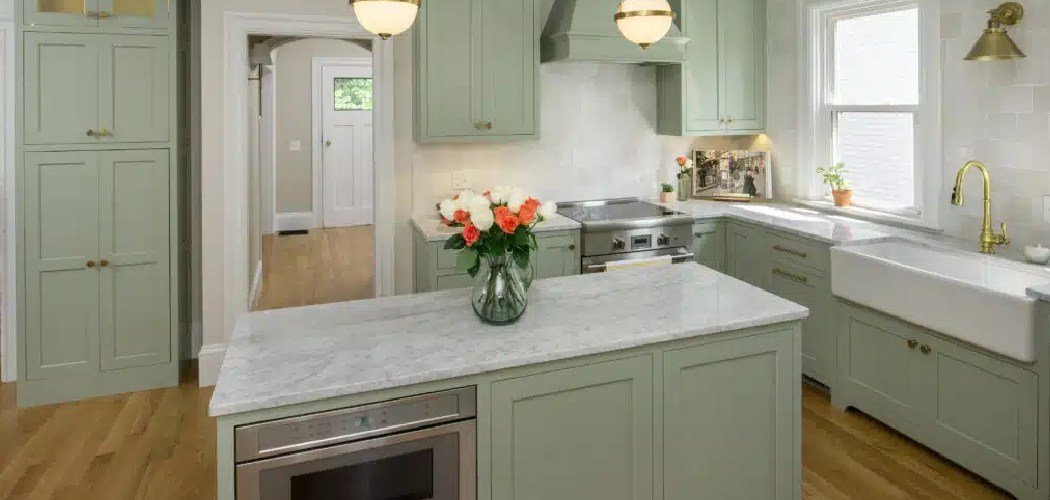
Tired of looking at dull, dated cabinet doors but dreading the cost of a full kitchen makeover? You’re not alone. Refreshing your cabinets doesn’t have to mean ripping everything out or spending a fortune on new units.
That’s the beauty of adhesive vinyl. With a little patience and a few simple tools, you can transform tired cupboard doors into something that looks brand new in a single weekend.
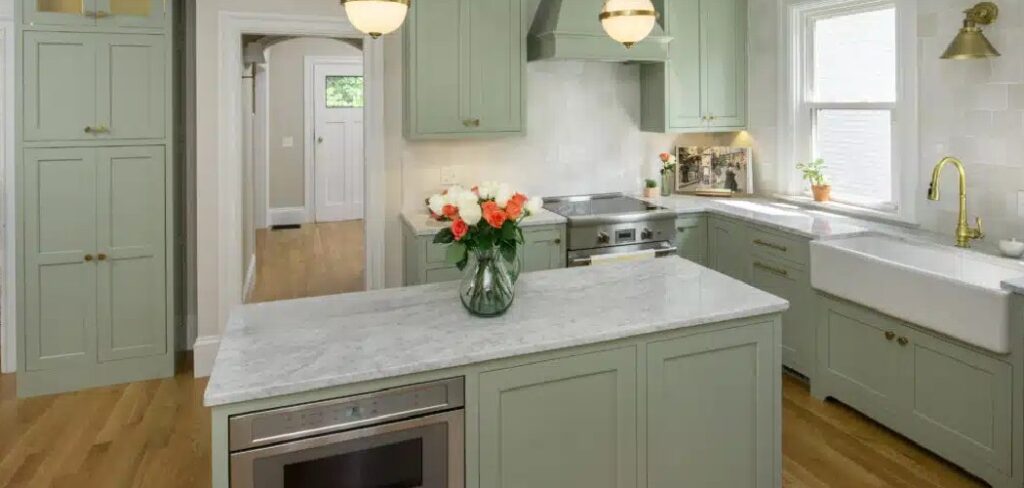
Learning how to wrap kitchen cupboards gives you a budget-friendly way to change your kitchen’s whole vibe, whether you want a sleek matte finish or a cozy wood grain look.
This guide walks you through every step, from cleaning grease to reattaching handles, so you can wrap your cabinets like a pro on your very first try.
Why Wrapping Kitchen Cupboards Is Worth Learning
Wrapping cabinets saves you serious money. Instead of buying new doors or hiring a fitter, you spend a fraction of the cost on peel-and-stick film and do the work yourself. The payoff is a fresh kitchen without the renovation chaos.
It’s also wonderfully flexible. Want to switch from white to wood grain next year? Peel it off and start again. Try doing that with painted cabinets.
This skill shines beyond the home, too. Campers, RV owners, and mobile home dwellers love it for refreshing tight, compact spaces where a full remodel simply isn’t practical. A roll of adhesive vinyl can revive cabinet frames in a camper van or cabin in an afternoon.
For anyone living in a small or seasonal space, it’s a smart, low-mess way to make tired surfaces feel new again.
Tools and Materials You’ll Need
Gathering your supplies before you start saves a lot of mid-project frustration. The good news is the list is short, and most items are easy to find at any hardware store.
- Adhesive vinyl or peel-and-stick film – choose a quality roll in your preferred finish
- Degreaser or warm soapy water – for thorough surface prep
- Microfiber cloth – wipes surfaces clean without leaving lint
- Measuring tape – for accurate door measurements
- Sharp craft knife – clean cuts and tidy trimming
- Squeegee or plastic smoother – pushes out air bubbles
- Screwdriver – removes handles and hinges
- Pencil and ruler – for marking your cut lines
- Hair dryer or heat gun (optional) – helps the film mold around corners and edges
That heat tool isn’t essential, but it makes wrapping curved edges and stubborn corners far easier. A gentle warmth softens the vinyl so it hugs every contour neatly.
Step-by-Step Guide on How To Wrap Kitchen Cupboards
Step 1 – Clean and Degrease Every Surface
Start by giving each cupboard door a deep clean. Kitchen surfaces collect grease, dust, and cooking splatter, and vinyl simply won’t stick to a grimy surface.
Spray a good degreaser onto the door fronts, then wipe them down with a microfiber cloth. You’ll feel the surface shift from slightly tacky to smooth and squeaky clean as the grease lifts away.
Pay extra attention to the area around handles, where oily fingerprints build up over time. Those hidden patches cause peeling later if you skip them.
Once cleaned, let every door dry completely. Any leftover moisture traps under the film and creates bubbles. Good surface prep is the single biggest factor in a long-lasting finish, so don’t rush this part.
Step 2 – Remove Handles and Hinges
Grab your screwdriver and remove all the handles, knobs, and hinges from the cabinet frames. Working on bare doors gives you a flat, even surface and a much cleaner result.
Take the doors off their hinges if you can, and lay them flat on a table or countertop. Wrapping horizontally is far easier than fighting gravity on a vertical door.
Keep all your screws and hardware in a small bowl so nothing rolls away. Trust me, hunting for a tiny screw later is no fun.
This is also the perfect moment to label each door lightly with a pencil on the back. That way, you’ll know exactly where each one belongs when it’s time to put everything back together.
Step 3 – Measure the Door Fronts
Measure each door front carefully with your tape measure, noting the height and width. Add at least two extra inches on every side so you have enough vinyl to wrap around the edges neatly.
Jot these measurements down next to your pencil labels. Doors often look identical but vary by a few millimeters, and those small gaps add up.
Knowing exactly how to wrap kitchen cupboards starts with precise measuring, because a rushed guess here means wasted film and crooked edges later.
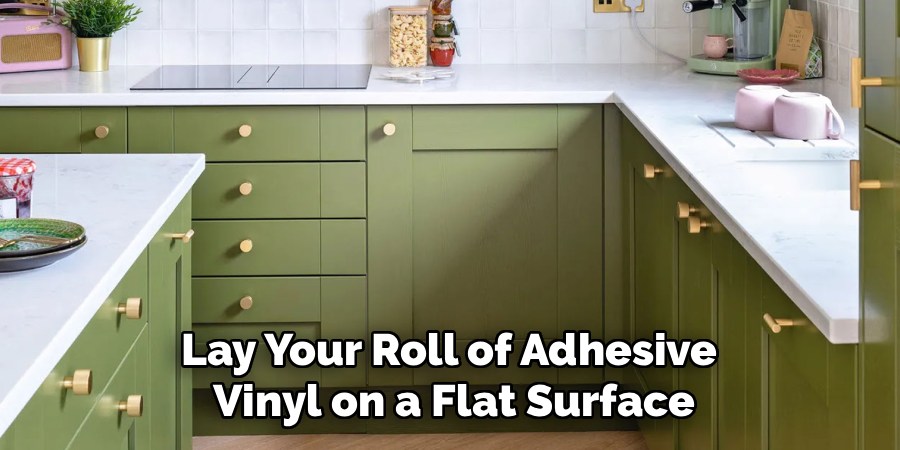
Lay your roll of adhesive vinyl on a flat surface and mark your cut lines with a pencil and ruler. Measure twice before you cut once. A little care at this stage saves you from frustrating do-overs and keeps your project running smoothly.
Step 4 – Cut the Vinyl Wrap
Place your marked vinyl on a clean, flat surface, backing paper facing up. Line your ruler along the pencil marks and run your sharp craft knife in one smooth, confident stroke.
A fresh blade matters here. A dull one drags and tears the film, leaving rough, ragged edges instead of crisp lines.
Cut one piece at a time rather than all at once. This keeps your sections organized and matches each piece to its labeled door.
Many beginners find that cutting slightly larger than needed feels safer, and they’re right. You can always trim excess later, but you can’t add film back once it’s cut too small. Set each finished piece beside its matching door, ready for the fun part.
Step 5 – Peel and Apply the Film
Here’s where it gets satisfying. Peel back just a few inches of the backing paper at the top of the door, then line the film up carefully with the top edge.
Press that first strip down firmly, keeping it straight. Once the top is anchored, you have full control over the rest.
Now peel the backing paper away gradually as you work downward, rather than ripping it all off at once. This slow, steady approach is the secret to avoiding wrinkles and misalignment.
Smooth the film onto the surface as you go, letting it lay flat section by section. Take your time and breathe. Patience here gives you that clean, professional peel-and-stick film result you’re after.
Step 6 – Smooth Out Air Bubbles
As you apply the vinyl, air bubbles will pop up here and there. Don’t panic, because they’re easy to fix with your squeegee.
Start from the center of each bubble and push outward toward the nearest edge. You’ll feel the trapped air glide out beneath the film until the surface lies perfectly flat.
For stubborn bubbles that won’t budge, prick them with the tip of your craft knife, then smooth the air out through the tiny hole. The mark vanishes once pressed flat.
Work methodically across the whole door, overlapping your strokes so you don’t miss a spot. A firm, even pressure bonds the adhesive vinyl tightly to the surface and leaves you with a glassy, bubble-free laminate effect.
Step 7 – Wrap Edges and Trim Excess
Now fold the overhanging film around the door edges for that seamless, factory-finished look. Pull it snug but not so tight that it tears, pressing it firmly onto the back lip of the door.
Corners can be tricky. Warm them gently with a hair dryer or heat gun, and the softened vinyl will mold smoothly around tight bends without creasing.
Once the edges are wrapped, flip the door and trim any excess with your sharp craft knife. Run the blade along the inner edge in a steady line for clean, invisible seams.
Take care at the corners, where film likes to bunch. A little extra attention here separates an amateur job from one that genuinely looks built-in and polished.
Step 8 – Reattach Hardware and Rehang
You’re in the home stretch. Find the original screw holes by pressing gently until you feel the slight dips beneath the film, then pierce each one with your craft knife tip.
Reattach the handles, knobs, and hinges using the screws you saved earlier. Line everything up with your pencil labels so each door returns to its rightful spot.
Rehang the doors carefully, checking that they sit level and close smoothly. Adjust the hinges if anything feels off.
Step back and admire your work. That tired cabinet is gone, replaced by a fresh wood grain finish or crisp matte surface you created with your own hands. Give everything one final wipe, and your transformed kitchen is ready to enjoy.
Critical Mistakes When Wrapping Kitchen Cupboards
A few common slip-ups can turn a smooth project into a frustrating one, so let’s clear them up before you start.
The biggest mistake by far is skipping proper surface prep. If you apply vinyl over greasy or dusty doors, it won’t bond, and you’ll see corners lifting within days. Always clean and dry every surface thoroughly first.
Another frequent error is peeling off all the backing paper at once. This nearly guarantees wrinkles, misalignment, and film sticking to itself in a tangled mess. Peel gradually and apply as you go for full control.
Many beginners also rush the bubble-smoothing stage. Trapped air ruins that flat, professional look, so work patiently with your squeegee from the center outward on every panel.
Using a dull craft knife causes trouble, too. A worn blade drags and tears the film instead of slicing cleanly, leaving ragged edges that catch the eye. Swap in a fresh blade whenever cuts start looking rough.
Finally, don’t forget to label your doors. Mixing them up means handles and hinges no longer line up, and you’ll waste time figuring out which door goes where. A quick pencil mark saves real headaches.
Expert Tips
A few insider habits make a noticeable difference in your finished result. First, always invest in quality adhesive vinyl. Cheap film tears easily, bubbles more, and peels sooner, so the small extra cost pays off.
Work slowly and resist the urge to rush. Vinyl wrapping rewards patience, especially when aligning large door fronts.
Use light heat from a hair dryer on corners and curves. Warmth makes the film flexible enough to wrap tricky shapes without creasing.
Change your craft knife blade often. A sharp edge gives clean cuts every single time.
Always label your cupboard doors before removing them, so reassembly stays simple. And before committing, test a small piece on a hidden area first. This lets you practice your technique and check the finish without risking a visible surface.
Frequently Asked Questions
How Long Does Vinyl Wrap Last On Kitchen Cupboards?
With proper surface prep and quality film, vinyl wrap typically lasts five to ten years before it needs replacing. Several factors affect its lifespan:
- Quality of the adhesive vinyl – better film bonds longer
- Surface prep – clean, dry doors hold the wrap securely
- Daily wear – high-touch areas near handles fade faster
Keeping doors clean and avoiding harsh scrubbing helps your wrap stay fresh and intact for years.
Can I Wrap Cupboards Without Removing The Doors?
Yes, you can wrap doors while they hang, but it’s much harder. Working on a vertical surface means fighting gravity, which often leads to slipping and misalignment. Removing the doors and laying them flat gives you far better control and a cleaner finish. If you must wrap them in place, work slowly, anchor the top edge first, and smooth downward carefully with your squeegee.
Will The Vinyl Damage My Cabinets When Removed?
In most cases, no. Quality peel-and-stick film lifts away cleanly, especially if you warm it gently with a hair dryer first. The heat softens the adhesive so it releases without pulling at the surface beneath. Any leftover residue wipes off with a mild degreaser. Always test removal on a hidden corner first, particularly on older or delicate cabinet frames, just to be safe.
What Finish Should I Choose For My Kitchen?
It depends on your style and how much wear your kitchen sees. A matte finish hides fingerprints and small scuffs beautifully, making it great for busy family kitchens. A wood grain finish adds warmth and a natural look, while glossy options feel sleek and modern. Consider your lighting, too, since glossy film reflects more light. Order a sample swatch before committing to the full roll.
How Do I Fix Air Bubbles After Applying The Vinyl?
Small bubbles are simple to fix even after application. Push them toward the nearest edge with your squeegee, and the trapped air slides out. For stubborn ones, prick the center gently with your craft knife tip, then press the air out through the tiny hole. The mark disappears once flattened. A little heat from a hair dryer also helps reset and smooth troublesome spots.
Conclusion
Refreshing your cabinets is one of the most rewarding weekend projects you can take on, and now you have everything you need to do it well. Start with a thorough clean, remove your hardware, measure carefully, and cut your adhesive vinyl with a sharp blade.
Peel the backing gradually, smooth out every air bubble with your squeegee, wrap those edges neatly, and reattach your handles for a clean, professional finish. Each step builds on the last, so a little patience goes a long way.
Steer clear of the common mistakes, too, like skipping surface prep, ripping off the backing all at once, or working with a dull knife. Avoid those, and your results will genuinely impress you.
The best part? You’ll save money while giving your space a fresh new look, whether that’s your home kitchen, a cozy cabin, or a compact camper van. Now that you understand how to wrap kitchen cupboards from start to finish, grab your roll of vinyl and give it a go. You’ll be amazed at what your own two hands can create.

About
Nick Hall has spent the last seven years working at the intersection of kitchen design and home repair — first as a design assistant at a residential renovation studio, then as a freelance writer covering everything from cabinet layouts to leaky faucet fixes.
Her approach is simple: kitchens should look good and function well. That means she’s just as comfortable talking about color palettes and counter materials as she is walking readers through how to fix a wobbly cabinet hinge or troubleshoot a garbage disposal.
Nick has worked directly with homeowners on small-space kitchen makeovers, budget-conscious renovations, and the kind of everyday repairs that don’t need a contractor — just the right instructions. She writes from experience, not theory, and tests most of the fixes and tips she shares before publishing them.
When she’s not writing, Nick is usually hunting for mid-century kitchen finds at estate sales or helping friends plan their own renovations. She lives in Columbus, Ohio.