
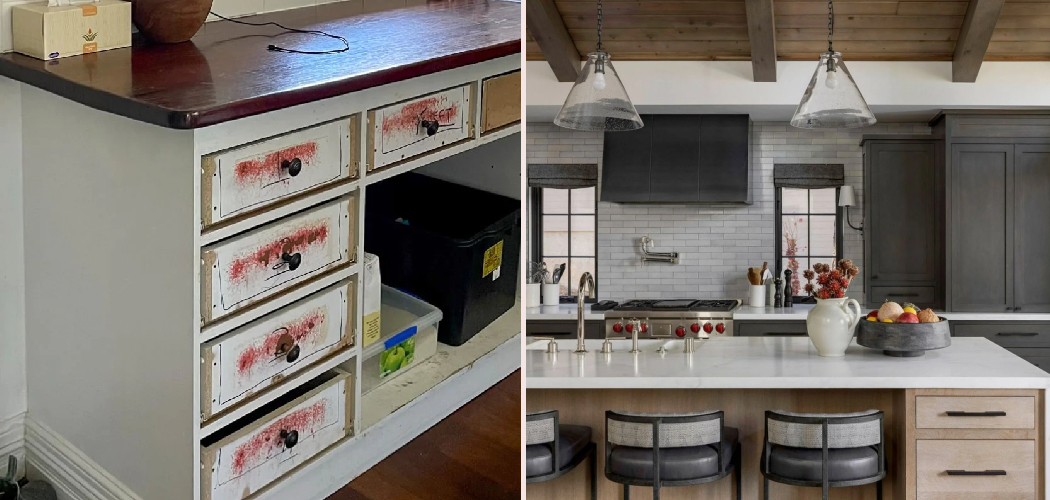
Tired cabinet doors can age an entire kitchen, even when everything else looks fine. Years of cooking, cleaning, and daily handling leave behind scratches, faded color, and a dull, worn finish that no amount of wiping seems to fix.
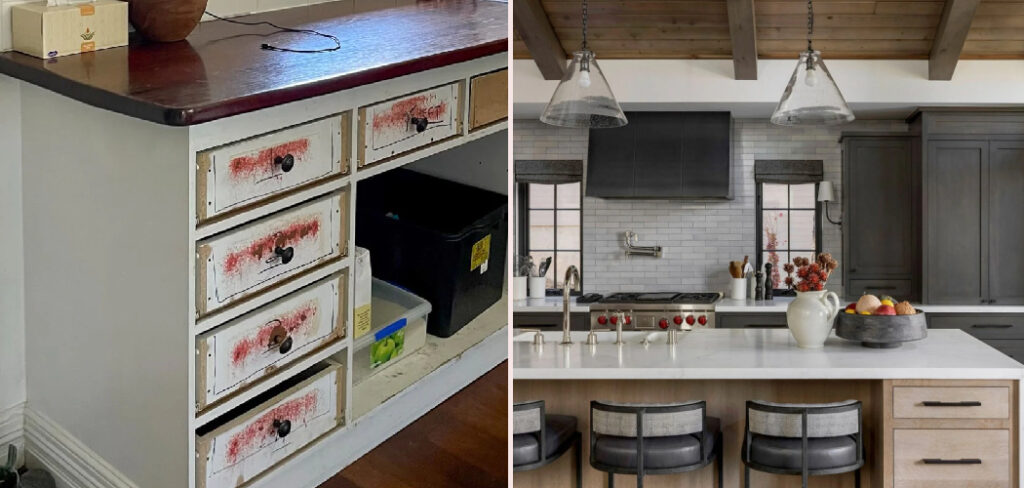
Here’s the encouraging part: you don’t need a contractor or a big budget to bring them back to life. Learning how to refinish kitchen cabinet doors gives you the power to transform your space with a little patience and the right steps.
With some basic tools and an afternoon or two, you can swap that tired look for a fresh, smooth surface that feels brand new. This guide walks you through the entire process step by step, so you can refinish your doors with confidence and enjoy results you’ll be proud of.
Why Learning to Refinish Kitchen Cabinet Doors Matters
This skill stretches far beyond a single kitchen makeover. Once you understand how to strip, prep, and recoat a door properly, you can restore almost any worn storage surface in your home.
It also travels surprisingly well. Campers and outdoor beginners often deal with tight galley kitchens in RVs and trailers, where every cabinet earns its keep. Small-space renovations call for budget-friendly fixes, and refinishing worn storage doors instantly freshens those compact quarters without costly replacements.
That same practical self-reliance pays off at home, too. Instead of paying for new cabinetry, you breathe new life into what you already own. You’ll learn to read wood grain, choose the right finish, and protect surfaces that take daily abuse. Master this on your home kitchen first, and you’ll improve any compact kitchen space, wherever your adventures lead.
Tools and Materials You’ll Need
You won’t need a full workshop to get great results. Most of these supplies are affordable and easy to find at any hardware store.
- Screwdriver or drill: Makes hardware removal quick and simple.
- Degreaser: Strips away cooking grease before you sand.
- Sanding block and orbital sander: Smooths old finishes and rough spots.
- Wood filler: Fills dents, dings, and worn corners.
- Tack cloth: Wipes away every speck of sanding dust.
- Primer: Helps your finish grip and last.
- Paintbrush and foam roller: Lay down smooth, even coats.
- Paint, stain, or polyurethane topcoat: Your chosen finish.
- Painter’s tape and drop cloths: Protect surfaces and floors.
- Tackless drying rack (optional): Lets doors dry evenly on both sides.
Gather everything before you start, and the whole project will flow without frustrating mid-job runs to the store.
Step-by-Step Guide on How To Refinish Kitchen Cabinet Doors
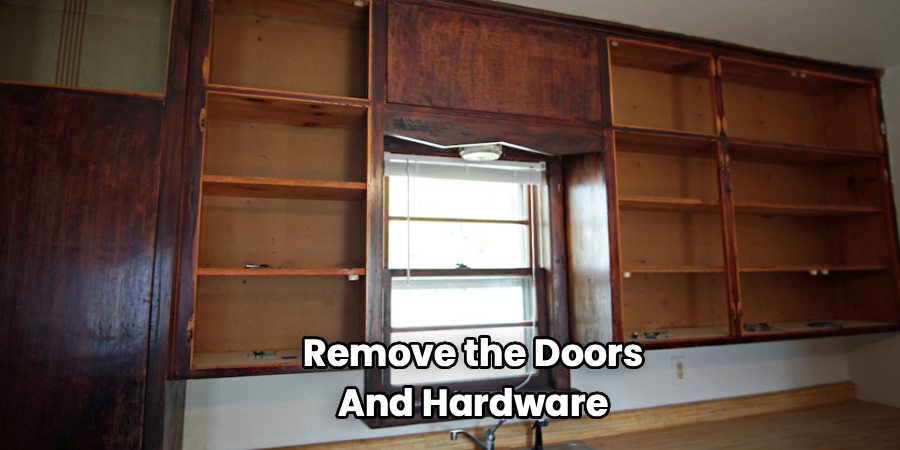
Step 1 – Remove the Doors and Hardware
Start by taking the doors off the cabinet frame. Open each door, support its weight with one hand, and unscrew the hinges with your drill or screwdriver.
As you work, label the back of every door with a small piece of tape noting its location. Trust me, doors that look identical rarely fit back the same way. This little habit saves you real headaches at reassembly.
Set all your hinges, knobs, and screws in a labeled bag so nothing wanders off. Wipe the loose dust from each door, and feel the surface to gauge how much wear it carries. With the doors free and hardware removal complete, you’ve got a clean, flat workspace and full access to every edge and corner.
Step 2 – Clean Away Grease and Grime
Before any sanding, your doors need a thorough cleaning. Kitchen cabinets collect a sticky film of cooking grease that you can’t always see but can definitely feel.
Spray a quality degreaser onto each door and let it sit for a minute. Wipe it down with a clean cloth, working into the corners and around any raised panels. You’ll notice the cloth pick up a yellowish residue, even on doors that looked clean.
Rinse with a damp cloth and let everything dry completely. Skipping this step is a classic mistake, because primer and paint won’t stick to a greasy surface. A truly clean door feels squeaky beneath your fingertips, and that smooth, grease-free base sets up every coat that follows for success.
Step 3 – Repair Dents and Fill Imperfections
Now inspect each door under good light. Run your fingers across the surface to find dents, gouges, and worn corners that need attention before you refinish.
Scoop a small amount of wood filler onto a putty knife and press it firmly into each flaw. Smooth it flush with the surrounding surface, then wipe away the excess. The filler goes on soft and slightly damp, almost like spackle.
Let it dry fully according to the label, usually an hour or two. Rushing this means soft spots that crumble when you sand. Once hardened, the filler turns firm and ready for smoothing. Patient repairs here make a huge difference, since every dent you fix now disappears completely under your fresh finish later.
Step 4 – Sand for a Smooth Surface
Sanding is where worn doors start their transformation. Begin with your orbital sander and medium-grit paper to knock down the old finish and level your filled spots.
Move with the wood grain in steady passes, letting the tool do the work. You’ll hear the pitch change as the old glossy coat dulls to a soft, even haze. Switch to a sanding block by hand for grooves, edges, and detailed trim the sander can’t reach.
Finish with fine-grit paper for a silky feel. Glide your palm across the door, and it should feel uniformly smooth with no slick patches left. This careful sanding gives your primer and paint something to grip, which is the real secret to a finish that lasts for years.
Step 5 – Wipe Down With a Tack Cloth
Sanding leaves behind a fine layer of dust that ruins any finish if you leave it. This quick step makes all the difference between a gritty result and a glassy one.
Unfold your tack cloth and wipe every surface gently. The sticky cloth grabs dust that a dry rag just pushes around. Work over the flat faces, then press into corners and grooves where dust loves to hide.
Don’t forget the edges and the back of each door. Hold a door up to the light and tilt it, since stray dust shows up clearly against the glare. Knowing how to refinish kitchen cabinet doors well comes down to these small habits. A spotless, dust-free surface now keeps your coats flawless and ready for primer.
Step 6 – Apply Primer
Primer is the unsung hero of a long-lasting finish. It seals the wood, blocks old stains from bleeding through, and gives your paint a surface to cling to.
Stir the primer well, then load your foam roller lightly. Roll it onto the flat areas in thin, even passes, and use a paintbrush for the corners and detailed edges. Thin coats beat thick ones every time, since heavy primer drips and leaves ridges.
Let the first coat dry fully, respecting the drying time on the can. You’ll see a uniform, matte base appear over the wood grain. Lightly sand any rough spots, wipe with your tack cloth, and you’re set. This step matters especially on laminate doors, which need primer to hold a painted finish.
Step 7 – Paint, Stain, or Topcoat
Now for the rewarding part. If you want color, apply your paint in thin coats with the foam roller, finishing edges with a paintbrush to avoid heavy brush marks.
Prefer natural wood grain? Brush on stain instead, wiping back the excess with a rag until the tone looks right. Either way, work in one direction and keep a wet edge so coats blend smoothly.
Let each coat dry before adding the next, and plan on two or three for full coverage. The surface transforms with every pass, growing richer and more even. For painted or stained wood, seal everything with a clear polyurethane topcoat. Learning how to refinish kitchen cabinet doors really shines here, as that protective layer guards against daily kitchen wear.
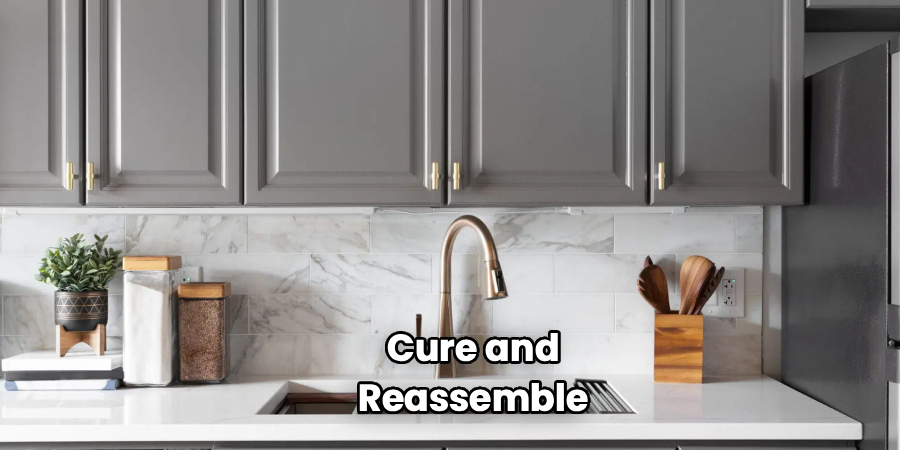
Step 8 – Cure and Reassemble
Patience pays off in this final stretch. Even when paint feels dry to the touch, it needs full curing time to harden, often several days, before it resists scratches and bumps.
Let your doors rest on a drying rack or propped against a wall, finished side out. Avoid stacking them or you’ll mar that fresh surface. The coating goes from tacky to firm as it cures.
Once fully hardened, reattach your hinges and hardware using your labeled bags and tape notes. Hang each door on its original spot on the cabinet frame, then adjust the hinges so everything lines up evenly. Step back and admire your work. Those tired old doors now look crisp, smooth, and genuinely renewed.
Critical Mistakes When Refinishing Kitchen Cabinet Doors
A few common slip-ups trip up beginners, but knowing them ahead of time keeps your project on track.
The biggest mistake is skipping the cleaning and prep. Painting straight over greasy, glossy doors guarantees a finish that peels and chips within weeks. Always degrease, sand, and prime first, no shortcuts. That groundwork is what makes the whole job last.
Another frequent error is rushing the drying and curing time. Stacking or rehanging doors too soon leaves fingerprints, dents, and sticky spots in a finish you worked hard to perfect. Give each coat the full time the label recommends, even when you feel impatient.
Many folks also apply paint too thickly, hoping to finish faster with one heavy coat. Thick layers drip, sag, and leave obvious brush marks. Thin, patient coats always look smoother and dry more evenly.
Finally, people forget to label their doors and hardware. Identical-looking doors rarely swap places cleanly, and mismatched hinges cause crooked gaps. A little tape and a marker at the start save you serious frustration when it’s time to reassemble everything.
Expert Tips
A few insider habits make the difference between a decent result and a professional-looking one. First, work in a dust-free, well-ventilated space. Garage doors open and a fan running keeps fumes down and dust from settling into wet coats.
Next, sand lightly between every coat of primer and paint. That quick scuff knocks down tiny bumps and gives the next layer a stronger grip, leaving you with a glass-smooth surface.
Always test your paint or stain color on a hidden door first. Colors often dry darker or warmer than they look in the can. Finally, invest in a quality angled paintbrush and a dense foam roller. Cheap tools shed bristles and leave streaks, while good ones lay down clean, even coats that need fewer touch-ups.
Frequently Asked Questions
Do I really need to sand before refinishing cabinet doors?
In almost every case, yes. Sanding removes the old glossy finish and creates tiny scratches that help primer and paint grip the surface. Skipping it leads to peeling and chipping later. If you truly want to avoid heavy sanding, you can:
- Use a deglosser or liquid sander on slick surfaces.
- Apply a bonding primer made for glossy or laminate doors.
Even then, a light scuff sand gives the best, longest-lasting result.
How long does it take to refinish kitchen cabinet doors?
Plan for a weekend project, plus a few extra days for curing. The active work, cleaning, sanding, priming, and painting, usually spans two to three days with drying time between coats. After your final coat, doors need several more days to cure fully before heavy use. Rushing this stage risks dents and smudges, so build in patience for the best outcome.
Can I refinish laminate cabinet doors, or only real wood?
You can absolutely refinish laminate doors. The key is preparation. Clean them thoroughly, scuff-sand the slick surface lightly, and use a quality bonding primer made for laminate. That primer is what lets paint stick to a non-porous surface. Once primed, you paint and topcoat just like wood. Avoid staining laminate, though, since it has no real wood grain to absorb color evenly.
What’s the best finish for kitchen cabinet doors?
For painted doors, a durable acrylic or alkyd enamel holds up beautifully to kitchen wear. Seal it with a clear polyurethane topcoat for extra protection against moisture and grease. If you prefer natural wood, use a stain followed by polyurethane. Satin or semi-gloss sheens work best in kitchens because they resist fingerprints, clean easily, and hide minor imperfections better than high-gloss finishes.
How do I avoid brush marks on my cabinet doors?
Brush marks come from thick paint and the wrong tools. To keep things smooth, use a dense foam roller on flat areas and a quality angled brush only for edges and grooves. Apply thin coats, work in one direction, and don’t overwork the paint as it begins to set. Lightly sanding between coats also smooths out any texture, giving you that flawless, factory-like finish.
Conclusion
Refinishing your cabinet doors is one of the most rewarding upgrades you can make without spending a fortune. You’ve learned to remove the doors and hardware, clean away grease, fill imperfections, and sand to a smooth surface. From there, a tack cloth wipe-down, careful priming, and thin coats of paint or stain bring everything to life, sealed with a protective topcoat.
The real secret is patience. Respect each drying and curing time, keep your coats thin, and prep thoroughly before you ever pick up a brush. Those simple habits separate a so-so result from doors that look professionally finished.
Now that you know how to refinish kitchen cabinet doors, you can tackle that tired kitchen with confidence and skip the cost of replacements. So clear a workspace, gather your tools, and start with a single door this weekend. You’ll be amazed at the transformation, and the skills you build will carry into your next project. Happy refinishing, and enjoy your fresh, beautiful cabinets.

About
Nick Hall has spent the last seven years working at the intersection of kitchen design and home repair — first as a design assistant at a residential renovation studio, then as a freelance writer covering everything from cabinet layouts to leaky faucet fixes.
Her approach is simple: kitchens should look good and function well. That means she’s just as comfortable talking about color palettes and counter materials as she is walking readers through how to fix a wobbly cabinet hinge or troubleshoot a garbage disposal.
Nick has worked directly with homeowners on small-space kitchen makeovers, budget-conscious renovations, and the kind of everyday repairs that don’t need a contractor — just the right instructions. She writes from experience, not theory, and tests most of the fixes and tips she shares before publishing them.
When she’s not writing, Nick is usually hunting for mid-century kitchen finds at estate sales or helping friends plan their own renovations. She lives in Columbus, Ohio.