
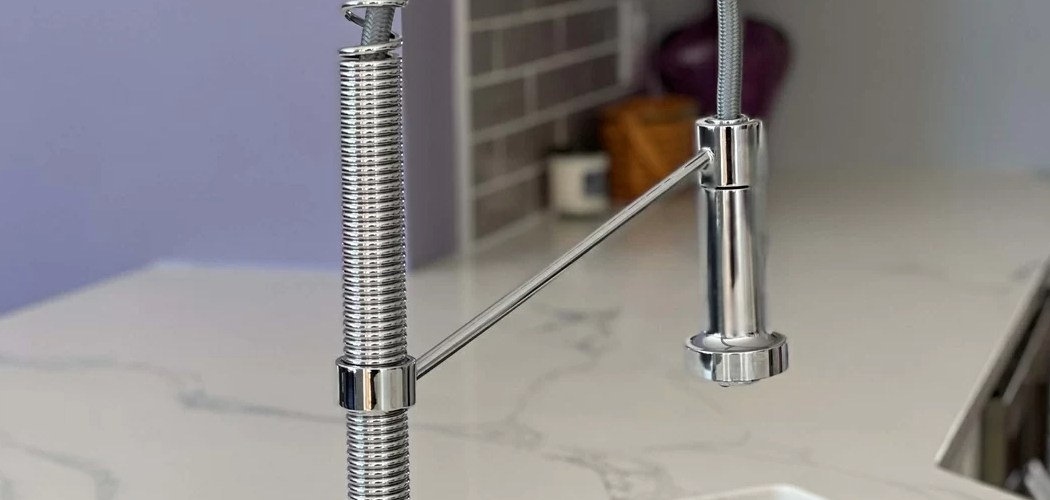
Is your kitchen sprayer spitting water everywhere, dribbling weakly, or refusing to switch between modes? A worn-out sprayer head is one of the most common kitchen annoyances, and the good news is you can fix it yourself.
You don’t need a plumber or a big budget. With a few basic tools and a little patience, you can swap out that tired old nozzle and get back to full water pressure in under an hour.
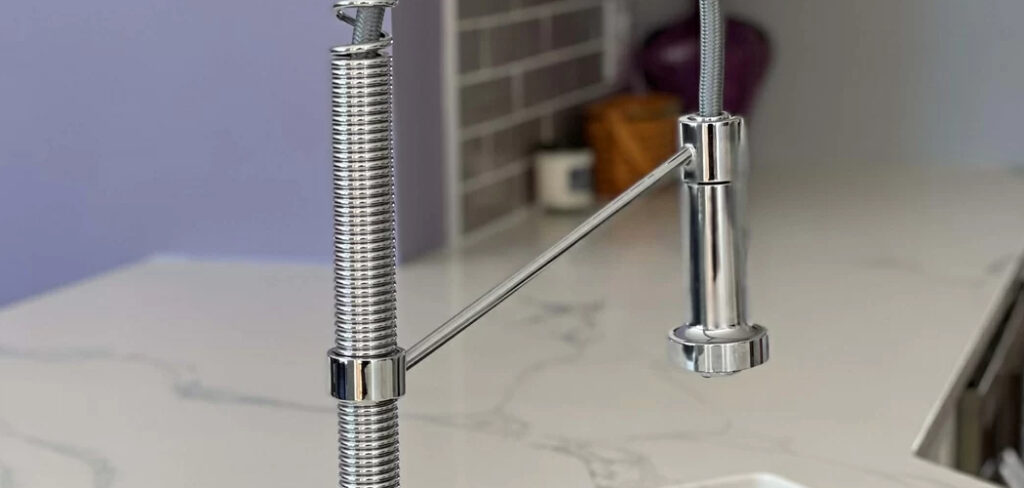
Learning how to replace sprayer head on kitchen sink is a simple, satisfying job that saves you money and frustration. Whether your faucet has a pull-out spray or a separate side sprayer, the process is surprisingly beginner-friendly.
This guide walks you through every step, from checking the faucet hose connection to testing your new spray, so you can tackle the repair with confidence.
Why Replacing A Kitchen Sink Sprayer Head Is Worth Learning
Knowing how to fix your own sprayer puts real control back in your hands. Instead of waiting days for a technician or paying a call-out fee for a five-minute job, you handle it whenever it suits you.
This skill goes well beyond the home kitchen, too. If you own an RV, camper van, or cabin, a reliable water flow matters even more, and calling a plumber out to a remote spot simply isn’t practical.
A quick sprayer swap keeps your mobile setup or outdoor kitchen running smoothly without any fuss. The same steps apply whether you’re at home or parked at a campsite.
Once you learn it, you’ll feel ready to handle small plumbing fixes anywhere. That kind of confidence is genuinely worth having.
Tools and Materials You’ll Need
Gathering your supplies first makes the whole job smoother. Most of these items are cheap and easy to find at any hardware store, and you may already own a few.
- New sprayer head – choose one that matches your faucet type
- Adjustable wrench – loosens stubborn threaded fittings
- Pliers – for extra grip on tight connectors
- Plumber’s tape – seals threaded joints and prevents leaks
- Old toothbrush – scrubs away mineral deposits
- White vinegar – dissolves stubborn limescale buildup
- Clean towel or rag – catches drips and wipes up water
- Small bowl – holds washers, O-rings, and small parts
- Flashlight or headlamp (optional) – lights up the dark sink base cabinet
That flashlight isn’t essential, but it makes working under the sink far easier. A well-lit space helps you spot worn washers and tricky connections you’d otherwise miss in the shadows.
Step-by-Step Guide on How To Replace Sprayer Head On Kitchen Sink
Step 1 – Shut Off the Water Supply
Before you touch anything, turn off the water. Look under the sink for the shutoff valves on the supply lines and twist them clockwise until they stop.
Most sprayer head swaps don’t need this step, since you’re working at the nozzle end rather than the supply. Still, it’s a smart safety habit, especially if you plan to disconnect the sprayer hose.
Once the valves are closed, turn on the faucet briefly to release any leftover pressure. You’ll hear the water sputter and stop, which tells you the line is clear.
This quick precaution saves you from a surprise spray of water mid-job. Taking thirty seconds here keeps your workspace dry and your repair stress-free.
Step 2 – Clear the Sink Base Cabinet
Open the cabinet beneath your sink and pull out everything stored inside. Cleaning supplies, bins, and bottles all need to go, since you’ll want room to move and see.
Lay a towel down on the cabinet floor. It catches drips and gives you a comfortable spot to rest your hands and tools while you work.
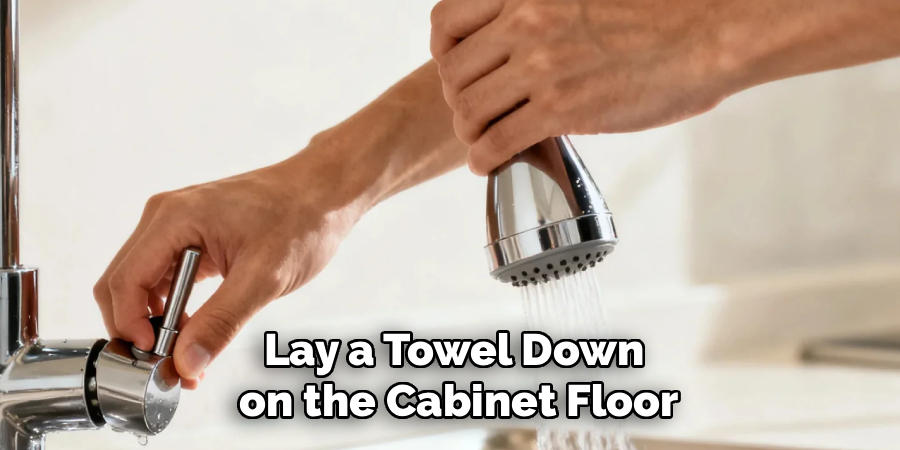
Shine your flashlight up toward the faucet base so you can clearly see the sprayer hose and connector. This is where everything attaches, and good visibility makes the next steps far easier.
A clear, well-lit workspace turns an awkward, cramped job into a manageable one. Trust me, fumbling around in a packed cabinet is the fastest way to lose patience.
Step 3 – Check the Faucet Hose Connection
Reach up and locate where the sprayer hose meets the head. On a pull-out faucet, the hose runs through the spout, while a side sprayer connects beneath the deck.
Run your fingers along the connection to feel for the threaded fitting or a quick-connect coupling. Knowing which type you have shapes how you’ll detach the old head.
Give the hose a gentle tug to check it moves freely and isn’t kinked or stiff. A stuck hose often hints at mineral buildup you’ll want to clean later.
Take a quick photo with your phone, too. Having a reference image of the original setup makes reassembly much simpler if you get confused partway through.
Step 4 – Unscrew the Old Sprayer Head
Now grip the old sprayer head and twist it counterclockwise to loosen it. Many heads come off by hand, but if it resists, wrap a cloth around it and use your pliers for extra grip.
You may feel some resistance from hardened mineral deposits crusting the threads. Don’t force it wildly. Steady, firm pressure works far better than sudden jerks.
As the head comes free, a little trapped water might trickle out, which is completely normal. Let your towel catch the drips.
Set the old head aside but keep it handy. You’ll use it as a matching reference when checking your replacement nozzle for the correct thread type and size.
Step 5 – Inspect Washers and O-Rings
With the head removed, peer inside the connector and look for the small rubber washer or O-ring. These tiny parts seal the joint and stop leaks, so they matter more than their size suggests.
Pull the washer out gently and inspect it. If it looks cracked, flattened, or brittle, replace it with a fresh one. Worn seals are a leading cause of annoying drips.
While you’re in there, scrub away any mineral deposits with your old toothbrush dipped in white vinegar. You’ll watch the chalky white buildup dissolve and rinse clean.
A tidy, debris-free connection ensures your new sprayer head seats properly. Skipping this quick check often leads to leaks down the line.
Step 6 – Match the Thread Type
Now compare your old sprayer head against the new one side by side. Knowing how to replace sprayer head on kitchen sink correctly depends on matching the threaded fitting exactly.
Look at the thread direction, diameter, and whether it’s a male or female connector. Even a slight mismatch means the new head won’t seal, no matter how tightly you twist it.
If you’re unsure, this is the moment to pause. Take both pieces to the hardware store rather than guessing and ending up with the wrong part.
Some faucets use a quick-connect system instead of threads, which simply clicks into place. Identifying your type now saves you a frustrating return trip and keeps the project moving forward.
Step 7 – Attach the New Sprayer Head
Wrap a layer of plumber’s tape clockwise around the threaded fitting if your connection uses threads. This creates a tight seal and helps prevent future leaks.
Now thread the new sprayer head on by hand first, turning it clockwise. Hand-tightening lets you feel whether the threads catch cleanly, which avoids cross-threading and stripped fittings.
Once it’s snug by hand, give it a final gentle turn with your wrench or pliers. Don’t overdo it. Over-tightening can crack the connector or crush the O-ring inside.
For quick-connect models, simply push the head until you hear a satisfying click. That sound tells you the coupling has locked securely into place, ready for the water to flow.
Step 8 – Test Spray Patterns and Check for Drips
Turn your shutoff valves back on by twisting them counterclockwise. Then run the faucet slowly and watch the water flow through your fresh nozzle.
Switch between stream mode and spray mode to confirm both work properly. You should feel strong, even water pressure with no annoying spitting or uneven sprays.
Now reach under the sink and feel around the connection with a dry finger. Any dampness signals a leak, which usually means tightening the fitting a touch more or reseating the washer.
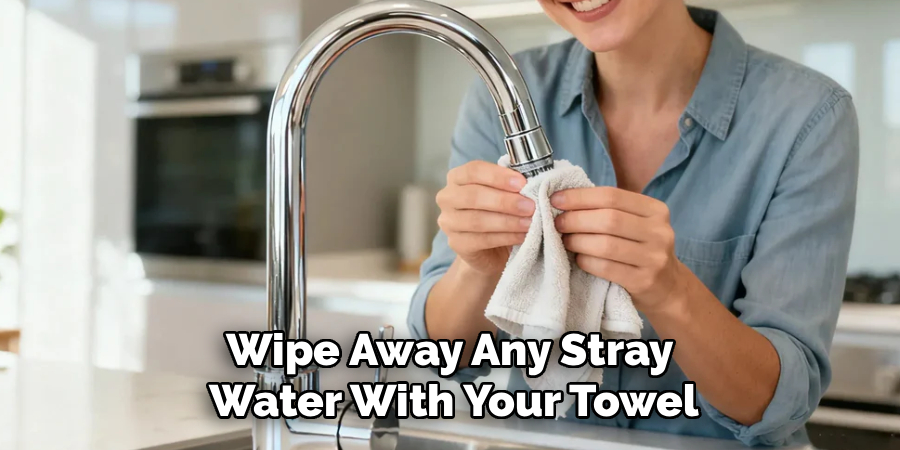
Wipe away any stray water with your towel and watch the spot for a minute. Once everything stays dry and the spray looks crisp, you’re done. Enjoy that satisfying full flow.
Critical Mistakes When Replacing A Kitchen Sink Sprayer Head
A few simple slip-ups trip up beginners, so let’s clear them before you start.
The most common mistake is buying the wrong replacement head. Sprayers vary widely between pull-out faucets and separate side sprayers, and thread types differ too. Always bring your old head to the store and compare it carefully, or you’ll waste a trip and money.
Another frequent error is over-tightening the new head. It feels safer to crank it hard, but excessive force cracks plastic connectors and crushes the O-ring, which actually causes the leaks you were trying to avoid. Hand-tighten first, then add only a gentle final turn.
Many people also forget to inspect the washer. A worn, flattened seal won’t hold, so even a perfectly fitted head will drip. Swap tired washers for fresh ones every time.
Skipping the cleanup of mineral deposits causes trouble, too. Limescale on the threads prevents a proper seal and blocks water flow. A quick scrub with vinegar fixes this in seconds.
Finally, don’t forget the leak check. Reassembling the cabinet before testing means you’ll only discover drips after everything’s packed away again.
Expert Tips
A few smart habits make this repair even smoother. First, always take the old sprayer head with you to the hardware store. Matching it in person beats guessing every single time.
Double-check compatibility between pull-out and side sprayers before buying, since they’re rarely interchangeable. A quick photo on your phone helps the store staff guide you.
Clean mineral buildup from every fitting with white vinegar before attaching the new head. This small step dramatically improves the seal and water pressure.
Keep a towel under the fittings throughout the job to catch surprise drips. Always hand-tighten first to avoid cross-threading, then finish gently with a wrench.
Finally, test both stream mode and spray mode before you call it done. Confirming both functions now saves you from reopening the cabinet later.
Frequently Asked Questions
Do I Need to Turn Off the Water to Replace the Sprayer Head?
In most cases, no. Since you’re working at the nozzle end rather than the supply line, you can usually swap the head without touching the shutoff valves. However, turning off the water is a smart safety step, especially if you plan to disconnect the sprayer hose. It only takes a moment and protects you from an unexpected spray while you work.
How Do I Know Which Replacement Sprayer Head to Buy?
The safest method is matching your old head to the new one. Pay attention to a few key details:
- Faucet type – pull-out spouts and side sprayers differ
- Thread type – check direction, size, and male versus female fittings
- Connection style – some use threads, others use quick-connect couplings
Bringing the old head to the store removes all the guesswork and helps you find an exact match.
Why Does My New Sprayer Head Still Leak?
A leak usually points to one of three things. The washer or O-ring may be worn or seated incorrectly, so check it sits flat and snug. The threaded fitting might need a wrap of plumber’s tape for a tighter seal. Or you may have over-tightened and cracked the connector. Loosen, inspect, reseat the washer, and gently retighten to fix most drips.
Can I Replace a Sprayer Head in an RV or Camper Kitchen?
Absolutely. The process is nearly identical to a home kitchen, which makes it perfect for mobile setups. RV and camper faucets often use compact or quick-connect fittings, so check your connection type first. Clean any mineral deposits, match the replacement nozzle carefully, and test the water pressure once installed. It’s a quick fix that keeps your travels running smoothly without calling anyone out.
How Do I Clean Mineral Buildup From My Sprayer?
White vinegar is your best friend here. Soak the affected parts in a bowl of vinegar for fifteen to thirty minutes, then scrub gently with an old toothbrush. The acid dissolves the chalky limescale and restores clear water flow. For the nozzle face, you can tie a vinegar-filled bag around it. Rinse thoroughly with clean water before reattaching everything.
Conclusion
Fixing a worn-out sprayer is one of the easiest plumbing wins you can score, and now you have a clear path from start to finish. Clear out your sink base cabinet, check the faucet hose connection, and unscrew the old head with steady, patient pressure.
From there, inspect your washers, match the thread type carefully, attach the new nozzle, and always finish with a thorough leak check. Each step builds on the last, so a little care goes a long way toward a drip-free result.
Steer clear of the common pitfalls, too, like buying the wrong head, over-tightening fittings, or skipping the washer inspection. Avoid those, and your repair will hold strong for years.
The real reward is the confidence you gain. Whether you’re at home, in a cabin, or parked in your camper, you’ll know exactly how to replace sprayer head on kitchen sink without waiting on anyone. Grab your tools, take your time, and enjoy that satisfying rush of full water pressure you fixed all by yourself.

About
Nick Hall has spent the last seven years working at the intersection of kitchen design and home repair — first as a design assistant at a residential renovation studio, then as a freelance writer covering everything from cabinet layouts to leaky faucet fixes.
Her approach is simple: kitchens should look good and function well. That means she’s just as comfortable talking about color palettes and counter materials as she is walking readers through how to fix a wobbly cabinet hinge or troubleshoot a garbage disposal.
Nick has worked directly with homeowners on small-space kitchen makeovers, budget-conscious renovations, and the kind of everyday repairs that don’t need a contractor — just the right instructions. She writes from experience, not theory, and tests most of the fixes and tips she shares before publishing them.
When she’s not writing, Nick is usually hunting for mid-century kitchen finds at estate sales or helping friends plan their own renovations. She lives in Columbus, Ohio.