
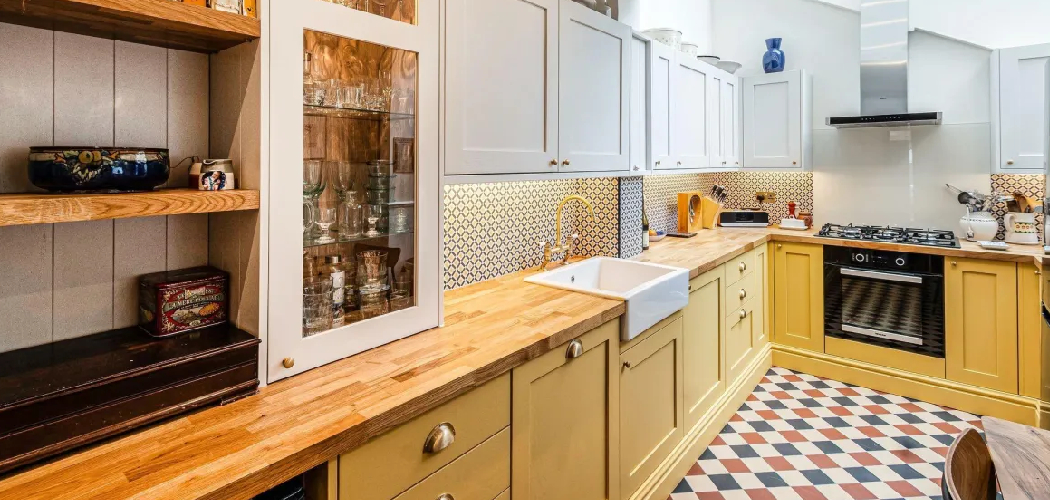
Open any cabinet door and you’ll likely spot the evidence of daily cooking: a scattering of crumbs, a faint ring of dried syrup, and that thin grease film that creeps in over time. It builds up slowly, so you barely notice until everything feels a little sticky and the corners look grimy.
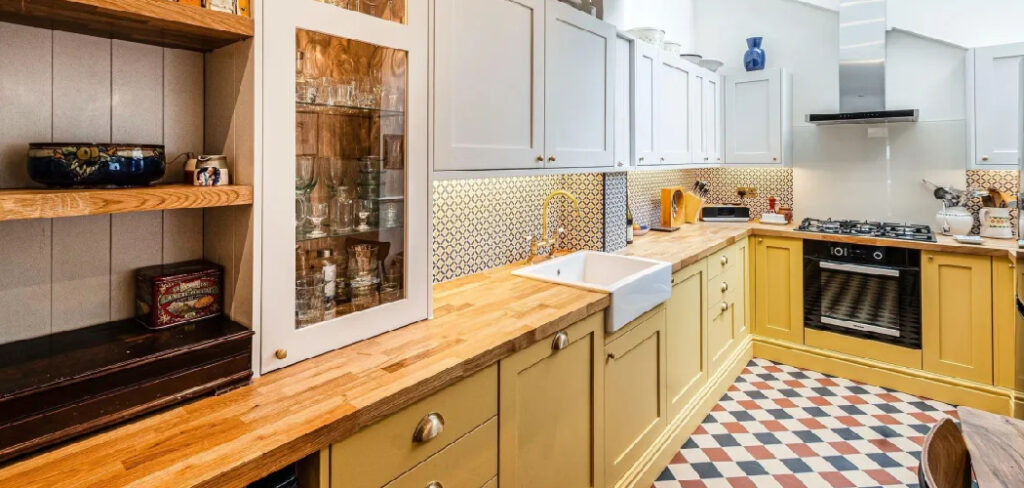
The great part is that you don’t need special skills or pricey supplies to fix this. With a few items from under your sink and an hour of your time, you can refresh every shelf and drawer yourself. Knowing how to clean inside of kitchen cabinets keeps your dishes hygienic, your pantry smelling fresh, and your storage space looking cared for. This guide walks you through each step clearly, so you can tackle the whole project with confidence and enjoy tidy, spotless cabinets again.
Why Learning to Clean Inside of Kitchen Cabinets Matters
Clean cabinets do more than look tidy. They keep food contact surfaces safe, stop pantry smells from settling into your dishes, and discourage pests that love hidden crumbs and food spills. Left alone, sticky residue hardens, moisture lingers in shelf corners, and a musty odor takes hold.
This skill follows you beyond the home kitchen too. If you cook in an RV, pack a camp kitchen storage box, or keep supplies in an outdoor cooking cabinet, the same problems show up fast. Compact mobile spaces trap heat and humidity, so grime and odor build quickly in tight quarters.
Handling this yourself saves money and protects your investment. Wood cabinets and laminate interiors last far longer with regular care, and you skip the cost of replacing warped, stained shelves down the road.
Tools and Materials You’ll Need
You probably own most of these already. Gather everything before you begin so you’re not searching mid-job with damp hands:
- Dish soap – cuts everyday grease and food spills with ease
- White vinegar – dissolves sticky residue and freshens stale smells
- Baking soda – a gentle scrub for stubborn spots and odor
- Two microfiber cloths – one for washing, one for drying
- Warm water – your base for most cleaning solutions
- A small bucket or bowl – to hold your soapy mix
- A soft brush or old toothbrush – reaches tight shelf corners and hinges
- A vacuum with a nozzle attachment – lifts loose crumbs and spice dust
- Optional: fresh shelf liner – protects clean surfaces and adds a tidy finish
Skip harsh ammonia sprays and abrasive pads, since they can strip a wood finish or dull a laminate interior.
8 Step-by-Step Guide on How to Clean Inside of Kitchen Cabinets
Take these steps one at a time, and don’t rush the emptying or drying stages. That’s where you set yourself up for a proper deep clean. Here’s exactly how to clean inside of kitchen cabinets the easy, lasting way.
Step 1 – Empty One Cabinet at a Time
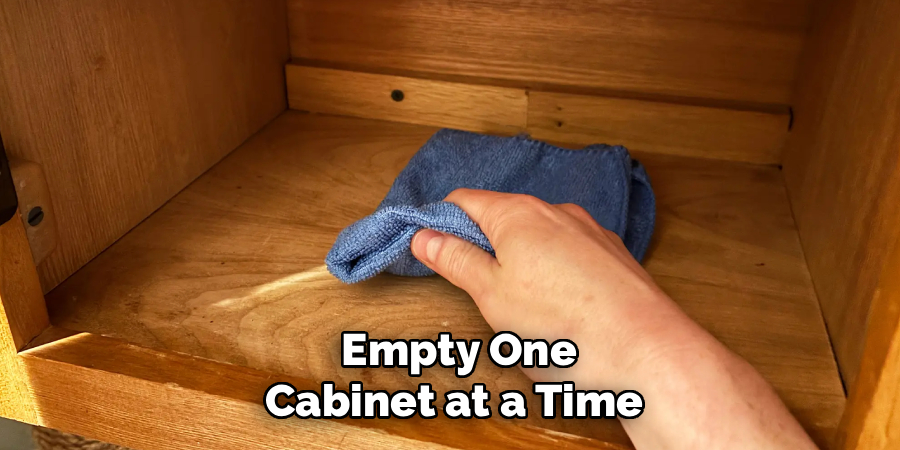
Resist the urge to clear out every cabinet at once. Work through them one by one, and your counters won’t disappear under a mountain of cans and bowls.
Pull everything from a single cabinet and set it on the counter nearby. As you remove items, give each one a quick wipe, since jars and boxes often carry their own film of dust and stickiness.
This is also the perfect moment to sort. Toss expired spices, recycle empty containers, and set aside anything you’ve forgotten you owned. You’ll feel the cabinet lighten with every item you pull, and you might be surprised how much hidden space you free up once the clutter is gone.
Step 2 – Vacuum Out Loose Crumbs and Dust
Before any water touches the surface, deal with the dry mess. Grab your vacuum and fit the narrow nozzle attachment so you can reach into back edges and tight shelf corners.
Run it slowly along each shelf, listening for the rattle of crumbs and dried spice dust getting sucked away. Pay attention to the seams where the shelf meets the wall, because that’s where the most debris collects.
If you’d rather not use a vacuum, a small dustpan and brush work fine too. The goal is simple: remove every loose particle first. Wiping a dusty shelf with a wet cloth just smears grit into mud, and nobody wants to scrub that off twice. A clean, dry start makes everything easier.
Step 3 – Mix a Gentle Cleaning Solution
Now prepare your cleaning mix. Fill your bucket with warm water and add a few drops of dish soap. Swirl it until you see a light layer of suds. This gentle blend handles most grease film and food spills without harming your cabinet interior.
For tougher, sticky residue, stir in a splash of white vinegar. The mild acidity loosens hardened gunk and tackles that lingering pantry smell at the same time.
Dip a microfiber cloth into the solution and wring it out until it’s just damp, not dripping. Too much water is the enemy of wood cabinets, so keep that cloth on the dry side. You want enough moisture to lift grime, but never enough to soak into the surface or seams.
Step 4 – Wipe Down Shelves and Walls
Start from the top shelf and work your way down, so any drips fall onto surfaces you haven’t cleaned yet. Wipe each cabinet shelf in smooth, overlapping strokes, following the grain on wood cabinets.
You’ll feel the cloth glide more freely as the grease film lifts away. Press gently into the back corners and along the side walls, where buildup hides out of sight.
Rinse and re-wring your cloth often, since a grimy cloth just moves dirt around. For the cabinet doors, wipe both the inside panel and the edges where fingers leave marks. As you go, you’ll notice the surface shift from dull and tacky to clean and smooth, which is exactly the change you’re after.
Step 5 – Tackle Sticky Residue and Stains
Some spots won’t budge with soap alone. Think dried honey drips, a syrup ring, or that stubborn patch where a bottle leaked months ago. For these, reach for baking soda.
Sprinkle a little onto a damp cloth, or mix it with a few drops of water to form a soft paste. Rub it gently over the stubborn residue using small circles. You’ll feel the grit working under your fingers as it breaks the gunk loose without scratching the finish.
For grooves and corners your cloth can’t reach, switch to your soft brush or old toothbrush. Work the bristles into the tight angles, then wipe away the loosened mess. Repeat once more on any spot that still feels rough or sticky to the touch.
Step 6 – Clean Hinges, Handles, and Edges
The details make a big difference. Cabinet hinges, handles, and door edges collect more grime than you’d expect, since they get touched constantly throughout the day.
Dip your toothbrush into the soapy solution and scrub around each hinge, working into the little crevices where grease and dust pack together. You’ll hear the bristles loosen the buildup with a soft scratching sound.
Wipe the handles and pulls with your damp cloth, paying attention to the undersides where fingers grip. These spots often hold a slick layer you can feel but rarely see. Finish by running the cloth along all the door edges. Clean these small areas, and the whole cabinet looks and feels noticeably fresher when you’re done.
Step 7 – Dry Everything Thoroughly
This step matters more than people think. Leftover moisture is the quickest way to warp wood cabinets, lift a laminate interior, or invite that musty smell right back.
Take your second, dry microfiber cloth and go over every surface you just cleaned. Wipe the shelves, walls, corners, and door panels until they feel completely dry to the touch.
Then leave the cabinet doors open for fifteen to twenty minutes so air can circulate inside. You’ll notice any faint dampness fade as the fresh air moves through. If your kitchen feels humid, point a small fan toward the open cabinets to speed things along. Don’t reload anything until you’re certain the interior is bone dry. Patience here protects all the work you just put in.
Step 8 – Add Liner and Restock Neatly
With everything dry, you can finish strong. If you’re using fresh shelf liner, cut it to fit each cabinet shelf and smooth it flat into the corners. It protects your clean surface and catches future spills, making the next cleanup quicker.

Now restock thoughtfully. Group similar items together, place heavy jars on lower shelves, and keep everyday essentials within easy reach. Wipe down each item once more if you skipped it earlier.
Step back and take a look. The cabinet should smell fresh, look organized, and feel clean inside and out. That tidy, refreshed result is the reward for your effort, and it makes daily cooking far more pleasant when everything sits in its proper place.
Critical Mistakes When Cleaning Inside of Kitchen Cabinets
A few common slip-ups can turn a simple job into a headache. The biggest one is using too much water. Wood cabinets and laminate interiors hate moisture, and a soaking-wet cloth lets water seep into seams, causing swelling, warping, and peeling over time. Always wring your cloth until it’s barely damp.
Another frequent error is skipping the dry vacuum step. Wiping crumbs and spice dust with a wet cloth just creates muddy streaks that smear into corners, doubling your work. Clear the loose debris first, every single time.
Many people also reach for harsh chemicals like ammonia or bleach, thinking stronger is better. These can strip a wood finish, dull laminate, and leave fumes near your food. Gentle dish soap, white vinegar, and baking soda clean just as effectively without the damage.
Rushing the drying stage causes trouble too. Reloading damp shelves traps moisture, which breeds that stubborn musty smell and even mold. Give everything time to air dry fully.
Finally, doing all cabinets at once buries your counters in clutter and tempts you to quit halfway. Work one cabinet at a time for steady, manageable progress.
Expert Tips
Want to keep cabinets fresh between deep cleans? Wipe up spills the moment they happen, before they harden into sticky residue. A quick swipe now saves a real scrub later.
Tuck a small open box of baking soda into your pantry cabinet to absorb odors naturally. Swap it out every couple of months for the best results.
Use washable or peel-and-stick shelf liner so the next cleanup takes minutes instead of hours. When grime builds up, you simply wipe or replace the liner. For a streak-free shine on glass-front doors, buff with a dry microfiber cloth after washing. And always test any new cleaner on a hidden corner first, just to be sure it won’t harm your wood finish or laminate interior.
Frequently Asked Questions
How often should I clean inside my kitchen cabinets?
Aim for a quick wipe of high-use cabinets every few weeks and a full deep clean two to three times a year. Cabinets near the stove gather grease faster, so they may need more frequent attention. Pantry shelves benefit from a seasonal clear-out to toss expired food and catch crumbs. Regular small efforts keep big, time-consuming cleanups rare.
What’s the best cleaner for wood cabinet interiors?
A gentle mix of warm water and a few drops of dish soap works beautifully for most wood cabinets. For sticky spots or odors, add a splash of white vinegar. Keep these points in mind:
- Always use a barely damp cloth, never a soaking one
- Dry the surface immediately afterward
- Skip ammonia, bleach, and abrasive pads that strip the finish
How do I get rid of a musty pantry smell?
Start by emptying the cabinet and removing any expired or leaking food, which is often the source. Wipe the shelves with a vinegar-and-water solution to neutralize odor, then dry thoroughly. Leave the doors open to air out for an hour. Finally, set a small open container of baking soda inside to absorb lingering smells and keep the space fresh going forward.
Should I use shelf liner in my cabinets?
Shelf liner is optional but genuinely helpful. It protects surfaces from spills, catches crumbs, and makes future cleaning much faster since you can wipe or replace it easily. Peel-and-stick or washable liners work best for kitchen use. They’re especially useful in pantry and under-sink cabinets, where moisture and food spills are most common. Just make sure the shelf is fully dry before applying any liner.
Can I clean cabinet interiors without removing everything?
You can do a light touch-up without fully emptying, but a proper deep clean really needs an empty cabinet. Pushing items aside leaves hidden grime and crumbs in the back corners. For quick maintenance between deep cleans, wiping around items is fine. For a thorough job that reaches every shelf corner and removes built-up residue, take the few extra minutes to clear it out.
Conclusion
Refreshing your cabinets is far simpler than it looks once you have a clear routine. With a little dish soap, white vinegar, baking soda, and a couple of microfiber cloths, you can lift away grease film, crumbs, and sticky residue from every shelf and corner. The real secret is working one cabinet at a time and drying everything completely before you restock.
Keep the key points in mind. Vacuum the loose debris first, use a barely damp cloth to protect your wood finish, scrub stubborn spots with baking soda, and never rush the drying stage. These small habits keep your storage space hygienic, organized, and free of that musty pantry smell.
Now that you know how to clean inside of kitchen cabinets the right way, you can handle this anytime without hiring help or spending a cent on services. Clean cabinets protect your dishes, extend the life of your shelves, and make everyday cooking more enjoyable. So grab your supplies, open those doors, and enjoy the satisfying results of a fresh, spotless kitchen. You’ve got this.

About
Nick Hall has spent the last seven years working at the intersection of kitchen design and home repair — first as a design assistant at a residential renovation studio, then as a freelance writer covering everything from cabinet layouts to leaky faucet fixes.
Her approach is simple: kitchens should look good and function well. That means she’s just as comfortable talking about color palettes and counter materials as she is walking readers through how to fix a wobbly cabinet hinge or troubleshoot a garbage disposal.
Nick has worked directly with homeowners on small-space kitchen makeovers, budget-conscious renovations, and the kind of everyday repairs that don’t need a contractor — just the right instructions. She writes from experience, not theory, and tests most of the fixes and tips she shares before publishing them.
When she’s not writing, Nick is usually hunting for mid-century kitchen finds at estate sales or helping friends plan their own renovations. She lives in Columbus, Ohio.