
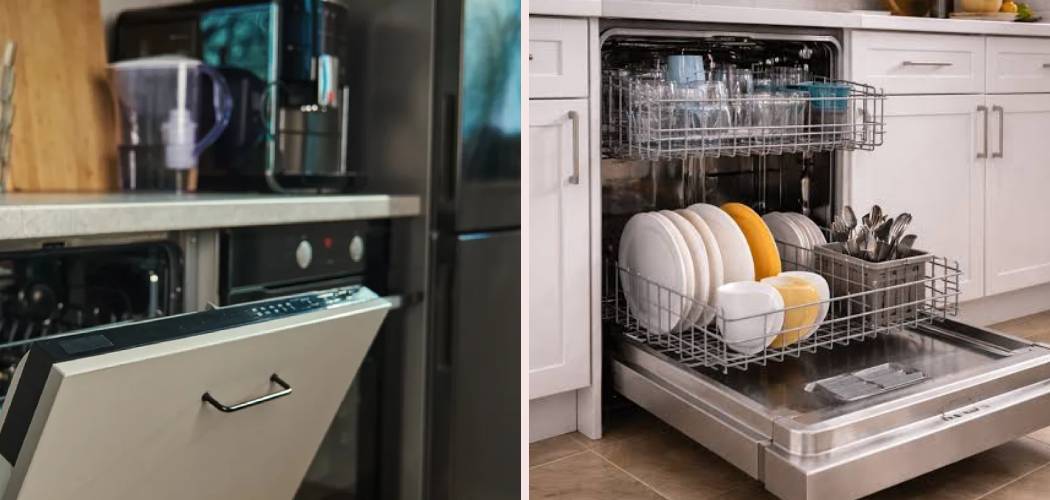
Sliding a brand-new dishwasher into your kitchen feels like a big project, but it’s far more doable than you’d expect. With a free afternoon, a few basic tools, and a little patience, you can handle the whole job yourself and skip the installation fee. Learning how to install a Whirlpool dishwasher gives you a real sense of accomplishment, and it’s a skill you’ll use again whenever you upgrade or move.

These machines follow a fairly standard setup, so once you understand the connections, the process clicks into place. You’ll deal with water, power, and a drain line, all of which sound trickier than they actually are.
This guide walks you through every step in plain language, so you can install your new appliance safely and confidently from start to finish.
Why Installing a Whirlpool Dishwasher Matters
Knowing how to set up your own appliance saves you real money, often a hundred dollars or more in labor alone. For homeowners and kitchen enthusiasts, that’s a satisfying win you can feel good about every time you run a load.
There’s more to it than savings, though. When you handle the install yourself, you understand exactly how your machine connects. That knowledge helps you troubleshoot leaks, drainage hiccups, or leveling issues down the road without panicking or calling for help.
This hands-on skill travels well, too. If you outfit an RV, fit out a cabin, or rig up a temporary outdoor kitchen, the same plumbing and power basics apply. Once you’ve done it once, you’ll feel comfortable tackling similar projects anywhere, turning a daunting task into a routine you genuinely enjoy.
Tools and Materials You’ll Need
Gather everything before you begin so you’re not crawling out from under the counter mid-job. Most of these tools live in a basic home toolkit already.
- Adjustable wrench – for tightening the water supply line and fittings
- Screwdrivers (Phillips and flathead) – for mounting brackets and anchor screws
- Pliers – handy for hose clamps and tight connections
- Tape measure – to check your cabinet opening dimensions
- Level – essential for setting the leveling legs correctly
- Bucket and towels – to catch drips and run your leak test
- Wire connectors and a power cord kit – for the electrical hookup
- Teflon (plumber’s) tape – seals threaded fittings against leaks
- Flashlight – lights up the dark space under the sink
Optional but helpful: a small headlamp keeps both hands free while you work in those cramped, shadowy spots beneath the counter.
Step-by-Step Guide on How To Install A Whirlpool Dishwasher
Step 1 – Shut off the power and water supply
Safety comes first, always. Head to your breaker box and switch off the circuit that feeds the dishwasher area. Don’t just trust the switch on the wall, because mistakes here are dangerous.
Next, find the shutoff valve under the sink and turn it clockwise until it stops. This cuts the water supply line so you won’t get a surprise spray when you start connecting things.

Test the breaker by trying the disposal or a nearby outlet to confirm the power is truly dead. You’ll feel much calmer knowing both utilities are off. This single step protects you from shocks and floods, so never rush it. Take a breath, double-check, and then move on with confidence.
Step 2 – Measure the cabinet opening
Before anything else, grab your tape measure and check the cabinet opening. A standard dishwasher needs roughly 24 inches of width, 34 to 35 inches of height, and about 24 inches of depth.
Measure twice and write the numbers down. You’ll save yourself a frustrating discovery halfway through the job if the unit doesn’t quite fit.
Run your hand along the edges of the opening to feel for stray screws, old caulk, or splinters that might snag the machine. Clear away any debris from the previous appliance now.
Check that the floor inside the toe kick area is reasonably level, too. A clean, correctly sized opening makes the rest of this project smooth and stress-free, so don’t skip this quick check.
Step 3 – Prepare the dishwasher connections
Lay the dishwasher on its back on a soft towel so you can reach the underside. Here you’ll find the inlet valve, the drain port, and the electrical junction box, usually tucked behind a small cover plate.
Attach the 90-degree brass fitting to the inlet valve first, wrapping the threads with plumber’s tape for a tight, leak-free seal. Snug it down with your wrench until it feels firm but not overtightened.
Connect your drain hose to the pump outlet and secure it with a hose clamp using your pliers. Give it a gentle tug to make sure it holds. Prepping these connections now, while the machine is easy to reach, makes the final hookup under the counter far simpler.
Step 4 – Wire the electrical connection
With the cover plate off the junction box, you’ll see three wires waiting: black, white, and green or bare copper. Feed your power cord kit through the strain relief, then tighten the strain relief so the cord can’t pull loose.
Match the colors carefully. Connect black to black, white to white, and the green or copper ground wire to the green screw. Twist a wire connector firmly onto each pair until it’s snug.
Tuck the wires neatly back inside and replace the cover plate. Take your time and double-check every connection, because loose wiring causes trouble later. Knowing how to install a Whirlpool dishwasher safely really comes down to getting this electrical step right, so work slowly and confirm each wire sits secure.
Step 5 – Connect the water supply line
Stand the dishwasher upright again and slide it partway toward the opening, leaving enough room to reach behind it. Now connect the water supply line to the brass fitting you attached earlier.
Thread it on by hand first to avoid cross-threading, then tighten it with your wrench. Wrap the threads with plumber’s tape beforehand for extra insurance against drips.

Make the connection snug, but don’t crank it so hard that you crack the fitting. You’re aiming for firm and secure. Position the line so it won’t kink or get pinched as you push the unit into place.
A solid water connection here prevents the slow leaks that quietly damage cabinets over time, so give it a careful once-over before moving on.
Step 6 – Route the drain hose with a high loop
The drain hose needs a high loop to keep dirty water from flowing back into your clean dishes. Lift the hose up under the counter and secure it to the underside of the cabinet, as high as it will reach.
From there, run the hose to either the disposal inlet or a dedicated drain port. If you have a disposal, knock out the plug inside the inlet first, or water won’t drain at all.
Slide the hose onto the inlet and clamp it tight with your pliers. This high loop arrangement is required by most plumbing codes for good reason. It guards against backflow and keeps every rinse cycle sanitary, so don’t shortcut it.
Step 7 – Slide in, level, and secure the unit
Gently push the dishwasher into the cabinet opening, guiding the hoses and cord so nothing pinches behind it. Go slowly and listen for any scraping.
Now adjust the leveling legs by turning them with your wrench or pliers. Set your level on the door edge and on the bottom rack, checking both side to side and front to back. A level machine runs quietly and drains properly.
Once it sits square and even, fasten the mounting brackets to the underside of the countertop with the anchor screws. Some models use side clips that screw into the cabinet walls instead. Tighten everything until the unit feels rock-solid and won’t tip when you pull the door open with a loaded rack.
Step 8 – Restore power, run a test cycle, and check for leaks
You’re almost done. Turn the shutoff valve counterclockwise to restore the water supply, then flip the breaker back on. Open the dishwasher door and confirm the control panel lights up.
Start a short test cycle and stay nearby with your flashlight and towels. Watch the water supply line connection, the inlet valve, and the drain hose for any drips during the run.
Run your hand along each fitting to feel for moisture. Even a tiny bead of water means you need to tighten that joint a touch more.
Let the full rinse cycle finish, then check the floor under the toe kick for puddles. A clean, dry leak test means your installation is solid and ready for everyday use.
Critical Mistakes When Installing a Whirlpool Dishwasher
A few common slip-ups trip up first-timers, so let’s clear them away before you start.
The most dangerous mistake is skipping the power shutoff. Some folks turn off only the wall switch and assume that’s enough. It isn’t. Always kill the breaker and test it, because working on live wiring risks a serious shock.
Another frequent error is forgetting the high loop on the drain hose. Without it, dirty water siphons back into the tub, leaving your dishes dirtier than before. Secure that hose high under the counter every single time.
Skipping the leveling step causes endless headaches, too. An unlevel machine drains poorly, runs noisily, and may leak around the door. Spend the extra few minutes with your level, since it genuinely affects performance.
People also forget to remove the knockout plug in a new garbage disposal before connecting the drain. The result is water that backs up and refuses to drain. Pop that plug out first.
Finally, always check your specific model manual. Connection details and bracket styles vary, and the manual saves you from guessing.
Expert Tips
Keep a small bucket and a few old towels under the connections during your first few cycles. Slow leaks sometimes appear only after the fittings settle, and catching them early protects your cabinets.
Snap a quick photo of the wiring before you close the junction box. If you ever need to troubleshoot or move the unit, that picture is a lifesaver.
Don’t overtighten brass fittings. Hand-tight plus a quarter turn with the wrench usually does the job, and overcranking can crack the threads or strip the strain relief.
If your floor isn’t quite level, use the adjustable leveling legs rather than shims under the toe kick. They give you cleaner, more reliable results.
Finally, hold onto your installation manual and store it somewhere handy. Whirlpool models differ slightly, and the manual answers model-specific questions faster than any online search.
Frequently Asked Questions
Do I need a plumber or electrician to install a dishwasher?
In most cases, no, especially if your kitchen already has the connections in place. A confident DIY beginner can handle a standard swap with basic tools. However, call a professional if:
- You need a new water supply line or shutoff valve installed
- There’s no existing electrical junction box or dedicated circuit
- Your local codes require licensed work for new wiring
When in doubt, check your area’s regulations first.
How long does it take to install a dishwasher?
Plan for about two to three hours if you’re a first-timer working carefully. An experienced installer might finish in under an hour, but there’s no need to rush. Most of your time goes into measuring the cabinet opening, making the water and drain connections, and leveling the unit properly. Add extra time if you’re removing an old machine first or troubleshooting a tricky fit.
Can I connect the dishwasher drain hose without a garbage disposal?
Yes, absolutely. If you don’t have a disposal, connect the drain hose to a dedicated dishwasher drain port or an air gap fitting on the sink. You’ll still need to create a high loop under the counter to prevent backflow. Just secure the hose tightly with a clamp, and avoid sharp kinks. Check your sink setup to confirm which drain connection your plumbing offers.
Do I need a power cord kit or hardwiring?
It depends on your setup. Many Whirlpool dishwashers arrive without a cord, so you’ll either add a power cord kit and plug it into an outlet, or hardwire it directly through the electrical junction box. Both methods work safely when done correctly. Check whether you have an outlet under the sink, then choose the option that matches your kitchen and your comfort level.
How do I know if my dishwasher is leaking after installation?
Run a full test cycle and stay close with a flashlight. Watch every connection point, then check the floor afterward. Look for these warning signs:
- Water beading on the water supply line or inlet valve
- Drips along the drain hose or its clamps
- Puddles collecting under the toe kick
Tighten any wet fitting slightly, then run another cycle to confirm the leak is gone.
Conclusion
Setting up your own appliance is one of those projects that feels intimidating until you actually do it, and then you wonder why you ever worried. You’ve now walked through the whole process, from shutting off the power and water to measuring the opening, wiring the connection, hooking up the water supply line, routing the drain hose with a high loop, leveling the unit, and running that all-important leak test.
The key is patience and a steady, careful approach. Take each step one at a time, double-check your connections, and always reach for your model manual when something looks different from the norm.
Remember the safety basics: cut the power at the breaker, shut off the water, and confirm both before you touch a single wire. Those habits keep you safe every time.
Now that you know how to install a Whirlpool dishwasher from start to finish, you can tackle this job with real confidence, save yourself the service fee, and enjoy the quiet pride of a kitchen upgrade you handled all on your own.

About
Nick Hall has spent the last seven years working at the intersection of kitchen design and home repair — first as a design assistant at a residential renovation studio, then as a freelance writer covering everything from cabinet layouts to leaky faucet fixes.
Her approach is simple: kitchens should look good and function well. That means she’s just as comfortable talking about color palettes and counter materials as she is walking readers through how to fix a wobbly cabinet hinge or troubleshoot a garbage disposal.
Nick has worked directly with homeowners on small-space kitchen makeovers, budget-conscious renovations, and the kind of everyday repairs that don’t need a contractor — just the right instructions. She writes from experience, not theory, and tests most of the fixes and tips she shares before publishing them.
When she’s not writing, Nick is usually hunting for mid-century kitchen finds at estate sales or helping friends plan their own renovations. She lives in Columbus, Ohio.