
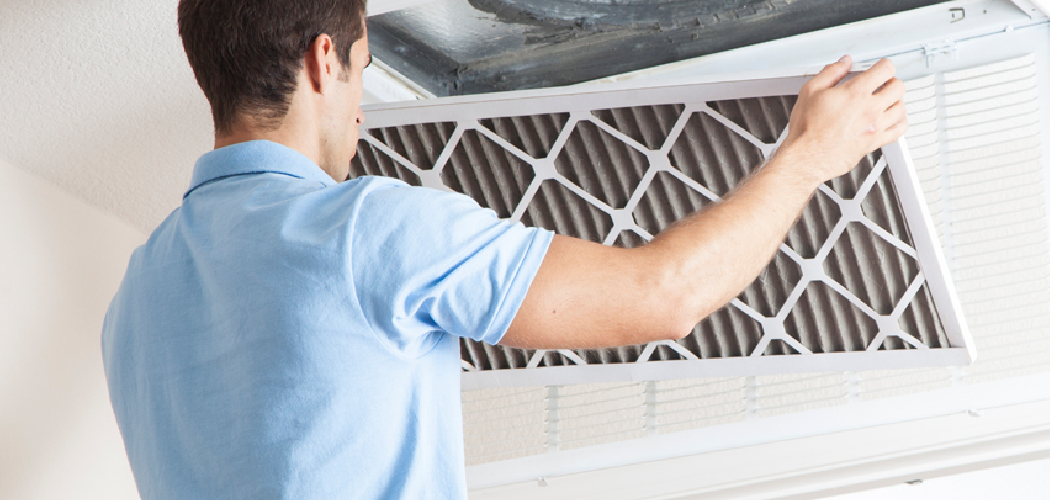
Does your kitchen fill with smoke every time you sear a steak or fry onions? That lingering haze, the foggy windows, and the smell that clings to your curtains all point to one missing piece: proper airflow. Learning how to install ventilation fan in kitchen spaces gives you a simple, lasting fix for stuffy air, greasy surfaces, and stubborn cooking odors.

The good news is you don’t need to call a contractor or spend a fortune. With a few tools, an afternoon, and a bit of patience, you can mount a fan that pulls steam, smoke, and humidity straight out of your home. Whether you’re working with an exhaust fan or a full range hood, the process follows the same friendly logic. This guide walks you through every step so you finish with clean air and real confidence.
Why Installing a Kitchen Ventilation Fan Matters for DIY Beginners
Tackling this project teaches you skills that pay off well beyond your kitchen. You’ll learn to cut a clean opening, route ductwork, and connect a simple electrical box, all of which build your confidence for future home repairs.
There’s a comfort payoff too. A working fan whisks away smoke, humidity, and kitchen odors before they settle into your cabinets and walls. Less grease lands on your surfaces, which means less scrubbing for you down the road.
You also protect your home. Trapped moisture can lead to mold and peeling paint over time, while good airflow keeps everything dry and fresh. For practical homeowners, doing this yourself means a healthier kitchen, a lower bill, and the satisfaction of knowing you handled it without hiring anyone.
Tools and Materials You’ll Need
Round up everything before you start so you’re not pausing mid-job to hunt for a missing part. Most of these items are affordable, and many DIYers already have the basics in the garage.
You’ll need a mix of cutting, mounting, and wiring supplies, plus the fan unit itself. Choose your model based on your kitchen layout and whether you’re venting through a wall or ceiling.
Here are the essentials:
- Kitchen exhaust fan or range hood unit
- Ductwork and a vent cap for the exterior wall or roof
- Drill and bits
- Jigsaw or hole saw for the cutout
- Screwdriver and mounting screws
- Foil tape and duct connectors
- Wire connectors and a voltage tester
- Tape measure, pencil, and level
- Safety glasses and a dust mask
Optional but handy: a stud finder. It helps you locate framing fast so you mount the fan securely and avoid cutting into a hidden beam.
Step-by-Step Guide on How to Install Ventilation Fan in Kitchen
Step 1 – Plan Your Vent Path and Location
Start by deciding where the air will exit your home. Stand at your stove and trace the shortest, straightest route to an exterior wall or the roof. The fewer twists in your ductwork, the stronger your airflow and the quieter your fan.
Mark the spot where the fan will sit, usually centered above your cooktop. Use a tape measure and level so the unit lines up straight and even.
Knowing how to install ventilation fan in kitchen layouts starts with this planning step. Check for pipes, wiring, or studs hiding behind the surface before you commit. A clear vent path now saves you from a messy surprise once the saw comes out.
Step 2 – Turn Off the Power
Safety comes first, so head to your electrical panel and flip the circuit breaker that feeds your kitchen. Don’t guess which one it is. Test it by trying a nearby light or outlet to confirm the power is truly dead.
Touch a voltage tester to the wires in your electrical box before you handle anything. When the tester stays silent, you’re clear to work.

This single step protects you from a dangerous shock. It takes two minutes and gives you peace of mind for the rest of the job. Never rush past it, even if you feel confident. Working on live wires is one risk no DIY project is worth taking.
Step 3 – Cut the Opening
Time to make the hole for your fan and duct. Hold the unit against your marked spot and trace its outline with a pencil. Double-check that your lines sit level before you cut anything.
Drill a starter hole inside the line, then guide your jigsaw or hole saw along the marks. You’ll feel the blade chew through drywall or plaster, kicking up fine dust, so keep your safety glasses and mask on.
Cut slowly and steadily for clean edges. Test-fit the fan or duct collar in the opening to confirm a snug fit. A tight, accurate cutout makes mounting easier and keeps air from leaking around the edges later.
Step 4 – Run the Ductwork
Now connect your ducting from the fan opening to the exterior vent cap. Feed the duct through the cavity, keeping bends gentle and the path as direct as you planned. Sharp kinks choke airflow and trap grease inside the line.
Slide the duct over the fan’s collar and the vent cap, then seal every joint with foil tape. Press the tape down firmly so no smoke or humidity escapes into your walls.
Run your hand along the seams to check for gaps. A solid, sealed vent path carries odors and steam all the way outside instead of leaking into your attic. Clean ductwork today means less grease buildup and better performance for years.
Step 5 – Install the Exterior Vent Cap
Head outside to mount the vent cap on your exterior wall or roof. This little hood keeps rain, pests, and wind from sneaking back into your ductwork while letting air flow out freely.
Slip the cap’s collar into the duct opening and press it flat against the surface. Drive in the mounting screws until it sits firm with no wobble.
Run a bead of exterior caulk around the edges to block water from seeping behind it. Give the cap a gentle tug to confirm it’s secure. Check that the flap swings open and closed easily, since a stuck flap blocks airflow and traps kitchen odors right back inside your home.
Step 6 – Mount the Fan Unit
Back inside, lift the fan into the opening and line it up with your marks. Hold a level against the housing so it sits perfectly straight, then drive the mounting screws into the studs or bracket.
You’ll feel the unit settle tight against the surface once the screws bite. Give it a light push to check for any wobble or vibration, since a loose mount creates annoying fan noise later.
Connect the duct collar to your ductwork and seal it with foil tape. Press firmly so the joint stays airtight. A snug mounting bracket fit keeps the fan quiet, steady, and ready to pull steam straight out of your kitchen.
Step 7 – Wire the Electrical Connections
With power still off, match the fan’s wires to your home’s wiring inside the electrical box. Connect black to black, white to white, and the green or bare wire to ground. Twist a wire connector onto each pair until snug.
Tuck the wires neatly into the box so nothing pinches when you push the fan flush. A tidy connection prevents loose contacts and flickering down the line.
Secure the cover plate, then double-check that every connector holds firm. Loose wiring causes weak performance and safety risks, so take your time here. When each connection feels solid, you’re nearly ready to enjoy fresh, moving air across your stove.
Step 8 – Restore Power and Test
Head back to the panel and flip the circuit breaker on. Return to your kitchen and switch the fan to its lowest setting first.
Listen for a smooth hum rather than a rattle, and feel for steady airflow at the grille. Step outside and check that the vent cap flap opens with the moving air. That’s your proof the whole vent path works end to end.
Run the fan through every speed and watch for excess vibration. Boil a pot of water and watch the steam disappear into the fan. When the haze clears fast and the noise stays low, you’ve nailed it. Enjoy the clean, fresh air you just earned.
Critical Mistakes When Installing a Kitchen Ventilation Fan
The most common slip-up is venting into an attic or wall cavity instead of outside. It feels easier, but all that warm, greasy humidity has nowhere to go. Over time it breeds mold, rots framing, and stains your ceiling. Always run your ductwork to an exterior vent cap so smoke and moisture leave the house completely.
Another frequent error is choosing a fan that’s too weak for the space. A tiny exhaust fan can’t keep up with heavy frying or a large kitchen, leaving odors and steam hanging in the air. Match the fan’s rating to your cooking habits and room size before you buy.
Skipping the foil tape on duct joints causes trouble too. Unsealed seams leak air, drag down performance, and let grease build up inside the walls. A few minutes of taping every connection makes a big difference.
Many beginners also forget to confirm the power is off, which risks a serious shock. Test every wire with a voltage tester first. Finally, sharp duct bends choke airflow and crank up fan noise, so keep your vent path as straight and smooth as you can.

Expert Tips
Buy a fan with a slightly higher airflow rating than you think you need. Cooking habits change, and extra capacity clears smoke and humidity faster without forcing the motor to scream at full speed.
Add a layer of acoustic insulation around rigid ductwork if fan noise bothers you. It softens the rumble and keeps your kitchen peaceful during long cooking sessions.
Clean the grease filter every month or two. A clogged filter strangles airflow and makes the motor work harder, shortening its life. A quick soak in warm, soapy water keeps it breathing easy.
Finally, point your vent cap away from prevailing winds when you can. This small choice helps the flap open smoothly and keeps gusts from pushing kitchen odors back inside on blustery days.
Frequently Asked Questions
Do I really need to vent the fan outside?
Yes, venting outside is the right way to do it. A ductless or recirculating fan only filters odors slightly and pumps the warm, greasy humidity right back into your kitchen. That trapped moisture leads to mold, peeling paint, and lingering smells. Running your ductwork to an exterior vent cap sends smoke, steam, and grease completely out of your home, keeping the air clean and your surfaces dry.
How do I know what fan strength to buy?
Match the fan’s airflow rating, measured in CFM, to your kitchen size and cooking style. A quick guide:
- Light cooking, small kitchen: lower CFM works fine
- Frequent frying or large stove: choose a higher CFM model
When in doubt, size up. A stronger fan clears smoke and odors faster and runs quieter at a moderate speed than a weak fan straining at full power.
Can I install this without an electrician?
Many homeowners can handle a basic swap or install themselves, especially when an electrical box already exists nearby. The key is turning off the circuit breaker and testing the wires with a voltage tester first. If your project needs brand-new wiring or a new circuit, or if the connections confuse you, call a licensed electrician. There’s no shame in getting help with the parts that feel risky.
How long does the whole project take?
Most beginners finish in four to six hours, depending on the vent path and whether wiring already exists. Cutting the opening, running ductwork, and sealing the vent cap take the most patience. Don’t rush the planning or the cutting, since mistakes there are hard to undo. Set aside an unhurried afternoon, work through each step carefully, and you’ll enjoy a smooth, satisfying result.
Why is my new fan so noisy?
Noise usually comes from a few fixable causes. A loose mounting bracket lets the unit vibrate against the wall or ceiling, so tighten every screw. Sharp duct bends force air through with a roar, so straighten the path where you can. A clogged grease filter also makes the motor strain. Clean the filter, secure the housing, and smooth the ductwork to bring the volume way down.
Conclusion
Clearing smoke, steam, and stubborn odors from your kitchen comes down to one smart upgrade. Once you understand how to install ventilation fan in kitchen setups, you’ll wonder why you ever cooked in a foggy, greasy haze.
Keep the key steps in mind: plan a short, straight vent path, cut off the power before you touch any wires, and run your ductwork all the way to an exterior vent cap. Cut a clean opening, seal every joint with foil tape, and mount the fan level so it runs quiet and steady. A solid test run at the end confirms your hard work paid off.
You don’t need a contractor or special training to pull this off, just a free afternoon and a willingness to follow each step with care. The reward is fresh air, cleaner surfaces, and a kitchen that finally breathes. Gather your tools, trust the process, and enjoy the calm of clear air over your stove. Go ahead and give your kitchen the ventilation it deserves.

About
Nick Hall has spent the last seven years working at the intersection of kitchen design and home repair — first as a design assistant at a residential renovation studio, then as a freelance writer covering everything from cabinet layouts to leaky faucet fixes.
Her approach is simple: kitchens should look good and function well. That means she’s just as comfortable talking about color palettes and counter materials as she is walking readers through how to fix a wobbly cabinet hinge or troubleshoot a garbage disposal.
Nick has worked directly with homeowners on small-space kitchen makeovers, budget-conscious renovations, and the kind of everyday repairs that don’t need a contractor — just the right instructions. She writes from experience, not theory, and tests most of the fixes and tips she shares before publishing them.
When she’s not writing, Nick is usually hunting for mid-century kitchen finds at estate sales or helping friends plan their own renovations. She lives in Columbus, Ohio.