
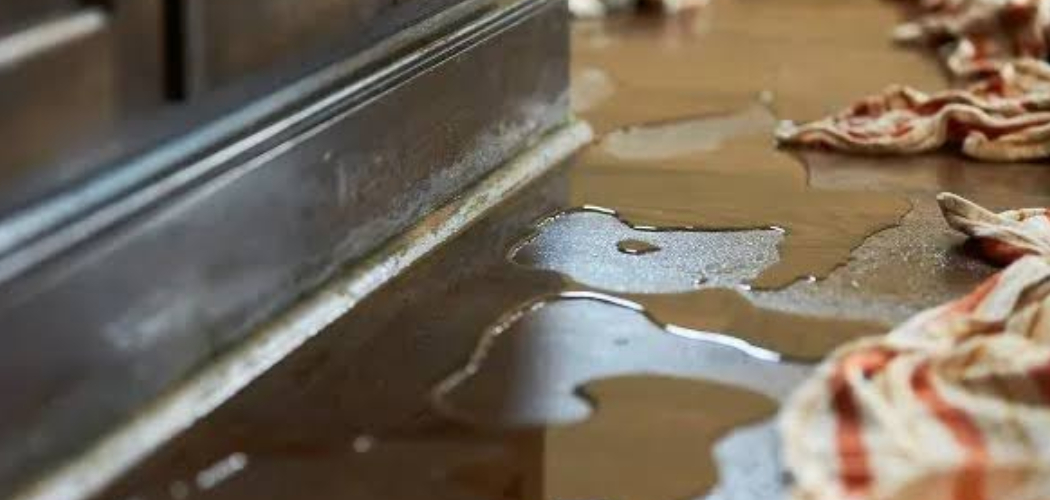
Water-damaged kitchen cabinets can look worse than they are. Swollen edges, peeling veneer, musty smells, and soft spots often show up after a leak under the sink, a dishwasher overflow, or years of trapped moisture. The good news is that many cabinets can be saved with basic tools, patience, and the right repair steps.

If you want to learn how to repair kitchen cabinets with water damage, you do not need to be an expert carpenter to get solid results. You just need to know how to assess the damage, dry the area fully, repair weak material, and seal the cabinet so the problem does not return. This guide will walk you through the process from inspection to final finish.
Why Repairing Water-Damaged Kitchen Cabinets Matters
Learning to fix water-damaged cabinets helps you protect one of the hardest-working parts of your kitchen. Cabinets near sinks, dishwashers, refrigerators, and coffee stations face moisture almost every day. If you ignore small signs of damage, the cabinet box can weaken, doors can stop lining up, and mold can start to grow in hidden corners.
For homeowners, repair is often faster and far less expensive than full replacement. It also helps you keep your kitchen functional while avoiding the mess of a major remodel. When you know how to spot early signs of damage and handle repairs yourself, you can extend the life of your cabinets, improve how your kitchen looks, and prevent a small leak from becoming a much bigger home repair.
Tools and Materials You’ll Need
Before you begin, gather your supplies so you can work in one smooth session:
- Screwdriver or drill
- Work gloves
- Safety glasses
- Bucket and clean rags
- Sponge and mild cleaner
- Fan or dehumidifier
- Utility knife
- Putty knife
- Sandpaper in medium and fine grits
- Wood filler or epoxy wood repair compound
- Clamps
- Replacement particleboard, plywood, or trim if needed
- Wood glue or construction adhesive
- Primer and paint or matching cabinet finish
- Caulk for sealing around sink or plumbing areas
- Vacuum with brush attachment
- Optional: Moisture meter for checking if the cabinet is fully dry
Step-by-Step Guide on Repairing Water-Damaged Kitchen Cabinets
Step 1 – Find the Source of the Water
Before you repair anything, stop the moisture problem. Check under the sink, behind the dishwasher, around the refrigerator line, and along the countertop seam. Look for drips, damp supply lines, rusty shutoff valves, or old caulk that has cracked and let water seep through.

Run your hand along the cabinet floor and side panels. If the surface feels cool, soft, or slightly gritty, water may still be present. You may also notice a sour or musty smell, which often means moisture has been trapped for a while. Fixing the leak first is the most important part of how to repair kitchen cabinets with water damage, because fresh repairs will fail if the area keeps getting wet.
Step 2 – Empty the Cabinet and Remove Damaged Parts
Take everything out of the cabinet so you can see the full extent of the damage. Remove shelf liners, baskets, stored items, and any loose hardware. If the cabinet doors, hinges, kick plates, or toe trim block your access, take them off and set the screws in a labeled container.
Now inspect every exposed surface. Tap swollen panels with your knuckles and press gently on bubbled areas. Solid wood may dry and recover, but particleboard and MDF often crumble once water gets inside. If a panel flakes apart under light pressure, plan to patch or replace it. This step gives you a clear view of what can be saved and what needs stronger repair work.
Step 3 – Dry the Cabinet Completely
Drying takes longer than many beginners expect, but it matters more than speed. Wipe away standing water first, then use a fan and dehumidifier to pull moisture out of the cabinet box. Leave doors off if possible so air can move through the space. A dry cabinet should feel room temperature, not cold and damp.
If the damage sits near plumbing, check the wall behind the cabinet too. Hidden moisture can keep wood swollen even when the front looks better. You can speed up the process by vacuuming dust and debris from corners where water tends to collect. Do not apply filler, glue, or paint until the cabinet is fully dry. In most cases, patient drying is what separates a lasting repair from a temporary patch.
Step 4 – Clean Away Dirt, Mold, and Loose Material

Once the cabinet is dry, clean it thoroughly. Use a mild cleaner on a sponge or rag to remove grease, dust, and residue. In kitchens, water damage often mixes with cooking oils, making the surface slick and hard for primer or filler to grip. Scrub gently but fully, especially in corners and around plumbing cutouts.
If you see small spots of mold or mildew, clean them carefully and let the surface dry again before moving on. Then use a putty knife or utility knife to scrape away blistered finish, loose laminate, peeling veneer, or crumbly particleboard. Sand rough edges until the surface feels stable. Clean repairs start with clean material. If you skip this stage, your patch can lift, crack, or look uneven after finishing.
Step 5 – Repair Swollen Areas and Fill Damaged Spots
Now you can rebuild damaged sections. For minor swelling, sanding may be enough. Work slowly with medium-grit sandpaper, then switch to fine grit to smooth the area. If the cabinet has soft depressions, chipped corners, or shallow rot, press wood filler or epoxy into the damaged section with a putty knife. Shape it slightly proud of the surface so you can sand it flat later.
This is where many people really understand how to repair kitchen cabinets with water damage. You are not just covering stains. You are restoring strength and shape. Let the filler cure fully based on the product directions. Once it hardens, sand it smooth and run your hand over the repair. It should feel even, solid, and ready for primer or paint.
Step 6 – Replace Sections That Are Too Far Gone
Some cabinet parts cannot be saved, especially cabinet floors made of particleboard that have swollen into thick, weak layers. If a section bends easily, breaks apart, or stays misshapen after drying, cut it out and replace it. Use the old piece as a template when possible. Plywood usually holds up better than particleboard for replacement patches in wet areas.
Dry-fit the new piece before attaching it. Then secure it with wood glue, construction adhesive, screws, or a mix of all three, depending on the cabinet design. Clamp it in place if needed until it sets. Make sure the patch sits level so shelves, doors, or stored items will not wobble later. A solid replacement here can make an older cabinet feel dependable again.
Step 7 – Sand, Prime, and Match the Finish
With the structure repaired, focus on the look of the cabinet. Sand all patched or repaired areas until the transition feels smooth to the touch. Wipe away dust with a clean rag or vacuum brush attachment. Dust left behind can ruin the final finish by creating bumps or weak paint adhesion.
Apply a quality primer that works for wood or engineered wood. Primer helps block stains, seals filler, and gives your topcoat a more even surface. After it dries, paint or finish the cabinet to match the rest of your kitchen as closely as possible. Thin coats usually look better than one heavy coat. Take your time here. A careful finish can hide the repair so well that most people will never notice the damage was there.
Step 8 – Reassemble and Protect the Cabinet from Future Damage
After the finish cures, reinstall shelves, hinges, doors, and trim. Check that everything lines up and opens smoothly. If doors shifted because of earlier swelling, adjust the hinges until the gaps look even. Then seal around sink edges, plumbing openings, or countertop joints with fresh caulk if needed.
The final part of how to repair kitchen cabinets with water damage is prevention. Add a drip tray under plumbing, wipe up spills quickly, and check for slow leaks every few months. If the cabinet sits under a sink, avoid storing wet sponges or leaking cleaning bottles directly on the cabinet floor. A repaired cabinet can last for years, but only if you keep moisture from building up again.
Common Mistakes When Repairing Water-Damaged Kitchen Cabinets
One common mistake is starting repairs before fixing the leak. If water still drips from a valve or sneaks in around the sink rim, even the best filler and paint will fail. The cabinet may look better for a short time, but the damage will return under the surface.
Another mistake is rushing the drying stage. Cabinets can feel dry on top while still holding moisture deep inside the material. If you paint, glue, or patch too soon, you may trap dampness in the cabinet. That can lead to bubbling, peeling, foul smells, or mold growth later.
Many beginners also underestimate how weak particleboard becomes after water exposure. They try to sand or fill sections that no longer have enough strength to support the repair. In those cases, replacement works better than patching.
Poor surface prep causes problems too. Greasy kitchen residue, loose laminate, and sanding dust can all keep repair products from bonding well. Finally, some people forget to seal vulnerable areas after the repair. A cabinet near plumbing needs extra protection. Fresh caulk, quick spill cleanup, and regular checks help keep your work from being undone by the next small leak.
Expert Tips
Start small and test your repair products in a hidden spot if you are trying to match paint or finish. Kitchen cabinet colors can shift over time from light, grease, and cleaning products, so an exact match on the label may still look different on the cabinet.
If the damage is near the sink base, consider using plywood for replacement panels even if the rest of the cabinet is particleboard. It handles moisture better and gives you a stronger base for future use. Sand between coats for the smoothest finish, and label all hardware as you remove it so reassembly feels easy. If you notice mold inside the wall, major structural rot, or ongoing leaks you cannot trace, call a professional before the damage spreads.
Frequently Asked Questions
Can water-damaged kitchen cabinets be saved?
Yes, many can. If the damage is limited to surface swelling, peeling finish, minor soft spots, or a stained cabinet floor, you can often repair it. Cabinets with severe rot, widespread mold, or major structural collapse may need partial or full replacement. The key is to stop the leak and assess how much solid material remains.
How do I know if I should repair or replace a cabinet?
Repair works best when the cabinet box is mostly sound and the damage affects only part of the surface or one panel. Replace the cabinet or a major section if the wood crumbles easily, doors no longer align because the frame has warped badly, or the base has lost its strength. Safety and structure come first.
What is the best filler for water-damaged wood cabinets?
For small dents, chips, and shallow soft spots, a quality wood filler usually works well. For deeper damage or areas that need more strength, epoxy wood repair products are often better because they harden firmly and resist shrinkage. Always apply filler only after the cabinet is fully dry and clean.
How long should I let cabinets dry before repairing them?
That depends on the amount of water and the cabinet material, but it often takes at least 24 to 72 hours with good airflow. Severe soaking can take longer. Fans and dehumidifiers help a lot. If you have a moisture meter, use it for a more accurate reading before you start sanding, filling, or painting.
How can I prevent water damage from happening again?
Check plumbing connections under the sink a few times a year, especially around shutoff valves and drain lines. Replace cracked caulk, wipe up spills quickly, and avoid storing damp items directly on the cabinet floor. A simple drip tray under plumbing can catch small leaks early and protect the repaired surface.
Conclusion
Repairing water-damaged kitchen cabinets may seem intimidating at first, but the process becomes manageable when you break it into clear steps. First, stop the source of moisture. Then dry the cabinet fully, remove weak material, rebuild damaged areas, and seal the surface so it can handle daily kitchen use again. Those steps help you restore both appearance and strength.
If you have been wondering how to repair kitchen cabinets with water damage, the main thing to remember is that careful prep matters more than speed. A rushed repair often fails, while a patient one can last for years. Start with the cabinet that needs the least work if you want practice. As your confidence grows, you will be able to handle bigger repairs, protect your kitchen from future leaks, and keep your cabinets working and looking better for much longer.

About
Nick Hall has spent the last seven years working at the intersection of kitchen design and home repair — first as a design assistant at a residential renovation studio, then as a freelance writer covering everything from cabinet layouts to leaky faucet fixes.
Her approach is simple: kitchens should look good and function well. That means she’s just as comfortable talking about color palettes and counter materials as she is walking readers through how to fix a wobbly cabinet hinge or troubleshoot a garbage disposal.
Nick has worked directly with homeowners on small-space kitchen makeovers, budget-conscious renovations, and the kind of everyday repairs that don’t need a contractor — just the right instructions. She writes from experience, not theory, and tests most of the fixes and tips she shares before publishing them.
When she’s not writing, Nick is usually hunting for mid-century kitchen finds at estate sales or helping friends plan their own renovations. She lives in Columbus, Ohio.