
A clean kitchen floor changes how the whole room feels. Crumbs stop sticking to your socks, grease no longer dulls the surface, and the space smells fresher when you walk in. For first-time cleaners, though, it can be hard to know where to start. Different floors need different care, and too much water or the wrong cleaner can leave streaks, sticky residue, or damage.

Learning how to wash the kitchen floor is not just about pushing a mop around. It means removing loose dirt, choosing the right floor cleaner, using safe mopping habits, and drying the surface properly.
This guide shows you a simple, safe process for washing your kitchen floor with confidence from start to finish.
Why Learning to Wash the Kitchen Floor Matters
Knowing how to clean a kitchen floor helps you protect one of the busiest surfaces in your home. Food spills, cooking oil, pet tracks, and everyday dust can build up fast, especially around the sink, stove, and trash can. Regular washing keeps the floor safer underfoot and helps prevent grime from settling into grout lines or seams.
This skill also helps campers and outdoor beginners. In cabins, RVs, camp kitchens, and small cooking shelters, floors collect mud, sand, ash, and food scraps quickly. A simple sweep-and-mop routine keeps pests away and makes the space more pleasant.
When you understand basic floor care, you can clean tile, vinyl, laminate, or sealed surfaces without guessing.
Tools and Materials You’ll Need
Gather your supplies before you begin so the job moves smoothly. You do not need fancy equipment, but clean tools make a big difference.
- Broom or vacuum for loose crumbs and dirt
- Dustpan or handheld vacuum
- Microfiber mop or sponge mop
- Bucket
- Warm water
- Floor cleaner made for your floor type
- Degreasing cleaner for oily spots
- Soft cloth or paper towels for spills
- Scrub brush for grout lines or textured areas
- Clean towel for drying
- Optional: knee pad for comfort while spot-cleaning edges and corners
Check your floor type before choosing a cleaner. Tile can handle more scrubbing than laminate, while vinyl usually needs gentle cleaning and limited water.
Step-by-Step Guide on How to Wash the Kitchen Floor
Step 1 – Clear the Floor Area
Start by moving anything that blocks the floor. Pick up chairs, pet bowls, small rugs, trash cans, and storage bins. If you cannot move a heavy table, shift it to one side and clean in sections.
This first step gives you room to work and helps you see the real condition of the floor. You may notice dried drips near the stove, crumbs under cabinets, or sticky spots where drinks have splashed.
A clear space also helps prevent tripping while you mop. Kitchens can feel tight, so make the path simple before water touches the floor.
Step 2 – Sweep or Vacuum Loose Dirt
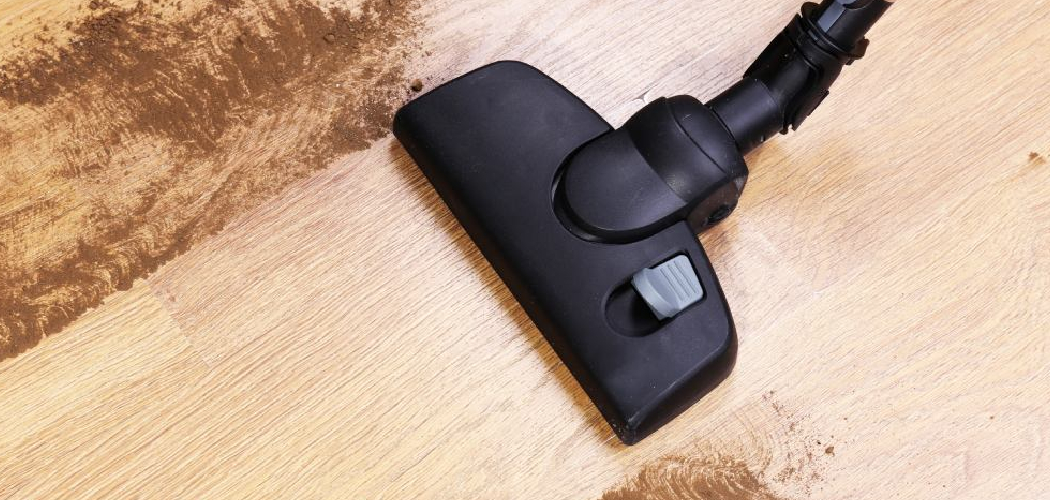
Before mopping, remove dry debris. Use a broom, dustpan, or vacuum to collect crumbs, pet hair, dust, and grit. Pay close attention to baseboards, corners, and the space under cabinet edges.
Skipping this step turns loose dirt into muddy streaks. You may hear tiny grains scrape under the broom, especially near outdoor doors or high-traffic areas.
If you use a vacuum, choose a hard-floor setting or a soft brush attachment. Avoid spinning brush rolls on delicate vinyl or laminate, since they can scatter debris or leave marks.

Step 3 – Check the Floor Type
Look at your floor before mixing cleaner. Tile, vinyl, laminate, sealed wood, and stone all react differently to moisture and cleaning products. If you are unsure, use the gentlest method first.
Tile can usually handle warm water and mild floor cleaner. Vinyl likes a damp mop, not a soaking wet one. Laminate needs extra care because water can seep into seams and cause swelling.
This is where how to wash the kitchen floor becomes more than a routine chore. The right method depends on the surface beneath your feet, not just the dirt you can see.
Step 4 – Treat Sticky and Greasy Spots
Kitchen floors often have spots that need extra attention before full mopping. Look near the stove for cooking oil, near the sink for water marks, and near the fridge for drips. Sticky residue may feel tacky when your shoe lifts from the floor.
Apply a small amount of suitable degreasing cleaner or diluted floor cleaner to the spot. Let it sit briefly, then wipe with a soft cloth or gently scrub with a brush.
Do not scrape with metal tools. They can scratch tile glaze, tear vinyl, or damage laminate coatings.
Step 5 – Mix the Cleaning Solution
Fill your bucket with warm water, then add the recommended amount of floor cleaner. More cleaner does not mean a cleaner floor. Too much product often leaves film, dullness, or sticky streaks after drying.
The water should feel warm, not hot. A mild scent from the cleaner is fine, but a strong chemical smell may mean you used too much or chose the wrong product for a small room.
Read the label before mixing products. Never combine cleaners such as bleach and ammonia, and avoid harsh formulas on floors that need gentle care.
Step 6 – Mop in Small Sections
Dip your microfiber mop into the solution, then wring it out well. The mop should feel damp, not dripping. Start at the farthest corner of the kitchen and work backward toward the exit.
Use smooth, overlapping strokes. On textured tile, guide the mop along grout lines to lift trapped dirt. On vinyl or laminate, use lighter pressure and avoid leaving puddles behind.
As you practice how to wash the kitchen floor, remember that control matters more than speed. Small sections help you clean evenly and prevent dirty water from drying on the surface.
Step 7 – Rinse When Needed
Some floors need a quick rinse after mopping, especially if you used a stronger cleaner or treated greasy areas. Empty the bucket, refill it with clean warm water, and go over the floor again with a well-wrung mop.
This step removes leftover cleaner that can attract dirt later. If the floor still feels slick or looks cloudy, rinsing usually helps.
Change the rinse water when it turns gray. Dirty rinse water spreads soil back across the floor and can leave a dull finish, especially on light-colored tile or smooth vinyl.
Step 8 – Dry and Inspect the Floor
After mopping, dry the floor with a clean towel or let it air-dry with good airflow. Drying matters because standing water can damage laminate seams, leave mineral spots, or make the floor slippery.
Walk around carefully and inspect the surface from different angles. Light from a window or ceiling fixture can reveal streaks, missed crumbs, or cloudy patches.

If you see a small missed area, touch it up with a damp cloth instead of re-mopping the whole room. Put rugs, chairs, and pet bowls back only after the floor feels completely dry.
Common Mistakes When Washing the Kitchen Floor
One common mistake is mopping before sweeping or vacuuming. Loose crumbs, sand, and dust mix with water and spread into streaks. This makes the floor look worse and can grind grit into the surface as you move the mop.
Another mistake is using too much water. A soaking wet mop may seem powerful, but it can seep into laminate seams, loosen adhesive under vinyl, and leave puddles around cabinet bases. A damp microfiber mop usually cleans better and dries faster.
Many beginners also use the wrong cleaner. Harsh products can dull finishes, damage stone, or leave a slippery film. Always match the floor cleaner to your material and follow the label.
A fourth mistake is ignoring edges and corners. Dirt collects under cabinet toe kicks, around chair legs, and along baseboards. These spots can make the whole room feel dirty even after the main floor area looks clean.
Finally, do not rush the drying step. Wet kitchen floors are a slip risk, especially for kids, pets, and anyone carrying dishes or hot food.
Expert Tips
Use separate cleaning routines for light messes and deep cleaning. For daily upkeep, sweep crumbs and wipe spills right away. For weekly cleaning, mop with warm water and a floor-safe cleaner.
Keep your mop head clean. A dirty mop spreads old grease and odor across the floor, even if your bucket water looks fresh at first. Wash reusable microfiber pads after each use and let them dry fully.
For grout lines, use a small brush and gentle pressure instead of flooding the floor. If your kitchen sees heavy traffic, place washable mats near the sink and stove. They catch splashes before they become stubborn grime.
Frequently Asked Questions
How often should I wash my kitchen floor?
Most kitchens need sweeping or vacuuming several times a week and mopping once a week. If you cook often, have pets, or track in outdoor dirt, you may need to mop more often. Clean spills right away, especially grease, sauce, or sugary drinks. Quick cleanup prevents sticky residue and makes regular washing much easier.
Can I use dish soap to mop the kitchen floor?
You can use a tiny amount of mild dish soap on some floors, but be careful. Too much soap leaves a slippery film that attracts dirt. If you use it, mix only a few drops with warm water and rinse afterward. For best results, choose a floor cleaner made for tile, vinyl, laminate, or your specific surface.
What is the best mop for a kitchen floor?
A microfiber mop works well for most kitchen floors because it lifts dirt without needing too much water. It is especially useful on vinyl, laminate, and sealed surfaces. Sponge mops can work too, but they may push dirty water into grout lines. Choose a mop that wrings out easily and has a washable or replaceable head.
How do I remove sticky residue from the floor?
Start with a damp cloth and warm water. If the spot remains sticky, apply a small amount of floor-safe cleaner and let it sit briefly. Gently rub the area with a cloth or soft brush, then rinse with clean water. Avoid harsh scraping tools, since they can scratch or damage the floor finish.
Is vinegar safe for washing kitchen floors?
Vinegar can work on some vinyl or ceramic tile floors when diluted, but it is not safe for every surface. Avoid vinegar on natural stone, waxed floors, and some sealed finishes because the acid can dull or damage them. If you are unsure, test a small hidden area first or use a cleaner recommended for your floor type.
Conclusion
Washing a kitchen floor well starts before the mop touches the surface. Clear the room, sweep or vacuum loose dirt, identify your floor type, and treat greasy or sticky spots first. Then use warm water, the right floor cleaner, a well-wrung microfiber mop, and a steady section-by-section pattern.
Good drying habits matter too. They help prevent streaks, water damage, and slippery spots in one of the busiest rooms in your home.
Now that you know how to wash the kitchen floor, you can handle the job safely and with less guesswork. Start with a simple weekly routine, clean spills as they happen, and adjust your method to your floor material. A cleaner kitchen floor makes cooking, walking, and everyday living feel better.

About
Nick Hall has spent the last seven years working at the intersection of kitchen design and home repair — first as a design assistant at a residential renovation studio, then as a freelance writer covering everything from cabinet layouts to leaky faucet fixes.
Her approach is simple: kitchens should look good and function well. That means she’s just as comfortable talking about color palettes and counter materials as she is walking readers through how to fix a wobbly cabinet hinge or troubleshoot a garbage disposal.
Nick has worked directly with homeowners on small-space kitchen makeovers, budget-conscious renovations, and the kind of everyday repairs that don’t need a contractor — just the right instructions. She writes from experience, not theory, and tests most of the fixes and tips she shares before publishing them.
When she’s not writing, Nick is usually hunting for mid-century kitchen finds at estate sales or helping friends plan their own renovations. She lives in Columbus, Ohio.