
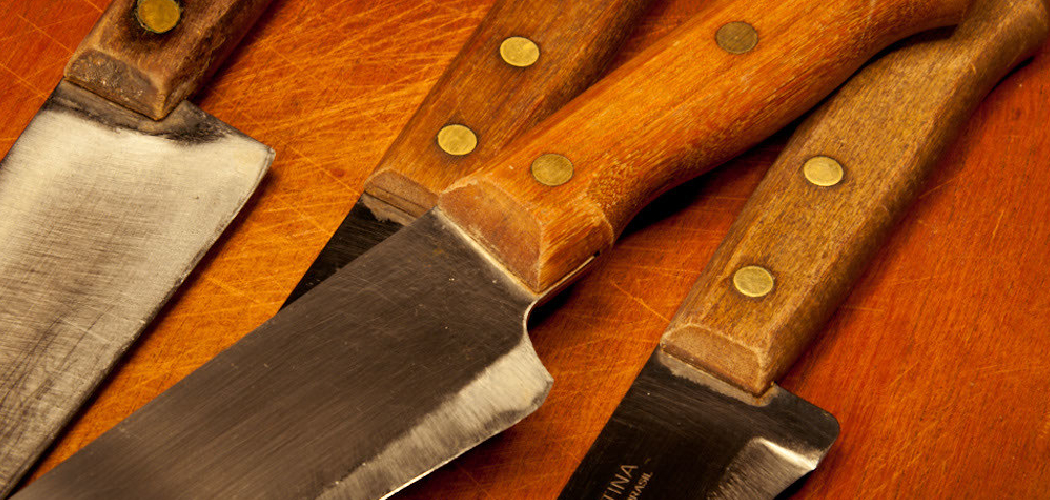
A rusty kitchen knife can look ruined, but in many cases, you can bring it back with a few safe cleaning methods and a little patience. If you have never dealt with blade corrosion before, it helps to know that light rust is common, especially on carbon steel or poorly dried knives. Learning how to get rust off a kitchen knife can save you money, extend the life of your favorite blade, and help you feel more confident about basic knife care.
In this guide, you’ll learn what causes rust, which tools work best, how to clean the blade step by step, and how to keep rust from coming back. The goal is to help you remove rust safely without damaging the knife.

Why Knowing This Helps Campers and Beginners
This skill matters even more if you camp, cook outdoors, or carry knives into damp environments. Moisture, humidity, and food residue can cause orange spots or rough patches on a blade faster than many beginners expect. If you know how to clean early rust, you can keep a useful knife in service instead of tossing it aside.
For beginners, rust removal also builds better habits. You start noticing the difference between surface staining and deep corrosion, and you learn why drying and storage matter. Campers especially benefit because a rusty knife is not just ugly. It can feel rough, cut poorly, and become harder to clean in the field. When you know how to restore and protect a blade, you become more self-reliant at home and outdoors.
Tools and Materials You’ll Need
Before you start, gather a few simple items so you can work carefully and avoid scratching the blade more than necessary.
- Mild dish soap
- Warm water
- Soft sponge or cloth
- Baking soda
- White vinegar or lemon juice
- A small bowl
- Paper towels or a dry kitchen towel
- A non-abrasive scrub pad
- Food-safe mineral oil for protection
- Optional: a wine cork or soft scrubbing block to help apply paste with better control
Use the gentlest tool that will remove the rust. That approach helps preserve the blade finish and lowers the risk of extra wear along the cutting edge.
Step-by-Step Guide on How to Get Rust Off a Kitchen Knife
Step 1 – Inspect the Blade Carefully
Start by looking closely at both sides of the knife under bright light. Light surface rust usually appears as orange or brown spots, while deeper corrosion may look dark, rough, or pitted. Run your finger near, not on, the blade to feel for texture changes. If the rust feels raised and flaky, it may take more than one round of cleaning.
This first check tells you how aggressive you need to be. Most kitchen knives with small rust spots can be cleaned with common household items. If the blade has deep pits near the edge or the handle looks loose or cracked, stop and consider professional help. A careful inspection keeps you from turning a minor issue into permanent damage.
Step 2 – Wash Off Dirt and Grease
Before removing rust, wash the knife with warm water and a drop of dish soap. Use a soft sponge or cloth to remove grease, dried food, and any sticky residue. A dirty blade can hide the true extent of corrosion and make cleaning less effective.
Dry the knife fully with a towel right after washing. This may feel backward when you are about to treat rust, but a dry blade helps you see where the problem spots really are. Clean metal also lets rust-removal pastes stick better. If you are learning how to get rust off a kitchen knife, this simple prep step makes the rest of the process smoother and more controlled.
Step 3 – Make a Gentle Baking Soda Paste
In a small bowl, mix baking soda with a little water until it forms a thick paste. You want the texture to feel like soft toothpaste, not runny like soup. This paste gives you mild abrasion, which helps lift surface rust without being as harsh as steel wool or rough sandpaper.
Spread the paste over the rusted spots with your fingers, a cloth, or a soft sponge. Let it sit for about 10 to 15 minutes. During that time, the paste softens the rust and gives you a better chance of lifting it cleanly. This is a good beginner method because it is easy to control and less likely to leave obvious scratch marks on the blade.
Step 4 – Scrub with Light, Steady Pressure
Once the paste has rested, scrub the rusted area gently with a soft cloth, non-abrasive pad, or cork. Move along the length of the blade rather than across it. That helps you follow the grain of the metal and keeps the finish looking more even.

You do not need to press hard. A steady, patient motion works better than force. As you scrub, you may see rusty streaks smear into the paste and the metal begin to brighten. Wipe the blade clean to check your progress, then repeat if needed. For many first-time users, this is the moment when how to get rust off a kitchen knife stops feeling intimidating and starts feeling manageable.
Step 5 – Use Vinegar or Lemon Juice for Stubborn Spots
If rust remains after the baking soda treatment, move to a mild acid like white vinegar or lemon juice. Dampen a cloth with the liquid and press it against the rusty area for a few minutes. For more stubborn patches, you can soak only the affected part of the blade briefly, but avoid long soaking times, especially with wooden handles.
The acid helps loosen oxidation so it lifts more easily. After a short wait, scrub again with your soft pad or cork. You may notice a faint metallic smell and a cleaner shine as the rust breaks down. Rinse the blade soon after treatment. Leaving acid on too long can dull the finish, so this method works best as a short, targeted step rather than a long soak.
Step 6 – Rinse and Check for Remaining Corrosion
Rinse the blade under warm water to remove every trace of baking soda, vinegar, lemon juice, and loosened rust. Wipe it with a clean cloth and inspect it again in bright light. Turn the blade at different angles so you can catch any orange tint or dull roughness still clinging to the steel.
It is common to need two or three passes on older rust spots. That does not mean you are doing anything wrong. Surface corrosion often comes off in layers. If you still see isolated marks, repeat the gentlest method first before moving to anything stronger. Slow progress is better than over-scrubbing. At this stage, your goal is a clean, smooth blade, not a factory-new cosmetic finish.
Step 7 – Dry the Knife Completely
Drying is one of the most important steps in the whole process. Use a clean towel to dry both sides of the blade, the spine, the area near the handle, and the space around any rivets. Even a few hidden drops of water can start the rust cycle all over again.
Let the knife air dry for a few extra minutes if needed, especially if you cleaned near the handle or bolster. The blade should feel fully dry and look clear, not streaky or damp. This step often gets rushed, but moisture is the reason many knives rust again soon after cleaning. Good drying habits are just as valuable as the rust-removal method itself.
Step 8 – Protect the Blade to Prevent Future Rust
Once the knife is clean and dry, apply a very thin coat of food-safe mineral oil to the blade. Use a soft cloth and wipe on just enough to leave a light protective film. The metal should not feel greasy. It should simply look slightly richer and more even.
This thin barrier helps block moisture and slows new oxidation. Store the knife in a dry place, not loose in a damp sink or trapped in a wet sheath. Wash it by hand after use, dry it right away, and avoid leaving acidic food on the blade for long periods. These small habits protect your work and make future maintenance much easier.

Common Mistakes
Many beginners make the mistake of using overly aggressive tools too soon. Steel wool, coarse sandpaper, and hard metal scrubbers can remove rust, but they can also scratch the blade, wear down the finish, and create fresh spots where moisture can cling. Starting gentle gives you more control and usually works well on light to moderate rust.
Another common mistake is soaking the whole knife for too long. While vinegar can help with stubborn corrosion, extended soaking may discolor the steel and damage certain handles. A short, targeted treatment is usually safer than dropping the knife into a bowl and walking away.
Some people also focus only on the visible rust and skip basic cleaning. If grease, food residue, or grime remains on the blade, the rust-removal method may not work evenly. You can end up scrubbing harder than needed and still getting patchy results.
Drying is another big one. A knife that looks dry on the blade may still hold moisture near the handle, rivets, or spine. That hidden water can restart rust fast. Finally, many people remove the rust successfully but do nothing to prevent it from returning. A light coat of mineral oil and proper storage make a huge difference over time.
Expert Tips
If you want better results, work in layers instead of trying to remove everything in one pass. Gentle repeated cleaning protects the knife and often gives a more even finish. This matters most on polished or thinner blades that can scratch easily.
Use bright side lighting when you inspect the knife. Rust often hides in a faint haze that is hard to see from straight above. A tilted light source makes rough spots stand out. If your knife is carbon steel, expect it to darken over time. A gray or blue patina is different from active orange rust and often helps protect the blade.
For regular care, wash by hand, dry immediately, and keep the knife out of the dishwasher. That simple routine does more for rust prevention than any rescue method later.
Frequently Asked Questions
Can I still use a kitchen knife after removing rust?
Yes, in many cases you can. If the rust was only on the surface and the blade cleans up smoothly, the knife is usually fine for continued use. Wash it well after cleaning, dry it completely, and inspect the edge. If the blade has deep pits, cracks, or heavy corrosion near the cutting edge, replace it or ask a professional to assess it.
Is vinegar safe for all kitchen knives?
Vinegar is useful, but it should be used with care. Short contact is usually fine for many steel blades, especially for spot treatment. Long soaks can dull the finish or affect the handle, particularly if the knife has wood scales or delicate materials. Use vinegar briefly, rinse well, and dry the knife right away.
What if the rust keeps coming back?
If rust returns, the knife is likely staying wet too long or being stored in a humid place. Hand wash it, dry it fully, and avoid leaving it in the sink or on a damp towel. A thin layer of food-safe mineral oil can help protect the blade. Repeated rust is usually a storage and moisture problem, not a cleaning problem.
Should I use steel wool on a rusty knife?
You can, but it is usually not the best first choice. Steel wool can remove rust fast, but it can also scratch the surface and make the knife look worn. For light rust, start with baking soda paste and a soft scrubber. Save harsher tools for severe corrosion, and use them carefully to avoid damaging the blade.
How do I know if rust is too severe to fix at home?
If the blade has deep pitting, blackened rough areas, edge damage, or rust spreading into the handle, home cleaning may not be enough. Severe corrosion can weaken the knife and make it unsafe. If you cannot remove the rust with gentle household methods after a few careful attempts, it is smart to consult a knife repair specialist or replace the blade.
Conclusion
Rust on a kitchen knife may look alarming, but light to moderate corrosion is often treatable with simple tools and a calm approach. The key steps are easy to remember: inspect the blade, wash it clean, use a gentle rust-removal method, scrub with care, rinse, dry thoroughly, and protect the metal afterward. When you follow that process, you reduce damage and give the blade a much better chance of lasting for years.
You also build an important kitchen and outdoor skill. Knowing how to get rust off a kitchen knife helps you save money, maintain better hygiene, and keep your tools reliable when you need them most. Start with the least aggressive method, take your time, and pay close attention to drying and storage. If you make those habits part of your routine, rust will be easier to handle and much less likely to return.

About
Nick Hall has spent the last seven years working at the intersection of kitchen design and home repair — first as a design assistant at a residential renovation studio, then as a freelance writer covering everything from cabinet layouts to leaky faucet fixes.
Her approach is simple: kitchens should look good and function well. That means she’s just as comfortable talking about color palettes and counter materials as she is walking readers through how to fix a wobbly cabinet hinge or troubleshoot a garbage disposal.
Nick has worked directly with homeowners on small-space kitchen makeovers, budget-conscious renovations, and the kind of everyday repairs that don’t need a contractor — just the right instructions. She writes from experience, not theory, and tests most of the fixes and tips she shares before publishing them.
When she’s not writing, Nick is usually hunting for mid-century kitchen finds at estate sales or helping friends plan their own renovations. She lives in Columbus, Ohio.