
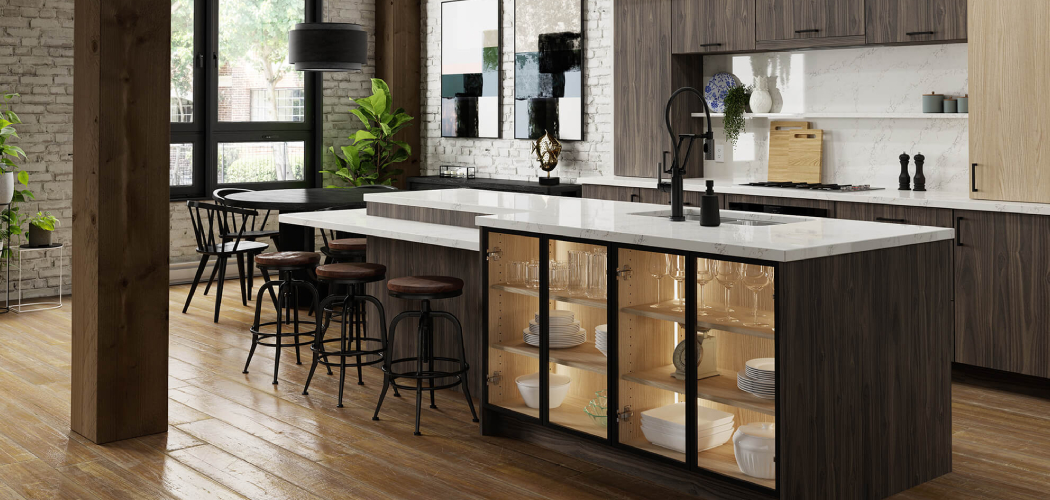
If you are planning a kitchen update, learning how to measure for kitchen countertops can save you time, money, and stress. Good measurements help you estimate material costs, compare quotes, and avoid mistakes before fabrication or installation begins. Even if a professional will do the final template, knowing the basics gives you confidence and helps you spot issues early.
The process is not hard, but it does require patience and a clear system. You will measure each section, note openings for sinks and appliances, and record details like depth, overhang, and corner shape. This guide will walk you through each step so you can measure your kitchen with accuracy and confidence.

Why This Skill Matters
Measuring your countertops correctly does more than produce numbers on paper. It helps you understand the real shape and layout of your kitchen. That is important when you are choosing between quartz, granite, laminate, butcher block, or solid surface materials, since each one may have different size limits, seam placement rules, and installation needs.
This skill also helps you budget with fewer surprises. When you know the square footage, edge lengths, backsplash runs, and cutout locations, you can ask better questions and compare estimates more easily. For first-time DIYers, that knowledge makes the whole project feel less overwhelming. You are not guessing anymore. You are making informed decisions based on a clear plan, and that can make the renovation smoother from start to finish.
Tools & Materials
Before you begin, gather everything in one place so you do not have to stop midway through the job.
- Tape measure, preferably 25 feet
- Notepad or printed kitchen sketch sheet
- Pencil with eraser
- Graph paper for cleaner layout drawings
- Straightedge or ruler
- Calculator
- Painter’s tape for marking sections
- Level to check for uneven walls or cabinets
- Step stool if you need better access to corners
- Smartphone camera to photograph each wall and section
- Optional: laser measure for quick double-checks on long runs
Use a tape measure you trust and write down every number as soon as you take it. Small errors add up fast in countertop work, especially around sinks, corners, and appliance gaps.
Step-by-Step Guide on How to Measure for Kitchen Countertops
Step 1 – Clear and inspect the workspace
Start by removing small appliances, cutting boards, dish racks, and anything else sitting on the counters. Wipe down the surfaces so crumbs, grease, and clutter do not block your tape measure. A clean workspace helps you see edges, corners, and seams more clearly. You will notice details you might miss in a busy kitchen, such as a wall that bows slightly or a cabinet line that is not perfectly straight.
Stand back and look at the full layout. Notice every countertop section, including islands, peninsulas, and narrow side runs. Listen for the little snap of the tape measure locking into place and pay attention to how it sits along each edge. This first scan gives you a mental map of the room before you start writing numbers.
Step 2 – Draw a simple overhead sketch
Next, draw your kitchen as if you are looking down from above. Keep the sketch simple. You do not need artistic talent. You just need a clear map that shows each countertop run, corner, wall, sink location, cooktop opening, and appliance space. Label every section so your notes stay organized.
Use one page for the whole kitchen, or break it into separate drawings if the layout is complex. Mark front edges, back walls, inside corners, and any exposed ends. If your kitchen has an L-shape or U-shape, sketch each leg clearly. This drawing becomes the base for how to measure for kitchen countertops, and it helps prevent confusion when you review your notes later or share them with a fabricator.
Step 3 – Measure each wall run carefully
Measure the length of each countertop section along the wall from one end to the other. Record every run in inches, because most countertop work is priced and fabricated that way. Do not round numbers unless a contractor specifically asks you to. Exact measurements matter.
Pull the tape tight, keep it level, and measure to the nearest one-eighth inch if possible. If the run includes a stove gap or another break, measure the full wall length and then note the opening separately. For long sections, measure twice. You may hear the tape brush lightly against the backsplash or feel it catch at a corner. That small physical check often tells you whether the measurement is sitting straight or slipping off line.
Step 4 – Measure countertop depth and overhang
Most standard base cabinets are about 24 inches deep, but countertop depth often extends beyond that because of the front overhang. Measure from the wall to the front edge of the countertop. Then note how far the counter extends past the cabinet face. This detail matters for comfort, appearance, and material estimates.
Take depth measurements in more than one spot along each run. Walls are not always straight, and older homes may have subtle shifts that affect the fit. If one section reads slightly deeper than another, write both numbers down. These small changes can influence cutting and seam placement. When people learn how to measure for kitchen countertops, they often focus only on length, but depth is just as important for getting an accurate total.

Step 5 – Mark sinks, cooktops, and cutouts
Now measure every cutout area, including sinks, cooktops, faucets, soap dispensers, and any other opening that affects the slab. Measure the width and depth of each cutout, then note its position relative to the nearest wall or cabinet end. Do not assume the opening is centered unless you measure and confirm it.
If a sink is already installed, measure the cabinet below and the visible opening above. For undermount sinks, be especially careful about placement. The opening may not match the outer sink dimensions. Take photos as you go so you can match your written notes to the actual layout later. This step can feel slow, but it is where accuracy protects you from expensive mistakes.
Step 6 – Check corners, angles, and seams
Corners deserve extra attention because they often create the biggest measuring errors. If your kitchen has an L-shape, U-shape, or angled section, measure both legs and note whether the corner is square or irregular. A framing square or straightedge can help you see if the angle is close to 90 degrees. If it is not, write that down clearly.
Also think about possible seam locations. Large countertop pieces may need to be joined, especially with stone or oversized layouts. Fabricators often place seams near sinks, corners, or natural breaks, but the room layout may limit the options. Touch the wall line and cabinet edges as you move around the corner. If something feels uneven or twisted, note it on your sketch so it does not get forgotten.
Step 7 – Measure islands, peninsulas, and exposed ends
Separate features like islands and peninsulas need their own measurements. Record the full length and width, then note any overhang for seating. If you plan to place stools along one side, that overhang may be deeper than a standard front edge. Measure it exactly and write down which side includes the seating area.
Also mark exposed ends, waterfall edges, or decorative side panels if they are part of your countertop design. These details can affect material quantity and finishing costs. Walk around the island slowly and measure from more than one side. In open kitchens, these surfaces are highly visible, so clean dimensions matter. A small error here can stand out more than it would along a back wall.
Step 8 – Calculate square footage the right way
Once you have all the dimensions, convert each section into square inches by multiplying length by depth. Then add the sections together and divide by 144 to get square feet. If your kitchen has separate runs, calculate each one on its own first. That makes your math easier to check.
Do not subtract every tiny cutout unless your supplier asks for a net material estimate. Many quotes are based on gross surface area, not the empty spaces removed for sinks or cooktops. Keep a second set of notes for edge profiles, backsplashes, and special features, since those can affect pricing too. The numbers should now tell a clear story of your kitchen, not just a pile of disconnected measurements.
Step 9 – Review everything and label your final notes
Before you finish, go back through the kitchen and compare your sketch to the actual space. Check every run, every depth, every cutout, and every overhang. Read the numbers out loud if it helps. You are looking for blanks, mixed-up labels, or measurements that do not make sense together.
Circle anything that needs confirmation and remeasure it right away. Then make one clean final copy of your notes. Label each section clearly, such as sink wall, range wall, island, or left return. Add photos if you are sending the information to a contractor or supplier. A neat measurement sheet can speed up quotes and reduce back-and-forth questions. That extra ten minutes of review can save days of delay later.

Common Mistakes
One common mistake is measuring only the old countertop and ignoring the cabinets, walls, and room conditions around it. Old counters may have warped, shifted, or been cut to fit uneven walls, so copying them without checking the full space can lead to bad numbers. Always measure the actual layout, not just the surface you plan to replace.
Another mistake is forgetting to measure depth in more than one place. Many beginners assume every run is perfectly straight and every wall is square. In real kitchens, that is often not true. Even a small change in wall shape can affect fit, overhang, and seam alignment.
People also get into trouble by writing incomplete notes. A number without a label is easy to misread later. If you note a sink cutout but do not record where it sits, the measurement loses much of its value. Clear labels matter just as much as accurate dimensions.
A fourth mistake is rounding too soon. It may feel easier to write 72 inches instead of 71 7/8 inches, but those fractions matter in fabrication. Small shortcuts can create visible gaps, tight fits, or installation problems. Measure carefully, record exactly, and review everything before you trust the final totals.
Expert Tips
Start your measurements from the same reference point whenever possible, such as the left wall or outside cabinet edge. That keeps your notes consistent and easier to follow. Consistency matters as much as precision when you are working through several countertop runs.
Take photos of each section with your tape measure visible in place. This creates a visual backup in case a note gets smudged, lost, or written down wrong. It also helps if you need to explain the kitchen layout later.
If you plan to order stone, remember that professionals still need a final template before fabrication. Your measurements are ideal for planning, budgeting, and comparing bids, but templating confirms the exact fit. Think of your work as a smart first step that helps the whole project move with fewer surprises.
Frequently Asked Questions
Do I need to remove my old countertops before measuring?
No, you can usually measure with the old countertops still in place. In fact, they often help you see the current layout more clearly. Just make sure you measure the full run, depth, overhang, and all cutouts carefully. If the old counters are damaged or uneven, also check the cabinet bases and wall lines.
Should I measure in inches or feet?
Measure in inches first. Inches give you more precision, and that matters for countertop fabrication and pricing. After that, you can convert your total area into square feet for estimates. Keeping your raw measurements in inches makes the math cleaner and reduces confusion when you compare quotes from different suppliers.
How do I measure for a backsplash?
Measure the length of each wall section where the backsplash will go, then measure the height from the countertop surface to the bottom of the upper cabinets or to your chosen end point. Record each run separately. If outlets, windows, or trim interrupt the wall, note those too so the final material estimate is more realistic.
What if my walls are not straight?
That is very common, especially in older homes. Measure depth and length in more than one place and write down any differences you find. Note bowed walls, uneven corners, or gaps on your sketch. A professional template will account for those irregularities later, but your notes should still reflect what you see in the real space.
Can I use my measurements to order countertops myself?
You can use your measurements to estimate cost, compare materials, and begin planning. For some simple laminate or butcher block projects, you may even order based on your own numbers. For quartz, granite, marble, or other stone surfaces, a professional template is strongly recommended before final fabrication to ensure a precise fit.
Conclusion
Measuring kitchen countertops is not complicated, but it does reward patience and attention to detail. When you clear the space, sketch the layout, measure each run, record depth, mark cutouts, and double-check your notes, you build a solid foundation for the entire project. Those steps help you budget more accurately, communicate better with suppliers, and avoid many of the mistakes that catch beginners off guard.
The key is to work slowly and stay organized. Use exact numbers, label everything clearly, and do not trust memory when a pencil and paper can do the job better. Even if a fabricator will create the final template, knowing how to measure for kitchen countertops gives you more control over your renovation and more confidence in the choices you make.
Take your time, trust the process, and remember that a careful measuring job today can lead to a smoother installation tomorrow.

About
Nick Hall has spent the last seven years working at the intersection of kitchen design and home repair — first as a design assistant at a residential renovation studio, then as a freelance writer covering everything from cabinet layouts to leaky faucet fixes.
Her approach is simple: kitchens should look good and function well. That means she’s just as comfortable talking about color palettes and counter materials as she is walking readers through how to fix a wobbly cabinet hinge or troubleshoot a garbage disposal.
Nick has worked directly with homeowners on small-space kitchen makeovers, budget-conscious renovations, and the kind of everyday repairs that don’t need a contractor — just the right instructions. She writes from experience, not theory, and tests most of the fixes and tips she shares before publishing them.
When she’s not writing, Nick is usually hunting for mid-century kitchen finds at estate sales or helping friends plan their own renovations. She lives in Columbus, Ohio.