
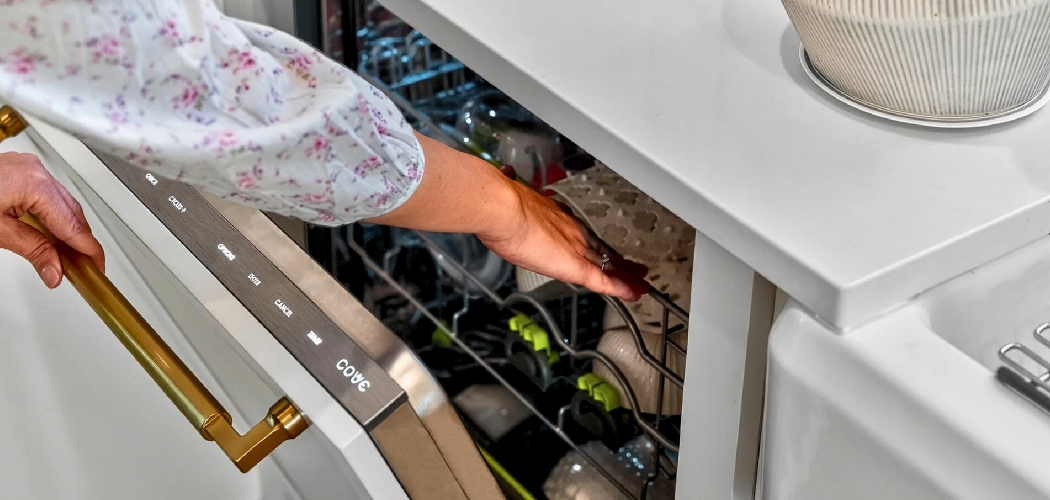
Ever opened a fresh load of dishes only to find cloudy glasses and a chalky film clinging to everything? That stubborn haze usually points to hard water, and dishwasher salt is the simple fix many people overlook. If your machine has a water softener unit built in, salt keeps it working at its best.
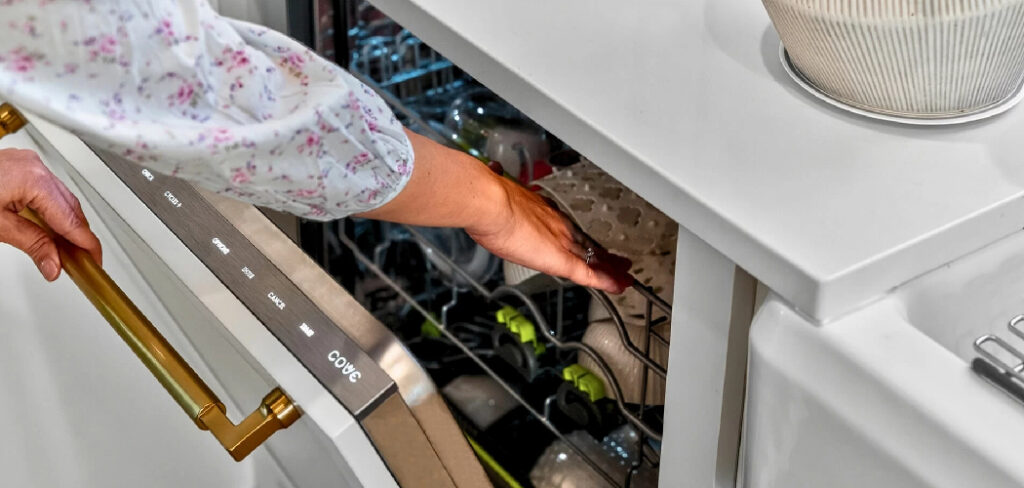
The good news is that topping up the salt takes just a few minutes once you know where to look. You don’t need a technician or any special skills, just a steady hand and the right product.
Learning how to put salt in the dishwasher protects your appliance, sharpens your cleaning performance, and saves you money over time. This guide walks you through every step so you can refill the salt safely and confidently, even if you’ve never opened that little reservoir before.
Why Learning to Add Dishwasher Salt Matters
Knowing how to handle dishwasher salt does more than polish your glassware. It protects the internal water softener unit from mineral buildup, which means fewer repairs and a longer-lasting machine. In hard water areas, that softening process is the difference between sparkling dishes and a dull, gritty mess.
This skill travels well, too. Campers, RV owners, and outdoor beginners often run compact dishwashers in places where water quality varies wildly. Understanding how the salt reservoir and rinse cycle work together helps you adapt to any setup without guesswork.
For homemakers, kitchen enthusiasts, and DIY-minded folks, this know-how means real independence. You’ll spot the refill indicator early, prevent limescale from creeping in, and keep your appliance maintenance on track. That confidence pays off every time you load a fresh batch of dishes.
Tools and Materials You’ll Need
The best part about this job is how little you need to gather. Most of these items already live in your kitchen drawer or under the sink.
Start with a box of proper dishwasher salt, which comes as coarse granules designed for the water softener unit. Don’t grab table salt or sea salt, since their fine grains and additives can clog the system. Keep a soft cloth handy to wipe away any stray granules and clean up residue around the opening.
Pull out your dishwasher manual as well, because the salt reservoir location and capacity vary between models. A small funnel makes pouring much neater, especially if the opening sits low on the floor of the tub.
One optional convenience item is a shallow tray or towel to catch spills, keeping loose salt off the lower rack and the bottom of the machine.
Step-by-Step Guide on How to Put Salt in the Dishwasher
Step 1 – Confirm your dishwasher uses salt
Before you buy anything, make sure your machine actually has a salt compartment. Not every dishwasher includes a built-in water softener unit, so a quick check saves you time and confusion.
Open the door and look at the floor of the tub, usually near the back beside the lower rack. Many models hide the salt reservoir under a screw cap right there. If you spot one, your dishwasher uses salt.
Your manual confirms this in seconds, too. Flip to the section on water softening or maintenance, and it will tell you whether salt applies to your model.
Some newer machines rely on combo detergent tablets instead and skip the salt entirely. Knowing which type you own keeps you from adding salt where it isn’t needed.
Step 2 – Gather supplies and prepare the area
Once you’ve confirmed your machine needs salt, set yourself up for a clean, easy job. A little prep here keeps loose granules from scattering across your kitchen floor.
Pull out the lower rack completely so you have clear access to the tub floor. Set it aside on a counter or towel. This gives your hands room to work and keeps dishes out of the way.
Lay your towel or shallow tray near the opening to catch any spills. Keep your soft cloth, funnel, and salt box within easy reach so you’re not fumbling mid-pour.
Take a quick glance inside for crumbs or debris around the cap. Wiping the spot now means cleaner work later, and you’ll avoid pushing food bits into the reservoir.
Step 3 – Locate the salt reservoir
With the lower rack out of the way, finding the reservoir becomes simple. Look down at the floor of the tub, typically in a back corner or center, where a round plastic cap sits flush with the surface.
The cap usually carries a small salt icon or a twist arrow molded into it. Run your fingers across it, and you’ll feel the ridged grip designed for turning. It’s often slightly larger than a bottle cap.
If you can’t spot it right away, check your manual’s diagram. Some models tuck the salt compartment off to one side rather than dead center.
Finding the exact location matters because pouring salt into the wrong opening, like the detergent dispenser, can damage parts and ruin a wash.
Step 4 – Remove the cap carefully
Now you’ll open the reservoir to get inside. Grip the cap firmly and twist it counterclockwise, the same motion you’d use to open a jar.
You might feel slight resistance at first, especially if there’s a bit of mineral buildup around the threads. Turn steadily rather than forcing it. The cap should loosen with a soft give and lift away cleanly.

Set the cap on your towel so any clinging salt or water stays contained. Peek inside the opening, where you’ll see either a dry chamber or a pool of liquid, depending on your machine’s history.
Take care not to drop the cap into the tub. If it slips, fish it out before continuing, since stray caps can jam the spray arm or block the drain.
Step 5 – Check and top up with water if required
This step matters most the very first time you fill the reservoir. A brand-new salt compartment usually needs water before any granules go in, so check for standing water inside.
Peer into the opening. If the chamber looks dry, pour in plain tap water until it nearly reaches the top. This water helps the salt dissolve properly and prevents air pockets that throw off the softening process.
For refills after that first use, you can skip this. The chamber already holds liquid, and adding the salt simply displaces some of it, which is completely normal.
Don’t worry if a little water overflows during topping up. Your towel catches the spill, and the slight excess won’t harm anything inside the machine.
Step 6 – Fill the reservoir with dishwasher salt
Here’s the heart of the job. Position your funnel in the opening, then slowly pour the coarse granules in. You’ll feel the satisfying weight of the salt as it slides down and settles into the chamber.
Pour gradually rather than dumping it all at once. This keeps the granules from bouncing out and lets you watch the level rise. Most reservoirs hold a pound or more, so take your time filling it.
Knowing how to put salt in the dishwasher correctly means stopping when the salt nears the top without overpacking it. Listen for the granules to stop sinking, which signals the chamber is full.
A clean, steady pour now prevents stray salt from scattering across the tub floor and lower rack later.
Step 7 – Secure the cap and clean up excess salt
With the reservoir full, it’s time to close everything back up. Lift out the funnel and brush off any granules clinging to its tip so they don’t fall in the wrong spot.
Place the cap back over the opening and twist it clockwise until it feels snug. A proper seal keeps water from leaking in around the threads, which protects the softening system. Don’t overtighten, though, since that can crack the plastic.
Now grab your soft cloth and wipe away every stray granule from the tub floor and seal. Loose salt left behind can corrode metal parts and leave spots on your dishes.
A thorough cleanup here keeps the lower rack area spotless and your machine running smoothly for the next load.
Step 8 – Run or resume the proper cycle
You’re almost done. Slide the lower rack back into place, making sure it rolls smoothly along its track without catching.

If you added water and salt for the first time, run a short rinse cycle right away with no dishes inside. This flushes out any granules that may have escaped and dissolves the fresh salt evenly. You’ll hear the reassuring rush of water as the machine clears itself.
For a simple refill, you can skip the empty rinse and just load your dishes as normal. The salt activates during your next regular wash.
This final flush protects your glassware from salty residue on its first real run. Once it’s done, your refill indicator should reset, and your appliance is ready for spotless results.
Critical Mistakes When Adding Salt to the Dishwasher
Even a quick job like this can go wrong if you rush. The most common mistake is using the wrong type of salt. Table salt, sea salt, and rock salt contain additives or fine grains that clog the water softener unit and damage the system. Always reach for coarse dishwasher salt made specifically for the job.
Another frequent error is pouring salt into the wrong compartment. People sometimes confuse the salt reservoir with the detergent dispenser or rinse aid slot. Dropping granules into those spots gums up the mechanism and leaves you with poorly washed dishes. Double-check the salt icon on the cap before you pour.
Many folks also forget the cleanup step. Stray granules left scattered across the tub floor slowly corrode metal parts and stainless steel, shortening your machine’s life. A quick wipe with a soft cloth prevents this damage entirely.
Skipping the first-use water step trips up beginners, too. A dry reservoir needs water before the salt goes in, or the granules won’t dissolve correctly. Finally, some people overtighten the cap and crack it, while others leave it loose enough to let water seep in. Aim for a firm, snug seal that protects the system without straining the plastic.
Expert Tips
A few small habits make this chore effortless every time. Keep an eye on your refill indicator, that little light or window on the control panel, so you top up before performance dips. In hard water areas, you’ll refill more often, sometimes monthly.
Store your dishwasher salt in a dry, sealed container near the machine. Granules absorb moisture from the air and can clump, making them harder to pour later.
When you refill, take thirty seconds to wipe the seal and surrounding area. This simple appliance maintenance step prevents limescale and mineral buildup from creeping around the cap.
If your dishes still show spots after refilling, check that your rinse aid is also topped up. Salt and rinse aid work as a team, and together they deliver that streak-free, sparkling finish you’re after.
Frequently Asked Questions
What kind of salt should I use in my dishwasher?
Always use coarse dishwasher salt made specifically for appliances. It dissolves at the right rate and contains no anti-caking additives that could clog your water softener unit. Avoid these alternatives:
- Table salt, which has fine grains and additives
- Sea salt, which often includes impurities
- Rock salt, which may carry debris that blocks the system
Using the proper product protects your machine and keeps your cleaning performance high.
How often do I need to refill the dishwasher salt?
It depends on your water hardness and how often you run the machine. In hard water areas, you might refill every month or so, while softer water stretches it to a few months. Watch the refill indicator light on your control panel, since it tells you exactly when the salt runs low. Topping up early keeps the softening process steady and your dishes spotless.
Can I run the dishwasher right after adding salt?
Yes, but for a first fill, run a short empty rinse cycle first. This flushes out any stray granules and dissolves the fresh salt evenly, protecting your glassware from a salty film. For routine refills, you can simply load dishes and start a normal wash. The salt activates automatically during the cycle, so no special steps are needed.
Why are my dishes still cloudy after adding salt?
Cloudy dishes often mean a few things are working against you. Check these possible causes:
- The rinse aid dispenser is empty and needs refilling
- Your water hardness setting is too low for your area
- Stray salt residue was left in the tub before a wash
Salt and rinse aid work together, so balancing both usually clears up the haze and restores that sparkle.
Do I need to add water before the salt every time?
No, only the very first time you fill an empty reservoir. A dry chamber needs water so the salt can dissolve properly and avoid air pockets. After that initial fill, the chamber stays full of liquid, and fresh salt simply displaces some of it. So for every refill afterward, you can pour the granules straight in without adding water.
Conclusion
Keeping your dishwasher running at its best really comes down to one small, steady habit. Once you know the routine, refilling the salt takes just a few minutes and saves you from cloudy glasses, limescale, and costly repairs down the road.
Remember the flow. Confirm your machine uses salt, prep the area, and locate the reservoir on the tub floor. Add water for the first fill, pour in the coarse granules, then seal the cap and wipe away every stray bit. A quick rinse cycle finishes the job and protects your next load.
The real secret is paying attention to that refill indicator and choosing the right product every time. Treat this as regular appliance maintenance, not an afterthought, and your machine rewards you with spotless dishes for years.
Now you know exactly how to put salt in the dishwasher with confidence, even if you’ve never touched that little cap before. So the next time your glasses come out hazy, you’ll know just what to do. You’ve got this handled.

About
Nick Hall has spent the last seven years working at the intersection of kitchen design and home repair — first as a design assistant at a residential renovation studio, then as a freelance writer covering everything from cabinet layouts to leaky faucet fixes.
Her approach is simple: kitchens should look good and function well. That means she’s just as comfortable talking about color palettes and counter materials as she is walking readers through how to fix a wobbly cabinet hinge or troubleshoot a garbage disposal.
Nick has worked directly with homeowners on small-space kitchen makeovers, budget-conscious renovations, and the kind of everyday repairs that don’t need a contractor — just the right instructions. She writes from experience, not theory, and tests most of the fixes and tips she shares before publishing them.
When she’s not writing, Nick is usually hunting for mid-century kitchen finds at estate sales or helping friends plan their own renovations. She lives in Columbus, Ohio.