
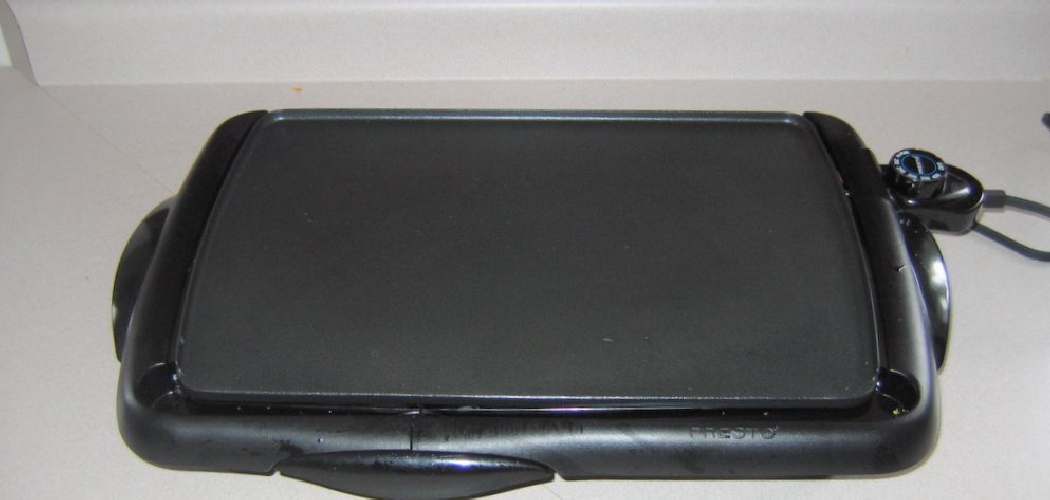
A Blackstone electric griddle makes cooking feel easy and fun. You can flip pancakes, sear burgers, and whip up a stir-fry on that wide, flat surface without crowding a single pan. But all that delicious cooking leaves behind grease, food bits, and a sticky film that builds up fast.
Here’s the good news. Cleaning it doesn’t take fancy products or hours of scrubbing. With a few simple supplies and gentle habits, you can keep your griddle fresh and ready for the next meal.
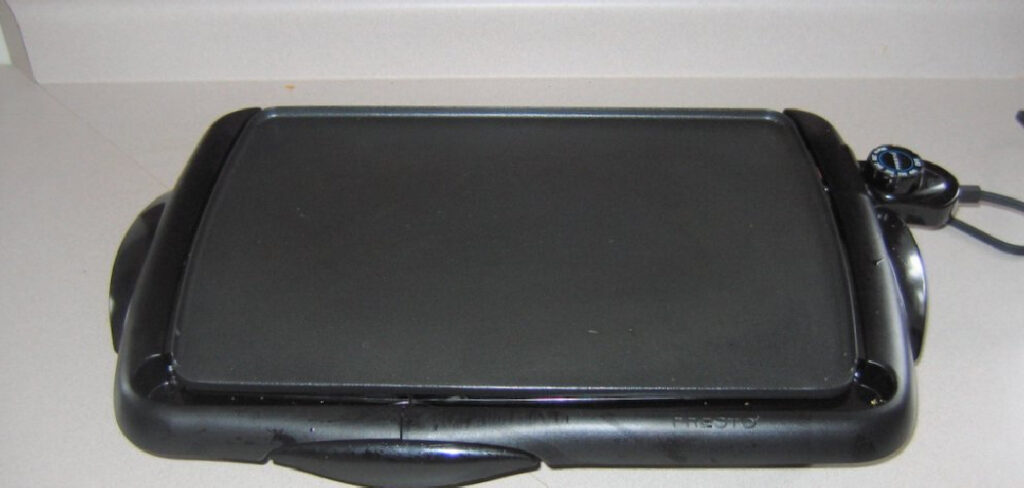
Learning how to clean blackstone electric griddle surfaces the right way protects your cooktop, keeps your food tasting great, and helps the unit last for years. Best of all, you can do it all yourself without calling anyone for help.
This guide walks you through every step so you can clean your electric griddle safely and thoroughly at home.
Why Learning to Clean a Blackstone Electric Griddle Matters
Your griddle works hard, and a little care keeps it performing at its best. When you clean it properly, food cooks more evenly, flavors stay pure, and that frustrating sticking problem disappears. Leftover grease can turn rancid and ruin the taste of your next breakfast, so regular cleaning matters more than you might think.
Good electric griddle maintenance also keeps things hygienic and extends the life of your unit. Cooked-on residue traps bacteria and wears down the surface over time, so a quick clean after each use saves you trouble later.
This skill shines outdoors, too. If you cook at a campsite, cabin, RV, or patio with a portable electric setup, knowing how to clean quickly with minimal water and supplies means easier cleanup in tight spaces and fresh meals wherever you roam.
Tools and Materials You’ll Need
You likely already own most of what you need for this job. Start with a stack of paper towels or a few soft cloths, which handle wiping and drying without scratching the surface. Keep warm water and mild dish soap close by, since together they cut through grease and loosen cooked-on bits with ease.
A non-abrasive sponge works wonders for gentle scrubbing, while a plastic scraper or griddle scraper made for your surface helps lift stubborn residue without gouging the cooktop. Avoid anything metal or harsh, as it can damage that smooth finish you rely on.
You’ll also want a small bowl for your soapy water and a dry towel for the final buff. For an optional convenience item, a squirt bottle of water makes rinsing and steaming spots quick and tidy.
Step-by-Step Guide on How To Clean Blackstone Electric Griddle
Step 1 – Unplug and Let It Cool Slightly
Safety comes first, so unplug your griddle before you touch a thing. Working around electric parts means you never want power running while you clean.
Now let the surface cool down, but don’t wait until it’s stone cold. A slightly warm cooktop actually makes cleaning easier, because the gentle heat keeps grease soft and loose instead of hard and sticky.
Test it carefully with your hand hovering above the surface. You want warmth you can comfortably work near, not scorching heat that could burn you.
This little window of warm-but-safe temperature is the sweet spot. Catch it right, and the greasy residue practically wipes away on its own, saving you real effort in the steps ahead.
Step 2 – Scrape Off Loose Food and Grease
Grab your plastic scraper or griddle scraper and gently push the loose debris toward the grease channel or drip area. You’ll see chunks of food, charred bits, and pools of oil slide right off the warm surface.
Keep your strokes smooth and even, working from one side to the other. The slick feel of the warm grease tells you it’s moving easily, so there’s no need to force anything.
Avoid digging into the cooktop with the edge of the scraper. A light, flat angle lifts residue without scratching that valuable surface.
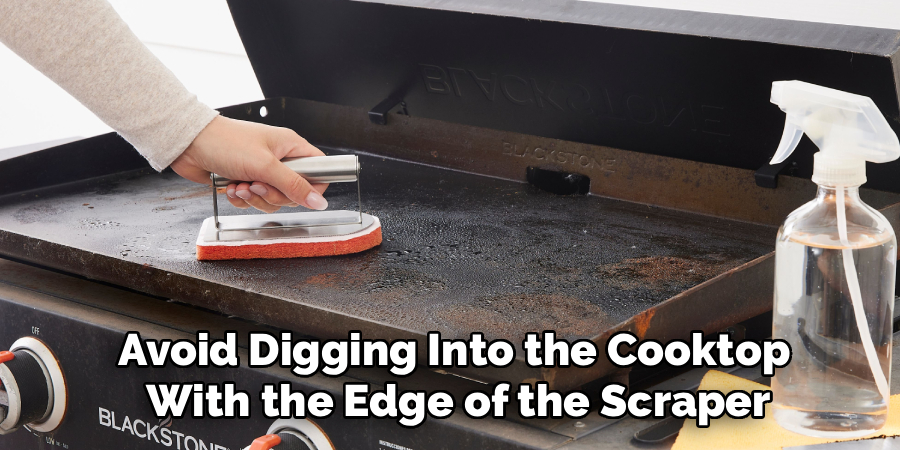
This first pass clears the bulk of the mess so your soapy cleanup goes faster. A quick scrape now means less scrubbing later, and your griddle starts looking better instantly.
Step 3 – Wipe Down with Paper Towels
With the big bits gone, fold a few paper towels and wipe the surface to soak up leftover grease. Hold them with your scraper or a heat-safe tool if the cooktop still feels warm.
You’ll watch the towels darken as they absorb the oily film, leaving the surface cleaner with each pass. Keep swapping in fresh sheets until they come up mostly clean.
This step removes the slick layer of grease before water ever touches the griddle. It also keeps your sponge from just smearing oil around later.
Work in sections so you don’t miss any spots. A thorough wipe-down here makes your soapy cleaning more effective and keeps your everyday griddle upkeep quick and painless.
Step 4 – Loosen Burnt-On Bits with Warm Water
For stubborn, cooked-on residue, a splash of warm water does the trick. Pour or spray a little onto the trouble spots and watch the steam rise as it hits the warm surface.
That steam is your friend. It softens burnt-on bits and lifts them away from the cooktop, so you barely have to scrub. Let the water sit for a moment to work its magic.
Use just enough water to loosen the gunk, never so much that it floods the unit. Keeping excess water away from electric parts protects your griddle and keeps it safe.
Once the residue loosens, gently scrape or wipe it free. You’ll feel those tough spots release with hardly any pressure at all.
Step 5 – Clean with Mild Dish Soap
Now mix a little mild dish soap into warm water and dip your non-abrasive sponge. Wring it out so it’s damp, not dripping, then wash the surface in gentle circles.
The soap cuts through the last of the greasy residue, leaving the cooktop smooth and fresh under your fingers. You’ll smell that clean scent replace the heavy odor of cooked food.
Focus on any sticky patches, but keep your touch light to protect the surface. Non-abrasive cleaning is the secret to a long-lasting griddle.
Knowing how to clean blackstone electric griddle surfaces with simple soap saves you from harsh chemicals. Squeeze your sponge often to rinse away grease, and refresh your soapy water if it gets too murky.
Step 6 – Wipe Away Soap and Residue
Rinse your sponge in clean warm water, wring it out, and wipe the entire surface to clear away soap and loosened grime. Leftover suds can affect flavor, so this step really matters.
Go over the cooktop a few times, swapping to a fresh damp cloth as needed. You’ll feel the surface turn smooth and clean, with no slippery soap film left behind.
Remember to keep your cloth damp rather than soaking. Too much water near the heating plate and electric components invites trouble, so wring well between passes.
Run your fingers across the surface to check for any sticky spots. A clean, residue-free cooktop ensures your food-safe surface cleaning is truly complete and ready for the next meal.
Step 7 – Empty and Clean the Drip Tray
Don’t forget the drip tray, where all that grease and runoff collects. Slide it out carefully, since it may hold pooled oil you don’t want to spill.
Pour the grease into a disposable container, then wash the tray with warm water and mild dish soap. A non-abrasive sponge lifts the sticky buildup easily, leaving it fresh and ready.
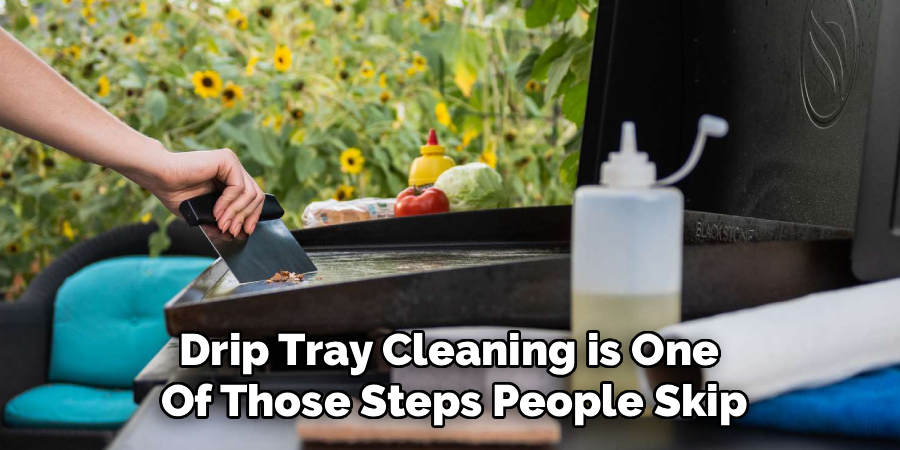
Drip tray cleaning is one of those steps people skip, but a full tray can overflow and create a smelly, messy problem. Regular emptying keeps everything tidy.
Dry the tray completely before sliding it back into place. A clean, dry drip tray rounds out your cleanup and keeps your griddle hygienic for indoor-outdoor portable cooking adventures.
Step 8 – Dry and Season with Light Oil
Drying is the secret to a lasting cooktop. Buff the surface with a dry towel until no moisture remains, paying close attention to corners and edges where water hides.
A fully dry griddle resists rust and stays in great shape between uses. You’ll see the surface take on a clean, even look as you wipe.
Now add a thin seasoning layer of cooking oil if your griddle benefits from it. Pour a few drops onto a paper towel and rub a light, even coat across the cooktop.
This protective layer keeps food from sticking and guards the surface against moisture. A little oil goes a long way, leaving your griddle smooth, glossy, and ready for tomorrow’s breakfast.
Critical Mistakes When Cleaning a Blackstone Electric Griddle
A few common mistakes can shorten your griddle’s life, so let’s clear them up.
The biggest error is letting too much water reach the electric components. Flooding the surface or submerging the unit can damage the heating plate and create a real safety hazard. Always use a damp cloth or sponge, wring it well, and keep moisture away from the electrical parts and cords.
Another mistake is reaching for abrasive scrubbers like steel wool or harsh scouring pads. These scratch and gouge the cooktop, ruining that smooth surface and causing food to stick. Stick with a non-abrasive sponge and a plastic scraper instead.
Many people also let grease and cooked-on residue sit for days. Old grease turns rancid, hardens, and becomes far harder to remove, so a quick clean after each use saves you serious scrubbing later.
Using harsh chemical cleaners is another slip-up. Strong solvents can leave residue that taints your food and damages the surface. Mild dish soap handles the job beautifully for food-safe surface cleaning.
Finally, skipping the drying and light oil step invites rust and sticking. A quick buff and thin oil coat keep your griddle protected and ready to cook.
Expert Tips
Want your griddle to stay in top shape for years? A few smart habits make all the difference.
Clean it after every use while it’s still slightly warm, since grease wipes away far easier than when it hardens and cools. This quick routine prevents buildup and keeps your weekly deep clean simple.
Keep a dedicated scraper and a few cloths near your cooking station so cleanup feels effortless and you actually do it. Empty the drip tray regularly to avoid overflow and odors.
Apply a thin oil layer after each cleaning to protect the surface and improve cooking results. For outdoor trips, pack a small cleaning kit so heating plate care stays easy at the campsite.
Treat your griddle gently and consistently, and it’ll reward you with smooth, even cooking meal after meal.
Frequently Asked Questions
Can I submerge my Blackstone electric griddle in water?
No, never submerge it. The electric components and heating plate can suffer serious damage from soaking, and it creates a safety risk. Instead, clean the cooktop with a damp, well-wrung sponge and keep water away from the cords and controls. For safe cleaning:
- Use a damp cloth, not running water
- Keep electrical parts completely dry
- Wash only removable pieces like the drip tray
How do I remove stubborn cooked-on residue?
Stubborn, cooked-on residue lifts easily with a little warm water and steam. Pour a small splash onto the warm surface, let it sit a moment, then gently scrape with a plastic griddle scraper. The steam softens the burnt bits so they release without harsh scrubbing. Finish with mild dish soap and a non-abrasive sponge, then wipe clean. Avoid metal tools that could scratch the cooktop.
Should I season my electric griddle after cleaning?
Yes, a light seasoning helps in most cases. After drying the surface completely, rub a thin layer of cooking oil across the cooktop with a paper towel. This protective oil layer prevents rust, stops food from sticking, and keeps the surface smooth. Use just a few drops, since too much oil turns sticky. This simple step rounds out your everyday griddle upkeep beautifully.
How often should I clean my Blackstone electric griddle?
Clean the cooktop after every use to prevent grease buildup and keep food tasting fresh. A quick scrape and wipe while it’s slightly warm takes just minutes. Empty the drip tray whenever it fills up, and do a more thorough soapy clean weekly or whenever residue lingers. Regular care means you’ll rarely face tough, baked-on messes that take real effort to scrub away.
What’s the best way to prevent food from sticking?
Sticking usually comes down to a poorly seasoned or dirty surface. Keep the cooktop clean, dry it fully after washing, and apply a thin layer of oil after each cleaning. Preheat the griddle properly before adding food, and use a little oil while cooking. These habits build a smooth, naturally non-stick surface that makes cooking and cleanup easier every single time.
Conclusion
Keeping your griddle clean doesn’t have to mean harsh chemicals or endless scrubbing. With a plastic scraper, paper towels, mild dish soap, and a non-abrasive sponge, you can clear away grease and cooked-on residue while protecting that smooth cooking surface.
Remember the rhythm: unplug and cool slightly, scrape off the loose bits, wipe with paper towels, loosen tough spots with warm water, wash with mild soap, clear the residue, empty the drip tray, then dry and add a light oil layer. Each step keeps your griddle fresh, hygienic, and ready for the next meal.
Just keep water away from the electric parts and skip the abrasive pads, and you’ll protect your unit for years. This simple care works whether you’re cooking in a busy family kitchen or at a campsite under the stars.
Once you know how to clean blackstone electric griddle surfaces the right way, keeping yours spotless becomes second nature instead of a chore. So fire up that griddle, cook with confidence, and enjoy easy cleanup every time.

About
Nick Hall has spent the last seven years working at the intersection of kitchen design and home repair — first as a design assistant at a residential renovation studio, then as a freelance writer covering everything from cabinet layouts to leaky faucet fixes.
Her approach is simple: kitchens should look good and function well. That means she’s just as comfortable talking about color palettes and counter materials as she is walking readers through how to fix a wobbly cabinet hinge or troubleshoot a garbage disposal.
Nick has worked directly with homeowners on small-space kitchen makeovers, budget-conscious renovations, and the kind of everyday repairs that don’t need a contractor — just the right instructions. She writes from experience, not theory, and tests most of the fixes and tips she shares before publishing them.
When she’s not writing, Nick is usually hunting for mid-century kitchen finds at estate sales or helping friends plan their own renovations. She lives in Columbus, Ohio.