
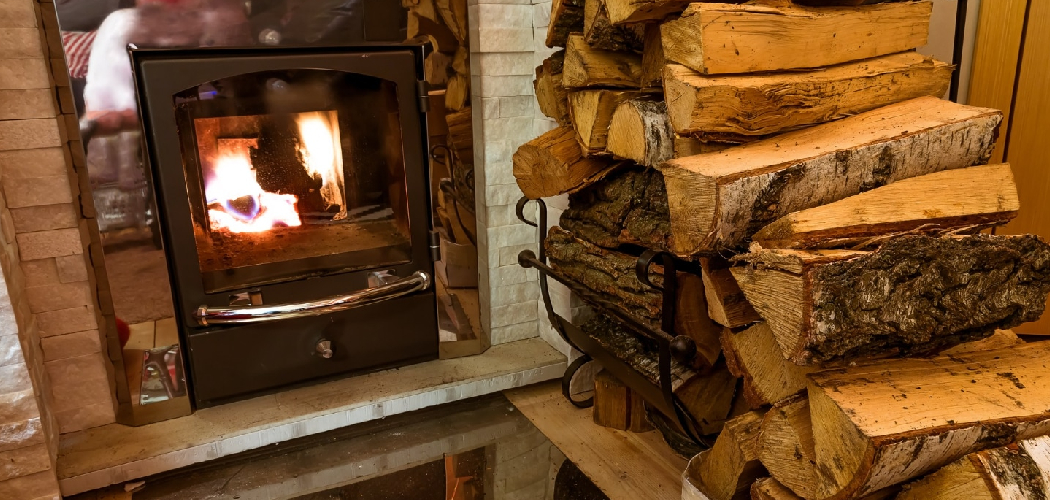
A wood stove brings warmth, comfort, and that cozy crackle on a cold night. But every fire leaves something behind. Smoke and unburned particles cling to your firebox and flue as a dark, sticky substance called creosote, and over time it builds up fast.
Here’s the thing. That buildup isn’t just messy. It restricts airflow, dulls your heat output, and can even become a fire hazard if you ignore it for too long.
The good news? Routine cleanup is something you can absolutely handle yourself with a few basic tools and a careful approach. Learning how to clean creosote from wood stove surfaces keeps your stove safer, more efficient, and ready for many more cozy evenings.
This guide walks you through every step so you can tackle light creosote and soot buildup safely and confidently at home.
Why Learning to Clean Creosote From a Wood Stove Matters
Clean your stove regularly and you’ll notice the difference right away. Creosote and soot block airflow, which means weaker draft, smokier fires, and far less heat for all that wood you’re burning. Clear it out and your stove breathes better, lights easier, and warms your space more efficiently.
There’s a safety side, too. Heavy creosote buildup is flammable, and a neglected flue raises your risk of a chimney fire. Regular cleaning also cuts down on that lingering smoky stove smell and helps your unit last for years.
This skill really pays off if you rely on wood heat in a cabin, tiny home, or seasonal setup. Outdoor wood stoves and remote heating systems need the same care, and knowing how to handle basic soot removal yourself means warm, safe fires wherever you happen to be.
Tools and Materials You’ll Need
You don’t need a truckload of gear for routine creosote cleanup, just a few practical items. Start with protective gloves, a dust mask, and safety glasses, since soot and fine ash love to float into the air and onto your skin. These keep your cleanup comfortable and tidy.
For the actual work, grab a metal ash bucket and a metal shovel or ash scoop to clear out the firebox. A stiff chimney brush or stove brush sized for your unit handles the black residue on the walls and flue. Lay down a drop cloth to catch the mess, and keep a flashlight handy to inspect those dark corners.
As an optional convenience, a shop vacuum rated for ash speeds things up nicely. Just use it only on completely cool ash for safety.
Step-by-Step Guide on How To Clean Creosote From Wood Stove
Step 1 – Make Sure the Stove Is Completely Cool
Patience matters here, so never rush this part. Always wait until your stove and its contents are fully cool before you touch anything, ideally a full day after your last fire.
Warm metal surfaces and hidden embers cause burns and can reignite ash, so don’t trust a stove that simply feels cool on the outside. Open the door and check for any lingering heat or glowing bits deep in the firebox.
Run your gloved hand near the metal to confirm it’s cold to the touch. A flashlight helps you spot stray embers tucked in the corners.
This first step protects you and sets up safe, stress-free cleaning. Once everything’s stone cold, you’re ready to roll.
Step 2 – Set Up Your Workspace
A little prep saves a big mess later. Spread your drop cloth across the floor in front of the stove, since soot and dusty ash tend to scatter the moment you start moving things around.
Put on your gloves, dust mask, and safety glasses now, before any dust takes flight. Fine ash drifts into the air quickly, and you don’t want to breathe it in.
Set your ash bucket and shovel within easy reach, and keep your flashlight close for peeking into the firebox. Open a nearby window for fresh airflow if you can.
Good setup keeps the job clean and quick. With everything in place, you can focus on the work instead of chasing scattered ash across the room.
Step 3 – Remove Ash and Debris from the Firebox
Start by scooping out the loose ash with your metal shovel, working gently so you don’t kick up clouds of dust. Pour it carefully into your metal ash bucket, not a plastic one, since hidden warmth can melt or ignite the wrong container.
You’ll notice the dusty ash settling as you go, along with charred wood bits and small chunks of debris. Clear it all out so you can see the firebox walls clearly.
Take your time and keep your movements slow and steady. Quick scooping just sends ash flying everywhere.
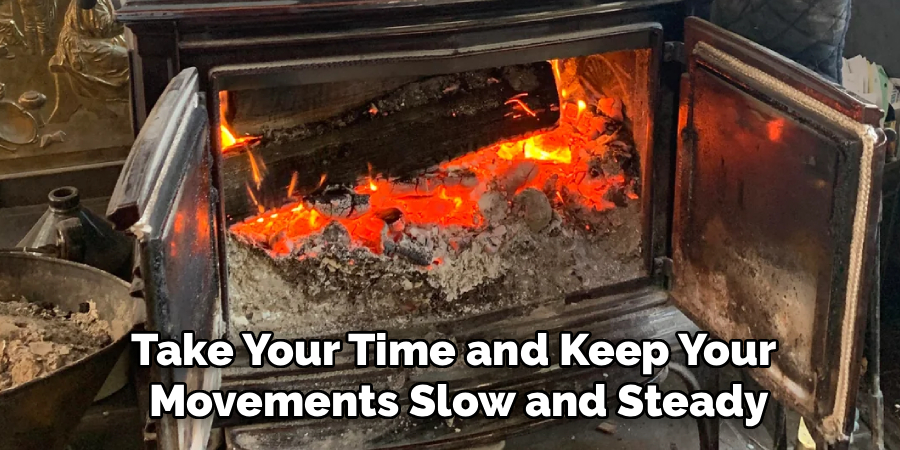
Once the firebox is empty, you’ll have a clean base to inspect and brush. This simple step makes the rest of your firebox cleaning far easier and tidier.
Step 4 – Inspect the Firebox and Flue
Now grab your flashlight and take a good look around. Shine it across the firebox walls and up into the flue to see what you’re dealing with.
Light, flaky soot looks powdery and brushes off easily. A thin, dark coating is normal and totally manageable for routine cleaning. But watch for tar-like buildup or a hard, shiny black glaze, which signals serious trouble.
That hardened, glossy layer is severe glazed creosote, and it’s both stubborn and highly flammable. This is your cue to stop and call a certified chimney professional rather than forcing it yourself.
A quick flue inspection tells you whether this is a simple homeowner job or one that needs expert hands. When in doubt, always choose safety.
Step 5 – Brush the Firebox Walls and Flue
For normal soot and light creosote, your stiff brush is the hero. Knowing how to clean creosote from wood stove walls comes down to steady, even strokes that loosen the black residue without gouging the metal.
Work the brush along the firebox walls first, then reach up into the flue opening as far as you safely can. You’ll hear the flaky soot crumble and feel the bristles scrape away that dark coating.
Keep your strokes firm but controlled, letting the brush do the work. The loosened debris will drift down, so go slow to limit the dust.
This is the heart of your chimney brush use. A thorough brushing restores airflow and clears the smoky residue that’s been dragging down your stove’s performance.
Step 6 – Clean the Door, Gasket, and Glass
Don’t forget the door, where smoky film loves to collect. Wipe down the metal frame and check the gasket for soot or wear, since a clean, tight seal keeps your draft strong.
The glass usually wears a hazy gray or black film from smoke. A damp cloth dipped in a little cool ash works surprisingly well as a gentle scrubber, lifting the residue without harsh chemicals.
Buff the glass until it’s clear again, and you’ll actually see your fire glow next time. Wipe away any leftover grit.
These small touches make a big difference in both looks and function. A clean door and gasket round out your wood stove maintenance and help every future fire burn cleaner.
Step 7 – Vacuum or Sweep Up the Debris
With everything brushed loose, it’s time to collect the mess. If you’re using a shop vacuum rated for ash, run it only over completely cool ash and soot, never anything warm.
Sweep up the fallen debris from your drop cloth and the firebox floor, then transfer it all into your metal ash bucket. Move slowly so you don’t stir up a fresh cloud of dust.
Fold your drop cloth carefully, trapping the soot inside rather than shaking it free. A gentle touch keeps your room clean.
Once the area’s tidy, give the firebox one last flashlight check. A clean, debris-free stove means better airflow and a noticeable boost in draft improvement the next time you light up.
Step 8 – Dispose of Ash Safely
Safe ash disposal is the step too many people get wrong. Even ash that feels cool can hide live embers for days, so treat it with respect.
Keep the ash in your covered metal bucket and set it outside on a non-flammable surface, well away from your home, deck, or anything that could catch. Never use a paper bag, cardboard box, or plastic bin.
Let the ash sit for several days before you toss it, just to be sure no heat remains. You can even mix in a little water to be extra safe.
Once you’re certain it’s cold, dispose of it properly. This careful habit protects your home and wraps up your cleaning the right way.
Critical Mistakes When Cleaning Creosote From a Wood Stove
A few common slip-ups can turn a simple cleanup into a real problem, so let’s clear them up.
The biggest mistake is cleaning a stove that isn’t fully cool. Warm surfaces burn you, and hidden embers can reignite ash or even spark a fire in your bucket. Always wait until everything is completely cold, and store ash only in a covered metal container set well away from your home.
Another serious error is trying to tackle severe glazed creosote yourself. That hard, shiny, tar-like buildup is stubborn and dangerously flammable. This isn’t a DIY job. Heavy creosote or a blocked chimney calls for a certified chimney professional with the right tools and training, so don’t risk it.
Skipping protective gear is a frequent regret, too. Fine soot and dusty ash irritate your lungs, eyes, and skin, so always wear your mask, glasses, and gloves before you start.
Many folks also use the wrong vacuum. A regular household vacuum can’t handle fine ash and may push it back into the air or catch fire on warm embers. Use only a shop vacuum rated for ash, and only on cold material. Finally, don’t ignore regular cleaning, since waiting too long lets light soot harden into a dangerous glaze.
Expert Tips
Want your stove to run cleaner and safer all season? A few smart habits make a real difference.
Burn dry, seasoned hardwood whenever you can. Wet or green wood smolders, produces more smoke, and creates creosote far faster than well-dried logs. Drier wood means hotter, cleaner fires and less buildup to scrub away.
Build hot, bright fires instead of slow, smoky ones. A lively flame burns off more particles before they can settle in your flue.
Inspect your firebox and flue often, especially during peak heating months. Catching light soot early keeps it from hardening into glaze.
Schedule a professional chimney inspection once a year as part of your seasonal stove care. Your own cleaning handles the routine work, but an expert eye catches hidden trouble before it becomes a hazard.
Frequently Asked Questions
How often should I clean creosote from my wood stove?
Check your stove regularly during heating season and clean it whenever you notice buildup. A good routine includes:

- A quick visual flue inspection every few weeks of use
- Light soot removal as needed throughout the season
- A thorough cleaning before and after the cold months
Burning habits matter, too. Wet wood and smoky fires create buildup faster, so frequent users may need to clean more often than occasional ones.
Can I remove glazed creosote myself?
No, and this one’s important. Glazed creosote is that hard, shiny, tar-like layer that’s extremely stubborn and highly flammable. It clings tightly and won’t brush off like normal soot. Trying to remove it yourself can damage your stove or even spark a chimney fire. Always call a certified chimney professional for severe glaze or any heavy blockage. Your DIY cleaning should stick to light soot and flaky residue.
What’s the difference between soot and creosote?
Soot is the soft, powdery black dust that brushes away easily and forms quickly from any fire. Creosote is a sticky, tar-like substance from unburned wood gases that hardens over time. Light creosote looks flaky and brushes off, but it can harden into a dangerous glaze if ignored. Both reduce airflow and heat, so regular cleaning of each keeps your stove running safely and efficiently.
Is a shop vacuum safe for cleaning ash?
Yes, but only the right kind and only under safe conditions. Use a shop vacuum specifically rated for ash, since regular household vacuums can’t trap fine particles and may catch fire on warm embers. Always vacuum completely cool ash, never anything warm. Even ash that feels cool can hide live embers, so when in doubt, wait longer before vacuuming. Safety first, always.
Why does my wood stove smell smoky even when it’s off?
A smoky stove smell usually points to leftover creosote and soot buildup inside the firebox and flue. As humidity rises, that residue releases its smoky odor back into your room. A thorough cleaning often clears it right up. If the smell lingers after cleaning, you may have a draft issue or hidden buildup in the chimney that needs a professional’s eye.
Conclusion
Keeping your stove clean doesn’t have to feel overwhelming. With a few basic tools, the right protective gear, and a careful approach, you can handle routine soot removal and light creosote cleanup all on your own.
Remember the rhythm: let everything cool completely, set up your workspace, clear the ash, inspect the firebox and flue, brush away the residue, clean the door and glass, then tidy up and dispose of ash safely. Each step boosts your stove’s airflow, heat output, and safety.
The one golden rule? Know your limits. Light, flaky soot is a perfect DIY job, but hard, glazed creosote or a blocked chimney always calls for a certified chimney professional. There’s no shame in calling for backup when safety’s on the line.
Master how to clean creosote from wood stove surfaces the smart way, and you’ll enjoy warmer, cleaner, safer fires season after season. So grab your gear, take it slow, and give your trusty stove the care it deserves.

About
Nick Hall has spent the last seven years working at the intersection of kitchen design and home repair — first as a design assistant at a residential renovation studio, then as a freelance writer covering everything from cabinet layouts to leaky faucet fixes.
Her approach is simple: kitchens should look good and function well. That means she’s just as comfortable talking about color palettes and counter materials as she is walking readers through how to fix a wobbly cabinet hinge or troubleshoot a garbage disposal.
Nick has worked directly with homeowners on small-space kitchen makeovers, budget-conscious renovations, and the kind of everyday repairs that don’t need a contractor — just the right instructions. She writes from experience, not theory, and tests most of the fixes and tips she shares before publishing them.
When she’s not writing, Nick is usually hunting for mid-century kitchen finds at estate sales or helping friends plan their own renovations. She lives in Columbus, Ohio.