
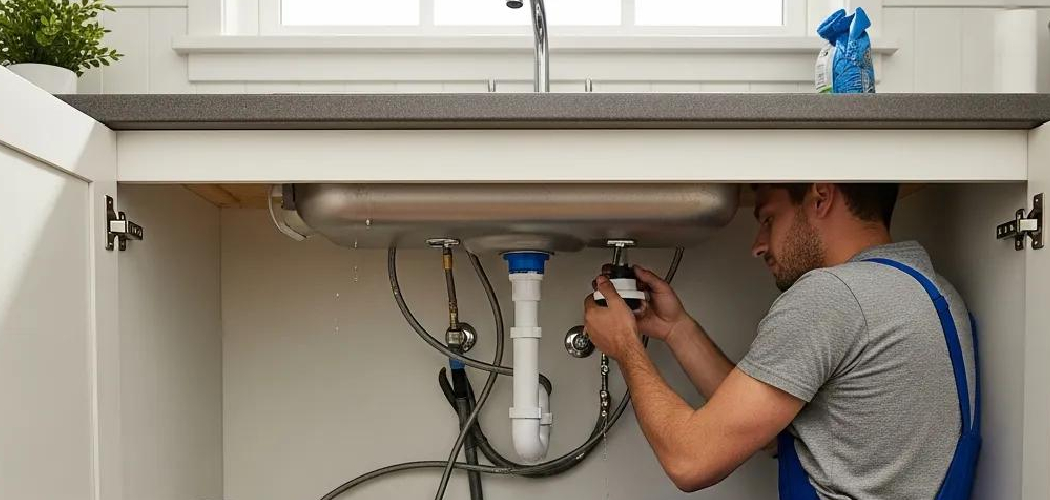
A drippy faucet, a stubborn old fixture, or a shiny new model waiting in the box—any of these can send you crawling under the sink. The job looks intimidating at first, with all those pipes, nuts, and hoses crammed into a dark cabinet. But here’s the truth: most people can handle this themselves with a little patience and the right approach.
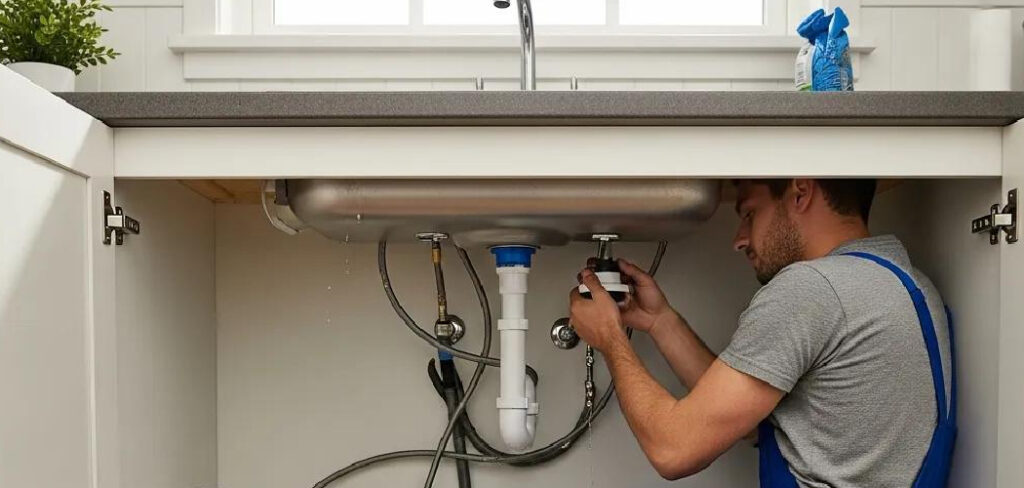
You don’t need to call a plumber or pay for a service visit. With a few common tools and a clear set of steps, you can tackle this task in under an hour.
Learning how to disconnect kitchen faucet connections gives you real confidence and saves you money every time something needs replacing. This guide walks you through the whole process, step by step, so you can do it safely and without any guesswork.
Why Learning to Disconnect a Kitchen Faucet Matters
This skill pays off far beyond your kitchen sink. Once you understand how supply lines, mounting nuts, and shutoff valves work together, you can troubleshoot leaks, swap out worn fixtures, and clean stubborn mineral deposits whenever you like.
The knowledge travels with you, too. If you own a camper or RV, the same logic applies to those tight little sinks where space is even more cramped. Setting up a cabin, building an outdoor wash station, or rigging a temporary utility hookup? You’ll lean on these exact techniques every time.
Renters benefit as well, since knowing how connections come apart means you can fix small problems fast without waiting on a landlord. Master this one job, and you gain a practical ability that serves you in homes, vehicles, and outdoor setups for years to come.
Tools and Materials You’ll Need
Gather your gear before you climb under the cabinet, because nothing’s worse than wriggling out halfway through to grab a forgotten tool. Start with an adjustable wrench, which loosens most compression nuts and supply fittings with ease. You’ll also want a basin wrench, that oddly shaped tool designed specifically to reach the tight mounting nuts high up behind the sink.
Keep a few towels or rags handy to soak up trapped water and protect the cabinet floor. A small bucket catches drips from the water supply line, and a flashlight or headlamp lights up that dim, shadowy space. Pliers, a putty knife, and some penetrating oil help with corrosion and stuck parts.
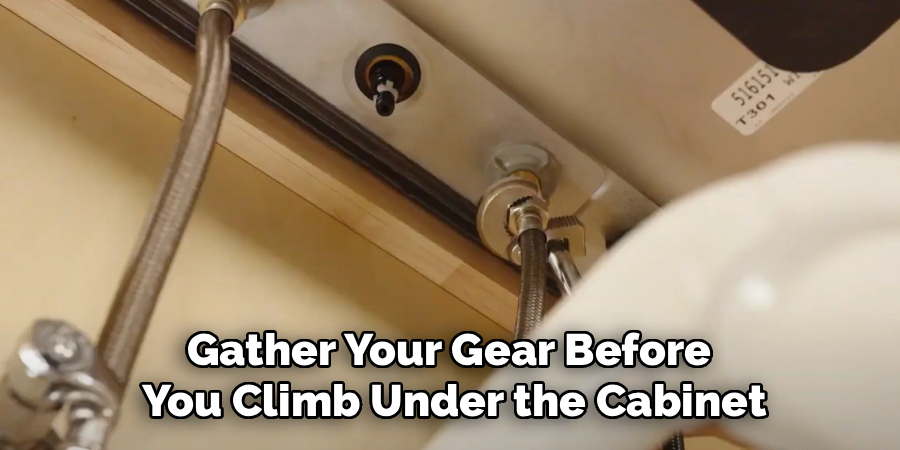
One optional convenience item worth grabbing is a headlamp, since it frees both hands while you work in the cramped under-sink cabinet.
Step-by-Step Guide on How to Disconnect Kitchen Faucet
Take each stage slowly and you’ll avoid the messy surprises that catch beginners off guard. Knowing how to disconnect kitchen faucet hardware properly keeps your hands dry, your cabinet clean, and your project moving along smoothly.
Step 1 – Shut Off the Water Supply
Before you touch anything, find the shutoff valves under your sink. You’ll usually spot two small knobs or levers on the hot and cold line, right where the pipes meet the wall. Turn each one clockwise until it stops to cut the flow completely.
Don’t rush this step. If you skip it, you’ll get a cold, surprising spray the moment you loosen a fitting.
Once the valves are closed, open the faucet handles up top to release any leftover pressure. You’ll hear a soft hiss, then a trickle, then nothing. That quiet means the line is empty and safe to work on. If your sink lacks valves, shut off the main water supply to the whole house instead.
Step 2 – Clear Out the Under-Sink Cabinet
Now empty the under-sink cabinet completely. Pull out the dish soap, sponges, trash bags, and that forest of cleaning bottles everyone hoards down there. You need room to move and a clear view of every connection.
Wipe down the cabinet floor so it’s dry and clean. This makes spotting drips much easier later, and it keeps your knees comfortable while you work.
Lay a towel across the bottom of the cabinet to catch any trapped water that escapes when you loosen the lines. Position your bucket nearby. The space feels tight and dark, so take a moment to settle in and get comfortable before reaching for your tools. A clear workspace turns an awkward job into a manageable one.
Step 3 – Place Towels and Set Up Your Light
Lighting makes or breaks this task. Clip on your headlamp or prop a flashlight so the beam hits the back of the cabinet where the fittings hide. Shadows love to swallow small nuts and connections, so good visibility saves real frustration.
Tuck extra towels around the base of each shutoff valve. Even with the water off, a little remains trapped in the supply lines, and it always finds a way out at the worst moment.
Take a slow breath and look over the whole setup. Trace each line with your eyes, from the valve up to the faucet base. Knowing where everything connects before you start loosening anything keeps you calm and prevents you from grabbing the wrong fitting in that cramped, dim space.
Step 4 – Disconnect the Water Supply Lines
Reach for your adjustable wrench and find where the supply lines meet the shutoff valves. Most modern faucets use a braided hose with a compression nut at each end. Hold the valve steady with one hand so it doesn’t twist.
Turn the nut counterclockwise. You may feel some resistance from mineral buildup or light corrosion, so go slow and steady rather than forcing it.
A little trapped water will dribble out as the connection loosens, which is exactly why those towels are in place. Once the nut spins freely, unthread it the rest of the way by hand. Set the braided hose aside in your bucket. Repeat the same process on the second line, keeping track of which hose served the hot and cold line.
Step 5 – Detach the Sprayer and Extra Hoses
Many kitchen faucets include a pull-down sprayer line or a side spray that connects beneath the sink deck. Trace this hose down from the faucet base and find where it attaches, often with a quick-connect clip or a small threaded fitting.
Press the clip or unscrew the connection gently. These plastic parts feel brittle, especially on older faucets, so use careful hand positioning and avoid yanking.
If your model has a weighted counterbalance on the sprayer hose, slide it off and set it aside. Watch for a thin spray of leftover water here too. Disconnecting these extra lines now clears the way for the main mounting hardware. Lay each piece in order so reassembly or installation of a new faucet goes smoothly later.
Step 6 – Loosen the Mounting Nuts with a Basin Wrench
This is where the basin wrench earns its keep. The mounting nuts sit high up behind the faucet base, in a spot your hand simply can’t reach with a regular wrench. The basin wrench’s long handle and swiveling jaw grab those nuts from below.
Position the jaw around a mounting nut and turn the handle counterclockwise. The angle feels awkward at first, and your arm will ache a little in the tight space.
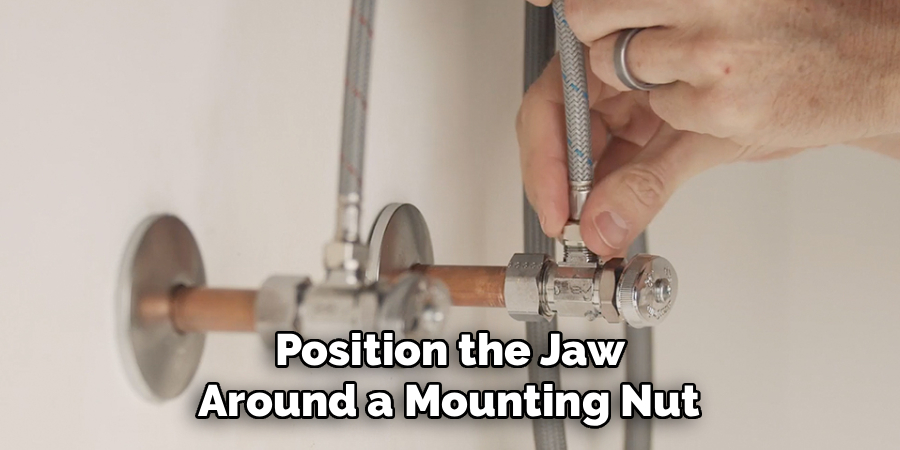
Expect stubborn resistance if mineral deposits or corrosion have welded things in place. A squirt of penetrating oil, left to soak a few minutes, loosens the grip. Keep steady pressure, and you’ll feel the nut finally break free with a satisfying give.
Step 7 – Lift Out the Faucet and Inspect the Mounting Bracket
With the mounting nuts removed, the faucet should release from the sink deck. Climb out from under the cabinet and gently wiggle the faucet base from above. Years of grime and dried plumber’s putty often glue it down, so rock it side to side to break the seal.
Lift it straight up and out. You’ll likely see a ring of old residue and mineral deposits where it sat.
Check the mounting bracket and the deck surface now. Scrape away any leftover putty or gunk with a putty knife so the area is clean. Inspect for corrosion or damage while you have clear access. This quick inspection helps you spot problems before installing a replacement or finishing your repair.
Step 8 – Clean Up and Run a Leak Check
Wipe down the sink deck and the under-sink cabinet thoroughly. Remove every trace of old putty, water spots, and mineral residue so your next steps start fresh and clean.
If you’ve removed the faucet for cleaning or repair, soak the parts in vinegar to dissolve stubborn buildup. The smell is sharp, but it works wonders on crusty deposits.
Before you call the job done, perform a leak check on the shutoff valves themselves. Turn the water back on briefly and watch each valve and the surrounding lines. A dry cabinet means everything held tight. If you spot moisture, snug up the connection. This final inspection gives you peace of mind that your work is solid and your cabinet stays dry.
Critical Mistakes When Disconnecting a Kitchen Faucet
Even careful beginners stumble over a few predictable errors, and knowing them ahead of time saves you a soggy mess. The most common mistake is forgetting to shut off the water completely. People close one valve, miss the other, and get a startling spray the moment a fitting loosens. Always close both the hot and cold line, then open the faucet to release leftover pressure before you touch anything.
Another frequent slip is forcing corroded nuts instead of treating them first. When mineral deposits and corrosion lock a fitting in place, brute strength often strips the nut or cracks a brittle plastic part. A little penetrating oil and some patience work far better than muscle.
Many folks also skip the towels and bucket, assuming an empty line stays dry. Trapped water always lingers in the supply lines, and it spills out exactly when you least expect it, soaking everything in the cabinet.
Finally, people grab the wrong tool and struggle endlessly with the high mounting nuts. A standard wrench simply can’t reach them. Using a basin wrench from the start spares you a sore arm and a frustrating afternoon under the sink.
Expert Tips
Want the job to feel smooth and professional? Lean on a few habits that experienced hands swear by. Snap a quick photo of every connection before you start loosening anything. When it’s time to reassemble or install a new faucet, that picture becomes your reference guide.
Keep a small bowl beside you to hold removed nuts and clips. Tiny parts love to roll into dark corners, and searching for them in a cramped cabinet wastes precious time.
Treat corrosion early. The moment you spot rusty or crusty fittings, apply penetrating oil and let it work while you handle other steps. Patience here prevents stripped threads and broken parts.
Finally, label your supply lines with a strip of tape marking hot and cold. This simple trick removes all guesswork when you reconnect everything later.
Frequently Asked Questions
Do I need to turn off the main water supply?
Not usually. Most kitchen sinks have their own shutoff valves under the cabinet, one for the hot and cold line each. Simply turn both clockwise until they stop. If your sink lacks these valves, or they’re stuck and won’t close, then shut off the main water supply to the whole house instead. Always open the faucet afterward to release leftover pressure before you start working.
What tools do I really need for this job?
You can manage with just a few essentials:
- Basin wrench for the hard-to-reach mounting nuts
- Adjustable wrench for compression nuts on the supply lines
- Towels and a bucket to catch trapped water
- Flashlight or headlamp for visibility in the dark cabinet
Penetrating oil helps with corrosion, and a putty knife clears old residue. These basics cover nearly every standard faucet removal.
Why won’t my mounting nuts loosen?
Mineral deposits and corrosion are the usual culprits, especially on older faucets. They essentially weld the nut to the threads over time. Spray penetrating oil around the fitting and let it soak for five to ten minutes. Then use your basin wrench with steady, firm pressure rather than sudden force. Forcing it too hard can strip the nut or crack the part, so patience really matters here.
How do I keep water from spilling everywhere?
Trapped water always lingers in the supply lines, even after you close the valves. Lay towels across the cabinet floor and tuck extra rags around each shutoff valve. Keep a small bucket directly under the connections you’re loosening. Open the faucet handles first to drain leftover pressure and water. Work slowly so any dribble lands on a towel rather than soaking your cabinet contents.
Can I reuse the old supply lines?
You can, but it’s often smarter to replace them. Braided hoses are inexpensive, and old ones may hide corrosion, mineral buildup, or tiny cracks that lead to leaks later. If your supply lines look worn, stiff, or rusty, swap them out while you have easy access. Fresh hoses give you a reliable, leak-free connection and spare you another trip under the sink down the road.
Conclusion
You’ve now seen the whole process, from closing the shutoff valves to running a final leak check. The job really comes down to a handful of simple habits: cut the water completely, set up good lighting and towels, treat corrosion with patience, and reach for the right tool when those high mounting nuts won’t budge.
Remember the details that make all the difference. Open the faucet to release pressure, keep a bucket ready for trapped water, and use a basin wrench instead of fighting with the wrong tool. Each small step keeps your cabinet dry and your project stress-free.
Understanding how to disconnect kitchen faucet connections hands you genuine independence. You’ll save money on plumber visits, fix small problems the moment they appear, and carry this skill into campers, cabins, and outdoor setups whenever you need it. So gather your tools, slide under that sink, and tackle the job with confidence. You’ve got everything you need to do it right.

About
Nick Hall has spent the last seven years working at the intersection of kitchen design and home repair — first as a design assistant at a residential renovation studio, then as a freelance writer covering everything from cabinet layouts to leaky faucet fixes.
Her approach is simple: kitchens should look good and function well. That means she’s just as comfortable talking about color palettes and counter materials as she is walking readers through how to fix a wobbly cabinet hinge or troubleshoot a garbage disposal.
Nick has worked directly with homeowners on small-space kitchen makeovers, budget-conscious renovations, and the kind of everyday repairs that don’t need a contractor — just the right instructions. She writes from experience, not theory, and tests most of the fixes and tips she shares before publishing them.
When she’s not writing, Nick is usually hunting for mid-century kitchen finds at estate sales or helping friends plan their own renovations. She lives in Columbus, Ohio.