
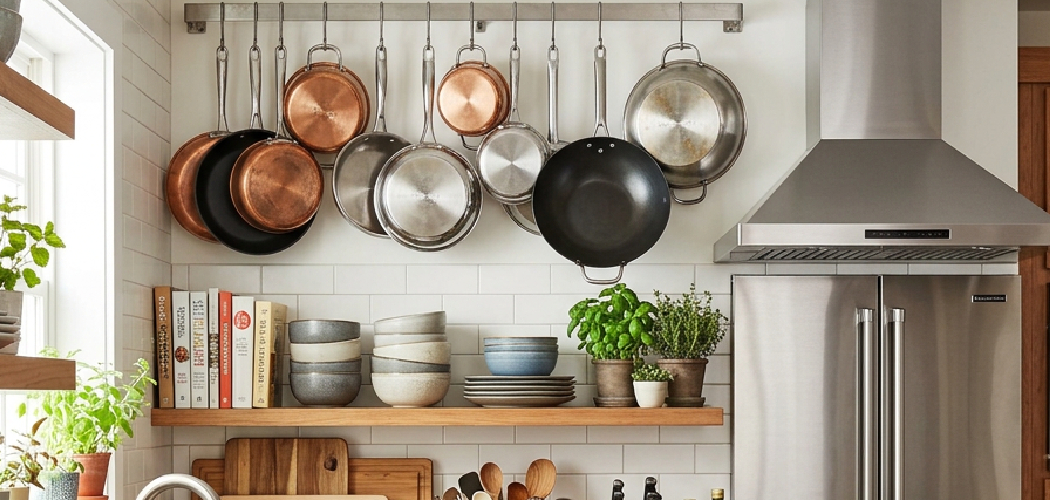
That box of weathered ladles, wooden spoons, and tarnished whisks tucked in the back of your cabinet deserves better than the dark. Old utensils carry stories—the warm patina of decades, the soft glow of worn copper, the chips on a beloved enamel scoop. Instead of hiding them away, why not turn them into the heart of your kitchen?
You don’t need a designer or a big budget to pull this off. A few simple tools, some wall space, and a little planning go a long way.
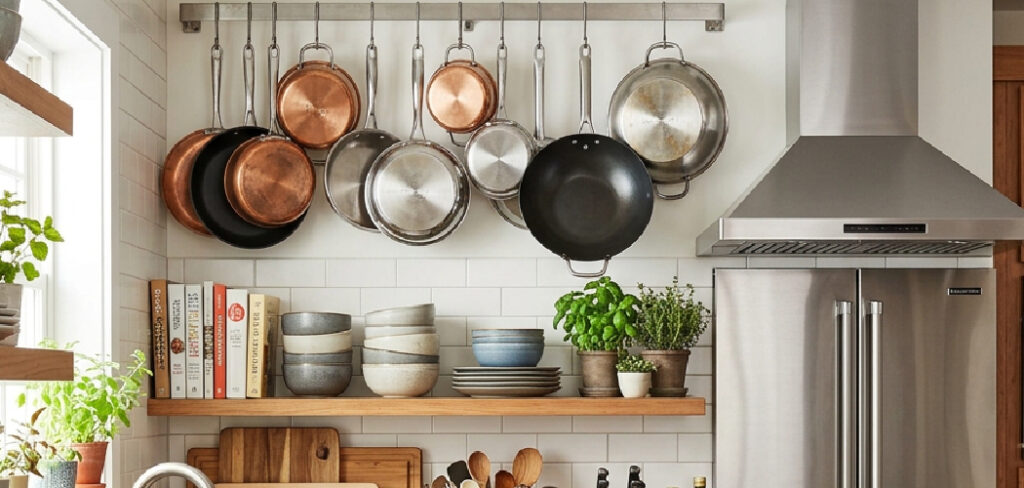
Learning how to display old kitchen utensils lets you celebrate their character while adding warmth and personality to your cooking space. This guide walks you through the whole process, step by step, so you can create a display that looks intentional, balanced, and genuinely beautiful.
Why Displaying Old Kitchen Utensils Matters
Showing off vintage cookware does more than fill empty wall space. It transforms a plain kitchen into a room with soul, where every antique ladle and wooden spoon tells a piece of your history.
This skill travels far beyond the home kitchen, too. If you love rustic camp kitchens, those aged tools bring instant charm to a cabin cooking space or a cozy RV nook. An outdoor prep station feels welcoming when a cast iron pan hangs nearby, ready for use and easy on the eyes.
Vintage utility setups thrive on this kind of practical beauty. Hanging your enamelware and copper pans keeps them within reach while doubling as decor. You save drawer space, protect delicate pieces from clutter, and give your whole space a warm, lived-in character that store-bought decor simply can’t match.
Tools and Materials You’ll Need
Gather your supplies before you start, because a quick trip mid-project always breaks your momentum. Begin with a stud finder, which helps you anchor heavier pieces like cast iron safely into the wall. You’ll also want a measuring tape and a pencil to mark precise spacing and keep everything level.
Hanging hardware matters most here. Pick up a set of sturdy wall hooks, some screws and wall anchors, and a small level to check your alignment. A drill speeds up the work, while a hammer handles lighter nails for delicate antique ladles.
Keep a soft cloth and mild cleaner nearby to wipe away grime without stripping that lovely patina. One optional convenience item worth grabbing is a peg rail or hanging rail, since it lets you mount several utensils at once with clean, even spacing.
Step-by-Step Guide on How to Display Old Kitchen Utensils
Take this project one stage at a time and you’ll end up with a display that feels styled rather than scattered. Knowing how to display old kitchen utensils well comes down to thoughtful placement, gentle cleaning, and a good eye for balance.
Step 1 – Sort and Choose Your Best Pieces
Spread your collection across a table and really look at each item. Notice the aged wood tones on the spoons, the soft tarnish on metal whisks, and the chipped charm of old enamel surfaces. Some pieces will instantly grab your eye, while others feel ordinary.
Pick the items with the most character. A copper pan with deep patina or an oversized antique ladle makes a wonderful focal point.
Set aside duplicates and anything too damaged to shine. You want a curated group, not a cluttered pile. Group similar materials together as you sort, since matching textures and tones help your final display feel cohesive. This early editing step saves you headaches later and keeps your gallery wall from looking crowded or random.
Step 2 – Clean Without Stripping the Patina
Now give each chosen piece a gentle cleaning. Grime dulls their beauty, but harsh scrubbing can erase the very patina that makes vintage cookware special. Wipe wooden spoons with a barely damp cloth, then dry them right away to protect the grain.
For tarnished metal, use a mild cleaner and a soft cloth. Polish lightly to reveal warmth without forcing a mirror shine.
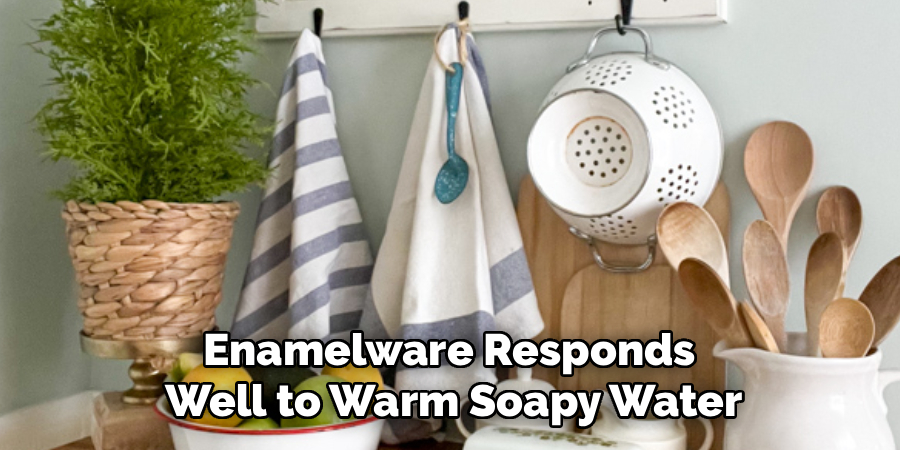
Enamelware responds well to warm soapy water and a soft sponge. Avoid abrasive pads that scratch the surface. The goal is clean, not brand new—you want that lovely lived-in glow to remain. Let everything dry completely before hanging, since trapped moisture can stain your wall or cause rust on cast iron and copper pieces.
Step 3 – Plan Your Layout on the Floor
Before you put a single hole in the wall, lay your pieces out on the floor. This simple trick saves you from costly mistakes and lets you experiment freely. Arrange and rearrange until the grouping feels balanced.
Play with size and shape. Place your statement piece, like a big copper pan, slightly off-center, then build around it with smaller wooden spoons and ladles.
Step back often and study the spacing. Look for pleasing rhythm rather than a stiff, even grid. Mix tall items with short ones and rough textures with smooth enamel surfaces. When the floor arrangement makes you smile, snap a photo so you have a reference once you start hanging everything on the wall.
Step 4 – Find the Studs and Mark Your Spots
Grab your stud finder and run it slowly along the wall where your display will live. Mark each stud with a light pencil tick. Heavier items, especially cast iron pans, need a stud or a solid anchor to stay put.
Measure your spacing carefully, using your floor layout photo as a guide. Mark each hanging point with a small pencil dot.
Check your alignment with a level so nothing hangs crooked. Even spacing creates that polished, intentional look, while sloppy gaps make the whole thing feel accidental. Take your time here. A few extra minutes measuring and marking now means you won’t end up with a wall full of unnecessary holes. Precision at this stage pays off beautifully.
Step 5 – Install Your Hanging Hardware
With your marks in place, install the hardware. Drill pilot holes at each pencil dot, then insert wall anchors wherever you’re not hitting a stud. This keeps heavier pieces secure and protects your wall from damage.
Screw in your wall hooks firmly, giving each one a gentle tug to test its hold. For a peg rail or hanging rail, mount it level across the studs for maximum strength.
Lighter antique ladles and wooden spoons can hang from small nails or delicate hooks. Match the hardware to the weight of each piece. Nothing ruins a display faster than a beloved copper pan crashing to the counter. Solid, well-placed hardware gives you confidence that your vintage treasures will stay exactly where you want them.
Step 6 – Hang Your Statement Pieces First
Start with your largest, boldest items. Hang that gleaming copper pan or oversized cast iron skillet as your central focal point. These anchor the entire arrangement, so getting them right matters most.
Step back and check the balance. Adjust the height until the piece feels grounded yet eye-catching against the wall.
Once your statement pieces sit nicely, the rest of the display falls into place around them. Notice how the warm metal tones and rich patina draw the eye and set the mood for your rustic kitchen. Take your time positioning these heroes, since everything else builds off their placement. A confident, well-centered focal point gives your whole gallery wall a sense of purpose and visual weight.
Step 7 – Fill In With Smaller Utensils
Now add the supporting cast. Hang your wooden spoons, antique ladles, whisks, and smaller enamelware around your statement pieces. Work outward, filling gaps while keeping comfortable wall spacing between items.
Vary the heights and angles to create movement. A ladle tilted slightly here, a cluster of spoons there—these little choices make the display feel alive rather than rigid.
Keep checking the overall balance as you go. Mix textures and tones so aged wood sits beside tarnished metal and glossy enamel. Don’t overcrowd; a little breathing room lets each piece shine. Stand back frequently and trust your eye. When the grouping looks full but not cluttered, with nice rhythm across the wall, you’ve nailed the arrangement.
Step 8 – Add Shelving or a Shadow Box for Depth
For extra interest, bring in open shelving or a shadow box. A shelf with the right depth holds small enamelware, jars of utensils, or a stack of vintage cookware, adding dimension your flat wall display can’t.
Mount open shelving securely into studs, then style it loosely. Lean a small framed print behind a cluster of wooden spoons for a layered, collected look.
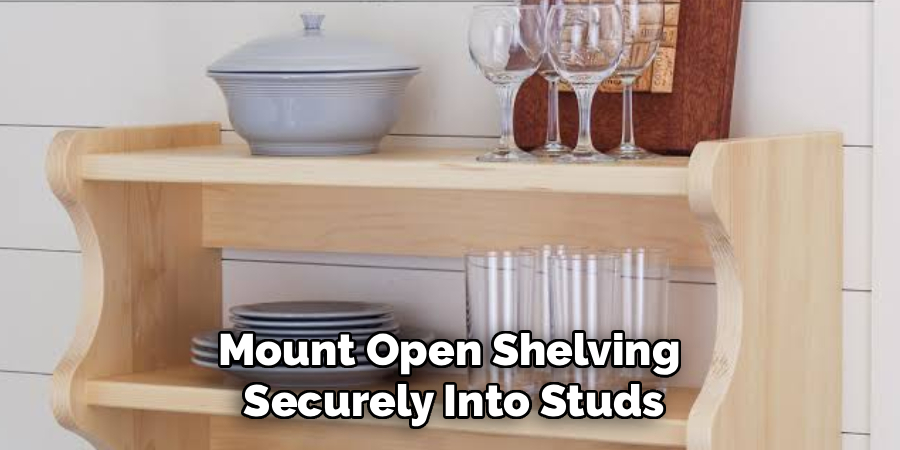
A shadow box frames delicate or especially meaningful pieces, protecting them while turning them into art. Tuck a worn ladle or a tiny whisk inside for a charming touch. These additions give your display height, depth, and a true gallery feel. Combining hanging utensils with shelving creates a rich, textured arrangement that feels thoughtfully designed.
Critical Mistakes When Displaying Old Kitchen Utensils
A few common slip-ups can turn a charming display into a cluttered mess, so let’s cover them before you start drilling. The biggest mistake is overcrowding the wall. When you cram too many pieces together, the eye has nowhere to rest, and your beautiful vintage cookware blends into visual noise. Leave breathing room between items so each one gets its moment to shine.
Another frequent error is over-cleaning your pieces. Beginners often scrub away the very patina and worn character that make old utensils special. A copper pan polished to a harsh shine or a wooden spoon stripped of its warm tone loses all its vintage soul. Clean gently and stop while that lovely aged glow remains.
Many people also skip the stud finder and hang heavy items on flimsy hardware. A cast iron skillet on a small nail will eventually pull free, damaging your wall and risking your treasure. Always anchor weighty pieces properly.
Finally, folks ignore balance and spacing. Hanging everything in a stiff, even row, or scattering pieces with no plan, makes the display feel accidental. Lay out your arrangement on the floor first, vary your heights, and build around a clear focal point.
Expert Tips
Want your display to look professionally styled? Lean on a few tricks that seasoned decorators swear by. Group your utensils by material or color family, since matching tones create instant cohesion and a calm, intentional feel.
Always odd-number your clusters. Three spoons or five ladles read as more natural and pleasing to the eye than even, symmetrical pairs.
Mix functional and purely decorative pieces. Hanging utensils you actually use keeps them handy and makes the display feel authentic rather than staged.
Pay attention to the wall behind your collection. A warm, neutral color or a bit of rustic wood paneling makes tarnished metal and aged wood pop beautifully. And don’t forget lighting—a small picture light or nearby lamp casts gentle shadows that highlight every lovely curve and texture.
Frequently Asked Questions
How do I clean old utensils without ruining them?
Use gentle methods to protect that valuable patina. Wipe wooden spoons with a barely damp cloth and dry them immediately. For metal, choose a mild cleaner and a soft cloth, polishing lightly rather than aggressively. Enamelware loves warm soapy water and a soft sponge. Avoid abrasive pads or harsh chemicals, since they strip away the character and warmth that make vintage pieces so charming in the first place.
What’s the best way to hang heavy cast iron pieces?
Heavy items need solid support. Always locate a wall stud with a stud finder and anchor your hardware directly into it. If a stud isn’t available, use quality wall anchors rated for the weight. Choose sturdy wall hooks or a strong hanging rail, never small decorative nails. Give each hook a firm tug to test it before hanging your prized cast iron skillet or copper pan.
How many utensils should I display together?
Less is usually more. Aim for a curated group rather than your entire collection. Odd numbers work best visually, so try clusters of three, five, or seven pieces. Leave comfortable spacing between items so each one stands out. Overcrowding turns charming vintage cookware into clutter. Pick your most characterful pieces, build around one statement item, and resist the urge to fill every inch of wall.
Where’s the best spot for a utensil display?
Look for a wall that gets noticed but stays practical. A space above the stove, beside open shelving, or along an empty stretch near your prep area works wonderfully. Make sure it’s away from heavy splatter zones if you’re hanging delicate antique pieces. A spot with decent natural or accent lighting helps the patina and textures glow, turning your display into a true focal point.
Can I mix different materials and styles?
Absolutely, and mixing often looks best. Combining aged wood, tarnished metal, glossy enamelware, and warm copper creates rich texture and visual interest. The trick is finding a common thread, like a shared color tone or a consistent rustic feel, to tie everything together. Vary heights and shapes for movement, but keep enough harmony so the display feels collected and intentional rather than chaotic or mismatched.
Conclusion
You’ve now seen the whole process, from sorting your best pieces to layering in shelving for depth. The secret really comes down to a few simple habits: choose utensils with genuine character, clean them gently to preserve that lovely patina, and plan your layout before you ever touch the wall.
Remember the details that make all the difference. Anchor heavy cast iron into studs, leave breathing room between pieces, and build your arrangement around a bold focal point. Vary your heights, mix your textures, and trust your eye as you go.
Mastering how to display old kitchen utensils hands you a creative, budget-friendly way to add warmth and personality to any space. You’ll transform forgotten treasures into eye-catching decor, free up your drawers, and give your kitchen a rich, lived-in charm. Whether it’s your home kitchen, a cozy cabin, or a rustic camp setup, these techniques work beautifully. So gather your favorite pieces, find that perfect wall, and start creating a display you’ll love for years to come.

About
Nick Hall has spent the last seven years working at the intersection of kitchen design and home repair — first as a design assistant at a residential renovation studio, then as a freelance writer covering everything from cabinet layouts to leaky faucet fixes.
Her approach is simple: kitchens should look good and function well. That means she’s just as comfortable talking about color palettes and counter materials as she is walking readers through how to fix a wobbly cabinet hinge or troubleshoot a garbage disposal.
Nick has worked directly with homeowners on small-space kitchen makeovers, budget-conscious renovations, and the kind of everyday repairs that don’t need a contractor — just the right instructions. She writes from experience, not theory, and tests most of the fixes and tips she shares before publishing them.
When she’s not writing, Nick is usually hunting for mid-century kitchen finds at estate sales or helping friends plan their own renovations. She lives in Columbus, Ohio.