
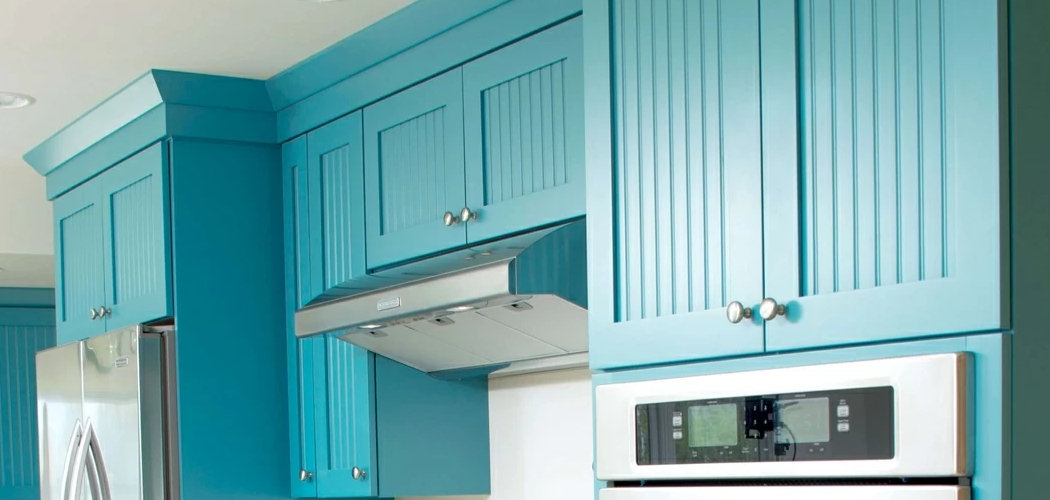
Learning how to hang kitchen cabinets on wall can feel like a big leap when you have never tackled cabinet installation before. The good news is that you do not need to be a master carpenter to get clean, sturdy results. With careful measuring, the right tools, and a steady plan, you can mount wall cabinets so they sit level, line up well, and support daily use.

This project takes patience more than speed. You will mark studs, set a level reference line, lift cabinets into place, and fasten them in the right order so the whole run stays straight. This guide will walk you through each stage in a simple, beginner-friendly way.
Why Learning to Hang Kitchen Cabinets Matters
Knowing how to install wall cabinets gives you more control over your kitchen project and can save a large amount on labor costs. It also helps you understand what makes cabinets safe and durable, which matters because these boxes hold dishes, pantry goods, and heavy cookware every day. When cabinets are mounted well, doors open smoothly, gaps stay even, and the finished kitchen looks far more polished.
This skill also helps when you remodel, replace damaged units, or upgrade a small kitchen on a budget. If you are a first-time DIYer, cabinet hanging teaches useful basics like finding studs, reading level lines, shimming uneven walls, and fastening through solid framing. Those same skills carry into many other home projects, from shelving to trim work and built-in storage.
Tools and Materials You’ll Need
Before you begin, gather everything in one place so you are not climbing up and down a ladder while searching for a screw bit or level.
- Tape measure
- Pencil
- Stud finder
- 4-foot level or laser level
- Drill/driver
- Cabinet screws
- Shims
- Clamps
- Screwdriver
- Ladder or sturdy step stool
- Wood filler for small finish touch-ups
- Safety glasses
- Drop cloth or cardboard to protect counters and floors
- Cabinet ledger board with screws
- Optional: a cabinet jack or support lift for easier positioning
Step-by-Step Guide on How to Hang Kitchen Cabinets on Wall
Step 1 – Prepare the room and clear the work area
Start by making the room easy and safe to work in. Remove old cabinets if needed, patch major wall damage, and clean away dust or grease. Cover the floor, countertop, and nearby appliances with a drop cloth or cardboard so falling screws or shifting cabinet corners do not leave dents and scratches.
Take a slow look at the wall surface. Most kitchen walls are not perfectly flat, and that matters once you begin mounting boxes side by side. Notice bulges, dips, and corners that seem out of square. Shut off power to any nearby outlets or light switches if you will be drilling close to wiring.

A clean, open workspace gives you better footing, better visibility, and fewer mistakes when lifting heavy cabinets into position.
Step 2 – Mark studs and find the high point of the wall
Use a stud finder to locate each wall stud across the full cabinet run. Mark the stud centers with a pencil a few inches below where the cabinets will sit, then extend those marks upward so you can still see them after lifting a cabinet into place. Double-check by drilling a tiny pilot hole if you are unsure. Solid framing is what gives upper cabinets their strength.
Next, use a long level to check the wall and the ceiling line. Measure up from the countertop or base cabinet height to determine your wall cabinet position. Mark a level reference line for the bottom of the upper cabinets. If the ceiling or wall is uneven, trust your level line, not the room itself.
This setup work is the backbone of how to hang kitchen cabinets on wall with confidence.
Step 3 – Install a temporary ledger board for support
A ledger board is one of the best tricks for beginners. It acts like an extra set of hands by supporting the cabinet weight while you align and fasten each box. Cut a straight scrap board long enough to span several studs, then screw it into the wall just below your level line. Make sure the top edge of the ledger is perfectly level, because your cabinets will rest on it during installation.
When you set a cabinet on the ledger, it should feel supported instead of floating in your hands. That changes the whole job. You can focus on alignment, clamping, and screw placement rather than trying to hold a heavy box and drill at the same time.
This simple support board reduces strain, improves accuracy, and makes the work feel much more manageable.
Step 4 – Start with the corner cabinet or the most critical cabinet
If your layout includes a corner wall cabinet, begin there. Corners set the reference point for everything that follows. If there is no corner unit, start with the cabinet that must line up exactly with a window, vent hood, or appliance centerline. Set the cabinet on the ledger board and slide it into position.
Check the cabinet front with your level. Then check side-to-side and top-to-bottom alignment. If the wall bows inward, insert shims behind the cabinet at the stud locations until the face frame sits true and does not twist. A cabinet can look fine at first, then reveal trouble later when doors will not hang evenly.
Drive cabinet screws through the sturdy hanging rail or back panel into the studs, but do not fully tighten them until you confirm the position.
Step 5 – Secure the cabinet carefully and check for level again
Once the first cabinet is roughly in place, tighten the fasteners in stages. Use pilot holes if needed to prevent splitting, especially near edges. Most installers place screws at the top and bottom into each available stud. As you tighten, keep watching for movement. Cabinets can shift slightly and throw off your line if you rush this part.
Run your level across the bottom and face of the cabinet. Open and close the door if it is already attached. You want a solid, steady feel, not a cabinet that rocks against the wall. Add or adjust shims where the wall surface dips. Then trim excess shim material later with a utility knife.
This is where patience pays off, because one level cabinet makes the next cabinet much easier to align.
Step 6 – Hang the next cabinet and clamp the faces together
Lift the second cabinet onto the ledger board and bring it snug against the first one. Clamp the face frames together before driving screws between the cabinets. Use scrap wood or soft clamp pads if needed to avoid marking the finish. Make sure the front edges are flush. Even a small offset will be obvious once the light hits the doors and reveals the seam.
This stage is a key part of how to hang kitchen cabinets on wall because a cabinet run needs to act like one continuous unit, not several separate boxes. Check level again across both cabinets, and shim behind the new cabinet where needed before tightening wall screws.
After that, drive screws through the face frame stile or manufacturer-approved joining points to lock the cabinets together securely.
Step 7 – Continue across the wall one cabinet at a time
Repeat the same rhythm as you move down the wall: set the cabinet on the ledger, align it to the level line, clamp it to the neighboring cabinet, shim behind low spots, and screw it to the studs. It may feel repetitive, but repetition is what keeps the run straight. Resist the urge to skip checks just because the last cabinet looked perfect.
Stand back every couple of cabinets and view the whole row. Sight along the bottom edge and the front faces. Your eye can often catch a slight dip or twist before a level does. Listen to how the cabinets settle as screws tighten. A creak or sudden pull may mean the wall is uneven and needs another shim.

Slow progress here gives you a cleaner reveal line and better door alignment later.
Step 8 – Remove the ledger and finish the final adjustments
After all cabinets are installed and fully fastened, remove the screws holding the ledger board and take it down carefully. Fill or patch the small screw holes if they will remain visible below the cabinets. Then make your final checks. Open each door and compare the gaps around the edges. Look for rubbing, sagging, or uneven reveals.
If a cabinet shifted slightly during installation, correct it now before trim, crown, or backsplash work begins. Tighten loose hardware, trim any exposed shim ends, and clean pencil marks from the wall or cabinet face. Reinstall shelves and adjust hinges so doors line up neatly.
At this point, the cabinets should feel rigid, level, and well joined. That solid feel is the sign of a safe, professional-looking install.
Common Mistakes When Hanging Kitchen Cabinets
One common mistake is trusting the ceiling or countertop instead of drawing a true level line. Many kitchens look square at a glance, but walls and ceilings often drift. If you follow those surfaces without checking level, your cabinets can slope, and the error gets worse with each added box.
Another mistake is missing the studs or using the wrong screws. Drywall alone will not support loaded wall cabinets. You need proper cabinet screws anchored into framing, and you need enough of them in the right locations. A cabinet may seem firm at first, then loosen under weight over time.
Beginners also skip shimming because they want the cabinet to sit tight against the wall. On an uneven wall, that can twist the cabinet box and throw doors out of alignment. Shims fill the low spots so the cabinet stays square instead of bending to match the wall.
Rushing the joining process causes problems too. If the cabinet faces are not clamped flush before you screw them together, the seam can end up uneven and very noticeable. Finally, many people work alone without enough support. Heavy cabinets are awkward. A ledger board, helper, or lift makes the job safer and much more accurate.
Expert Tips
Take the doors and shelves off before lifting the cabinets if the units feel heavy. That reduces weight and gives you fewer moving parts to protect. Label each door and hinge location with painter’s tape so reassembly stays simple.
Use a laser level if you have one, but still confirm measurements with a tape. Light can make a project feel easy, yet accurate marks matter more than fancy tools. Pre-drilling clean pilot holes also helps you place screws exactly where you want them.
If you are installing cabinets next to a soffit or ceiling, measure that space in several places. Small changes in height can affect fit. Most of all, do not chase speed. A careful cabinet install looks better every single day you use the kitchen.
Frequently Asked Questions
How high should wall cabinets be above the countertop?
In many kitchens, wall cabinets are installed so the bottom sits about 18 inches above the countertop. That spacing gives you practical workspace and room for small appliances. Still, cabinet height can vary based on ceiling height, backsplash design, and the homeowner’s needs, so always confirm the manufacturer’s recommendations and your kitchen plan before drilling.
Can I hang kitchen cabinets by myself?
Yes, but it is much easier with support. A temporary ledger board can hold the cabinet while you align and fasten it, and a cabinet jack can help with lifting. If the cabinets are large or made from solid wood, having another person nearby is the safer choice and can improve accuracy.
What screws should I use to mount wall cabinets?
Use cabinet installation screws that are strong enough for structural fastening into studs. They are designed to hold heavy loads and often have washer-style heads for better grip. Avoid relying on standard drywall screws because they are brittle and not meant to support the ongoing weight of dishes, cookware, and pantry items.
Do I need to shim behind wall cabinets?
Yes, in many kitchens you do. Walls are often uneven, and shims help keep the cabinet box square and level. Without shims, tightening screws can pull the cabinet against dips in the wall, which may twist the frame, affect door alignment, and create visible gaps between connected cabinets.
Should I install upper or lower cabinets first?
Most installers hang upper cabinets first. That way, you have clear access to the wall without leaning over base cabinets or countertops. It also lowers the risk of damaging finished lower units while lifting and drilling overhead. Once the upper cabinets are secure, you can install the base cabinets below and align everything more easily.
Conclusion
Installing wall cabinets is a project that rewards careful setup, steady lifting, and repeated level checks. When you mark studs clearly, use a ledger board, shim uneven spots, and join cabinets in the right order, the entire run comes together with less stress and better results. Even if your walls are not perfect, your finished installation can still look straight, strong, and clean.
The biggest lesson is to slow down. Measure twice, tighten gradually, and correct small issues before they grow into visible gaps or crooked doors. That approach makes a beginner project feel much more controlled.
Once you understand how to hang kitchen cabinets on wall, you can tackle a kitchen update with more confidence and a sharper eye for detail. Take your time, trust your level, and you will end up with cabinets that look good and hold up well for years.

About
Nick Hall has spent the last seven years working at the intersection of kitchen design and home repair — first as a design assistant at a residential renovation studio, then as a freelance writer covering everything from cabinet layouts to leaky faucet fixes.
Her approach is simple: kitchens should look good and function well. That means she’s just as comfortable talking about color palettes and counter materials as she is walking readers through how to fix a wobbly cabinet hinge or troubleshoot a garbage disposal.
Nick has worked directly with homeowners on small-space kitchen makeovers, budget-conscious renovations, and the kind of everyday repairs that don’t need a contractor — just the right instructions. She writes from experience, not theory, and tests most of the fixes and tips she shares before publishing them.
When she’s not writing, Nick is usually hunting for mid-century kitchen finds at estate sales or helping friends plan their own renovations. She lives in Columbus, Ohio.