
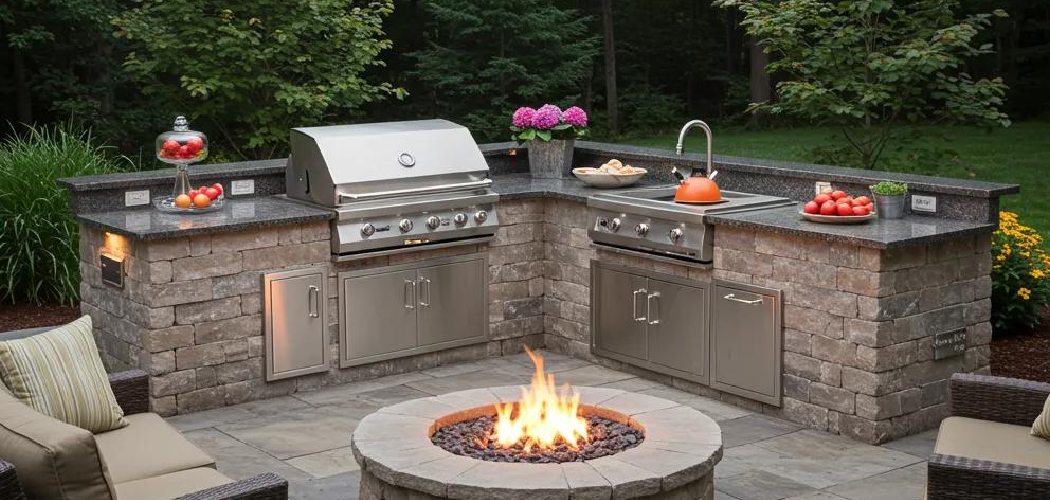
A simple outdoor kitchen can turn a plain patio or backyard corner into a place where you cook, gather, and relax. If you are a first-time builder, the project may seem big at first, but it becomes much easier when you break it into clear stages. Learning how to build an outdoor kitchen with pavers gives you a practical way to create a durable cooking space without needing advanced masonry skills.
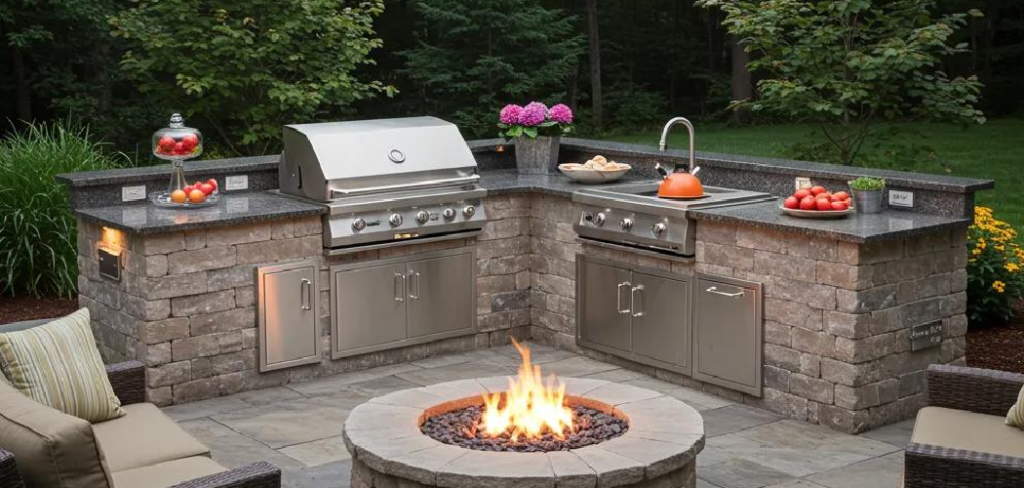
Pavers are popular because they look clean, handle weather well, and let you build a custom layout that fits your yard and budget. With the right plan, tools, and pacing, you can create a space that feels solid, useful, and inviting. This guide will show you how to plan, build, and finish a beginner-friendly outdoor kitchen with confidence.
Why Build an Outdoor Kitchen With Pavers
Building an outdoor kitchen with pavers gives beginners a strong mix of function, flexibility, and visual appeal. Unlike some permanent masonry systems, pavers are easier to work with, simpler to repair, and available in many colors and textures. That makes them a smart choice if you want a custom look without taking on a highly technical build.
This skill also helps campers and outdoor beginners make better use of outdoor living space. You can create a dedicated area for grilling, meal prep, and serving food instead of balancing everything on folding tables or makeshift stands. A paver kitchen also adds structure to your backyard, making cookouts feel more organized and more enjoyable. If you like practical projects that improve both comfort and property value, this is a rewarding one to learn.
Tools and Materials
You do not need a huge contractor setup to get started, but you do need the right basics. Gather your layout tools first, including a tape measure, marking paint, wood stakes, string line, a level, and a framing square. These help you keep the kitchen footprint straight and stable from the start.
For excavation and base prep, you will need a shovel, hand tamper or plate compactor, wheelbarrow, rake, and work gloves. For construction, have pavers, crushed gravel, sand, landscape fabric, construction adhesive rated for masonry, and a compact base material ready. If your design includes a grill insert, countertop, or utility access, make sure those dimensions are confirmed before you build.
You may also need concrete blocks or a metal frame for inner support, depending on the style. An optional but very helpful item is a wet saw, which gives you cleaner cuts around corners, edges, and appliance openings.
9 Step-by-Step Guide on How to Build an Outdoor Kitchen With Pavers
Step 1 – Choose the Right Location
Start by picking a spot that feels convenient, safe, and comfortable to use. A good location is close enough to your house for easy trips with food and utensils, but not so close that smoke blows into doors or windows. Look at wind direction, shade, drainage, and how people move through the yard.
Stand in the space and imagine carrying a tray, opening a grill lid, and walking around guests. You want enough room for prep, cooking, and seating without making the area feel cramped. A flat or gently sloped area will save time during base prep.
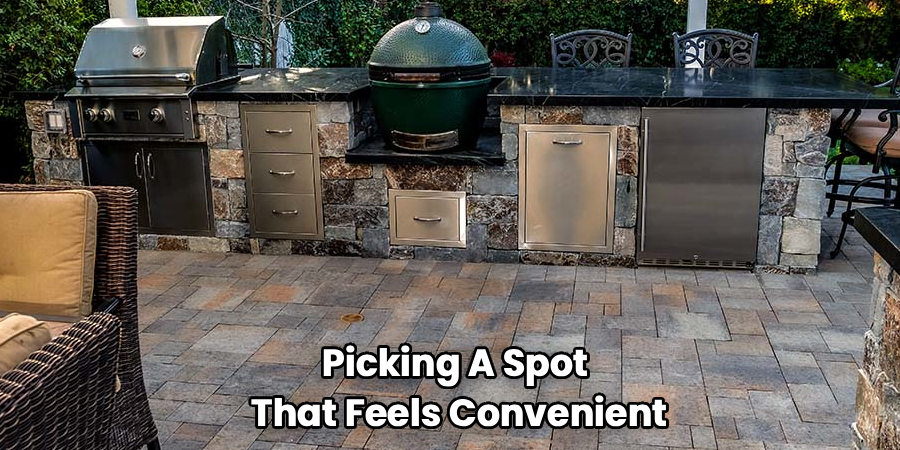
Check local building rules before you dig. Some towns have setback, gas line, or fire safety requirements for outdoor structures. That quick check can prevent expensive changes later and helps your project start on solid ground.
Step 2 – Plan the Layout and Size
A beginner-friendly outdoor kitchen does not need to be huge. Start with the core functions: cooking, prep space, and a little storage. Sketch a simple shape such as a straight run or an L-shape, then decide where the grill, countertop, and any add-ons will sit.
Think about comfort while you work. Leave enough space in front of the grill so you can move safely when it is hot, and make sure prep surfaces sit at a height that feels natural. A layout that looks great on paper still needs to feel easy in real life.
This is the stage where many people truly understand how to build an outdoor kitchen with pavers because the design controls every step that follows. If your measurements are clear now, cutting, stacking, and fitting materials later will be much smoother.
Step 3 – Mark the Footprint and Excavate
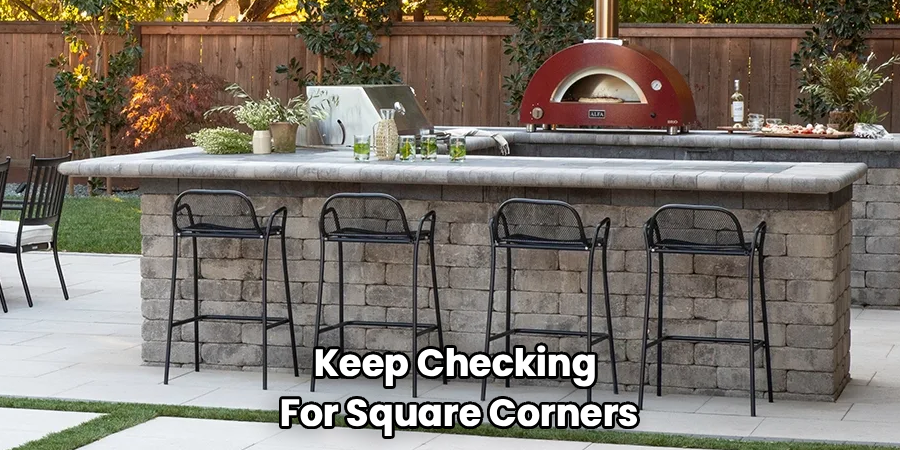
Once your plan is final, transfer it to the ground with stakes, string line, and marking paint. Double-check the width, length, and corners. Straight lines and square corners matter because even small errors can become obvious once you start stacking pavers.
Dig out the area deep enough for the base layers and the paver structure. The depth depends on your soil and design, but you need room for compacted gravel, leveling material, and the finished surface height. Remove roots, soft spots, and loose soil as you go.
As you dig, pay attention to drainage. The ground should slope slightly away from your home and from the kitchen base so water does not collect under the structure. When the hole is clean and even, the project begins to feel real, with the earthy smell of fresh soil and the rough outline of your future cooking space taking shape.
Step 4 – Build a Strong Base
A strong base is what keeps your outdoor kitchen from shifting, cracking, or settling unevenly over time. Start by laying landscape fabric if needed to help reduce weed growth and separate soil from the gravel. Then add crushed gravel in layers, compacting each layer before adding the next.
Do not rush this part. The base should feel firm underfoot, not soft or springy. Use a level often and maintain a slight slope for water runoff. A flat top with proper drainage is the balance you want.
If the base is weak, the rest of the build will fight you at every stage. If it is solid, the pavers will sit tighter and the finished kitchen will feel sturdy when you lean on the counter or move heavy cookware across it. This step is quiet work, but it is the backbone of the entire project.
Step 5 – Dry-Fit the Pavers and Core Structure
Before you glue or lock anything in place, set the first course of pavers or blocks in position as a dry fit. This lets you check spacing, alignment, and the overall look. It is much easier to fix a problem now than after adhesive cures.
If your design uses a hidden inner frame or concrete block core, position that first and confirm that the outer paver shell will fit around it. Keep checking for square corners and level lines. Small adjustments at this stage make the finished kitchen look much more professional.
As you place each piece, notice how the colors and textures start to work together. The rough face of the pavers, the clean edge lines, and the growing outline of the grill station all help you see the final result. This hands-on stage is where how to build an outdoor kitchen with pavers starts to shift from plan to structure.
Step 6 – Stack and Secure the Walls
Once the dry fit looks right, begin stacking the walls course by course. Apply masonry adhesive according to the product directions, and work carefully so each row bonds well to the one below it. Stagger joints when possible to improve strength and create a balanced look.
Check level and alignment after every course. Do not assume the wall is staying straight just because the first row looked good. Even slight drift becomes easy to spot once the wall gains height. Slow, steady placement gives you cleaner lines and a safer build.
If your kitchen will hold a grill insert, side burner, or storage opening, keep those clearances exact. The structure should support the weight without squeezing the appliance. By the end of this step, the walls should feel solid, with clean edges and a footprint that clearly shows where cooking and prep zones will go.
Step 7 – Install the Grill Opening and Countertop Support
Now shape the functional parts of the kitchen. If you are adding a grill insert, create the opening based on the manufacturer’s dimensions and ventilation needs. Heat-producing appliances need safe clearance, so never guess. Use the exact measurements and follow outdoor installation guidance.
Next, prepare for the countertop. Some builds use metal brackets, block supports, or a frame that spans the cabinet walls. Whatever system you use, it must support the countertop evenly and resist outdoor moisture. Test the support before placing any heavy surface material on top.
This is a good time to pause and step back. Picture where plates, tools, and hot pans will land while you cook. A practical outdoor kitchen feels smooth to use, not just nice to look at. If the workflow feels awkward now, make small changes before the finish materials go on.
Step 8 – Add the Countertop and Finish Surfaces
Set the countertop carefully, whether you choose stone, concrete, tile, or another outdoor-rated surface. Dry-fit first, then secure it according to the material requirements. The countertop should sit stable, level, and flush with the support points below.
After that, finish exposed edges, joints, and trim details. Clean away excess adhesive and dust so the paver color shows clearly. This is where the kitchen begins to look polished rather than under construction. The surface should feel smooth under your hand, while the paver base below still gives that textured, grounded look.
If your design includes storage doors or a simple access panel, install them now. Keep the finish practical. Outdoor spaces deal with heat, rain, grease, and debris, so durable materials matter more than delicate details. A clean, solid finish will age better and require less upkeep.
Step 9 – Test, Seal, and Set Up the Space
Before your first cookout, inspect everything. Wiggle components, recheck the countertop, and make sure the grill opening has proper clearance. Sweep the area and look for sharp edges, loose pieces, or spots where water may pool. Small corrections now prevent frustration later.
If your pavers or countertop material benefit from sealing, apply a suitable outdoor sealer after surfaces are fully clean and dry. Sealing can help reduce stains, moisture damage, and fading from sun exposure. It also makes cleanup easier after grilling.
Now add the simple details that make the space enjoyable. Set down prep tools, place a trash bin nearby, and think through lighting for evening use. When the grill warms up and the scent of food starts to drift across the yard, you will have a finished space that feels both useful and proudly your own.
Common Mistakes
One common mistake is skipping detailed planning and jumping straight into construction. Beginners often estimate appliance sizes, counter height, or clearances by eye, which leads to tight grill openings, awkward prep areas, or wasted space. A few careful measurements at the start save a lot of rework later.
Another problem is building on a weak base. If the gravel is not deep enough or properly compacted, the kitchen can settle unevenly over time. That may cause gaps, shifting pavers, or a countertop that no longer sits level. A stable base is not the flashy part of the project, but it is the part that protects everything else.
Many first-time builders also overlook drainage. Water that runs toward the structure or collects underneath it can weaken the base and stain the materials. A slight slope away from the kitchen helps protect the build and keeps the area cleaner after rain.
Finally, some people choose indoor materials for an outdoor environment. Countertops, adhesives, and finishes must be rated for weather, heat, and moisture. Outdoor kitchens look simple from a distance, but they face constant wear. If you choose durable materials and follow safe spacing around appliances, the finished kitchen will last much longer and perform far better.
Expert Tips
Keep your first build simple. A straight-line kitchen with a grill, prep space, and one storage zone is easier to build well than a large custom layout with multiple corners and add-ons. You can always expand later once you understand how the space works.
Buy all major materials before you start stacking. Paver colors, textures, and sizes can vary between batches, and changing products mid-build can make the finished kitchen look uneven. Dry-fit as much as possible before using adhesive, especially around grill openings and countertop supports.
It also helps to think about maintenance early. Choose surfaces that wipe clean, resist stains, and hold up in your climate. If you live in a freeze-thaw area, use materials designed for that cycle. A kitchen that is easy to maintain will stay attractive and functional long after the build is done.
Frequently Asked Questions
Do I need a concrete slab for an outdoor kitchen with pavers?
Not always. Many paver outdoor kitchens can sit on a properly prepared compacted gravel base, especially for smaller beginner-friendly builds. The key is stability, drainage, and weight distribution. For heavier designs or built-in appliances, local codes or soil conditions may call for a concrete slab, so it is smart to verify that before you begin.
What type of pavers work best for this project?
Concrete pavers and manufactured wall blocks are common choices because they are durable, easy to find, and made for outdoor use. Look for products designed for structural landscaping or outdoor kitchens, not just light decorative edging. Choose a size and style that fit your layout and make cutting and stacking manageable for a first project.
How much does it cost to build a basic outdoor kitchen with pavers?
The cost depends on size, materials, appliances, and whether you rent tools. A small DIY setup with a grill surround and prep counter may cost a few hundred to a few thousand dollars. Premium countertops, built-in storage, and utility hookups raise the price quickly. Careful planning helps you stay on budget without sacrificing strength.
Can I build one without gas or plumbing lines?
Yes. Many beginners start with a charcoal grill, portable propane grill, or simple prep station that does not require permanent utilities. That keeps the project easier, cheaper, and safer for a first build. You can still create a very useful outdoor cooking area without adding a sink, gas line, or electrical system right away.
How long does this project usually take?
A basic outdoor kitchen can often be built over a few weekends, depending on the size and your experience level. Site prep and base work take a lot of time, and those steps should not be rushed. If you are cutting many pavers or installing a custom countertop, expect the schedule to stretch a bit longer.
Conclusion
Building your own outdoor kitchen may sound ambitious, but it is very doable when you approach it one stage at a time. The most important parts are choosing a smart location, planning the layout carefully, preparing a strong base, and using outdoor-rated materials that can handle heat and weather. When those basics are in place, the rest of the project becomes much more manageable.
You do not need to create a luxury setup on your first attempt. A simple grill station with solid paver walls and useful counter space can completely change how you cook and gather outside. Focus on function first, then add style as your confidence grows.
If you have been wondering how to build an outdoor kitchen with pavers, the best next step is to sketch a small design, measure your space, and price out materials. Start with a realistic plan, work carefully, and trust the process. By the time you light the grill for the first meal, you will have built a space that looks good, works hard, and feels earned.