
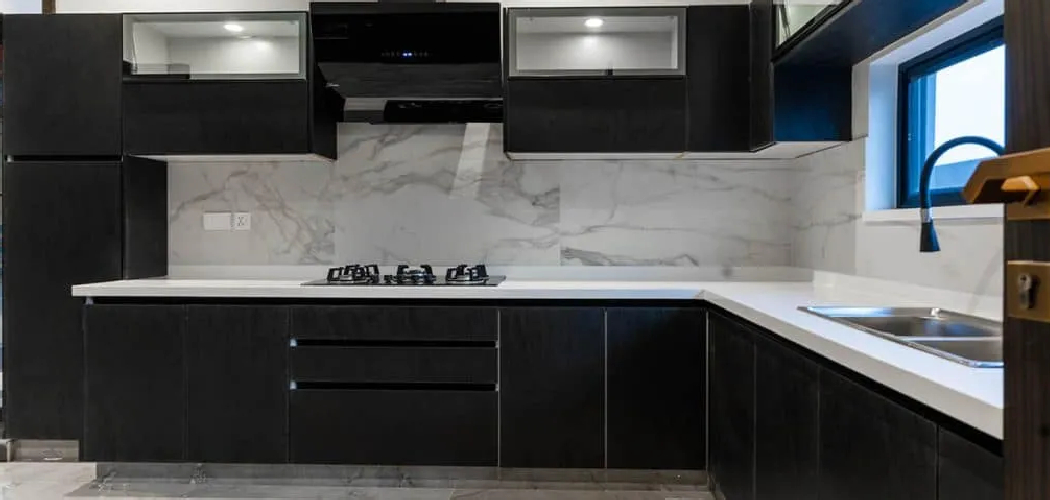
Few kitchen projects feel as satisfying as building the foundation of your space with your own two hands. If you’ve ever stared at an empty wall and imagined fresh, sturdy storage, you’re in the right place. Learning how to install bottom kitchen cabinets gives you control over your budget, your timeline, and the final look. And here’s the good news: you don’t need years of carpentry experience to get it right.

These base cabinets carry your countertop, hold your heaviest pots, and anchor the entire room. Get them straight and secure, and everything above them falls into place. Get them wrong, and you’ll fight crooked doors forever. This guide walks you through the whole process, step by step, so you can finish strong and proud.
Why Installing Bottom Kitchen Cabinets Matters for DIY Beginners
Tackling this project yourself does more than save money, though hiring a pro can easily cost hundreds in labor alone. It teaches you skills you’ll use again and again, from reading a level to finding wall studs.
Base cabinets set the tone for your whole kitchen. Once you understand how they attach to the wall and floor, you’ll feel confident enough to handle upper cabinets, shelving, and other home upgrades. That confidence is the real payoff.
For practical homeowners, there’s also the matter of precision. When you do the work, you control every detail, from spacing to alignment. Nobody cares about your kitchen as much as you do. So rolling up your sleeves often gives you a tighter, cleaner result than rushing a contractor ever could.
Tools and Materials You’ll Need
Before you start, gather everything in one spot. Nothing slows a project down like hunting for a drill bit halfway through. Most of these items live in a basic toolbox, and the rest you can rent or borrow without much fuss.
You’ll want a solid mix of measuring, marking, and fastening gear. A good level is non-negotiable, since even a slight tilt throws off your countertop later.
Here are the essentials:
- Tape measure and pencil
- Stud finder
- 4-foot level
- Drill and driver bits
- Cabinet screws (2½-inch)
- Wood shims
- A straight ledger board (1×4 works well)
- Clamps to hold cabinets together
- Safety glasses
Optional but handy: a laser level. It projects a perfectly straight line across your wall, which makes marking your layout faster and far more accurate.
Step-by-Step Guide on How to Install Bottom Kitchen Cabinets
Step 1 – Find Your Highest Floor Point
Floors are rarely flat, and that surprises a lot of first-timers. Grab your level and run it along the floor where your cabinets will sit. Mark the spot that bulges up the most, because every cabinet must sit at or above this height to stay aligned.
Run your hand across the surface and you’ll often feel subtle dips and rises that your eyes miss. This high point becomes your reference for everything that follows. If you skip this step, your run of base cabinets will end up wavy, and no amount of adjusting later will truly fix it. Take your time here. A few extra minutes now saves hours of frustration down the line.

Step 2 – Mark a Level Line on the Wall
From your highest floor point, measure up 34½ inches and make a mark. This is the standard height for base cabinets before the countertop goes on. Using your level or laser, extend that mark into a long, straight line across the entire wall.
This line is your map. Every cabinet top will meet it, giving you a clean, even surface for your countertop. Stand back and double-check that the line looks crisp and continuous. A faint or crooked line leads to guesswork, and guesswork leads to gaps. Press firmly with your pencil so the line stays visible even as dust and bumping hands try to rub it away during the work.
Step 3 – Locate and Mark the Wall Studs
Your cabinets need to grip something solid, and drywall alone won’t hold their weight. Slide your stud finder across the wall and mark each stud with a vertical pencil line. You’ll usually find them every 16 inches.
Knock on the wall between marks and you’ll hear the difference: a hollow sound between studs, a solid thud right on one. Those solid spots are where your screws will bite. Carry your stud marks slightly above your level line so you can still see them once a cabinet is in place. Skipping this means your screws sink into empty drywall, and a loaded cabinet could pull right off the wall.
Step 4 – Install a Temporary Ledger Board
Here’s a trick that makes installing bottom kitchen cabinets far easier: screw a ledger board to the wall, with its top edge resting along your level line. This board temporarily holds the cabinets at the perfect height while you work.
Drive a couple of screws into the studs to hold it firmly. The ledger takes the weight off your back and frees your hands for leveling and fastening. You’ll feel the difference immediately when you rest a heavy cabinet on it instead of balancing it on your knee. Just remember it’s temporary. Once your cabinets are secured to the wall, you’ll unscrew the board and patch the small holes it leaves behind.
Step 5 – Set the First Corner Cabinet
Always start in a corner, since corners anchor your whole layout. Lift the cabinet into place, resting its back edge on the ledger board. Check it with your level in two directions: front to back and side to side.
Slip wood shims underneath and behind as needed until the cabinet sits perfectly level and plumb. You’ll hear the shims slide into snug positions, and the cabinet will stop rocking once it’s right. This corner sets the standard for every cabinet after it. Take your time and get it dead-on. A corner that’s off by even a small amount multiplies into big problems as you work your way down the wall.
Step 6 – Secure the Cabinet to the Studs
Once your corner cabinet sits level, it’s time to lock it in. Drive your 2½-inch screws through the cabinet’s back rail and into the wall studs you marked earlier. Use at least two screws per stud for a firm hold.
You’ll feel the screw grab solid wood, which is exactly what you want. Avoid overtightening, because crushing the cabinet back can pull it out of square. Snug is enough. Give the cabinet a gentle shake to confirm it doesn’t budge. This connection is what keeps your base cabinets safe under daily use, heavy dishes, and the weight of your countertop. A secure cabinet now means peace of mind for years.
Step 7 – Add and Join the Next Cabinets
With your corner set, move to the next cabinet. Slide it against the first one, resting it on the ledger and checking that the front faces line up flush. Clamp the two cabinet frames together so they can’t shift while you fasten them.
Drive screws through the side frames to join the cabinets, then secure this one to the studs just like before. Run your fingers along the seam where the faces meet; you should feel a smooth, even joint with no lip. Keep checking your level as you go, adding shims wherever the floor dips. Repeat this process for each cabinet until your whole run sits straight and tight.
Step 8 – Final Leveling and Toe Kick Adjustment
After all cabinets are in place, walk the entire run with your level one last time. Check the tops against your wall line and confirm every face stays plumb. Tap in extra shims where needed, then trim any that stick out past the cabinet base.
Look down at the toe kick, the recessed area at the floor. Cover any shim gaps there with toe kick trim for a clean, finished look. This final pass is where good installs become great ones. Stand back, scan the whole row, and enjoy that satisfying moment when everything lines up. Now you can remove the ledger board and patch those small holes.
Critical Mistakes When Installing Bottom Kitchen Cabinets
The most common slip-up is skipping the floor check. Beginners often assume their floor is flat and set cabinets directly on it, only to discover later that their countertop won’t sit level. Always find your high point first and shim up from there.
Another frequent error is fastening into drywall instead of studs. Drywall simply can’t hold loaded cabinets, and over time the screws tear free. Use your stud finder every single time, and never trust a screw that doesn’t bite solid wood.
Rushing the first corner cabinet causes trouble too. Since it sets the line for the whole run, any tilt or misalignment there spreads down the wall and grows worse with each cabinet. Spend extra minutes here.

Overtightening screws ranks high on the list as well. Crank too hard and you’ll bow the cabinet back, throwing doors out of alignment. Snug is plenty. Finally, many people forget to clamp cabinets together before joining them, which leaves uneven faces and ugly gaps that catch the eye forever.
Expert Tips
Work with a helper whenever you can. Cabinets get heavy and awkward, and a second pair of hands makes leveling and clamping far smoother. If you’re solo, that ledger board becomes your best friend.
Keep a small pack of shims within reach at all times. You’ll use more than you expect, especially on older floors. Buy extras so you never have to stop mid-install.
Dry-fit your entire run before driving a single screw. Set the cabinets in place, check the spacing, and confirm everything fits around plumbing and outlets. It’s much easier to spot a problem now than after fastening.
Finally, label your cabinets and hardware as you unbox them. A little organization up front keeps the whole project calm and steady.
Frequently Asked Questions
How long does it take to install base cabinets?
For a beginner, expect a full day for an average kitchen run, though it varies with your layout. A simple straight wall might take four to six hours, while an L-shaped kitchen with corners and plumbing cutouts can stretch into a second day. Don’t rush. Working carefully and checking your level often matters far more than finishing fast.
Do I really need to find the studs first?
Yes, absolutely. Drywall can’t support the weight of cabinets loaded with dishes and topped with countertop. Screws driven into drywall alone will loosen and eventually pull out, which is a serious safety risk. Use a stud finder to locate solid framing, then drive your cabinet screws directly into those wall studs for a secure, lasting hold.
What if my floor is really uneven?
Uneven floors are common, especially in older homes. The fix is simple: find your highest floor point, set your level line from there, and use shims to bring every other cabinet up to that height. Build the gap underneath with shims rather than trying to force cabinets down. Then hide any gaps with toe kick trim for a clean finish.
Should I install base cabinets or wall cabinets first?
Many pros prefer hanging upper cabinets first, so the base cabinets aren’t in the way while you reach over them. That said, plenty of DIYers do base cabinets first without trouble. Either order works. If you do start with bases, just protect the cabinet tops with a towel or board while you install the uppers above them.
How do I keep cabinet faces lined up evenly?
Clamping is the secret. Before you screw two cabinets together, clamp their front frames so the faces sit perfectly flush. Then drive your screws through the side frames while the clamp holds everything steady. Run your fingers along the seam to confirm there’s no lip or gap. This small habit gives you a smooth, professional-looking row every time.
Conclusion
Building your base row from scratch is one of the most rewarding projects a homeowner can take on. Once you understand how to install bottom kitchen cabinets, you’ve unlocked a skill that pays off for years and across countless future upgrades.
Remember the essentials: start by finding your highest floor point, mark a level line, and locate your wall studs before anything else. Use a ledger board to carry the weight, set your corner cabinet perfectly, and fasten everything into solid framing. Keep checking your level, clamp your faces flush, and lean on shims wherever the floor dips.
The difference between a wobbly install and a flawless one comes down to patience and a few key habits. Take your time, double-check your work, and trust the process. When you step back and see that straight, sturdy row ready for its countertop, you’ll feel a pride no contractor’s invoice can match. Grab your tools, gather your confidence, and get started. You’ve got this.

About
Nick Hall has spent the last seven years working at the intersection of kitchen design and home repair — first as a design assistant at a residential renovation studio, then as a freelance writer covering everything from cabinet layouts to leaky faucet fixes.
Her approach is simple: kitchens should look good and function well. That means she’s just as comfortable talking about color palettes and counter materials as she is walking readers through how to fix a wobbly cabinet hinge or troubleshoot a garbage disposal.
Nick has worked directly with homeowners on small-space kitchen makeovers, budget-conscious renovations, and the kind of everyday repairs that don’t need a contractor — just the right instructions. She writes from experience, not theory, and tests most of the fixes and tips she shares before publishing them.
When she’s not writing, Nick is usually hunting for mid-century kitchen finds at estate sales or helping friends plan their own renovations. She lives in Columbus, Ohio.