
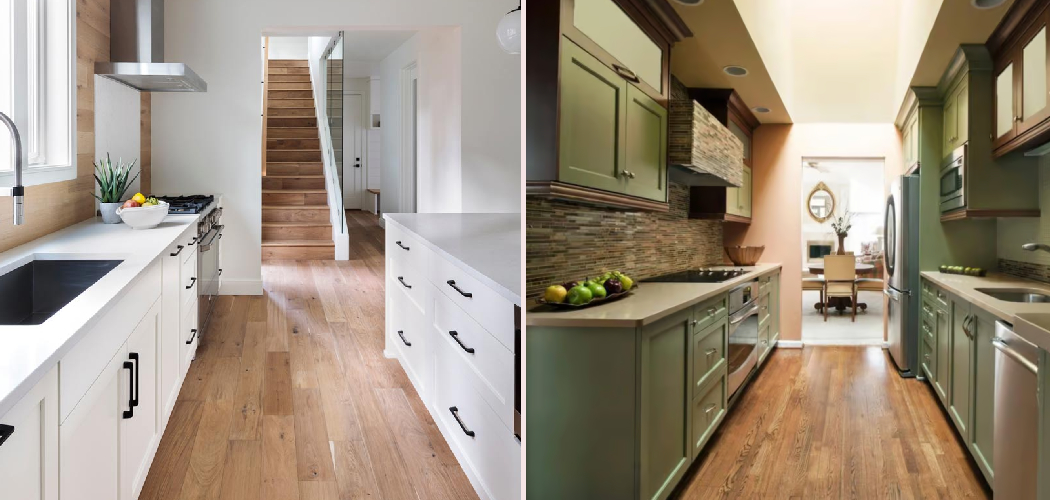
Does your narrow kitchen feel cramped, dark, and stuck in the past? You’re not alone, and you don’t need a massive budget to fix it.
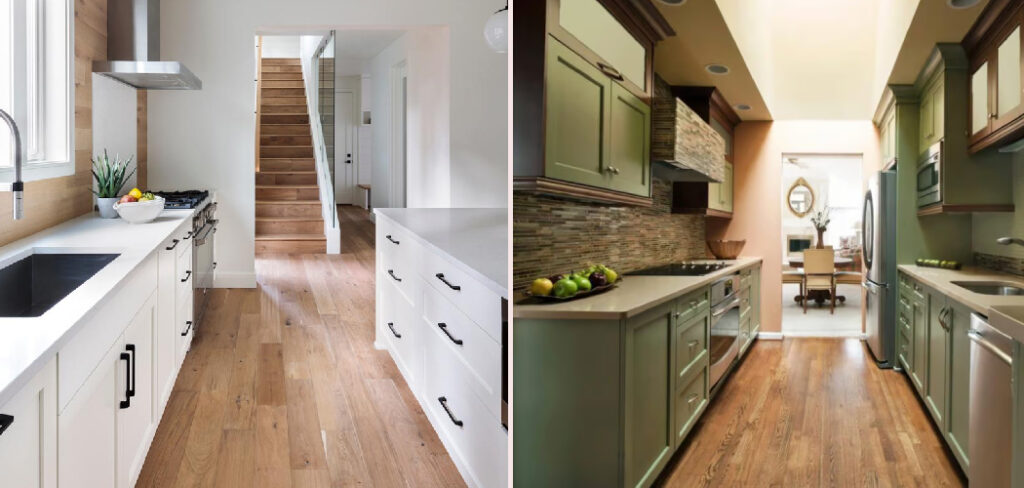
A galley kitchen packs two parallel runs of cabinets into a tight space. That layout is actually super efficient once you know how to work with it. The trouble is, many galley kitchens suffer from poor lighting, awkward storage, and a closed-in feeling that makes cooking a chore.
The good news? You can transform yours with smart updates and a little elbow grease. No contractor required for most of it.
This guide walks you through exactly how to remodel a galley kitchen step by step, so you can boost function, storage, and style without losing your mind or your savings.
Why Remodeling A Galley Kitchen Matters
A galley kitchen layout looks small, but it hides serious potential. When you remodel it thoughtfully, you unlock function you never knew was there.
For homeowners, better storage solutions mean less clutter on your counters and more room to actually cook. You stop fighting for space every time you chop vegetables.
Kitchen enthusiasts love the chance to fine-tune the workflow triangle. With your sink, stove, and fridge placed just right, every step feels smooth and natural.
For DIY beginners, this project builds real confidence. You learn to paint, swap hardware, and add lighting without calling a pro. Each small win makes the next task easier.
Best of all, a thoughtful narrow kitchen design adds visual openness and lifts the whole mood of your home. You get brighter mornings, easier dinners, and a space that finally feels like yours, all without a full luxury renovation.
Tools and Materials You’ll Need
Gather everything before you start so the project flows without frustrating stops. Begin with a measuring tape and a notepad to record every dimension, plus painter’s tape to mark layouts and protect edges while you paint. Keep a screwdriver, drill, and pry bar ready for removing old hardware and trim, along with a stud finder and a level so everything hangs straight and secure.
You’ll need a utility knife for clean cuts, safety glasses, and gloves to protect yourself during dusty work. For surface refreshing, grab patching compound, sandpaper, primer, and your paint supplies. Pick up replacement hardware like knobs and pulls, plus task lighting options such as under-cabinet strips.
One optional convenience item, a laser level or a rolling cart, makes alignment and tool transport so much easier in a tight space.
Step-by-Step Guide on How To Remodel A Galley Kitchen
Step 1 – Measure And Plan Your Layout
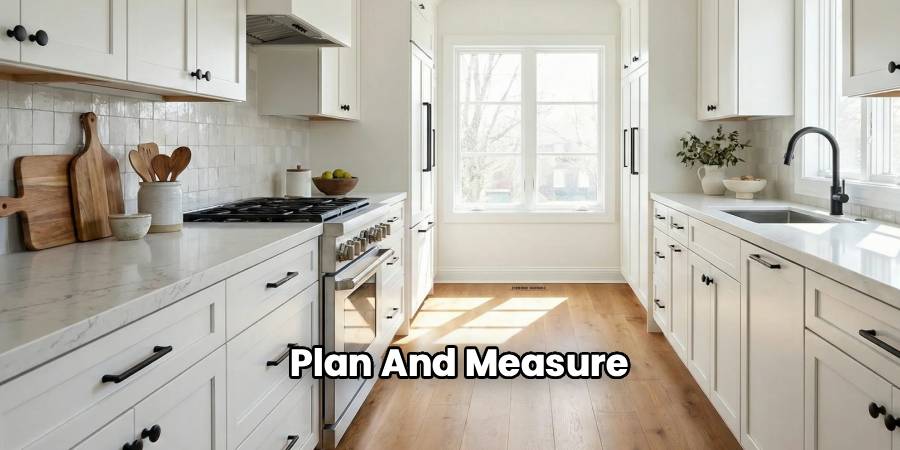
Start with a clear picture of your space. Stretch your measuring tape along both cabinet runs and jot every number in your notepad, including the narrow walkway between them.
Pay attention to appliance spacing and tight corner clearances. A galley feels cramped when doors and drawers fight for the same air, so note where cabinet doors brush past each other.
Map out your workflow triangle on paper. Where do your sink, stove, and fridge sit? Keeping these three points close and unobstructed makes cooking feel effortless.
Use painter’s tape on the floor to sketch new ideas before you commit. This quick trick reveals problems early. Good planning here saves you headaches, wasted money, and regret later, so take your time and measure twice.
Step 2 – Clear Out And Prep The Space
Now empty everything. Pull dishes, food, and small appliances off the counters and out of the cabinets, then box them up and move them somewhere safe.
This is also when light demolition happens. Pry off old trim, unscrew dated hardware, and remove anything you plan to replace. Expect dusty demolition, so wear your safety glasses and gloves.
The kitchen will feel strangely empty, with echoes bouncing down the long, bare space. That hollow sound means you’re ready for the real work.
Wipe down every surface to clear away grease and grime. Clean walls and cabinet faces help primer and paint stick far better. A solid prep job sets the stage for everything that follows, so don’t rush this messy but important step.
Step 3 – Refresh Walls And Patch Imperfections
Bare walls often reveal old nail holes, dents, and scuffs once the clutter clears. Grab your patching compound and fill each flaw with a smooth, even swipe.
Let the patches dry fully, then sand them flat until your hand glides across without catching. Run your palm over the wall to feel for any rough spots you missed.
Wipe away the fine dust, because leftover grit ruins a clean paint finish. A quick wipe-down makes a big difference.
This is the foundation of your backsplash refresh and paint job. Smooth walls reflect light better and look far more polished. In a narrow kitchen, every little imperfection shows, so taking care of them now gives you that crisp, professional look you’re after.
Step 4 – Paint For Light And Openness
Color works magic in a tight galley. Lighter finishes bounce light around and create instant visual openness, making your narrow kitchen feel wider and airier.
Prime first so your color goes on even and lasts longer. Then roll on your chosen shade in smooth, overlapping strokes. Soft whites, pale grays, and gentle creams open up the space beautifully.
The fresh paint smell fills the room as you work, a satisfying sign of progress. Cut in carefully along edges with a brush for clean, sharp lines.
This is one of the most rewarding parts of learning how to remodel a galley kitchen, because the transformation shows immediately. Let each coat dry before adding the next. Two thin coats beat one thick, drippy mess every single time.
Step 5 – Update Cabinets And Storage
Your cabinets carry the whole look, so give them attention. If they’re sturdy, a fresh coat of paint and new hardware works wonders without the cost of replacement.
Focus on smart storage solutions to beat the galley squeeze. Add pull-out shelves, lazy Susans for corners, and door-mounted racks to use every inch. Vertical storage keeps counters clear and cooking easy.
Test each drawer and door after your cabinet updates. You want smooth drawer slides and doors that swing freely without bumping the run across from them.
Reach into the back corners and feel how much more you can grab now. In a tight space, organized storage changes everything. Suddenly your kitchen holds more and feels calmer, all without knocking down a single wall.
Step 6 – Upgrade Counters And Backsplash
Counters and backsplash set the tone. If a full countertop replacement fits your budget, choose a durable, light surface that brightens the room and resists daily wear.
On a tighter budget, peel-and-stick tiles or a painted finish refresh the backsplash beautifully. Either way, you get a clean, modern surface that ties the whole look together.
Measure carefully and cut with your utility knife for snug, professional edges. A level helps you keep tile lines straight, which matters a lot in a long, narrow galley.
Run your fingers along the finished surface to check for smooth seams. These updates resist splashes, wipe clean fast, and add real polish. A fresh backsplash refresh often delivers the biggest visual payoff for the least effort.
Step 7 – Add Smart Lighting
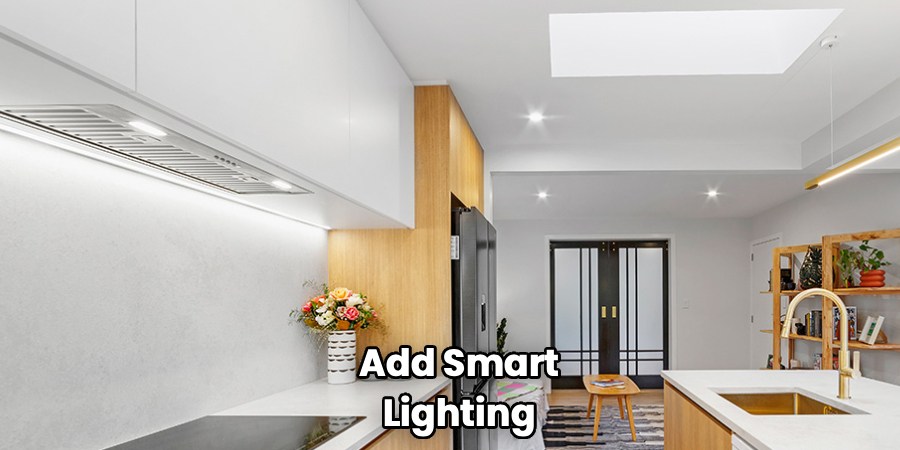
Lighting transforms a dark galley into a warm, welcoming space. Build a layered lighting plan that brightens both the work zones and the room overall.
Install under-cabinet lighting first. That bright, even glow lands right on your counters, killing the shadows that make chopping and prepping a struggle. The difference feels dramatic.
Add overhead fixtures or track lights to wash the whole kitchen in even light. In a long room, spacing these properly stops the dim, tunnel-like feeling galleys often have.
Use your stud finder and level to mount fixtures straight and secure. Switch everything on and watch the space open up. Good lighting makes colors pop, surfaces shine, and the entire kitchen feel bigger and far more inviting than before.
Step 8 – Refresh The Floor And Finishing Touches
Finish strong with the floor. Pick a finish with solid floor durability that stands up to spills, foot traffic, and dropped pans. Light, continuous flooring stretches the space visually and ties everything together.
Run the same flooring straight down the galley to avoid breaks that chop up the room. A seamless run draws the eye forward and makes the space feel longer and grander.
Now add those final details. Hang a few open shelves, place a runner rug, and style the counters with a plant or two.
Step back and take it all in. Your once-cramped kitchen now feels bright, open, and genuinely yours. These finishing touches turn a solid remodel into a space you’ll love cooking in every day.
Critical Mistakes to Avoid When Remodeling A Galley Kitchen
The most common mistake is ignoring the workflow triangle. People focus on looks and forget function, then end up walking back and forth constantly while cooking. Keep your sink, stove, and fridge close and unobstructed so movement stays natural and quick.
Another big slip is choosing dark, heavy finishes. In a narrow kitchen, dark cabinets and walls swallow light and shrink the space even further. Stick with lighter shades that reflect light and create visual openness, especially on upper cabinets and walls.
Many beginners also overcrowd the layout. Cramming in oversized appliances or bulky islands blocks the walkway and makes two people in the kitchen impossible. Respect your appliance spacing and leave enough room to move and open doors freely.
Skipping a proper lighting plan ruins otherwise great work. A galley with one dim ceiling bulb stays gloomy no matter how nice the cabinets look. Layer your lighting, and never forget under-cabinet strips.
Finally, rushing the prep work backfires fast. Painting over greasy walls or unpatched holes leads to peeling, bumpy finishes. Slow down, clean thoroughly, and patch every flaw before you grab a brush.
Expert Tips
Want pro-level results in your galley? Always tackle one side of the kitchen at a time. This keeps the space usable and stops you from feeling overwhelmed by mess on both runs at once.
Choose reflective surfaces wherever you can. Glossy backsplash tiles and semi-gloss cabinet paint bounce light around and make the space feel twice as bright.
Measure your walkway and protect it. Aim for at least 36 inches between cabinet runs so two people can pass comfortably and doors open without clashing.
Buy a little extra paint, tile, and hardware. Matching colors or styles later is tough, and small reserves save you mid-project stress.
Finally, test your new layout before committing to big purchases. Tape everything out on the floor first. Living with the plan for a few days reveals what truly works for you.
Frequently Asked Questions
How Much Does It Cost To Remodel A Galley Kitchen?
Costs vary widely based on how much you do yourself. A simple DIY refresh focused on paint, hardware, and lighting might run a few hundred dollars. A fuller update with new counters and flooring can climb higher. To keep it budget-friendly:
- Reuse sturdy cabinet boxes
- Repaint instead of replacing
- Tackle the labor yourself
Smart choices stretch your money far in a small space.
What Is The Best Layout For A Galley Kitchen?
The best galley kitchen layout keeps the workflow triangle tight and the walkway clear. Place your sink, stove, and fridge close together so you move easily between them. Aim for at least 36 inches between the two cabinet runs. This spacing lets doors open freely and allows two people to pass without bumping, which makes the narrow design work beautifully.
How Can I Make My Narrow Kitchen Look Bigger?
Light and continuity are your best friends. Use pale paint, reflective backsplash surfaces, and bright layered lighting to create visual openness. Run the same flooring straight down the length without breaks. Keep counters clear and add a few open shelves instead of bulky uppers. These tricks trick the eye into seeing a longer, wider, and far more spacious narrow kitchen.
Do I Need A Contractor To Remodel A Galley Kitchen?
Not for most cosmetic work. You can paint, swap hardware, add storage solutions, install lighting, and refresh a backsplash yourself with basic tools. Call a professional only for tricky jobs like moving plumbing, gas lines, or major electrical work. Doing the rest yourself saves serious money and builds real confidence, which is perfect for DIY beginners tackling their first kitchen project.
How Long Does A Galley Kitchen Remodel Take?
A DIY refresh usually takes one to two weekends, depending on scope. Painting and hardware swaps go fast, while patching, drying time, and flooring add days. Plan your steps in order so paint dries before you reinstall hardware. Working on one cabinet run at a time keeps your kitchen usable. Patience pays off, so don’t rush the prep and drying stages.
Conclusion
Transforming a tight, dated galley into a bright, functional space is absolutely within your reach. You don’t need a huge budget or a contractor for most of the work.
Remember the key steps. Measure and plan your layout, clear and prep the space, then patch and paint with light, airy colors. Update your cabinets with smart storage, refresh your counters and backsplash, and layer in good lighting. Finish with durable flooring and a few thoughtful touches.
The payoff is real. You gain better function, smarter storage, and a kitchen that finally feels open and welcoming. Every step you complete builds skill and confidence for the next project.
So grab your measuring tape, pick a light, fresh color, and start with one small section. Once you see how to remodel a galley kitchen with these simple steps, you’ll wonder why you waited so long. Take it one task at a time, enjoy the progress, and get ready to love your brighter, roomier kitchen. You’ve totally got this.
