
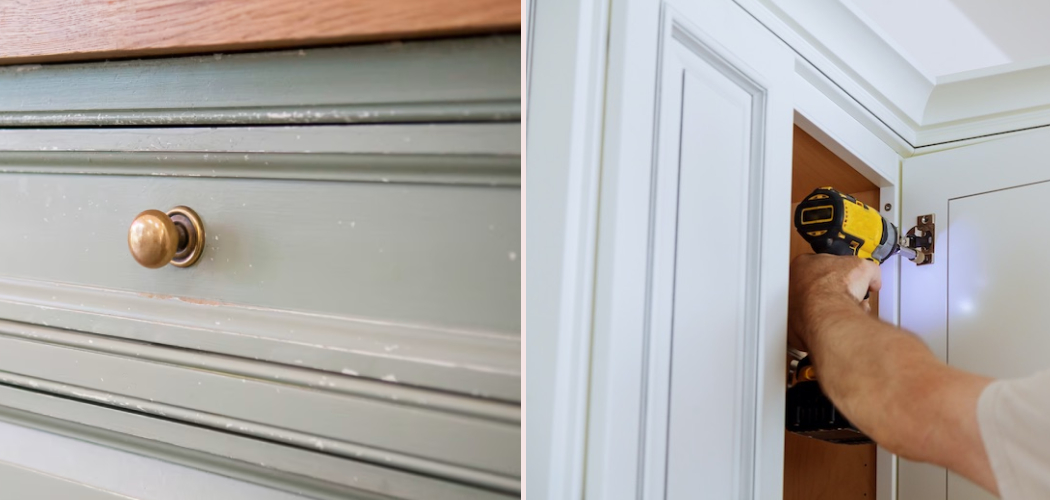
Pulling out old base cabinets sounds like a job for a pro with a wrecking bar, right? It really isn’t. With a little patience and the right approach, you can do it yourself and keep everything intact.
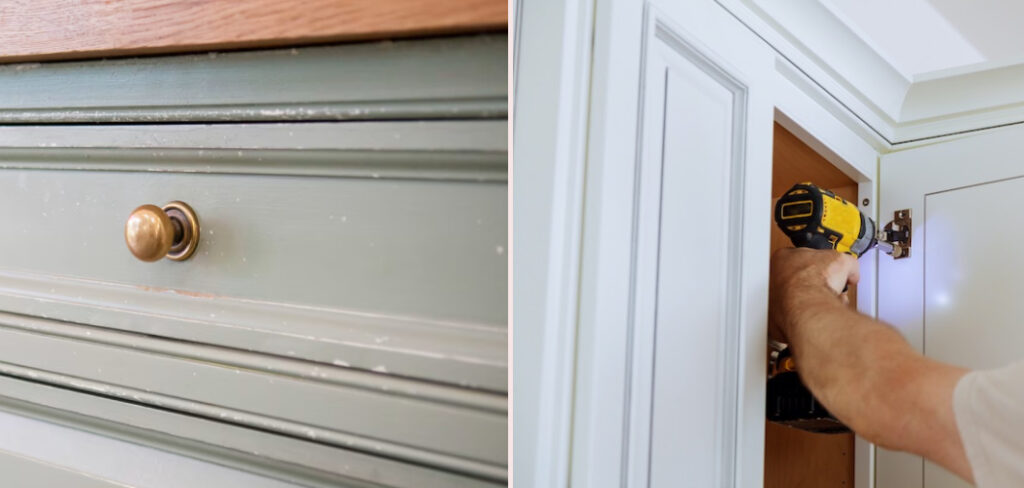
Lower cabinets often look permanent, but they’re usually held in place with just a handful of screws and some caulk. The trick is finding those fasteners and working slowly so you don’t crack your walls, scratch your floors, or ruin cabinets you might want to reuse.
That’s exactly what this guide covers. You’ll learn how to remove lower kitchen cabinets without damage, step by step, so you protect your home and save money on contractor fees while prepping for your next upgrade.
Why Learning To Remove Lower Kitchen Cabinets Without Damage Matters
Knowing this skill puts real power in your hands. For homeowners, careful base cabinet removal means you can salvage solid cabinet boxes, reuse them in a garage or laundry room, or sell them instead of tossing them in a dumpster.
Renters prepping for renovation benefit too. Removing cabinets gently protects walls and flooring, which keeps your deposit safe and your landlord happy.
Kitchen enthusiasts love the freedom to swap layouts, update countertops, or fix hidden water damage without waiting weeks for a contractor. You work on your own timeline.
For DIY beginners, this project builds confidence fast. You learn how cabinets attach, where fasteners hide, and how to protect your subfloor. That knowledge carries into every future repair, saving you serious cash and teaching you to trust your own two hands.
Tools and Materials You’ll Need
Gather your supplies before you begin so the work flows smoothly from start to finish. Here’s what you’ll want on hand:
- Pry bar for gently separating cabinets from the wall
- Utility knife to slice through caulk and paint lines
- Screwdriver for removing visible fasteners
- Drill to speed up screw removal
- Putty knife for lifting edges without gouging
- Hammer for stubborn shims
- Painter’s tape to mark fastener locations and protect edges
- Work gloves and safety glasses for protection
- Moving blankets to cushion removed cabinets
- Cardboard or floor protection for your subfloor
- Small containers to hold loose screws
- Shims to support shifting cabinet boxes
- A helper for heavy lifting
One optional convenience item, an oscillating multi-tool or a label maker, makes tricky cuts and reassembly far easier later on.
Step-by-Step Guide on How To Remove Lower Kitchen Cabinets Without Damage
Step 1 – Clear And Prep The Work Area
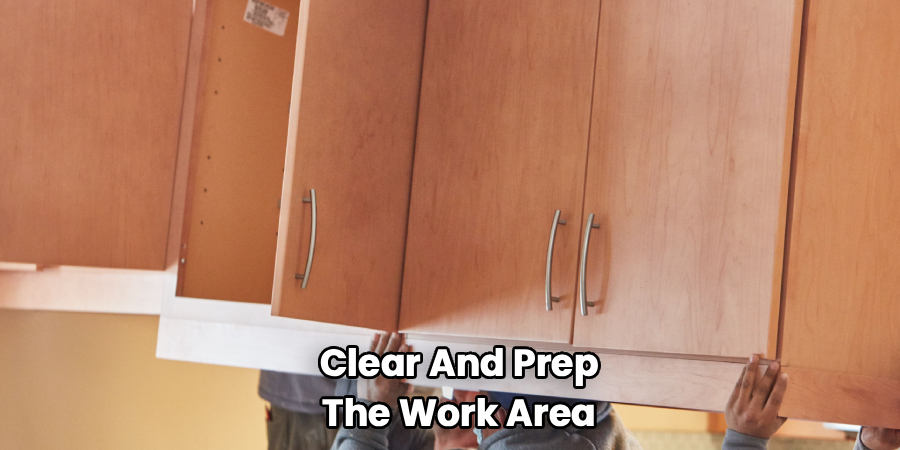
Start by emptying everything. Pull out pots, pans, cleaning supplies, and any drawers or shelves you can lift free. The lighter the cabinet box, the easier and safer it moves later.
Lay down cardboard or moving blankets across your floor. Heavy base cabinets can gouge a subfloor in seconds, so this floor protection saves you a costly repair.
Wipe down the dusty toe kicks and grimy corners so you can clearly see seams, screws, and caulk lines. Good visibility prevents mistakes.
Tape off nearby walls and trim with painter’s tape to guard against scuffs. Give yourself plenty of room to kneel and work. A clean, open space sets the stage for careful, damage-free removal.
Step 2 – Turn Off Utilities And Disconnect Plumbing
Safety comes first, especially around the sink base cabinet. Head to your shutoff valves and turn off the water supply, then test the faucet to confirm the flow stops completely.
Disconnect the plumbing under the sink. Loosen the supply lines and drain connections, keeping a bucket and towel ready for the trickle of leftover water that always escapes.
If a garbage disposal or dishwasher line runs through the cabinet, unplug power at the breaker before touching anything electrical. Never guess here.
This plumbing disconnect step protects you from leaks and shocks. Take photos of every connection with your phone so reassembly later feels stress-free. Slow, careful work now prevents flooded floors and damaged fixtures down the road.
Step 3 – Separate The Countertop Connection
Now tackle the countertop. Most counters attach to the cabinet boxes with screws driven up through corner brackets from inside the cabinet. Look underneath and remove each one.
Run your utility knife along the backsplash edge and any caulk line where the counter meets the wall. You’ll hear the caulk crack softly as the blade slices through, releasing the seal.
Some countertops sit heavy and may need a gentle pry. Slide a putty knife or pry bar underneath and lift slowly, watching for any spots still stuck.
Have your helper steady the counter as it lifts free. Countertops are awkward and heavy, so two sets of hands prevent dropped slabs, cracked tile, and bruised toes. Set it aside on blankets.
Step 4 – Locate All Fasteners And Caulk Lines
With the counter gone, hunt down every fastener. Cabinets attach to the wall through a back rail or wall cleat, usually with screws driven into studs. Peek inside the upper back of each cabinet box.
Mark each fastener location with painter’s tape so you don’t miss any. Hidden fasteners are the number one cause of cracked cabinets, because people pry before every screw is out.
Run your knife along any caulk or paint line where the cabinet meets the wall or floor. Old paint loves to grab on, and skipping this risks tearing wall paint right off the drywall.
Check the toe kick and base too. Some cabinets hide screws low and out of sight, so look everywhere before you pull.
Step 5 – Remove The Screws Carefully
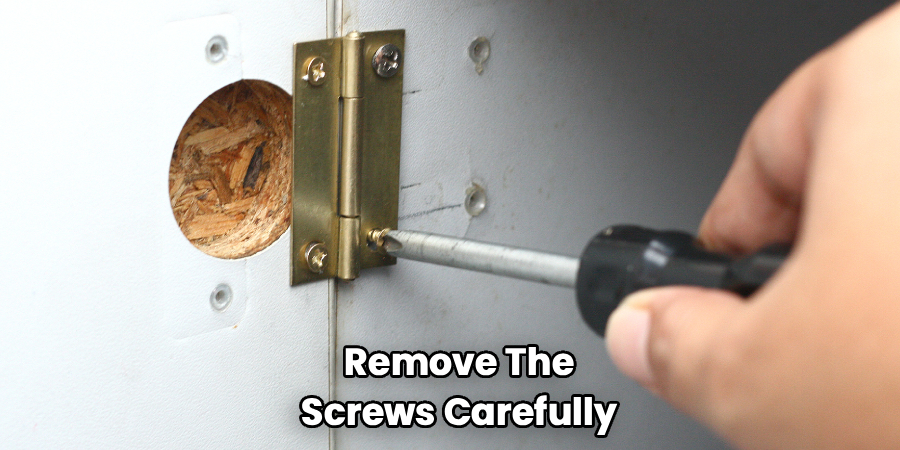
Time to back out those screws. Grab your drill or screwdriver and start with the wall cleat fasteners at the top, then work toward the base.
Old screws often resist. Years of moisture and paint can rust or seize them in place. Press firmly and turn slowly so you don’t strip the head. If one fights back, a little tap with the hammer can break it loose.
Drop every screw into your small container as you go. Loose fasteners on the floor become trip hazards and lost pieces fast.
Knowing how to remove lower kitchen cabinets without damage really comes down to this patient screw work. Once a cabinet box feels loose and wobbles freely, you’ve found them all. Don’t force anything that still feels anchored.
Step 6 – Gently Pry The Cabinet From The Wall
Now ease the cabinet away from the wall. Slip your pry bar behind the cabinet box near a stud, and place a putty knife or wood shim behind the bar to protect the drywall.
Pull gently and evenly. You’ll catch the faint smell of old wood and dried adhesive as the cabinet shifts. That musty scent means decades of grip finally letting go.
Work along the back rail, prying a little at each point rather than yanking one corner hard. Even pressure keeps the cabinet from twisting and cracking.
Watch for cabinet boxes shifting unexpectedly once they break free. Keep your hands clear and your helper ready. Slow, steady pressure protects both your walls and the cabinets you want to keep.
Step 7 – Lift And Carry Out The Cabinet Box
With the cabinet free, focus on weight distribution. Base cabinets are bulkier than they look, so bend at your knees and grip the solid frame, not the flimsy face.
Have your helper take one end while you take the other. Lift together on a count, keeping the load balanced between you. This teamwork saves your back and the cabinet’s corners.
Carry it carefully over your floor protection toward the door. Watch doorframes and tight corners, since a careless bump can ding both the cabinet and your trim.
Set each cabinet box down on moving blankets in your staging area. Stack salvageable cabinets neatly so you can reuse, store, or sell them. Treat them gently now, and they’ll serve you well in their next home.
Step 8 – Inspect And Clean The Exposed Area
With the cabinets out, take a good look at the bare space. Check the walls and subfloor for hidden water damage, mold, or old leaks that were tucked away for years.
Scrape off leftover caulk, adhesive, and shims with your putty knife. A clean wall and floor make your renovation prep far easier and your next install much straighter.
Sweep up the dust, screws, and debris that always collect behind base cabinets. You’ll be surprised what hides back there.
Patch any small wall dings now while everything sits open and accessible. This is the perfect moment for repairs you’d otherwise struggle to reach. A clean, inspected space means your upgrade starts on solid, healthy footing rather than hidden problems.
Critical Mistakes to Avoid When Removing Lower Kitchen Cabinets Without Damage
The biggest mistake beginners make is prying before every screw is out. People spot a few fasteners, start pulling, and crack the cabinet box or tear chunks of drywall off the wall. Always hunt down every hidden fastener first, especially the ones tucked into the back rail or wall cleat, before applying any pressure.
Another common error is skipping the plumbing disconnect on the sink base cabinet. Yanking a cabinet with water lines still attached snaps fittings, floods your floor, and turns a simple job into an expensive emergency. Shut off the water and disconnect everything first, every single time.
Many folks also forget floor protection. Heavy base cabinets dragged across bare flooring leave deep scratches and gouges in your subfloor or finished surface. Lay down cardboard or blankets before you move anything.
Rushing the countertop connection causes trouble too. Slicing caulk carelessly or prying too fast cracks tile, chips laminate, and damages the backsplash edge. Work slowly along every seam.
Finally, lifting alone leads to injury and dropped, broken cabinets. Always grab a helper for the heavy boxes. Demolition versus careful removal comes down to patience.
Expert Tips
After years of pulling cabinets, I’ve learned a few tricks that make the job smoother. Always photograph or sketch your layout before you start, including plumbing connections and fastener locations. Future you will be grateful during reassembly.
Score every paint and caulk line twice with your utility knife. One pass rarely cuts deep enough, and that second pass is what saves your wall paint from tearing.
Keep a labeled container for each cabinet’s screws. Mixing hardware costs you time later when nothing seems to fit right.
Work top to bottom and side to side methodically. Remove the countertop, then upper fasteners, then the box itself in order.
Lastly, never force anything. If a cabinet won’t budge, you’ve missed a fastener. Stop, look again, and find it.
Frequently Asked Questions
Can I Remove Lower Cabinets Without Removing The Countertop?
In most cases, no. The countertop usually screws into the cabinet boxes from underneath and seals to the wall with caulk. You’ll need to disconnect the countertop connection first to free the cabinets. Trying to skip this step risks cracking the counter, damaging the backsplash edge, or breaking the cabinet frame. Remove the counter first for a clean, damage-free result.
How Do I Know Where The Cabinets Are Attached?
Look inside the cabinet box along the upper back rail. That’s where screws usually pass through a wall cleat into the studs. Check these spots too:
- The toe kick area near the floor
- Side panels where cabinets join each other
- Behind any trim or filler strips
Mark each fastener with painter’s tape so you remove them all before prying.
Will Removing Base Cabinets Damage My Walls?
It doesn’t have to. Most wall damage happens when people pry before cutting the caulk and paint lines, or before removing every screw. Score the seams with a utility knife first, then place a putty knife behind your pry bar to spread pressure. Work slowly and evenly. With patience, you’ll leave the drywall intact and ready for your renovation prep.
Do I Need To Shut Off The Water First?
Absolutely, especially for the sink base cabinet. Turn off the shutoff valves under the sink and confirm the faucet stops running. Then disconnect the supply lines and drain. Keep a bucket and towel handy for leftover water. Skipping this plumbing disconnect leads to leaks, floods, and damaged flooring. If electrical lines run through the cabinet, switch off the breaker too.
Can I Reuse Cabinets After Removing Them?
Yes, if you remove them carefully. Salvageable cabinets with solid boxes work great in garages, laundry rooms, basements, or workshops. The key is gentle prying, even pressure, and protecting the corners during the lift. Avoid demolition-style yanking, which cracks frames and ruins reuse potential. Stack removed boxes on moving blankets, and you’ll have sturdy storage for years to come.
Conclusion
Taking out base cabinets yourself is absolutely doable, and now you have the roadmap to do it right. The whole job comes down to patience and order.
Remember the key steps. Clear and prep your space, shut off the water and disconnect plumbing, then separate the countertop connection. Find every fastener, back out the screws slowly, and pry gently with even pressure. Lift with a helper, protect your floors, and inspect the bare area before your next project begins.
Avoid the common traps. Never pry before every screw is out, always protect your subfloor, and never lift heavy boxes alone. These small habits protect your walls, floors, and salvageable cabinets.
The payoff is huge. You save on contractor fees, gain real DIY confidence, and prep your kitchen for whatever upgrade comes next. Once you see how to remove lower kitchen cabinets without damage with these simple steps, you’ll feel ready to tackle bigger projects. So grab your tools, take it slow, and trust yourself. You’ve totally got this.
