
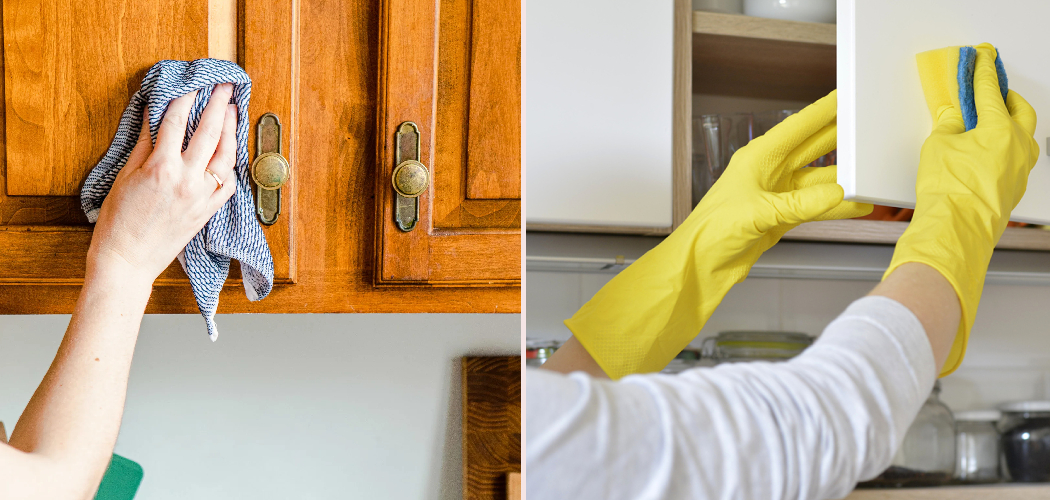
Sticky cupboards have a way of sneaking up on you. One day your cabinet doors feel smooth, and the next they’re coated in a faint, tacky film that grabs dust and fingerprints. That greasy layer comes from everyday cooking, and it builds slowly until you finally notice it.
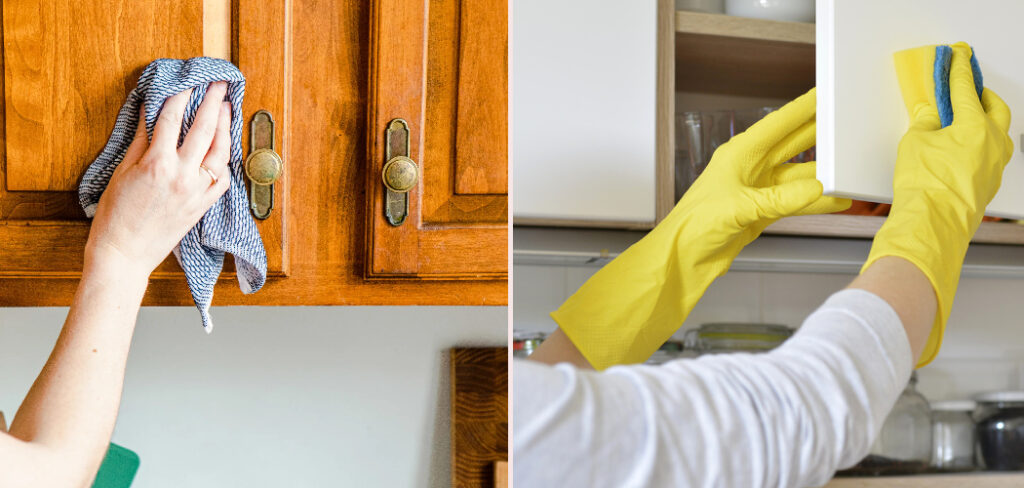
The good news? You don’t need fancy products or a professional cleaner to fix it. Learning how to remove grease from kitchen cupboards is simple once you know which products and techniques actually work on different surfaces.
With a few household items and a little patience, you can bring back that clean, fresh feel in an afternoon. This guide walks you through the whole process step by step, so you can tackle grease buildup confidently and keep your cupboards looking their best.
Why Learning to Remove Grease From Kitchen Cupboards Matters
This is one of those skills that quietly pays off everywhere you cook. Once you understand how cooking oil film clings to surfaces, you can clean it from any cabinet doors, whether they’re laminate finish or painted wood.
That know-how travels well, too. Campers and outdoor beginners deal with tight galley kitchens in RVs and trailers, where grease builds fast in cramped spaces. The same gentle degreaser and microfiber cloth that work at home work beautifully in a camper galley.
Small-space cleaning is all about staying ahead of mess before it spreads. When you know how to lift sticky residue without damaging finishes, you prevent that grimy buildup that ruins storage surfaces and traps odors. Master this on your home kitchen cupboards first, and you’ll keep any compact kitchen fresh, no matter where your cooking adventures take you.
Tools and Materials You’ll Need
You won’t need a cabinet full of supplies for this job. Most of what works best is already sitting in your kitchen.
- Dish soap: Cuts through everyday cooking oil film with ease.
- Baking soda: Mixes into a gentle paste for stubborn grease buildup.
- White vinegar: Helps break down sticky residue on tough spots.
- Microfiber cloth: Lifts grease without scratching delicate finishes.
- Warm water: Loosens grime and rinses surfaces clean.
- Soft sponge: Tackles textured corners and edges gently.
- Spray bottle: Makes applying your cleaning solution quick and even.
- Small soft toothbrush: Reaches grooves and cupboard hardware details.
- Store-bought degreaser (optional): Handy for heavy buildup near the stove.
Gather these before you begin, and you’ll glide through each step without stopping to hunt for supplies.
Step-by-Step Guide on How To Remove Grease From Kitchen Cupboards
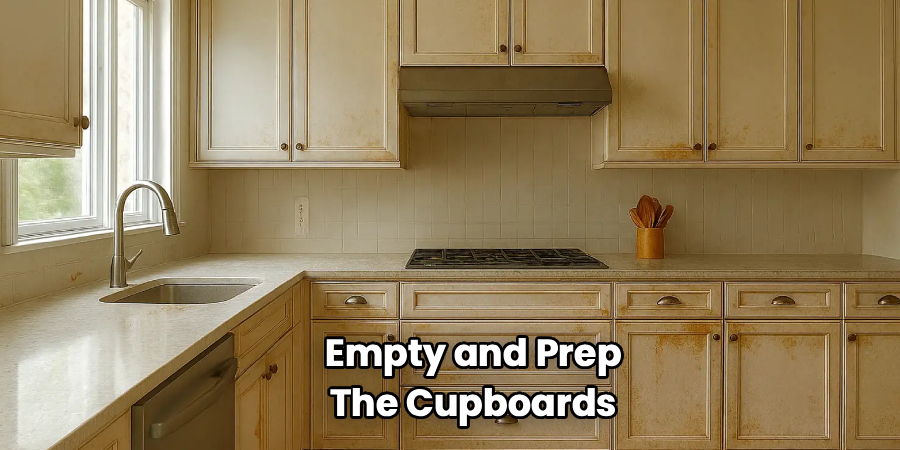
Step 1 – Empty and Prep the Cupboards
Start by clearing out the cupboards you plan to clean. Pull out dishes, jars, and that pile of takeout containers so you can reach every surface without dodging clutter.
With the shelves empty, run your hand over the cabinet doors. You’ll feel where the grease buildup sits thickest, usually near the stove and around handles. That tacky drag under your fingers tells you exactly where to focus.
Lay an old towel on the counter to catch drips, and open a window for fresh air. Take a quick look at your cupboard material, since laminate finish and painted wood react a little differently to cleaning. This simple prep sets the stage and keeps the whole job tidy and stress-free.
Step 2 – Test a Hidden Spot First
Before you clean the visible areas, test your cleaning solution somewhere out of sight. The inside edge of a lower door works perfectly.
Dab a little soapy water or diluted degreaser on the spot and wait a minute. Wipe it with a microfiber cloth and check for any dullness, discoloration, or softening of the finish. You’re making sure your chosen cleaner plays nicely with the surface.
This matters most on painted wood and older laminate, which can react to harsh products. A quick test now saves you from a streaky or damaged door later. If the hidden spot looks clean and unharmed, you’re cleared to move forward. Knowing how to remove grease from kitchen cupboards safely always starts with this small, smart precaution.
Step 3 – Mix Your Cleaning Solution
Now make your cleaner. For everyday grease, mix a few drops of dish soap into a bowl of warm water until it turns lightly sudsy. This gentle blend handles most cooking oil film without any fuss.
For stickier spots, stir baking soda with a splash of water to form a soft baking soda paste, about the texture of toothpaste. It gives you gentle scrubbing power without scratching.
Keep a separate bowl of plain warm water nearby as your rinse. You’ll switch between the two often, so having both ready saves time. Give the soapy mix a sniff, since it should smell clean and mild, not harsh. With your solutions prepped, you’re ready to start lifting that grease away.
Step 4 – Wipe Down the Greasy Surfaces
Dip your microfiber cloth into the soapy water and wring it until it’s damp, not dripping. Start at the top of each cabinet door and wipe downward in smooth, even strokes.
You’ll feel the cloth glide more easily as the grease loosens. The surface that once dragged under your fingers begins to feel slick, then clean. Work in small sections so the solution doesn’t dry before you wipe it.
Rinse your cloth often in the warm water to avoid smearing grease around. A dirty cloth just spreads the film instead of lifting it. Take your time on the doors near the stove, where cooking oil film tends to cling hardest. Patient, steady wiping does most of the heavy lifting here.
Step 5 – Tackle Stubborn Grease Buildup
Some spots won’t budge with soap alone, especially the thick, sticky residue near the range. This is where your baking soda paste shines.
Spread a thin layer of the paste over the greasy patch and let it sit for two to three minutes. The baking soda gently breaks down the grease while you wait. You’ll notice the gummy film starting to lift.
Using a soft sponge, rub the area in small circles with light pressure. Avoid scrubbing too hard, since you want to protect the finish underneath. For truly heavy buildup, a little white vinegar dabbed on top can cut through the last of the grime. Wipe away the paste with a clean damp cloth, and watch that stubborn spot come clean.
Step 6 – Clean the Corners, Edges, and Hardware
Grease loves to hide where you can’t easily reach. The corners and edges of cabinet doors, along with the grooves around handles, often hold the most overlooked grime.
Grab a small soft toothbrush and dip it in your soapy water. Gently work it into the seams, raised panel edges, and detailed trim. You’ll see darkened buildup loosen and lift right out of those tight grooves.
Don’t forget the cupboard hardware. Wipe each knob and pull with your cloth, then use the toothbrush on any decorative ridges. These little touches make a big difference. Once the details sparkle, the whole cabinet looks freshly renewed, not just the flat surfaces you wiped earlier.
Step 7 – Rinse and Remove Residue
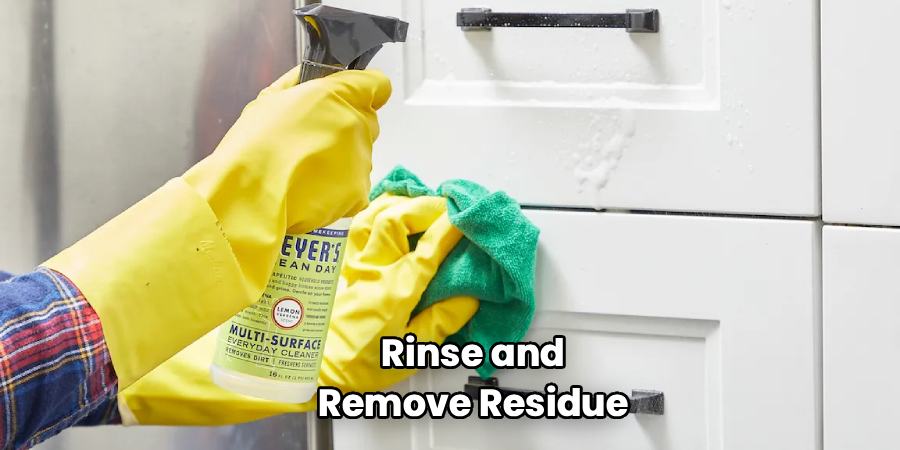
Cleaning solutions leave a faint film if you skip this step, so rinsing matters. Take your rinse cloth, dipped in plain warm water and wrung out well, and wipe every surface you cleaned.
This pass removes leftover soap, baking soda, and loosened grease. You’ll feel the surface turn truly smooth and squeaky clean under your fingertips. Rinse the cloth a few times to keep it fresh.
Pay extra attention to corners and edges where residue likes to pool. A leftover soapy film attracts dust and can leave streaks once it dries. Go over each door once more if you spot any cloudiness. A thorough rinse is the secret to cupboards that look spotless rather than just clean.
Step 8 – Dry and Finish
Never leave your cupboards to air dry, especially painted wood, which doesn’t love sitting moisture. Grab a fresh, dry microfiber cloth and buff each surface.
Wipe in the same downward direction you cleaned, and you’ll watch any faint streaks disappear. The doors should feel smooth and look evenly matte or glossy, depending on your finish. Drying also prevents water spots on laminate finish surfaces.
Open the cupboards and let them sit open for a few minutes so any hidden moisture escapes. Then return your dishes and jars to their freshly cleaned home. Step back and admire the difference. Smooth, grease-free cabinet doors not only look better but feel wonderful every time you reach for them.
Critical Mistakes When Removing Grease From Kitchen Cupboards
Even an easy cleaning job can go wrong when you rush, so watch out for these common slip-ups.
The biggest mistake is reaching for harsh, abrasive cleaners or scouring pads. They might cut grease fast, but they also scratch laminate finish and strip the sheen off painted wood. Stick with gentle dish soap and a soft microfiber cloth, and save the baking soda paste for stubborn spots only.
Another frequent error is soaking the cabinets with too much water. Excess moisture seeps into seams and edges, swelling the wood and lifting the finish over time. Always wring your cloth until it’s just damp, never dripping.
People also forget to rinse after cleaning. Leftover soap and degreaser dry into a dull, sticky residue that actually attracts more grime than before. A simple warm water rinse fixes this completely.
Finally, many folks skip the hidden spot test and apply a strong cleaner straight onto a visible door. If the product reacts badly, you’re left with a faded or blotchy patch front and center. A quick test always protects your cupboards from costly surprises.
Expert Tips
A few smart habits turn this chore into a quick, satisfying routine. First, wipe down the cupboards near your stove once a week with a damp soapy cloth. Catching cooking oil film early means you never face thick, baked-on grease buildup.
Next, always clean from the top down. Drips fall onto lower areas you haven’t touched yet, so working downward keeps you from re-cleaning the same spots twice.
When grease feels especially stubborn, let your cleaning solution sit for a minute before wiping. Patience does the scrubbing for you and protects delicate finishes.
Finally, keep a dedicated microfiber cloth just for cupboards. Microfiber lifts grease far better than paper towels and won’t leave lint behind. These little routines keep your cabinet doors smooth, fresh, and easy to maintain all year long.
Frequently Asked Questions
What is the best homemade cleaner for greasy cupboards?
A simple mix of warm water and a few drops of dish soap handles most grease beautifully. For tougher spots, reach for these:
- Baking soda paste: Gentle scrubbing power for sticky buildup.
- Diluted white vinegar: Cuts through heavy cooking oil film.
Both are safe, affordable, and already in most kitchens. Test any solution on a hidden spot first to protect your finish.
Can I use vinegar on painted wood cabinets?
Yes, but use it carefully. Dilute the vinegar with equal parts water, and always test a hidden area first. Painted wood can react to acids if the paint is old or worn. Wipe gently, rinse with plain warm water right after, and dry immediately. For routine cleaning, mild dish soap is usually safer and just as effective on painted finishes.
How do I stop grease from building up so quickly?
The trick is regular, light maintenance. Wipe the cupboards near your stove once a week with a damp soapy microfiber cloth. This stops cooking oil film from hardening into stubborn grease buildup. Using a range hood or exhaust fan while cooking also helps a lot, since it pulls airborne grease away before it settles on your cabinet doors.
Will baking soda scratch my laminate cupboards?
Not if you use it correctly. Mix baking soda into a soft paste with water rather than scrubbing it on dry. The paste lifts grease gently when you rub with a soft sponge using light pressure. Avoid hard scrubbing or gritty pads on laminate finish surfaces. Wipe away the paste with a damp cloth, then rinse and dry for a clean, scratch-free result.
How often should I deep clean my kitchen cupboards?
For most kitchens, a thorough deep clean every three to four months keeps grease under control. If you cook often or fry frequently, aim for every two months. Between deep cleans, quick weekly wipes near the stove make a huge difference. Regular light cleaning means each deep clean takes far less effort and protects your finishes long term.
Conclusion
Greasy cupboards don’t stand a chance once you know the right approach. You’ve learned to empty and prep the cabinets, test a hidden spot, mix a gentle cleaning solution, and wipe away grease with steady, patient strokes. You also know how to tackle stubborn buildup with a baking soda paste, clean those tricky corners and edges, then rinse and dry for a spotless finish.
The real secret is simple: work gently, rinse well, and keep up with quick weekly wipes so grease never gets the upper hand. Soft cloths and mild cleaners protect your finishes far better than harsh scrubbing ever could.
Now that you understand how to remove grease from kitchen cupboards, you can keep every cabinet looking fresh without spending a dime on a professional. So clear out a cupboard, mix up some soapy water, and give it a try this weekend. Your kitchen will look brighter, feel cleaner, and your growing confidence will make the next cleaning even easier. Happy scrubbing, and enjoy those smooth, grease-free cupboards.

About
Nick Hall has spent the last seven years working at the intersection of kitchen design and home repair — first as a design assistant at a residential renovation studio, then as a freelance writer covering everything from cabinet layouts to leaky faucet fixes.
Her approach is simple: kitchens should look good and function well. That means she’s just as comfortable talking about color palettes and counter materials as she is walking readers through how to fix a wobbly cabinet hinge or troubleshoot a garbage disposal.
Nick has worked directly with homeowners on small-space kitchen makeovers, budget-conscious renovations, and the kind of everyday repairs that don’t need a contractor — just the right instructions. She writes from experience, not theory, and tests most of the fixes and tips she shares before publishing them.
When she’s not writing, Nick is usually hunting for mid-century kitchen finds at estate sales or helping friends plan their own renovations. She lives in Columbus, Ohio.