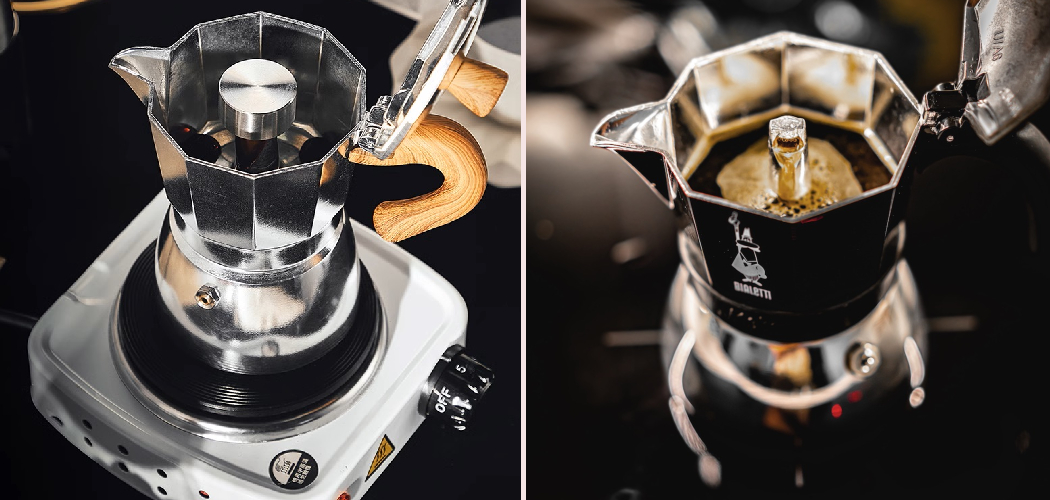
There’s something special about that first sip of rich, espresso-style coffee made right on your own stovetop. No fancy machine needed, just a simple little pot and a bit of patience.
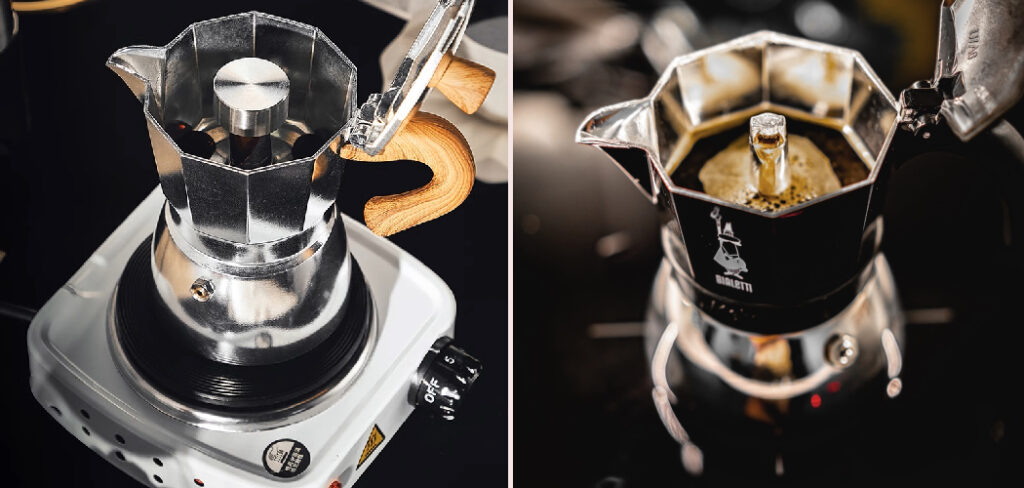
If you’ve ever stared at your moka pot wondering whether it works on a flat electric burner, you’re not alone. Many people assume these classic brewers only belong on gas flames. Good news: they work beautifully on electric heat once you understand the timing and temperature.
Learning how to use moka pot on electric stove gives you cafe-quality coffee at home for a fraction of the cost. The process feels almost like a small kitchen ritual, calm and rewarding.
This guide walks you through every step so you can brew a smooth, strong cup with confidence, even if you’ve never used one before.
Why Learning to Use a Moka Pot on an Electric Stove Matters
This skill travels well beyond your home kitchen. Picture a cozy cabin stay where the only cooking surface is a small electric coil. A moka pot fits perfectly there, giving you a strong brew without bulky gear.
RV setups love compact tools too. Your moka pot tucks into a tiny cabinet and pairs nicely with a portable electric hot plate when gas isn’t an option.
Vacation rentals often come with flat electric ranges and nothing else. Instead of hunting for a coffee shop, you can brew your own morning cup in minutes.
Campers and outdoor beginners appreciate the simplicity. A small brewer plus a hot plate means hot, satisfying coffee far from a barista. When gas is unavailable, knowing how to manage electric heat keeps your coffee routine going anywhere you roam.
Tools and Materials You’ll Need
You don’t need much to get started. Most of these items already live in your kitchen, and the rest cost very little.
Here’s what helps your brew turn out great:
- A moka pot sized for your needs (one-cup, three-cup, or six-cup)
- Fresh, finely ground coffee, slightly coarser than espresso
- Filtered or fresh tap water
- A flat-bottom electric burner or hot plate
- A spoon to level the grounds
- A folded towel or oven mitt for the warm handle
- A small cup or carafe to pour into
Optional but handy: a heat diffuser plate. This little disc spreads heat evenly across a coil burner, which protects the pot’s base and helps prevent scorched coffee.
Gather everything before you begin. Having your tools ready makes the whole process smooth and stress-free, especially during a sleepy morning routine.
Step-by-Step Guide on How to Use Moka Pot on Electric Stove
Step 1 – Fill the Lower Chamber with Water
Start by unscrewing the pot into its two halves. Set the upper chamber aside for now and focus on the bottom.
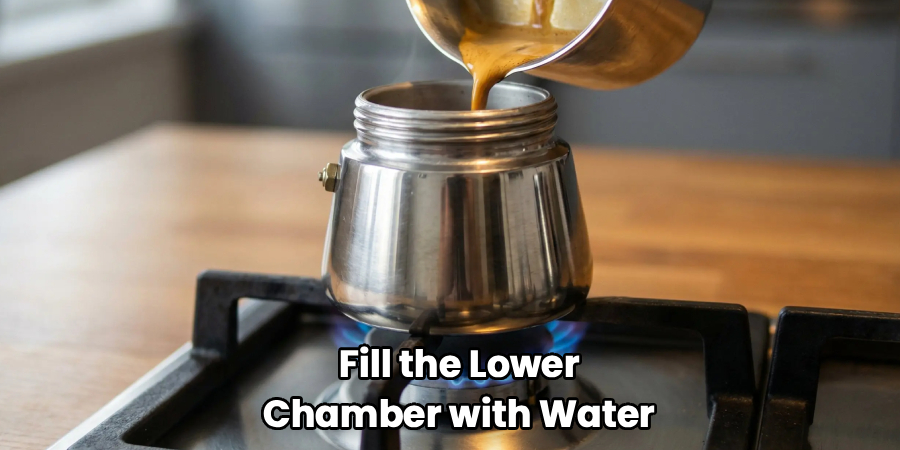
Fill the lower chamber with fresh water, stopping just below the small safety valve on the side. You’ll usually see this valve as a tiny metal dot near the rim. Going above it can block proper steam pressure.
Warm water speeds things up on an electric burner, since electric coils heat slower than gas. Many people use water straight from the kettle to shave off a few minutes.
Run your finger around the rim to wipe away any drips. A clean, properly filled lower chamber sets the foundation for a smooth, balanced brew.
Step 2 – Add Coffee to the Filter Basket
Now grab the filter basket and set it into the lower chamber. Spoon in your coffee grounds until the basket fills to the top.
Use a medium-fine grind, a touch coarser than espresso powder. Too fine, and water struggles to pass through, which builds harsh steam pressure. Too coarse, and your coffee tastes weak and watery.
Level the grounds gently with a spoon or your finger. Resist the urge to pack them down hard, since tamping isn’t needed here and can choke the flow.
You’ll notice the rich, earthy smell of fresh coffee grounds as you work. That first aroma is a little preview of the cup you’re about to enjoy.
Step 3 – Screw the Pot Together Securely
Take the upper chamber and thread it onto the base. This is where learning how to use moka pot on electric stove really comes together, because a tight seal keeps steam pressure where it belongs.
Twist firmly until the two halves feel snug, but don’t crank it with all your strength. Use the warm handle for grip if needed, and protect your hand with a towel if the base is already warm.
A loose connection lets steam escape from the sides instead of pushing water up through the grounds. You might hear a faint hiss later if it’s not sealed well.
Give the pot a gentle wiggle to confirm it feels solid and ready for the burner.
Step 4 – Choose the Right Burner and Heat Level
Place your moka pot on a burner that matches its base size. A small pot on a large coil wastes heat and can scorch the handle.
Set the electric burner to medium or medium-low heat. Electric coils hold and release heat slowly, so high heat often overshoots and burns the coffee. Patience pays off here.
If your pot’s base is smaller than the burner, a heat diffuser plate helps spread heat evenly and protects the metal. This is one of the trickiest parts of using an electric stove, since you can’t see the flame adjust instantly.
Give the burner a minute to warm before resting the pot on it. Level, gentle heat creates a calm, even brew.
Step 5 – Leave the Lid Open and Watch Closely
Lift the hinged lid and leave it open while the pot heats. This lets you watch the magic happen and judge the brew in real time.
As the lower chamber heats, steam pressure slowly pushes water up through the grounds. After a few minutes, coffee begins trickling into the upper chamber. You’ll see a steady stream of dark, glossy liquid rise.
Stay nearby during this stage. Electric burners react slowly, so you’ll rely on your eyes and ears rather than a quick flame change.
Keep the heat steady and resist cranking it up to rush things. A gentle, controlled climb gives you smoother flavor and protects those delicate coffee oils from burning.
Step 6 – Listen for the Bubbling Sound
Your ears become your best tool now. As the brew finishes, you’ll hear a soft gurgle that builds into a louder bubbling and sputtering sound.
That sputter means most of the water has passed through, and steam is now rushing up. This is your signal that the coffee is almost done.
The aroma fills the kitchen at this point, deep and inviting. Take a quick peek into the upper chamber and watch the color of the stream lighten to a pale, foamy gold.
Don’t wait for every last drop. The final sputters carry bitter, over-extracted flavors, so it’s better to stop slightly early than to let it run dry and scorch.
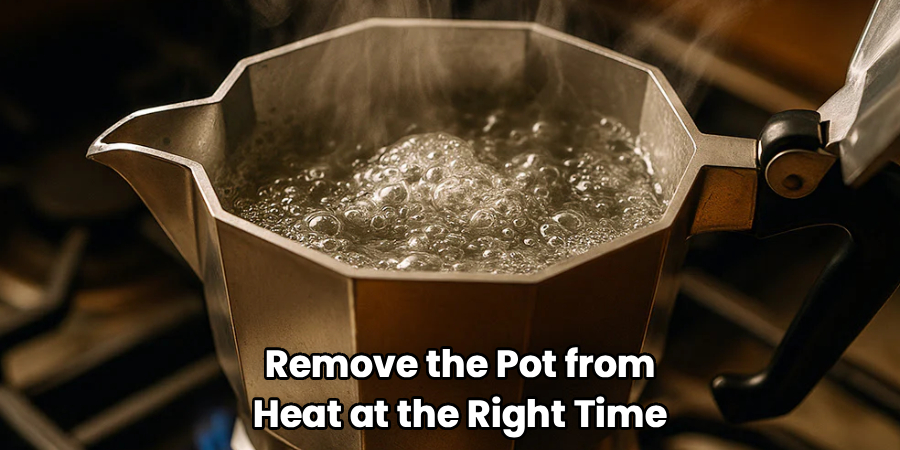
Step 7 – Remove the Pot from Heat at the Right Time
Timing makes or breaks your cup. As soon as you hear that loud bubbling and the stream turns pale, lift the pot off the burner right away.
Electric coils stay hot even after you turn them off, so simply switching the dial won’t stop the heat fast enough. Moving the pot is the only reliable way.
Set it on a cool, heat-safe surface. Some people wrap the base in a cool, damp towel to halt extraction instantly and lock in a balanced flavor.
Use a mitt for the warm handle, since metal pots heat up quickly. This single move protects your coffee from turning bitter and keeps that smooth, espresso-style richness intact.
Step 8 – Stir, Pour, and Serve
Give the finished coffee a gentle stir inside the upper chamber. The first liquid out is stronger, and the later liquid is lighter, so stirring blends them into one even cup.
Pour slowly into your favorite mug or carafe. Watch that rich, dark coffee swirl out, topped with a thin, golden crema.
Take in the coffee aroma before your first sip. It should smell bold and slightly sweet, never sharp or burnt.
Once you’ve poured, let the pot cool before cleaning. Rinse the chambers with warm water and skip the soap, which can leave a filmy aftertaste. A quick rinse keeps your brewer ready for tomorrow’s cup.
Critical Mistakes When Learning to Use a Moka Pot on an Electric Stove
The biggest mistake is cranking the heat too high. Electric burners hold heat far longer than gas, so high settings push water through too fast and scorch the grounds. Stick to medium or medium-low, and let the pot warm gradually for a smoother, sweeter cup.
Another common slip is overfilling the water. Pouring above the safety valve disrupts steam pressure and can create a messy, weak brew. Always keep the water level just below that little metal valve on the side.
Many beginners also use the wrong grind. Espresso-fine grounds clog the filter basket and build harsh pressure, while coarse grounds let water rush through and taste thin. Aim for a medium-fine grind that flows steadily.
People often walk away during brewing too. Because electric coils respond slowly, you can’t fix an over-extracted pot quickly. Staying close lets you catch that bubbling signal at the perfect moment.
Finally, leaving the pot on a hot, switched-off burner ruins good coffee. The residual heat keeps cooking the brew, turning it bitter. Lift the pot off the coil the instant your coffee finishes rising.
Expert Tips
Preheat your water in a kettle before adding it to the lower chamber. This shortens the time the pot sits over heat, which protects flavor and prevents that metallic, overcooked taste.
Match the pot to your burner size whenever you can. A snug fit means even heat and a warm handle that stays manageable.
Invest in a small heat diffuser if you brew often. It spreads electric heat across the base and saves your pot from hot spots.
Clean your moka pot with water alone, not soap. Over time, the metal develops a thin seasoning that actually improves each brew.
Listen rather than watch the clock. The bubbling sound tells you far more than any timer, since electric burners vary so much from one model to the next.
Frequently Asked Questions
Can I really use a moka pot on a flat electric stove?
Yes, absolutely. A moka pot works well on flat electric ranges and coil burners alike. The main difference is heat control, since electric burners warm up and cool down slowly. Just use medium heat, watch the brew closely, and lift the pot off the moment it finishes. A flat base sits nicely on smooth glass-top stoves too.
What grind size works best?
Aim for a medium-fine grind, slightly coarser than espresso powder. This balance lets water flow steadily through the filter basket without clogging. Here’s a quick guide:
- Too fine: clogs the basket and builds harsh pressure
- Too coarse: water rushes through and tastes weak
- Just right: flows steadily with a rich, smooth result
When in doubt, ask your grocer or grinder to set it for moka or stovetop coffee.
Why does my coffee taste bitter?
Bitterness usually comes from too much heat or brewing too long. Electric coils stay hot, so they easily over-extract your coffee. Try lowering the burner to medium-low, and remove the pot the instant you hear loud bubbling. Also avoid letting the pot run completely dry, since those final drops carry the harshest, most burnt flavors.
How long does it take to brew on electric?
Expect roughly four to seven minutes, longer than gas because electric burners heat slowly. Starting with warm or hot water speeds things up noticeably. Keep the heat steady at medium rather than turning it high to rush the process. Watch for the steady stream of coffee, then listen for the bubbling that signals you’re nearly done.
Do I need a heat diffuser?
You don’t strictly need one, but it helps a lot on coil burners. A diffuser spreads heat evenly across the pot’s base and prevents scorched spots. It’s especially useful if your pot is smaller than the burner. For flat glass-top stoves, a diffuser is usually optional since the surface already distributes heat fairly well.
Conclusion
Brewing great coffee on an electric burner comes down to a few simple habits. Fill the lower chamber below the safety valve, level your grounds in the filter basket, seal the pot snugly, and keep the heat at medium.
From there, your eyes and ears guide you. Watch the dark stream rise, listen for that telltale bubbling, and lift the pot off the coil right away. Because electric heat lingers, moving the pot quickly is the secret to a smooth, balanced cup.
Once you understand how to use moka pot on electric stove, the whole routine becomes second nature. You’ll brew rich, espresso-style coffee without expensive machines or wasted counter space.
So fill your pot, set your burner, and enjoy the calm ritual of stovetop brewing. Each cup builds your confidence and your skill. Before long, you’ll reach for that little pot every morning, savoring a homemade brew that rivals any cafe down the street.

About
Nick Hall has spent the last seven years working at the intersection of kitchen design and home repair — first as a design assistant at a residential renovation studio, then as a freelance writer covering everything from cabinet layouts to leaky faucet fixes.
Her approach is simple: kitchens should look good and function well. That means she’s just as comfortable talking about color palettes and counter materials as she is walking readers through how to fix a wobbly cabinet hinge or troubleshoot a garbage disposal.
Nick has worked directly with homeowners on small-space kitchen makeovers, budget-conscious renovations, and the kind of everyday repairs that don’t need a contractor — just the right instructions. She writes from experience, not theory, and tests most of the fixes and tips she shares before publishing them.
When she’s not writing, Nick is usually hunting for mid-century kitchen finds at estate sales or helping friends plan their own renovations. She lives in Columbus, Ohio.