
Few weekend projects deliver as much instant satisfaction as updating your cabinets with fresh hardware. New knobs can make a tired kitchen feel modern, polished, and totally yours, all without a contractor or a big budget. The best part? You don’t need fancy skills to get professional-looking results.
If you can hold a drill steady and measure carefully, you can absolutely do this yourself. Learning how to install knobs on kitchen cabinets gives you the confidence to tackle other small upgrades around the house too.
In the steps ahead, you’ll learn exactly what tools to gather, how to mark clean placement, and how to avoid the little mistakes that trip up first-timers. This guide walks you through the entire process so you can finish your cabinets in an afternoon and enjoy results that look like the pros did them.
Why Installing Cabinet Knobs Matters
Swapping out cabinet hardware is one of the smartest small upgrades you can make. Worn or dated knobs make even a clean kitchen feel old, while fresh ones add style and a satisfying daily touch every time you open a drawer.
There’s a practical side too. Loose or missing knobs make doors hard to grip, and over time that strains hinges and chips the finish around the edges. New, properly mounted knobs protect your cabinets and make them easier to use.
For DIY beginners, this project is the perfect starting point. It teaches you how to measure, drill pilot holes, and align hardware—skills you’ll reuse on shelves, racks, and future repairs. You get a noticeable result fast, build confidence, and save the money you’d spend hiring someone for a job you can handle in a single afternoon.
Tools and Materials You’ll Need
Gathering everything before you start keeps the whole job smooth and frustration-free. You won’t need much, and most of these tools probably already live in your kitchen drawer or garage.
Start with your new knobs and the screws that came with them. You’ll also want a power drill with a small bit for pilot holes, a screwdriver to finish tightening, and a tape measure for accurate spacing. A pencil helps you mark placement lightly, and painter’s tape protects the surface while you work. Keep a damp cloth nearby to wipe away dust and smudges as you go.
The one optional item worth grabbing is a cabinet hardware jig or template. It locks your measurements in place so every knob lands in exactly the same spot, which saves time and guarantees clean, even alignment across all your doors and drawer pulls.
Step-by-Step Guide on How To Install Knobs On Kitchen Cabinets
Step 1 – Plan Your Knob Placement
Before any drilling, decide where each knob will sit. On most doors, knobs go on the corner opposite the hinges, usually two to three inches from the top or bottom edge depending on whether the cabinet is upper or lower.
Take a slow look at your kitchen and picture how your hand naturally reaches for each door. Consistency matters more than perfection here, so pick one measurement and stick with it across similar cabinets.
Grab a few drawers and doors and dry-fit a knob by holding it in place. Feel how it sits under your fingers. This quick test tells you whether the spot feels comfortable for daily use before you commit to a single hole.
Step 2 – Measure and Mark Carefully
Now translate your plan into precise marks. Use your tape measure to find the exact spot, then make a light pencil dot where the screw hole will go. Press gently—you don’t want a dark line you’ll have to scrub off later.
For doors with a face frame, measure from the inside edge so spacing stays uniform across every cabinet. Double-check each mark by measuring twice before you trust it.
Place a strip of painter’s tape over the spot and re-mark on top of it. The tape gives your pencil a crisp surface and keeps the drill bit from wandering. Run your finger over the mark to confirm it feels centered and right before moving on.
Step 3 – Build or Position Your Template
A template turns guesswork into repeatable accuracy, and this is where learning how to install knobs on kitchen cabinets becomes genuinely easy. If you bought a hardware jig, set it according to your chosen measurements and clamp it onto the door.
No jig? Make your own from a scrap of cardboard or stiff paper. Mark your hole position once, then reuse that same cutout on every matching door and drawer front.
Line up the template’s edges flush with the cabinet corner each time. You’ll hear a soft, satisfying tap when it seats correctly against the frame. This small habit ensures every knob lands identically, giving your whole kitchen that crisp, professional alignment that store displays show off.
Step 4 – Drill Pilot Holes
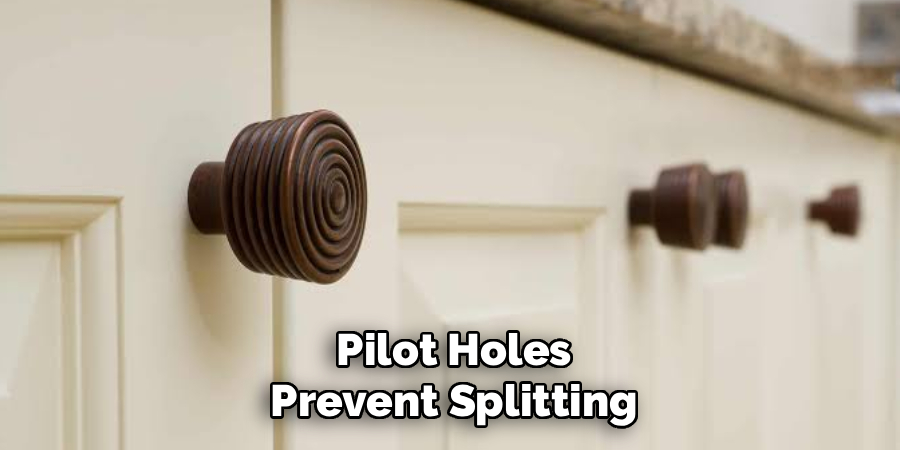
Pilot holes prevent splitting and keep your screws running straight. Choose a drill bit slightly narrower than your screw shaft, then fit it into your drill.
Position the tip right on your marked spot, hold the drill perfectly level, and squeeze the trigger with steady, even pressure. You’ll feel the bit bite in and smell a faint hint of wood as it cuts through. Stop the moment you break through the back so you don’t damage the inside face.
Keep the drill perpendicular the whole time—tilting even slightly throws off your screw angle. Work slowly and let the tool do the labor. Clean, centered pilot holes make the next steps effortless and protect your cabinet wood from cracks.
Step 5 – Clear Away Dust and Debris
This quick step makes a real difference in the final look. After drilling, small curls of sawdust will cling to the hole and surrounding surface.
Wipe the area with your damp cloth, paying attention to the rim of each pilot hole. Run your fingertip across the spot to confirm it’s smooth and free of loose splinters. A clean surface lets the knob sit flush instead of perching on hidden grit.
Take a second to inspect the back of the door or drawer too. Push out any wood fragments poking through so the screw threads grab cleanly. This tidy habit keeps your cabinet hardware seated tight and prevents that annoying wobble that comes from debris caught under the base.
Step 6 – Attach the Knob
Now for the rewarding part. Slide the provided screw through the hole from the inside of the door or drawer, then thread your knob onto it by hand.
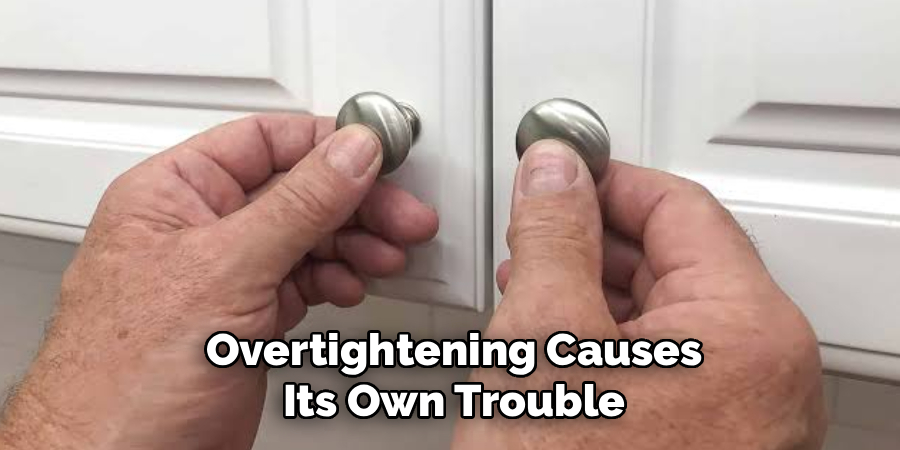
Turn the knob clockwise until it catches, then hold it steady while you tighten the screw from behind. You’ll feel resistance build as the base pulls snug against the wood. Stop as soon as it sits firm—overtightening can crack the finish or strip the threads.
Give the knob a gentle wiggle to test it. It should feel solid with no spin or shift. If your screw length feels too long and pokes out, swap it for a shorter one or add a small washer behind it for a clean, secure fit.
Step 7 – Check Alignment and Tighten
With the knob attached, step back and study how it lines up with its neighbors. Crouch to eye level along a row of drawers and doors so you can spot any knob sitting higher or lower than the rest.
Small misalignments jump out once cabinets are filled and in daily use, so fix them now. Loosen, nudge, and retighten any knob that drifts off your line.
Run your hand across the row and feel for consistency in height and spacing. Confirm each screw is snug but not crushing the wood. This final alignment pass is what separates a rushed job from one that looks intentional, even, and genuinely professional throughout your whole kitchen.
Step 8 – Inspect and Polish Your Work
You’re almost done, so finish strong with a careful once-over. Walk along every cabinet and open each door and drawer to confirm the knobs feel comfortable and secure under your grip.
Wipe down each knob and the surrounding surface with your cloth to remove fingerprints and leftover dust. Watch how the light catches each piece—your hardware finish should look uniform across the room.
Test a few drawer pulls by opening them fully to make sure nothing catches or loosens with movement. Tighten any that shifted during testing. This last inspection gives you a kitchen that not only looks refreshed but holds up beautifully to everyday use, leaving you proud of a job well done.
Critical Mistakes When Installing Cabinet Knobs
The most common slip-up is skipping careful measurement. When you eyeball placement instead of marking it precisely, knobs end up at different heights, and that unevenness becomes glaringly obvious once your cabinets are full. Always measure twice and use a template for matching doors so every piece lines up.
Another frequent error is drilling without pilot holes. Driving a screw straight into bare wood often splits the door front or sends the screw in crooked. A quick pilot hole protects the wood and keeps your hardware straight, so never skip it to save a minute.
Overtightening causes its own trouble. Cranking the screw too hard can crack the finish, strip the threads, or leave a stress mark around the base. Tighten just until the knob sits firm, then stop.
Finally, many beginners ignore screw length. A screw that’s too long pokes through the inside face, while one too short won’t grip securely. Match the screw to your door thickness, and add a washer if needed. Avoiding these four mistakes is the real secret to results that look professionally installed.
Expert Tips
A few insider habits will take your project from good to flawless. First, always test your placement on a single cabinet before committing to the whole kitchen. Live with it for an hour and notice how it feels in real use.
Keep a small magnetic dish nearby to hold screws so they don’t roll away or vanish into the floor. It sounds minor, but it saves real frustration.
When working with thicker doors or a face frame, choose your screw length deliberately rather than defaulting to the ones in the box. And if you’re mixing knobs and drawer pulls, keep their style and finish consistent for a cohesive look. Finally, snap a quick photo of your measurements so future replacements match perfectly.
Frequently Asked Questions
How High Should I Place Knobs on Kitchen Cabinets?
Placement depends on the cabinet type. For upper cabinets, position knobs near the bottom corner, usually two to three inches from the edge. For lower cabinets, place them near the top corner instead. This keeps every knob within easy reach. The key rule is consistency—pick one measurement and apply it to all matching doors for a clean, uniform look.
Do I Really Need to Drill Pilot Holes?
Yes, pilot holes are worth the extra minute. They guide your screw straight, prevent the wood from splitting, and help the knob sit flush. Skipping them often leads to cracked door fronts or crooked hardware that wobbles. Use a bit slightly narrower than your screw, drill slowly, and keep the drill perpendicular for the cleanest, most secure result every time.
What If the Screw Is Too Long for My Cabinet?
This happens often with thinner doors. If the screw pokes through the back, you have two easy fixes:
- Swap it for a shorter screw that matches your door thickness
- Add a small washer behind the knob to take up the extra length
Both options keep the knob secure and the inside face clean, so choose whichever you have on hand.
Can I Reuse the Existing Holes From Old Hardware?
Sometimes, yes. If your new knobs use a single screw and the old hole lines up, you can reuse it directly. For pulls with two screws or different spacing, you’ll need to fill the old holes with wood filler, sand them smooth, and drill fresh pilot holes. Matching the new hardware to existing holes saves time when the measurements happen to align.
How Do I Keep All My Knobs Perfectly Aligned?
A template or jig is your best friend here. Set your measurements once, then reuse the same guide on every matching door and drawer. This removes guesswork and guarantees identical placement. If you don’t own a jig, make one from cardboard. Always line the template flush with the same corner each time, and you’ll get crisp, even alignment across your whole kitchen.
Conclusion
Refreshing your cabinets is one of those rare projects that pays off the moment you finish. With careful planning, accurate marks, clean pilot holes, and a steady hand, you can transform the entire feel of your kitchen in a single afternoon.
Remember the essentials: measure twice, use a template for matching doors, drill pilot holes to protect the wood, and tighten just until snug. Pay attention to screw length and alignment, and your hardware will look like a pro installed it.
The skills you practiced here go far beyond this one task. You now know how to measure, drill, and mount with confidence, and that opens the door to plenty of future upgrades around your home.
So trust yourself and enjoy the result. Once you’ve mastered how to install knobs on kitchen cabinets, you’ll wonder why you ever thought about hiring someone. Grab your drill, pick a sunny afternoon, and give your kitchen the fresh, finished look it deserves.
