
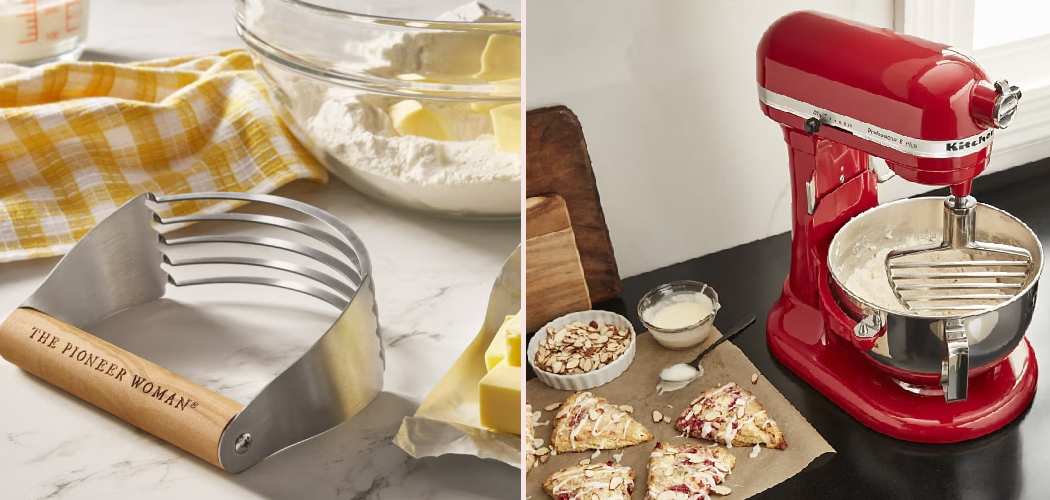
There’s something almost magical about turning cold butter and flour into a bowl of soft, sandy crumbs in under a minute. If you’ve ever struggled with greasy fingers or tough, dense pastry, a simple handheld tool can change everything. A pastry blender does the hard work for you, cutting fat into flour quickly and evenly without melting it.
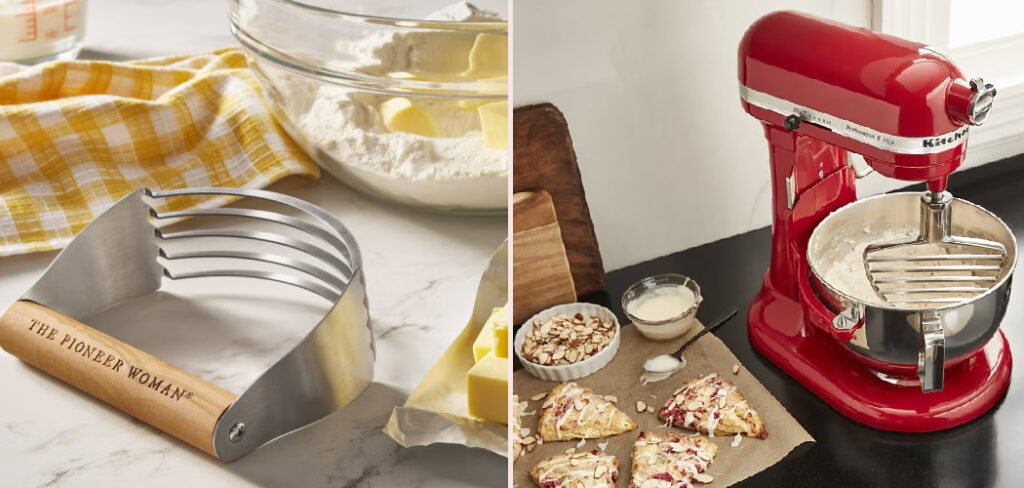
Whether you’re making your first pie crust or your hundredth batch of biscuits, this little baking tool gives you better texture with less effort. It’s affordable, easy to use, and works in any kitchen, big or small.
In this guide, you’ll learn exactly how to use a pastry blender step by step, so you can make flaky, tender dough with confidence every single time.
Why Using a Pastry Blender Matters
Knowing your way around a pastry blender opens up a whole world of baking. Pie dough, biscuit dough, scones, and crumble toppings all rely on properly cut-in fat to get that signature flaky texture. A pastry cutter keeps the butter cold and the dough light, something warm hands can ruin in seconds.
This skill really shines for campers and outdoor beginners. If you cook in a compact kitchen, a cabin, an RV, or even over a camp stove, you won’t always have an electric mixer or counter space. A pastry blender needs no power and barely any room.
That makes it the perfect food processor alternative for tight setups. You get bakery-quality results with one small hand tool, a bowl, and a bit of practice, no outlet required.
Tools and Materials You’ll Need
The beauty of this technique is how little you need to get started. The star of the show is the pastry blender itself, that curved tool with several metal blades or wires attached to a handle. Look for one with a sturdy grip and firm blades, since flimsy versions bend when they meet cold butter.
You’ll also want a wide mixing bowl with enough room to work, plus your core ingredients: flour and chilled butter straight from the fridge. A measuring set keeps your ratios accurate, and a fork comes in handy for fluffing and checking your crumb texture as you go.
One optional item worth having is a bench scraper. It makes gathering and transferring your dough cleaner and quicker, especially when you’re working on a small or crowded surface.
Step-by-Step Guide on How To Use A Pastry Blender
Step 1 – Chill Your Ingredients First
Before you touch the tool, get your ingredients cold. Cold butter is the secret behind every flaky pastry, so pull it straight from the fridge and cut it into small cubes.
Pop those cubes back in the fridge while you measure your flour. Some bakers even chill the bowl and the pastry blender for ten minutes. You’ll notice the difference when the butter stays firm instead of smearing.
Warm butter blends into the flour and coats it, which leads to dense, greasy results. Cold butter stays in little pieces that melt during baking, creating steam and those lovely flaky layers. Take this step seriously, especially in a warm kitchen or outdoor setup where heat works against you. A few extra minutes here pays off in texture later.
Step 2 – Combine Your Dry Ingredients
Now add your flour and any dry ingredients to the mixing bowl. For most pie dough or biscuit dough, that means flour, a pinch of salt, and sometimes a little sugar or baking powder.
Give everything a quick stir with your fork so the salt and leavening spread evenly. This matters more than people think, since clumps of salt or baking powder can leave odd flavors or uneven rising.
You want a smooth, uniform flour mixture before any fat goes in. Run your fingers through it lightly to feel for lumps and break them up. The bowl should look powdery and even, ready to welcome the cold butter. This quiet little step sets the foundation for a well-balanced, tender dough that bakes up beautifully.
Step 3 – Add the Cold Butter
Scatter your chilled butter cubes across the surface of the flour mixture. Spread them out rather than dropping them in one clump, since even distribution makes the next step far easier.
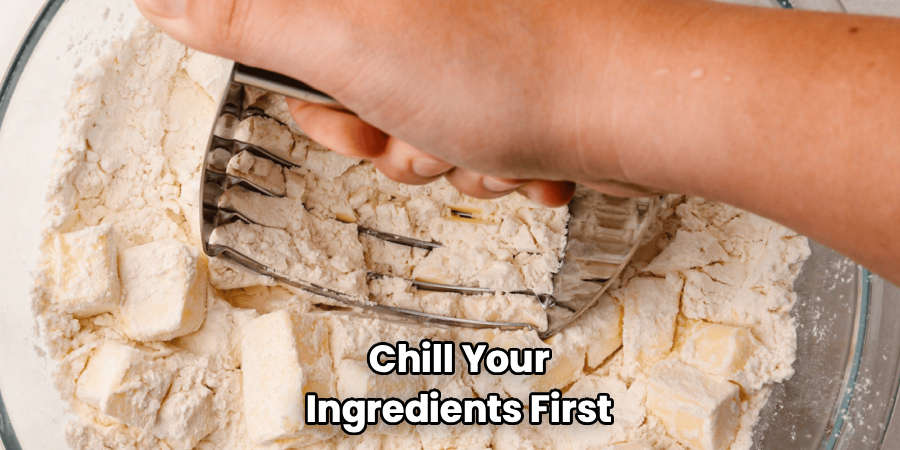
Press the cubes down gently so they settle into the flour. You’ll see little islands of butter sitting in a sea of white, and that’s exactly what you want. Don’t stir or mash them yet.
Learning how to use a pastry blender starts right here, with butter that’s cold, firm, and evenly placed. If your kitchen feels warm, work fast so the cubes don’t soften. The colder and more scattered your butter, the more control you’ll have over the final crumb texture. Once everything’s in place, grab your tool and get ready to cut.
Step 4 – Start Cutting in the Butter
Hold the pastry blender by its handle and press the blades straight down into the butter and flour. This motion is what bakers mean when they say to cut in butter.
Push down, then lift, then push down again in a steady rocking rhythm. You’ll hear the blades slicing through the firm cubes and feel resistance soften as the pieces break apart. Rotate the bowl a quarter turn now and then for even coverage.
Keep your strokes quick and confident. The goal is to chop the butter into smaller and smaller bits while coating each one in flour. Avoid pressing too hard or twisting, which can bend the blades. A smooth, repeated press-and-lift motion does the job and keeps the butter cold.
Step 5 – Watch for the Right Crumb Texture
As you work, the mixture will change before your eyes. Stop every so often to check your progress instead of blending blindly.
You’re aiming for a coarse, sandy crumb texture with butter pieces ranging from breadcrumb size to small peas. Some bakers like them uniform; others leave a few larger bits for extra flakiness. Both work beautifully for pie dough.
Run the fork through the bowl and lift some up to inspect it. It should look dry and crumbly, not pasty or greasy. If you still see big chunks of butter, give it a few more strokes. Knowing how to use a pastry blender well comes down to reading this texture and stopping at the right moment, before the butter warms or overblends.
Step 6 – Avoid Overworking the Mixture
It’s tempting to keep going until everything looks perfectly even, but resist that urge. Overblending is one of the easiest ways to ruin a flaky texture.
The moment your crumbs hit that coarse, pea-sized stage, set the pastry cutter down. If you keep cutting, the butter warms from friction and starts blending fully into the flour, giving you a dense, cookie-like result instead of layers.
Check the temperature with your fingertips, the mixture should still feel cool. If it feels soft or sticky, slide the whole bowl into the fridge for ten minutes before moving on. Cold and crumbly is your target. Trust the texture you’ve built and stop while those little butter pockets are still intact and ready to work their magic.
Step 7 – Add Liquid Gradually
Now bring the dough together with cold liquid, usually ice water, milk, or buttermilk depending on your recipe. Drizzle it in a little at a time rather than dumping it all at once.
Switch to your fork here and toss the mixture gently, the way you’d toss a salad. You’ll feel the crumbs start clinging together and forming small clumps. Add liquid slowly until the dough just holds when you squeeze a handful.
Stop as soon as it comes together. Too much water makes the dough sticky and tough, while too little leaves it crumbly and hard to roll. Damp but not wet is the sweet spot. Resist mixing it into a smooth ball; a shaggy, rough dough bakes up far more tender.
Step 8 – Shape and Chill the Dough
Turn your dough out onto a lightly floured surface or use your bench scraper to gather it. Press it together gently with your fingertips into a disc or rough ball, handling it as little as possible.
You’ll still see flecks of butter throughout, and that’s a great sign. Those flecks become flaky layers in the oven. Wrap the dough and chill it for at least thirty minutes before rolling or baking.
This rest relaxes the gluten and firms the butter back up, making the dough easier to handle and far more tender. Skipping the chill leads to shrinking crusts and tough results. A little patience now rewards you with the kind of bakery-quality pastry that makes all your effort feel completely worth it.
Critical Mistakes When Using a Pastry Blender
The most common slip-up is using butter that’s too warm. Soft butter smears into the flour instead of breaking into clean pieces, and that smearing kills your flaky texture before the dough even hits the oven. Always start with cold, cubed butter, and chill the mixture again if your hands or kitchen warm it up.
Another frequent error is overworking the dough. Many beginners keep blending until the mixture looks completely smooth, but that destroys the little butter pockets you need for layers. Stop at the coarse, pea-sized crumb stage, even if it looks unfinished.
Adding too much liquid causes trouble too. Pouring water in all at once makes the dough sticky and dense, and overhydrated dough turns tough as it bakes. Drizzle slowly and stop the moment the dough holds together.
People also press too hard on the tool itself. Mashing or twisting can bend the blades and crush the butter rather than cutting it cleanly. Use a gentle, rhythmic press-and-lift motion. Finally, don’t skip the final chill, since rushing to roll warm dough leads to shrinking, greasy, disappointing results.
Expert Tips
A few small habits will take your pastry from good to outstanding. Freeze your butter and grate it on a box grater for the fastest, most even results, especially in warm weather when cubes soften quickly.
Keep a bowl of ice water nearby and dip the metal blades in it if they start to warm. Cold tools cut cleaner and keep the butter firm. If your dough ever feels soft mid-mix, refrigerate the whole bowl for ten minutes without hesitation.
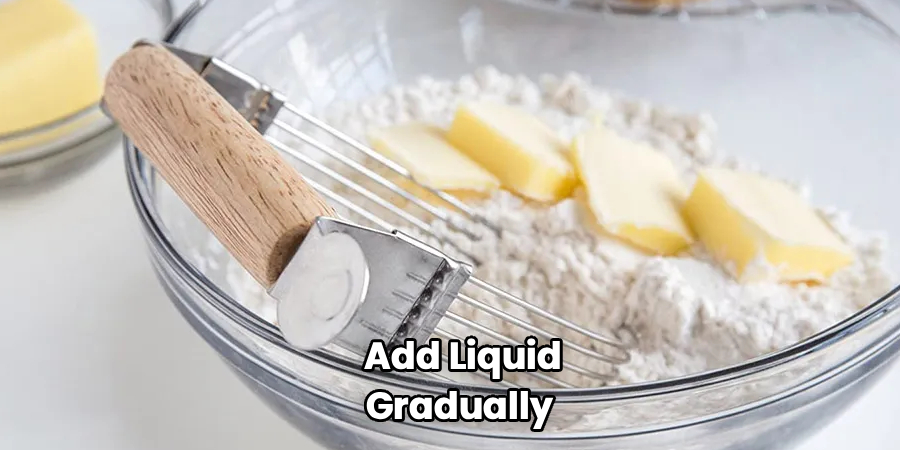
Work in short, confident bursts rather than slow, drawn-out blending. The faster you finish, the colder everything stays. And always toss in your liquid with a fork instead of stirring, which keeps the dough light. These little tricks add up to flakier crusts, fluffier biscuits, and far less frustration along the way.
Frequently Asked Questions
What Can I Use If I Don’t Have a Pastry Blender?
Plenty of everyday tools work in a pinch. Try these alternatives:
- Two forks or two knives: Use them in a crisscross motion to cut the butter.
- A fork alone: Slower, but effective for small batches.
- Your fingertips: Pinch the butter quickly, but keep your hands cool.
A food processor works too, though it’s easy to overblend. Pulse just a few times and watch the texture closely.
Can I Use a Pastry Blender for Other Recipes?
Absolutely. This handy baking tool does far more than pie crust. Use it to cut in butter for biscuits, scones, shortbread, and crumble or streusel toppings. It’s also great for mashing soft ingredients like avocados, bananas, or cooked potatoes for chunky textures. Anytime a recipe asks you to combine cold fat into a flour mixture, the pastry cutter is your fastest, most reliable friend in the kitchen.
How Do I Know When the Butter Is Cut In Enough?
Look for a coarse, sandy crumb texture with butter pieces about the size of small peas. The mixture should feel cool and crumbly, never pasty or greasy. Lift a bit with a fork to inspect it. If you still see large butter chunks, keep going. If it looks like wet sand or starts clumping, stop right away before you overwork it.
Why Does My Pastry Turn Out Tough?
Tough pastry usually comes from one of three things: overworking the dough, adding too much water, or letting the butter get too warm. Each of these develops gluten or melts the fat, both of which create density. Keep your ingredients cold, blend just until you reach a pea-sized crumb, and add liquid slowly. Handle the dough as little as possible for a tender result.
Is a Pastry Blender Hard to Clean?
Not at all, though a little technique helps. Bits of dough can stick between the blades, so rinse it right after use before anything dries. A quick scrub with a brush or the rough side of a sponge clears stubborn spots. Most pastry blenders are dishwasher safe, but check the handle material first. Drying it promptly also prevents any rust on metal blades.
Conclusion
Mastering this simple tool is one of the best things you can do for your baking. With a little cold butter, a bowl of flour, and a few confident strokes, you can create the flaky, tender dough that turns ordinary recipes into something special.
Remember the essentials. Keep everything cold, scatter your butter evenly, and cut it in with a steady press-and-lift motion. Stop at that coarse, pea-sized crumb texture, add your liquid slowly, and always give the dough a good chill before rolling. These small steps make a huge difference in the final result.
The best part is how forgiving this skill becomes with practice. Whether you’re baking in a full kitchen or a cozy camper, you don’t need fancy appliances to get beautiful results, just one reliable hand tool and a bit of patience.
Now that you know how to use a pastry blender the right way, grab your butter, dust off that bowl, and start mixing. Your next pie crust or batch of biscuits will thank you.
