
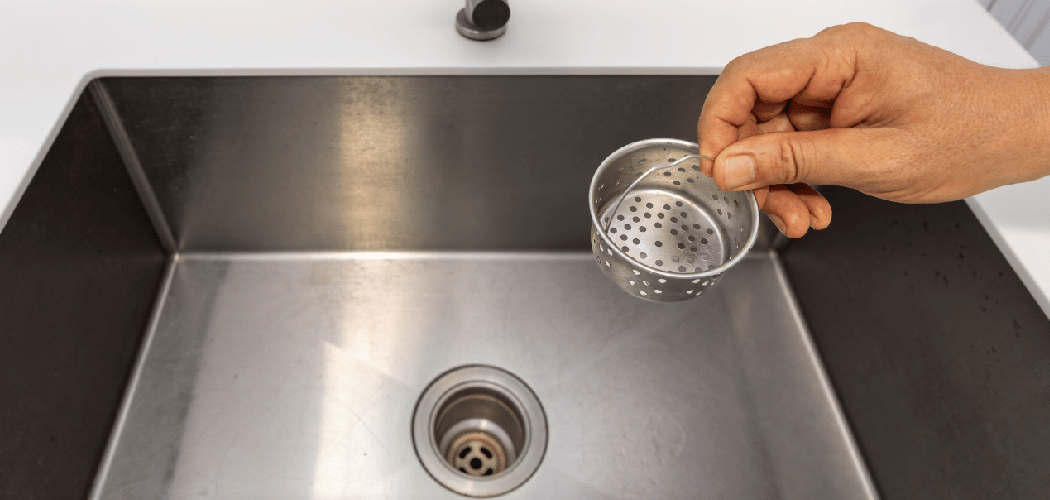
A bad kitchen sink smell can make your whole kitchen feel dirty, even when the counters are clean and the trash is out. The odor usually comes from trapped food, grease, soap scum, or bacteria building up inside the drain, disposal, or sink overflow. The good news is that you do not need to be a plumber to fix it.

If you are a first-time homeowner, renter, or just someone tired of that sour smell near the faucet, this guide will walk you through a simple process that works. You will learn where the odor comes from, what supplies help most, and how to make a kitchen sink smell better without damaging your pipes. This guide will show you how to clean the source of the smell and keep it from coming back.
Why Understanding Sink Odors Matters
A kitchen sink does more than hold dishes. It catches bits of food, grease from pans, coffee grounds, sauces, and soap residue every day. Over time, those leftovers stick to the drain walls and create a damp layer where bacteria can grow. That is often what causes the stale, sour, or rotten smell you notice when you stand at the sink.
Understanding the source matters because odor is usually a symptom, not the full problem. If you only mask the smell with lemon or cleaner, the buildup stays in place and keeps getting worse. In some homes, the smell can even spread into the room each time you run warm water or turn on the garbage disposal. Once you know what is happening inside the drain, you can clean it with more confidence and avoid wasting time on quick fixes that do not last.
Tools and Materials
You do not need many supplies to freshen a smelly sink, but having the right ones nearby makes the job faster and cleaner.
- Dish soap
- Baking soda
- White vinegar
- Boiling or very hot water
- A scrub brush or old toothbrush
- Rubber gloves
- A sponge or cleaning cloth
- Ice cubes
- Coarse salt
- A flashlight to inspect the drain and disposal
- Optional: lemon slices or citrus peels for a fresh finish
Before you start, clear dishes out of the sink and empty the area under it if you want to check for leaks later. A clean workspace helps you focus on the drain itself. Next, let’s go step by step and remove the odor at its source.
9 Step-by-Step Guide on How to Make a Kitchen Sink Smell Better
Step 1 – Clear the Sink and Inspect the Problem
Start with a completely empty sink. Remove dishes, strainers, food scraps, and anything sitting near the drain opening. Then run your nose and your eyes through a quick check. Smells that seem strongest right at the drain usually point to buildup inside the pipe or garbage disposal. If the smell spreads from under the cabinet, you may also have a plumbing issue like a leak or a dry trap.

Use a flashlight to look into the drain. You may see grime clinging to the sides, bits of food, or greasy film. In a disposal sink, check the rubber splash guard too. That part often traps slimy residue underneath the flaps, and it is a common place for bad smells to hide. A careful inspection helps you target the real source instead of guessing.
Step 2 – Wash the Sink Basin and Drain Opening
Before deep-cleaning the drain, clean the sink itself. Add dish soap to a sponge or cloth and scrub the basin, faucet base, drain rim, and surrounding edges. Grease and food splatter near the opening can create odors that seem like they come from deep in the pipe, even when the problem is still near the surface.
Pay extra attention to the drain lip, where sticky residue often collects. If you have a stainless steel sink, you may notice a dull film that smells slightly sour when disturbed. If you have a porcelain sink, stains can hold onto old food smells longer than you think. Rinse with hot water and wipe the area clean. This first pass clears away easy grime so the deeper cleaning steps can work better.
Step 3 – Scrub the Garbage Disposal Splash Guard
If your sink has a garbage disposal, the rubber splash guard deserves special attention. Lift each flap carefully and scrub underneath with an old toothbrush or a narrow cleaning brush. Use warm water and dish soap as you work. This area often feels slick and smells strong because food particles get trapped there and stay damp for days.
Many people skip this part when learning how to make a kitchen sink smell better, but it makes a huge difference. The odor can be sharp, sour, or almost rotten, especially if bits of onion, egg, or dairy have been caught there. Scrub until the rubber feels clean instead of slimy. Rinse well with hot water. If the smell drops right away, you have already removed one of the biggest problem spots in the whole sink setup.
Step 4 – Flush the Drain With Hot Water and Soap
Now move deeper into the drain. Squirt a small amount of dish soap directly into the opening, then follow with very hot water. If your pipes are older or made from PVC, use hot tap water rather than a full kettle of boiling water. The goal is to loosen grease and carry away softened residue without stressing the plumbing.
Let the water run steadily for a minute or two. You may notice the smell rise at first as the heat wakes up old buildup. That is normal. Listen as the water drains. A smooth, quick flow suggests a light coating inside the pipe. A slower drain can mean thicker grease or food sludge farther down. This step will not solve every odor alone, but it prepares the drain for the baking soda and vinegar treatment that comes next.
Step 5 – Use Baking Soda and Vinegar to Break Down Buildup
Pour about half a cup of baking soda into the drain. Try to get as much of it down the opening as possible rather than leaving it on the sink surface. Then slowly add one cup of white vinegar. You will hear fizzing right away. That bubbling action helps lift grime from the pipe walls and loosen odor-causing residue.
Let the mixture sit for 10 to 15 minutes. During that time, avoid running water. The smell may shift from sour to slightly sharp because of the vinegar, but that fades fast. This is one of the simplest ways to support how to make a kitchen sink smell better because it targets the film that bacteria feed on. When the waiting time is up, rinse the drain with hot water to wash everything down. In many kitchens, this step brings the biggest improvement.
Step 6 – Clean the Disposal Chamber With Ice and Salt
For a garbage disposal, ice and coarse salt can help scrub the inside surfaces. Drop in a handful of ice cubes and one to two tablespoons of coarse salt. Turn on a cold water stream, then run the disposal for several seconds. The ice knocks loose stuck debris while the salt adds a gentle abrasive effect.
This step works well when the sink smells musty even after the drain opening looks clean. As the disposal runs, you may hear a rough grinding sound. That is expected. What you are doing is cleaning the chamber walls and blades where soft residue often lingers. If the disposal has not been cleaned in a while, repeat the process once more. When finished, run cold water for another 20 to 30 seconds to flush out what has broken free.
Step 7 – Freshen the Drain With Citrus
Once the drain is clean, you can add a fresh scent. Drop a few lemon slices or small citrus peels into the disposal and run it briefly with cold water. This step does not replace deep cleaning, but it leaves behind a bright, clean smell that makes the whole sink area feel fresher.
Be smart with the amount. A few thin pieces are enough. Too many peels at once can clog the disposal or create another layer of buildup later. If you do not have a disposal, rub a cut lemon around the drain rim and sink surface instead. Citrus works best as a finishing touch after the grime is already gone. Think of it as polish, not the main repair.
Step 8 – Check for Hidden Causes Under the Sink
If the smell is still there, look under the sink. Check the P-trap, pipe joints, and cabinet floor for damp spots, staining, or slow drips. A leak can create a moldy smell that seems like it comes from the drain when it is actually coming from wet wood, stored items, or the cabinet itself.
Also notice whether the smell gets worse after the sink has not been used for a while. In some cases, plumbing vents or trap issues play a role. Beginners do not need to diagnose every plumbing problem on the spot, but you should know when cleaning is not enough. If the area under the sink smells earthy, damp, or mildew-like, the next step may be a repair rather than another round of scrubbing.
Step 9 – Set a Simple Maintenance Routine
The best way to keep odors away is to stop buildup before it turns into sludge. Once a week, flush the drain with hot water and a little dish soap. Every week or two, use baking soda and vinegar if your sink handles lots of greasy dishes or food scraps. Clean the splash guard often if you use a disposal daily.

Small habits matter. Avoid pouring cooking grease down the drain. Scrape plates into the trash or compost before rinsing. Use the disposal for small leftovers, not as a catch-all food bin. When you maintain the drain in short, regular bursts, it stays cleaner and smells better without much effort. That is easier than waiting until the whole kitchen starts to smell off again.
Common Mistakes
One common mistake is treating the smell without cleaning the source. Air freshener, bleach-heavy sprays, or lemon alone may hide the odor for an hour, but they do not remove the layer of grease and food feeding the bacteria. The smell comes back because the real problem never left.
Another mistake is forgetting the garbage disposal splash guard. Many people clean the visible drain opening and assume the job is done. Meanwhile, the underside of that rubber guard stays coated with slime. It is one of the dirtiest parts of the sink and one of the easiest to miss.
People also make the error of pouring grease, oil, or starchy cooking water down the drain. These materials cool, cling, and trap other debris. Even if the sink drains at first, the pipe walls collect a sticky film that starts to smell over time.
Using harsh chemical drain cleaners too often is another problem. These products can be rough on pipes, hard on the nose, and unnecessary for routine odor control. They may clear a clog, but they do not always solve the bacterial buildup that causes the smell.
Finally, some homeowners ignore slow drainage or cabinet moisture. If cleaning does not solve the odor, a leak, vent issue, or partial clog may be involved. At that point, fixing the plumbing matters more than adding another cleaner.
Expert Tips
Clean odors are easier to maintain than to remove. If your sink handles greasy pans often, rinse with hot water and dish soap right after cleanup instead of waiting for residue to sit overnight. That one habit can cut down drain film fast.
Use cold water when running the garbage disposal. Cold water helps fats stay solid so the disposal can chop and flush them more effectively, rather than letting them melt and coat the pipe. It is a small switch, but it works.
If smells return quickly, keep a simple log for a week. Notice when the odor shows up, what went down the drain that day, and whether the smell comes from the drain, disposal, or cabinet. Patterns make the real cause easier to spot. When basic cleaning stops working, that information helps you decide whether it is time to call a plumber.
FAQ
Why does my kitchen sink smell even after I clean it?
If the smell remains after surface cleaning, the odor is likely deeper in the drain, garbage disposal, splash guard, or P-trap. Surface scrubbing only removes visible grime. Hidden grease, trapped food, or moisture under the sink can keep producing odor. A deeper clean and a quick leak check usually help narrow down the source.
Is baking soda and vinegar safe for kitchen sink drains?
Yes, for routine deodorizing and light buildup, baking soda and vinegar are generally safe for most kitchen sink drains. They work best on odor and soft residue, not severe clogs. After letting the mixture sit, rinse with hot water. If your sink backs up often, you may be dealing with a larger blockage that needs more than a home remedy.
Can I put lemon peels in the garbage disposal?
You can use a small amount of lemon or other citrus peels in the disposal for a fresh smell, but do not overload it. A few thin pieces are enough. Too many peels can add pulp and buildup, especially in older disposals. Use citrus as a finishing step after cleaning, not as the main way to remove odor.
How often should I clean my kitchen sink drain?
For most homes, a light cleaning once a week works well. If you cook often, rinse greasy dishes, or use the disposal daily, clean it more often. A quick hot water flush and occasional baking soda treatment can prevent buildup before it starts to smell. Regular maintenance is much easier than fixing a long-neglected drain.
When should I call a plumber for a smelly sink?
Call a plumber if the smell keeps returning after thorough cleaning, if the sink drains slowly, or if you notice leaks under the cabinet. You should also get help if the odor smells like sewage rather than old food. That can point to a venting problem, trap issue, or deeper plumbing fault that cleaning will not fix.
Conclusion
A smelly sink is annoying, but it is usually fixable with a few simple steps and a little consistency. Most odors come from the same places: greasy drain walls, trapped food, a dirty disposal splash guard, or moisture under the sink. When you clean each area in order, the problem becomes much easier to solve.
Start with the basics. Empty the sink, inspect the drain, scrub the visible surfaces, and flush away grime. Then use baking soda and vinegar, clean the disposal if you have one, and check for hidden leaks if the odor hangs on. Once the smell is gone, a simple weekly routine can keep it from returning.
If you have been wondering how to make a kitchen sink smell better, the answer is not a single product. It is a smart process that removes buildup and prevents it from coming back. Try these steps today, and your kitchen should smell cleaner, fresher, and far more pleasant the next time you turn on the tap.

About
Nick Hall has spent the last seven years working at the intersection of kitchen design and home repair — first as a design assistant at a residential renovation studio, then as a freelance writer covering everything from cabinet layouts to leaky faucet fixes.
Her approach is simple: kitchens should look good and function well. That means she’s just as comfortable talking about color palettes and counter materials as she is walking readers through how to fix a wobbly cabinet hinge or troubleshoot a garbage disposal.
Nick has worked directly with homeowners on small-space kitchen makeovers, budget-conscious renovations, and the kind of everyday repairs that don’t need a contractor — just the right instructions. She writes from experience, not theory, and tests most of the fixes and tips she shares before publishing them.
When she’s not writing, Nick is usually hunting for mid-century kitchen finds at estate sales or helping friends plan their own renovations. She lives in Columbus, Ohio.