
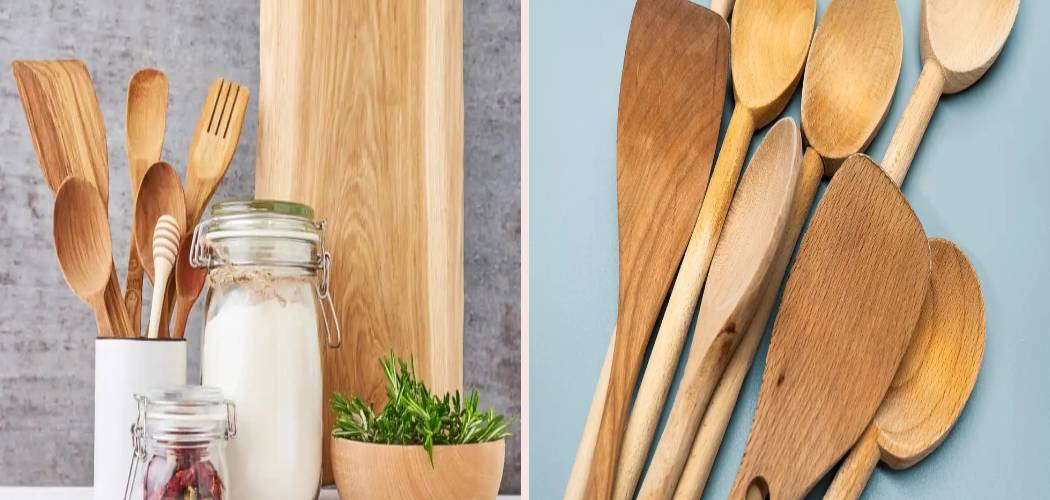
Your favorite wooden spoon has stirred countless soups, flipped pancakes, and scraped the bottom of more pots than you can count. Over time, though, it picks up food stains, soaks in cooking smells, and starts to feel a little rough under your fingers. That’s completely normal, and it’s easy to fix.
Wood tools last for years when you treat them right, but they need different care than metal or plastic. A quick rinse won’t do the trick, and tossing them in the dishwasher can ruin them fast.

This guide walks you through how to clean wood kitchen utensils properly, so your spoons and spatulas stay smooth, fresh, and ready for your next meal.
Why Cleaning Wood Kitchen Utensils Matters
Wood is naturally porous, which means it soaks up moisture, oils, and food particles every time you cook. Skip regular cleaning, and those trapped bits turn into stubborn food stains, lingering odors, and even a breeding ground for bacteria deep in the grain.
Proper care also protects the wood itself. Clean, conditioned tools resist cracking, warping, and that dry, rough surface that splinters over time.
For campers and outdoor beginners, this skill is a real game-changer. When you cook over a fire or a portable stove, your wooden spoons and spatulas take a beating from heat, smoke, and limited rinse water. Knowing how to clean them quickly with minimal supplies keeps your gear safe, sanitary, and lasting through trip after trip. Good habits at home travel with you anywhere.
Tools and Materials You’ll Need
Gather your supplies before you start so the whole process feels easy and quick. You probably have most of these on hand already.
- Mild dish soap – cuts grease without stripping the wood
- Warm water – loosens stuck-on cutting residue and food stains
- A soft sponge – cleans gently without scratching the grain
- A clean towel – dries the surface fast to prevent warping
- White vinegar – tackles odor removal and light sanitizing
- A fresh lemon – brightens stains and freshens smells naturally
- Coarse salt – scrubs away buildup on a rough surface
- Mineral oil or food-safe oil – conditions and protects the wood
- A drying rack (optional) – lets air circulate around each handle for even drying
Skip the dishwasher, harsh bleach, and steel wool. With these simple basics ready, you’re set to clean and protect every wooden tool you own.
Step-by-Step Guide on How To Clean Wood Kitchen Utensils
Step 1 – Rinse Off Loose Food Right Away
Start the moment you finish cooking. Hold your wooden spoons and spatulas under warm running water and let the stream carry away loose crumbs, sauce, and cutting residue before it dries on.
Use your fingers or a soft sponge to nudge off any sticky bits clinging to the grain. The sooner you do this, the less scrubbing you’ll face later.
Avoid letting the tool soak in a full sink, even now. A quick rinse is fine, but standing water seeps into the wood and starts the damage. You’ll feel the surface turn smooth and slick as the fresh food slides away. This simple habit takes seconds and sets you up for an easier, gentler clean in the next steps.

Step 2 – Wash Gently With Mild Dish Soap
Now for the real cleaning. Add a small drop of mild dish soap to your damp soft sponge and work up a light lather. Wipe along the grain of each wooden spoon and spatula, following the natural lines in the wood.
Pay extra attention to the bowl of the spoon and the base of the handle, where grease and food stains love to hide. You’ll feel the slick film lift away as the soap does its job.
Knowing how to clean wood kitchen utensils well means washing quickly rather than letting them sit. Keep the contact with water brief and focused. Rinse the sponge often so you’re wiping with clean suds, not pushing grime back onto the surface.
Step 3 – Tackle Stubborn Stains With Salt and Lemon
Some marks need extra muscle. For dark food stains or stuck-on cutting residue, sprinkle a layer of coarse salt directly onto the wet surface of the wood.
Cut a lemon in half and use the flesh as a natural scrubber, pressing it into the salt and rubbing in small circles. You’ll smell that bright, fresh citrus as the salt scours and the lemon’s acid lifts discoloration.
This combo works gently without harsh chemicals, which is perfect for tools that touch your food. Keep scrubbing the rough surface until the stains fade and the wood looks brighter.
Wipe away the salt-and-lemon paste with your soft sponge, then give the utensil a quick rinse under warm water to clear every gritty bit.
Step 4 – Freshen and Sanitize With Vinegar
Wood holds onto smells, especially after garlic, onions, or fish. To handle odor removal, soak a clean towel or sponge in white vinegar and wipe down the entire surface of each tool.
The vinegar’s mild acidity neutralizes lingering odors and offers light sanitizing without damaging the grain. You’ll notice the sharp vinegar scent fade quickly, taking the old food smells with it.
For really stubborn odors, let the vinegar sit on the surface for a minute or two before wiping. Don’t rinse and re-soak repeatedly, since too much moisture is the enemy here.
A single, focused wipe-down does the job. Once the smell lifts, rinse the tool briefly under warm water and move straight to drying so the wood doesn’t absorb extra liquid.
Step 5 – Rinse Quickly and Thoroughly
Clear away every trace of soap, salt, and vinegar. Hold each utensil under warm running water and turn it slowly so the stream reaches the bowl, the edges, and along the full length of the handle.
Run your fingers over the surface as you rinse. You’re feeling for any slick soap film or gritty salt that might still cling to the grain.
Keep this step short and efficient. The goal is clean wood, not waterlogged wood, so don’t let it linger under the tap. A few seconds of focused rinsing is plenty.
Once the surface feels smooth and squeaky clean with no residue left behind, shut off the water. Your tools are now ready for the most important part: proper drying.

Step 6 – Dry Completely With a Clean Towel
Drying matters more than most people realize. Grab a clean towel and wipe each wooden spoon and spatula thoroughly, soaking up surface water right away.
Pay attention to the joint where the bowl meets the handle, since water loves to pool there. Leftover moisture is what causes warped wood, cracking, and that fuzzy, rough surface nobody wants.
After toweling, stand the tools upright in a drying rack or a cup so air circulates around every side. Let them finish air-drying completely, which usually takes a few hours.
Never tuck damp utensils into a closed drawer. You’ll feel the difference once they’re bone-dry: light, smooth, and solid. Patience here is what keeps your wooden tools strong for years.
Step 7 – Condition the Wood With Food-Safe Oil
Dry wood needs nourishment to stay healthy. Once your utensils are fully dry, pour a small amount of mineral oil or another food-safe oil onto a clean towel.
Rub the oil into the wood, following the grain along the bowl and down the handle. You’ll watch the surface drink it in, deepening in color and regaining a soft, warm glow.
This conditioning step is the secret behind how to clean wood kitchen utensils and keep them lasting for years. The oil seals the grain, blocks moisture, and prevents the dry cracking that ruins neglected tools.
Apply enough to coat the surface evenly, but wipe off any excess so it doesn’t feel greasy. A light, even layer is all the wood needs to stay protected.
Step 8 – Let the Oil Soak In and Store Properly
Give the oil time to do its work. Set your conditioned tools aside for several hours, or overnight if you can, so the wood fully absorbs the oil.
After soaking, buff each utensil with a dry section of your clean towel. You’ll feel the surface turn silky smooth, with no sticky or greasy residue left behind.
Store your wooden spoons and spatulas in a dry spot with good airflow, like a utensil crock on the counter or a loosely packed drawer. Avoid cramming them in tightly while damp.
Repeat this conditioning routine every few weeks, or whenever the wood looks dull and dry. With this simple habit, your tools stay beautiful, sanitary, and ready for whatever you cook next.
Critical Mistakes When Cleaning Wood Kitchen Utensils
Even careful cooks make a few slips that quietly ruin good wooden tools. The most damaging mistake is putting them in the dishwasher. The intense heat, harsh detergent, and long soak swell the wood, leading to warped wood, deep cracking, and a permanently rough surface. Always wash by hand instead.
Another common error is letting utensils soak in a sink full of water. Wood is porous, so prolonged contact with water seeps deep into the grain, weakening the tool and inviting splits. A quick wash and rinse is all you need.
Many people also skip drying properly, tossing damp spoons straight into a drawer. That trapped moisture breeds bacteria and warps the wood over time, so always towel-dry and air-dry fully.
Reaching for bleach or harsh chemicals is another trap. These strip the wood, leave residue near your food, and dry out the grain. Stick with vinegar, lemon, and mild dish soap.
Finally, forgetting to condition with oil leaves wood thirsty and brittle. Without that regular layer of food-safe oil, even well-washed tools eventually crack and splinter.
Expert Tips
Want your wooden tools to outlast everything else in your kitchen? Make conditioning a routine, not an afterthought. Rub in a thin coat of mineral oil once a month, and your spoons will resist stains, smells, and cracking far longer.
Keep separate wooden tools for strong-smelling foods like garlic and fish, so odors don’t transfer to your baking or stirring spoons. It’s a small habit that saves a lot of scrubbing.
If a utensil feels fuzzy or rough after washing, smooth it with fine sandpaper, then re-oil it. The surface comes back like new. And always store your tools dry with room to breathe, never damp in a sealed container. These simple touches keep every piece smooth, fresh, and beautiful for years.
Frequently Asked Questions
Can I put wooden utensils in the dishwasher?
No, never put wooden utensils in the dishwasher. The combination of high heat, strong detergent, and a long water cycle swells and dries the wood at the same time. This leads to warped wood, cracking, and a rough, splintered surface that ruins the tool. Always wash wooden spoons and spatulas by hand with mild dish soap and warm water, then dry them right away to keep them strong.
How often should I oil my wooden spoons?
Oil your wooden spoons about once a month, or whenever the wood starts to look dull, pale, or dry. Tools you use daily may need oiling more often, while occasional-use pieces can go longer. A quick test helps:
- If water beads on the surface, the wood is still protected
- If water soaks in fast, it’s time to condition with food-safe oil
Regular oiling prevents cracking and keeps the grain smooth.
What’s the best way to remove odors from wood?
White vinegar is your best friend for odor removal. Wipe the utensil with a cloth soaked in vinegar, let it sit for a minute, then rinse briefly and dry. For stubborn smells, scrub with coarse salt and half a lemon, which neutralizes odors and brightens the wood at the same time. Keeping separate tools for garlic, onions, and fish also stops strong smells from spreading to your other utensils.
Why does my wooden spoon feel rough after washing?
A rough surface happens because water raises the wood grain, lifting tiny fibers that dry standing up. It’s normal, especially if a tool soaked too long or got too wet. To fix it:
- Let the spoon dry completely
- Gently sand the surface with fine-grit sandpaper
- Wipe away the dust and rub in food-safe oil
The wood turns smooth and protected again.
Is it safe to use vinegar and lemon on wood?
Yes, both vinegar and lemon are safe and natural for cleaning wood. Their mild acidity lifts food stains, neutralizes odors, and offers light sanitizing without harsh chemicals near your food. Just use them in moderation and avoid long soaking, since too much moisture harms the wood. After using either one, rinse the utensil quickly under warm water and dry it thoroughly before conditioning with oil.
Conclusion
Caring for your wooden tools doesn’t take much, and the payoff is huge. With a little warm water, mild dish soap, and a soft sponge, you can lift away food stains and cutting residue in minutes. Add vinegar or a salt-and-lemon scrub for odor removal and stubborn marks, then dry every piece fully to prevent warped wood and cracking.
The real secret is finishing with a light coat of food-safe oil. That conditioning step seals the grain, smooths a rough surface, and keeps your spoons and spatulas strong for years.
Now that you know how to clean wood kitchen utensils the right way, you can keep every tool fresh, sanitary, and beautiful, whether you’re cooking in your home kitchen or over a campfire on your next trip. Skip the dishwasher, avoid long soaks, and make oiling a regular habit. Treat your wooden tools with this simple care, and they’ll reward you with countless meals and many years of faithful service.

About
Nick Hall has spent the last seven years working at the intersection of kitchen design and home repair — first as a design assistant at a residential renovation studio, then as a freelance writer covering everything from cabinet layouts to leaky faucet fixes.
Her approach is simple: kitchens should look good and function well. That means she’s just as comfortable talking about color palettes and counter materials as she is walking readers through how to fix a wobbly cabinet hinge or troubleshoot a garbage disposal.
Nick has worked directly with homeowners on small-space kitchen makeovers, budget-conscious renovations, and the kind of everyday repairs that don’t need a contractor — just the right instructions. She writes from experience, not theory, and tests most of the fixes and tips she shares before publishing them.
When she’s not writing, Nick is usually hunting for mid-century kitchen finds at estate sales or helping friends plan their own renovations. She lives in Columbus, Ohio.