
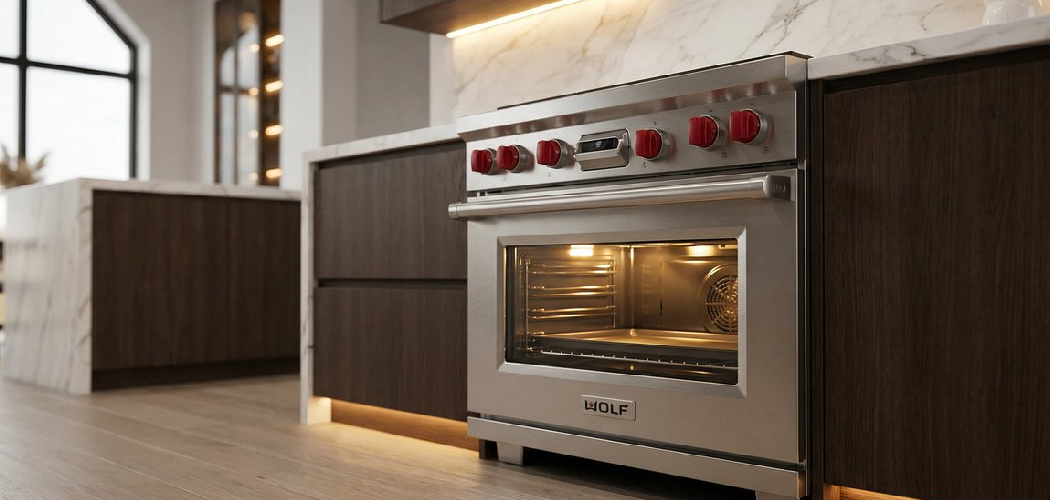
A Thermador oven can feel different from a basic range the first time you use it. The control panel may include touch controls, a display screen, multiple cooking modes, and features like convection, proof, roast, and self-clean. If you are standing in front of it wondering how to turn on thermador oven, you are not alone.
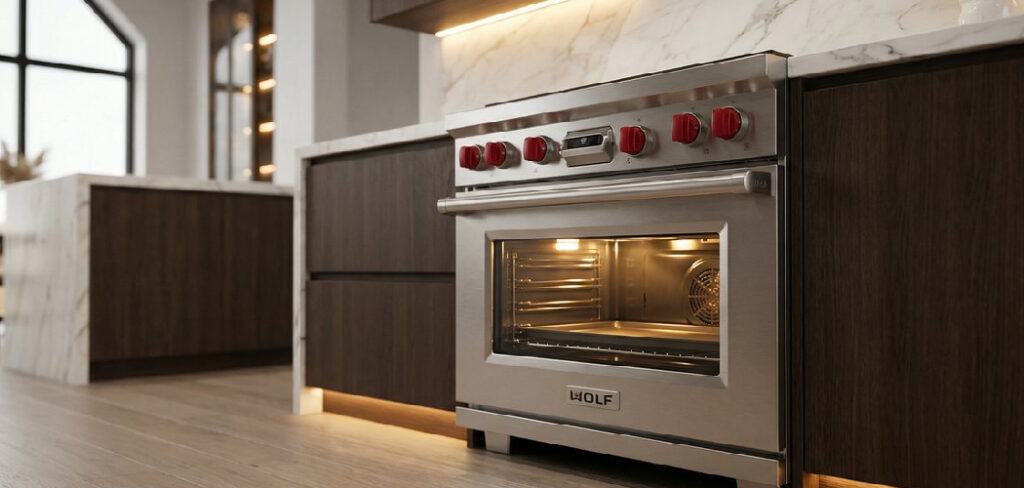
The good news is that the startup sequence is simple once you understand the basic controls. You choose a cooking mode, set the temperature, wait for the preheat indicator, and place your food inside the oven cavity when it is ready.
This guide explains the safe, beginner-friendly process for turning on a Thermador oven and using its core settings with confidence.
Why Learning to Use a Thermador Oven Matters
Learning the basics of a Thermador oven helps you cook with more control, whether you are in a home kitchen, cabin, RV-style setup, or outdoor-adjacent cooking space with a premium appliance. Campers and outdoor beginners often value practical skills because they may not always have quick access to help, manuals, or service support.
A Thermador model can deliver steady heat, strong convection airflow, and precise temperature control. But you only get those benefits when you know how to use the display screen, bake mode, temperature dial, and cooking rack positions correctly.
This skill also reduces stress. When you understand the oven light, preheat signal, and basic safety features, you can focus on the food instead of the appliance.
Tools and Materials You’ll Need
You do not need special tools to start a Thermador oven, but a few simple items make the process easier and safer. Keep the area around the appliance clear before you begin, especially if you are cooking in a smaller kitchen or shared space.
- Thermador user manual or quick-start guide
- Clean, dry hands for using touch controls
- Oven mitts or heat-resistant gloves
- Food-safe baking pan, tray, or dish
- Cooking rack set at the correct height
- Reliable recipe with time and temperature
- Flashlight if the control labels are hard to see
- Optional convenience item: a kitchen timer or phone timer for backup
Before you turn anything on, check that the power supply is active and the oven cavity is empty except for the racks you plan to use.
Step-by-Step Guide on How to Turn On Thermador Oven
Step 1 – Check the Power Supply and Display Screen
Start by looking at the display screen. It should show the time, a standby message, or control icons. If the screen is blank, check whether the oven has power before you press buttons or turn any dial.
Thermador wall ovens and ranges often connect to a dedicated circuit. If the appliance has been newly installed, recently cleaned, or unused for a while, the breaker may need attention. The control panel may stay dark until the power supply is restored.
Listen for a soft beep when you touch the panel. That sound tells you the oven is responding and ready for the next step.
Step 2 – Make Sure the Oven Is Safe to Use
Open the oven door and look inside the oven cavity. Remove stored pans, paper, plastic, towels, or anything that should not heat. Some first-time users forget that ovens are sometimes used for storage, especially in cabins or small kitchens.
Check the cooking rack position before the oven gets hot. For most baking, the center rack works well. For roasting, you may need a lower position so taller food has space.
The oven should smell clean and neutral. If you notice a strong chemical smell, leftover cleaner, or smoke residue, stop and wipe the interior before starting.
Step 3 – Wake the Control Panel
Many Thermador ovens use touch controls, knobs, or a mix of both. If the panel is asleep, press the power, start, or mode area to wake it. The display screen should brighten, and you may see cooking options appear.
If nothing happens, check for child lock. A locked control panel may ignore normal touches or show a lock symbol. Hold the correct control, often labeled “Panel Lock” or “Lock,” until the symbol clears.
This is where learning how to turn on thermador oven becomes easier. Once the panel responds, the rest of the process follows a clear order.
Step 4 – Choose the Cooking Mode
Select the cooking mode that matches your recipe. Bake mode works well for cakes, casseroles, cookies, and most everyday meals. The convection setting uses a fan to move hot air around the oven cavity, which can help food brown evenly.
Some Thermador models include roast, broil, proof, warm, and specialty modes. Do not worry if you do not use them right away. For a first attempt, bake mode is usually the best place to start.
When you select a mode, the display may show a default temperature. That means the oven has accepted your choice and is waiting for the temperature setting.
Step 5 – Set the Temperature
Use the temperature dial, number pad, plus and minus buttons, or touch slider to set the heat level. Most recipes use temperatures such as 325°F, 350°F, 375°F, or 400°F. Enter the exact number if your model allows it.
Take your time and watch the display screen. A small mistake, like setting 500°F instead of 350°F, can overheat your pan and burn food quickly.
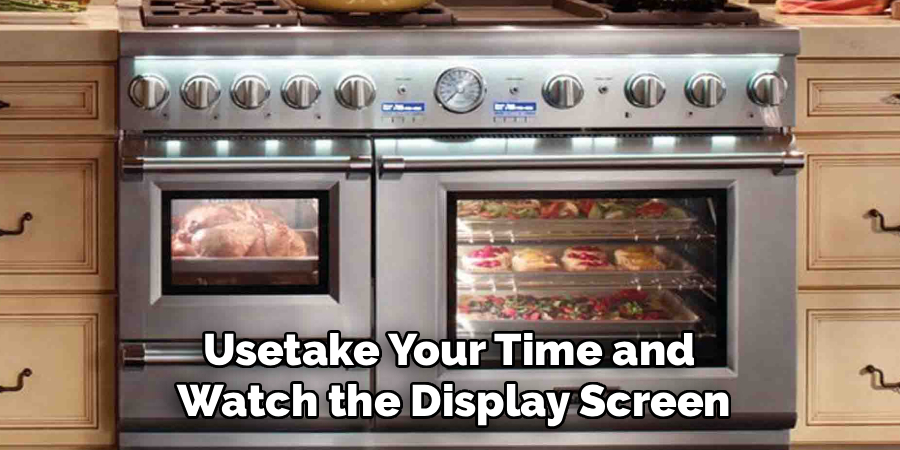
After you set the temperature, confirm it if your oven asks you to press Enter or Start. Some models begin after the selection, while others wait for a final command.
Step 6 – Start the Oven and Watch for Preheat
Press Start to begin heating. You may hear a quiet click, a low hum, or the faint movement of a fan if the convection setting is active. The heating element will begin warming the oven cavity.
The display screen should show the rising temperature or a preheat indicator. The oven light may turn on, depending on your settings. During preheat, keep the door closed so the appliance can reach the correct temperature.
If you are practicing how to turn on thermador oven for the first time, do not rush this stage. Preheating helps food cook evenly from the start.
Step 7 – Wait for the Ready Signal
A Thermador oven usually alerts you when preheating finishes. You may hear a beep, see the preheat indicator turn off, or notice the display show the target temperature. This signal means the oven is ready for food.
Avoid opening the door repeatedly while you wait. Each opening releases heat and can stretch the preheat time. The front of the appliance may feel warm, and you may smell a light heated-metal scent if the oven is new or has not run recently.
Once the ready signal appears, put on oven mitts and prepare your pan nearby.
Step 8 – Place Food Inside and Monitor Cooking
Open the door with care and let the hot air move upward before reaching inside. Slide the pan onto the cooking rack using both hands. Keep it centered so air can flow around the food.
Close the door gently. Set a timer based on your recipe, then check progress through the glass when possible. The oven light helps you see browning without letting heat escape.
If you need to adjust the temperature during cooking, use the control panel slowly and confirm the new setting. When cooking ends, turn the oven off and let the interior cool before cleaning.
Common Mistakes When Turning On a Thermador Oven
One common mistake is pressing Start before choosing the right cooking mode. The oven may not heat as expected if it is still in standby or set to a different function. Always check the display screen before walking away.
Another mistake is skipping the preheat stage. Thermador ovens heat with precision, but food still needs the oven cavity to reach the correct temperature before cooking begins. Cookies, bread, pizza, and roasted vegetables can turn out uneven if you load them too early.
Some beginners overlook the child lock feature. If the control panel will not respond, they assume the appliance is broken. A lock symbol or unresponsive touch controls often point to a simple safety setting, not a major problem.
Using the wrong rack position also causes poor results. A pan placed too high may brown too fast on top, while one placed too low may cook slowly or darken on the bottom.
Finally, many users rely only on the handle or front panel temperature feel. Trust the preheat indicator and display screen instead, because the outside of the appliance does not tell you the true internal temperature.
Expert Tips
Read the user manual for your exact Thermador model, even if you only skim the startup pages. Control layouts vary, and a few minutes with the manual can prevent wrong settings and confusion.
For everyday cooking, start with bake mode before trying advanced features. Once you feel comfortable, test the convection setting with roasted vegetables or sheet-pan meals. It gives you a clear sense of how airflow changes browning.
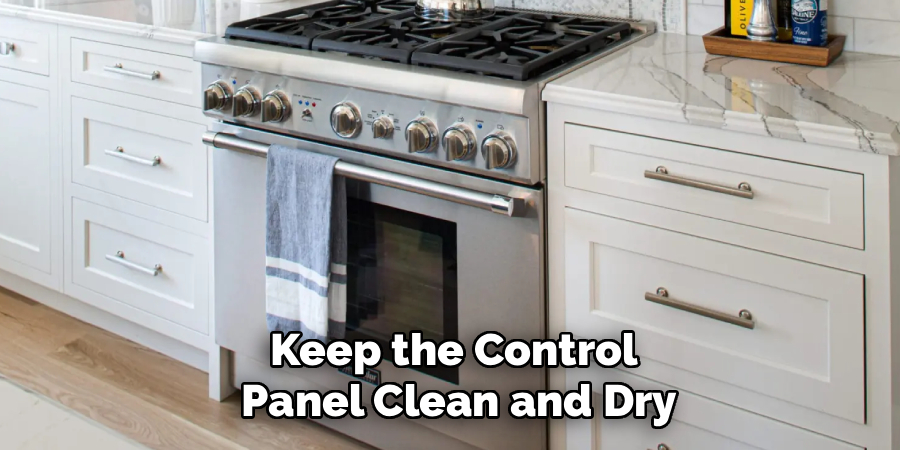
Keep the control panel clean and dry. Grease or moisture can make touch controls less responsive. Also, place racks before preheating whenever possible. Moving metal racks inside a hot oven is awkward and increases your risk of burns.
Frequently Asked Questions
Why Is My Thermador Oven Not Turning On?
First, check the power supply and make sure the display screen is lit. If it is blank, inspect the breaker or confirm the appliance is properly connected. If the screen works but the oven will not heat, check for child lock, Sabbath mode, or an unconfirmed cooking setting. A service call may be needed if the controls respond but the heating element never warms.
Do I Need to Preheat a Thermador Oven Every Time?
You should preheat for most baking, roasting, and convection cooking. Preheating gives the oven cavity time to reach the set temperature, which helps food cook evenly. Some foods, such as casseroles or slow-roasted dishes, may be more forgiving. Still, if a recipe says to preheat, wait for the ready signal before placing food inside.
What Is the Difference Between Bake and Convection?
Bake mode uses steady heat and works well for traditional recipes. Convection adds fan-driven air movement, which can improve browning and help food cook more evenly on multiple racks. Some recipes may need a lower temperature or shorter cooking time with convection. If you are new to the oven, start with bake mode, then compare results later.
How Do I Know the Oven Has Finished Preheating?
Watch the display screen and preheat indicator. Most Thermador ovens beep, show the target temperature, or change the indicator when preheating is complete. You may also hear the fan or heating cycle settle into a quieter rhythm. Do not rely on the outside warmth of the door, because it does not accurately show the temperature inside.
Can I Use the Oven If the Light Does Not Work?
Yes, the oven may still heat even if the oven light is out. The light helps you check food without opening the door, but it is not required for cooking. If the display screen, controls, and heating functions work normally, you can cook with care. Replace the bulb later using the correct part and safety steps from the manual.
Conclusion
A Thermador oven becomes much easier to use once you understand its basic startup flow. Check the power supply, clear the oven cavity, wake the control panel, choose bake mode or another cooking option, set the temperature, press Start, and wait for the preheat indicator before adding food.
Small habits make a big difference. Set the cooking rack before heating, keep the touch controls clean, watch the display screen, and use oven mitts whenever you handle hot pans. If a setting looks unfamiliar, pause and check the user manual rather than guessing.
Now that you know how to turn on thermador oven, you can approach your first meal with more confidence. Start with a simple recipe, follow the display prompts, and let the appliance guide you through a smooth, safe cooking experience.

About
Nick Hall has spent the last seven years working at the intersection of kitchen design and home repair — first as a design assistant at a residential renovation studio, then as a freelance writer covering everything from cabinet layouts to leaky faucet fixes.
Her approach is simple: kitchens should look good and function well. That means she’s just as comfortable talking about color palettes and counter materials as she is walking readers through how to fix a wobbly cabinet hinge or troubleshoot a garbage disposal.
Nick has worked directly with homeowners on small-space kitchen makeovers, budget-conscious renovations, and the kind of everyday repairs that don’t need a contractor — just the right instructions. She writes from experience, not theory, and tests most of the fixes and tips she shares before publishing them.
When she’s not writing, Nick is usually hunting for mid-century kitchen finds at estate sales or helping friends plan their own renovations. She lives in Columbus, Ohio.