
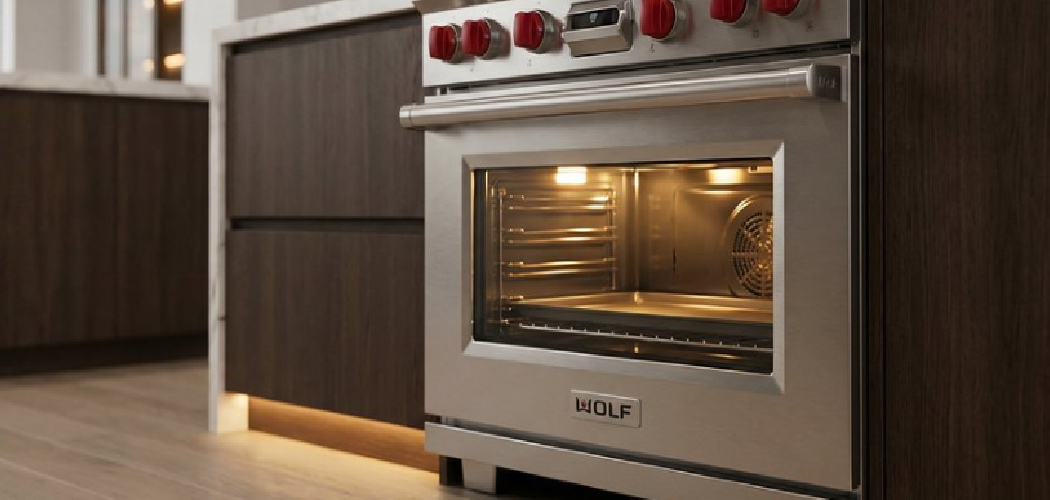
A gas oven that will not heat can feel confusing, especially when the stovetop still works or the control panel looks normal. In many cases, the problem comes from the oven igniter, a small but important part that lights the bake burner or broil burner by drawing enough current to open the safety shutoff valve. If you want to learn how to test oven igniter, you need to work slowly, follow safety steps, and understand what the igniter should do when it is healthy.
A weak igniter may glow but still fail to light the gas, which makes diagnosis tricky for beginners.
This guide shows you how to inspect, test, and understand an oven igniter safely before deciding whether it needs replacement.
Why Learning to Test an Oven Igniter Matters
Learning this skill helps you handle basic appliance troubleshooting with more confidence. If you cook in a home kitchen, cabin, camper setup, or outdoor-adjacent space with a propane or natural gas oven, heat problems can interrupt meals fast. Knowing the signs of a weak igniter helps you avoid guessing and replacing the wrong part.
For campers and outdoor beginners, this skill is especially useful because service help may not be close by. You may need to check the power cord, gas supply, burner tube, or electrical connection before calling for repair.
Understanding the igniter also helps you stay safer. Delayed ignition, gas smells, and repeated clicking sounds can point to issues that deserve quick attention.
Tools and Materials You’ll Need
You do not need a full repair shop to test an oven igniter, but you do need the right tools and a careful setup. Work in a well-lit area, keep the oven cool, and never rush around gas or live electrical parts.
- Digital multimeter with continuity and resistance settings
- Clamp meter for amp draw testing, if available
- Screwdriver or nut driver for the access panel
- Work gloves to protect your hands from sharp metal
- Flashlight for viewing the burner area
- Owner’s manual or model number reference
- Ceramic wire nuts if replacement wiring is needed
- Optional convenience item: phone camera for taking photos before disconnecting wires
If you smell gas before starting, stop immediately, turn off the gas supply if safe, ventilate the area, and contact a qualified technician.
Step-by-Step Guide on How to Test Oven Igniter
Step 1 – Shut Off Power and Gas
Before learning how to test oven igniter, make the oven safe to handle. Unplug the power cord or turn off the breaker that feeds the range. Then close the gas supply valve if you plan to remove panels or disconnect any wiring.
Wait until the oven cavity feels completely cool. The glow bar igniter and nearby metal parts can stay hot after a failed heating cycle. You may notice a faint warm-metal smell if the oven recently tried to start.
Do not skip this step. Testing often begins with visual checks, and your hands may be near sharp brackets, burner parts, and electrical connections.
Step 2 – Locate the Igniter
Open the oven door and remove the lower rack. In many gas oven models, the bake igniter sits under the oven floor near the bake burner. You may need to lift out the bottom panel or remove screws from the access panel.
Use a flashlight and look for a small ceramic and metal part mounted beside the burner tube. The igniter usually has two wires leading to a connector or ceramic wire nuts.
Some ovens also have a broil igniter near the top broil burner. Make sure you test the correct igniter based on the heating problem you noticed.
Step 3 – Inspect for Visible Damage
Look closely at the igniter before using a meter. A cracked ceramic base, white burn marks, loose mounting screw, or broken wire can explain why the oven will not heat. The surface may look dull gray or slightly rough, which can be normal.
A damaged glow bar igniter may still glow orange but fail under load. That is why visual inspection helps, but it does not prove the part is good.
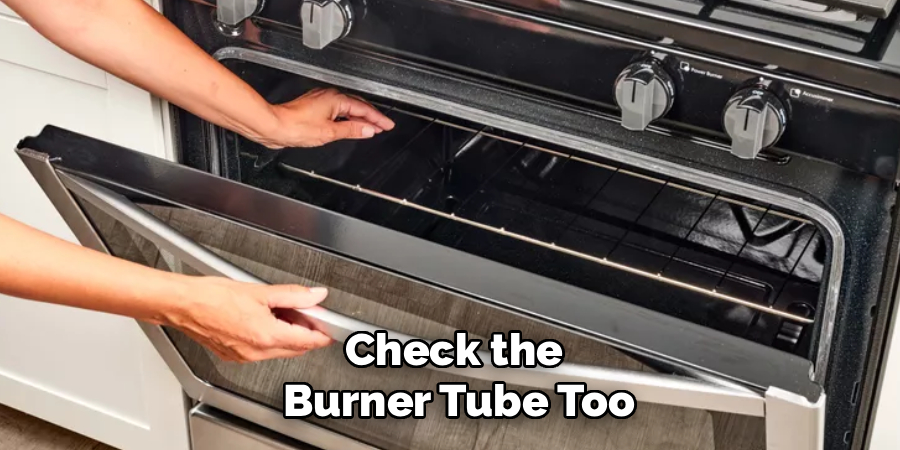
Check the burner tube too. Grease, rust flakes, or food debris near the gas ports can affect ignition and cause delayed ignition or uneven flame.
Step 4 – Watch the Startup Behavior
Restore power and gas only if all parts are in place and you can observe the igniter safely without touching anything. Set the oven to bake and watch from a safe distance. A healthy igniter should begin glowing and then light the burner within a reasonable time.
You may hear a soft hum, a faint click, or the rush of flame when gas opens. If the igniter glows for a long time but the burner never lights, the igniter may be too weak to open the safety shutoff valve.
Turn the oven off after observing the behavior, then disconnect power again before moving forward.
Step 5 – Check the Electrical Connection
Once power is off, follow the igniter wires to the connector. Look for loose terminals, burned insulation, brittle wire, or a poor splice. A weak electrical connection can stop the igniter from getting proper voltage.
If your oven uses ceramic wire nuts, make sure they are tight and rated for high heat. Regular plastic wire nuts do not belong near the burner area because oven temperature can damage them.
Take a photo before disconnecting anything. This simple habit helps you reconnect the wires correctly and avoids confusion during reassembly.
Step 6 – Test Continuity with a Multimeter
Set your multimeter to continuity or the lowest resistance setting. Disconnect the igniter leads from the oven wiring, then touch one meter probe to each igniter wire. Do not hold the bare metal tips with your fingers, since that can affect the reading.
This is one of the clearest parts of how to test oven igniter because it shows whether the electrical path is open or complete. A reading means the circuit is not broken, while no continuity often points to a failed igniter.
Continuity alone does not prove the igniter is strong. It only tells you whether current can pass through the part.
Step 7 – Read Resistance or Amp Draw
Check your owner’s manual or service sheet for the correct resistance reading, because values vary by model. If the reading is far outside the expected range, the igniter may be damaged even if it looks normal.
Amp draw gives a stronger diagnosis on many gas ovens. A clamp meter can measure current while the igniter runs, but this test involves live power. If you are not trained or comfortable, leave amp testing to a technician.
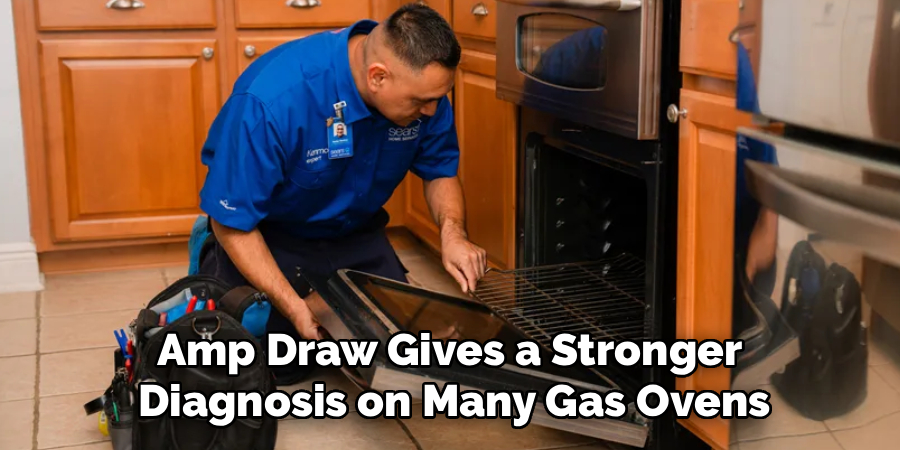
A weak igniter often draws too little current. It may glow brightly but still fail to trigger the gas valve, leaving the bake burner cold.
Step 8 – Decide Whether to Replace the Igniter
After your checks, compare all signs together. A cracked igniter, no continuity, poor amp draw, slow ignition, or repeated failure to light the burner usually points toward replacement. If the igniter tests well, the issue may involve the safety shutoff valve, control board, wiring, or gas supply.
Use the exact model number when ordering a replacement. Many igniters look similar but have different mounting brackets, wire lengths, or electrical ratings.
Reinstall panels securely before using the oven again. Loose covers can affect airflow, flame pattern, and heat distribution inside the oven.
Common Mistakes When Testing an Oven Igniter
One common mistake is assuming a glowing igniter is automatically good. A weak igniter can glow orange and still fail to draw enough current to open the gas valve. This creates confusion because the part appears to work, yet the burner never lights.
Another mistake is testing around live power without enough experience. Voltage and gas make a risky combination. If you need amp draw testing but do not feel confident, call a professional rather than taking chances.
Some beginners also forget to check the burner tube and gas supply. A blocked burner port, closed valve, or kinked gas line can mimic igniter trouble. You need to look at the whole ignition system, not just one part.
Using the wrong wire connectors is another serious issue. Heat can destroy standard plastic connectors inside the oven area. Always use ceramic wire nuts or the connector style approved for your model.
Finally, many people replace the igniter without recording the original wiring path. A quick photo can prevent crossed wires, loose connections, and extra repair time.
Expert Tips
Test with a pattern in mind: power, gas, igniter, burner, and valve. This order keeps your troubleshooting logical and helps you avoid jumping to conclusions. A gas oven depends on each part working at the right time.
Pay close attention to timing. If the igniter glows for more than a minute without flame, or if you smell gas before ignition, stop the test. Delayed ignition can be unsafe and should not be ignored.
When replacing a glow bar igniter, handle it by the ceramic base and bracket. Oils from your fingers and small impacts can shorten its life. Also, avoid overtightening the mounting screw because ceramic parts can crack.
Frequently Asked Questions
Can an Oven Igniter Glow and Still Be Bad?
Yes, an igniter can glow and still be too weak to work correctly. Many gas oven igniters must draw enough current to open the safety shutoff valve. If the amp draw is too low, gas will not flow to the burner. That is why visual checks help, but electrical testing gives a clearer answer.
What Does a Bad Oven Igniter Usually Look Like?
A bad igniter may have a cracked ceramic body, burned spots, broken wires, or a damaged connector. Sometimes it looks normal but performs poorly under load. If it glows slowly, takes too long to light the burner, or never opens the gas valve, it may still need replacement even without visible damage.
Is It Safe to Test an Igniter Myself?
You can perform basic visual checks and continuity tests if you disconnect power and follow safety steps. Live voltage or amp draw testing is different because it involves electricity and gas operation. If you smell gas, feel unsure, or need to test a live circuit, contact a trained appliance technician.
What Causes Delayed Ignition in a Gas Oven?
Delayed ignition often comes from a weak igniter, dirty burner tube, low gas flow, or poor electrical connection. The igniter may take too long to heat or may not draw enough current to open the valve at the right moment. Delayed ignition can create a small burst of flame, so treat it seriously.
Should I Replace the Igniter or Call a Technician?
Replace the igniter yourself only if you can access it safely, match the correct part, and reconnect the wiring properly. If the oven has gas odors, damaged wiring, error codes, or uncertain test results, call a technician. A professional can check the igniter, valve, control circuit, and gas pressure safely.
Conclusion
Testing an oven igniter becomes easier when you break the job into simple checks. Start with safety, confirm power and gas control, inspect the glow bar igniter, watch the startup behavior, and use a multimeter for continuity or resistance when the appliance is unplugged. If advanced amp draw testing is needed, know when to bring in a professional.
A failed igniter is a common reason a gas oven will not heat, but it is not the only possible cause. The bake burner, broil burner, electrical connection, safety valve, and gas supply all matter. Look at the full system before buying parts.
Now that you understand how to test oven igniter, you can approach the problem with more confidence, fewer guesses, and better safety habits. Work slowly, trust your test results, and stop anytime the repair feels beyond your comfort level.

About
Nick Hall has spent the last seven years working at the intersection of kitchen design and home repair — first as a design assistant at a residential renovation studio, then as a freelance writer covering everything from cabinet layouts to leaky faucet fixes.
Her approach is simple: kitchens should look good and function well. That means she’s just as comfortable talking about color palettes and counter materials as she is walking readers through how to fix a wobbly cabinet hinge or troubleshoot a garbage disposal.
Nick has worked directly with homeowners on small-space kitchen makeovers, budget-conscious renovations, and the kind of everyday repairs that don’t need a contractor — just the right instructions. She writes from experience, not theory, and tests most of the fixes and tips she shares before publishing them.
When she’s not writing, Nick is usually hunting for mid-century kitchen finds at estate sales or helping friends plan their own renovations. She lives in Columbus, Ohio.