
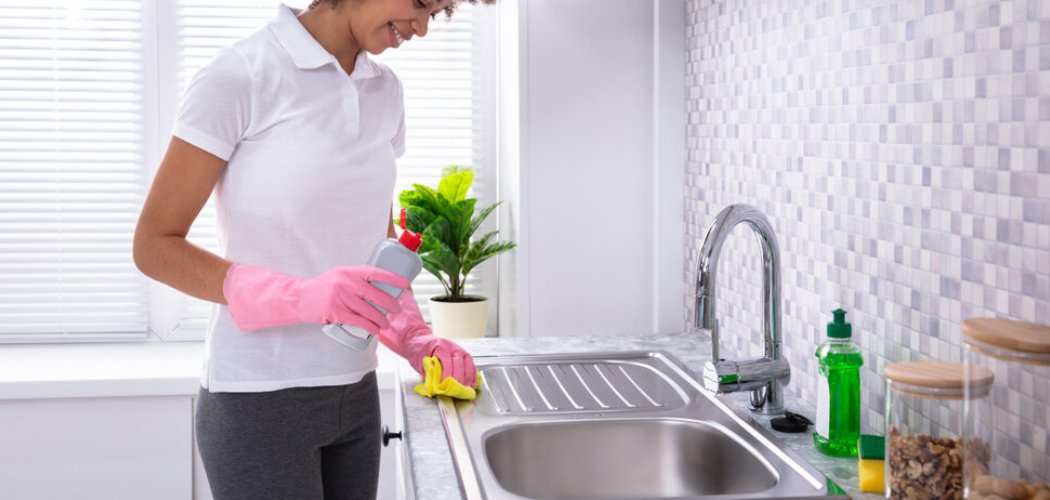
Your kitchen sink works harder than almost anything else in the house. It catches greasy pans, coffee grounds, soggy food scraps, and a hundred quick rinses a day. No wonder it starts to look dull, smell a little funky, and collect stubborn water spots.
The good news? Bringing it back to a sparkling shine is easier than you think, and you already have most of what you need under the counter.
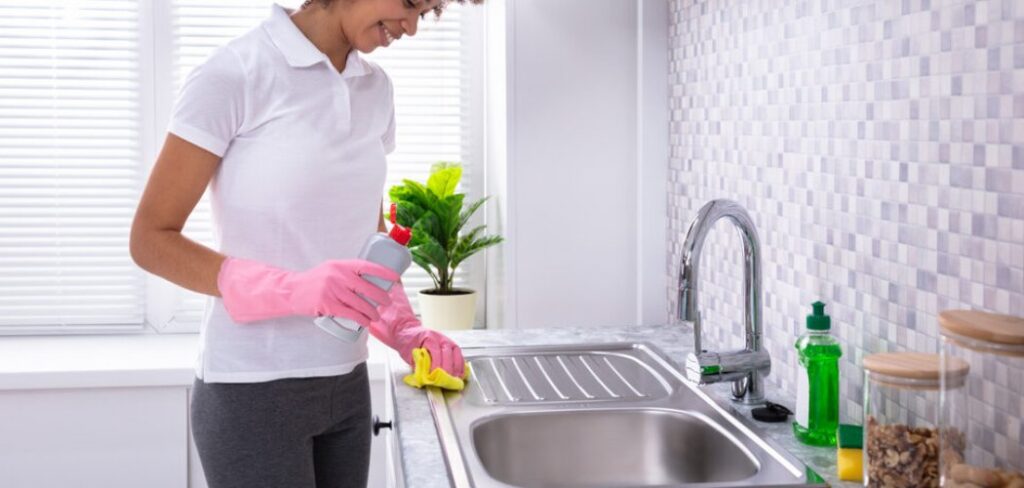
Learning how to clean kitchen wash basin surfaces the right way keeps your sink hygienic, odor-free, and gleaming without harsh chemicals or a pricey cleaning service.
This guide walks you through every step, from clearing dishes to that final polish, so even a total beginner ends up with a fresh, spotless basin they’re proud of.
Why Cleaning a Kitchen Wash Basin Matters
A clean sink is more than a pretty sight. Your basin touches the food you eat and the dishes you serve on, so leftover food residue and grease buildup can breed bacteria and turn into a lingering odor fast. A quick regular clean protects your family’s health and keeps your whole kitchen smelling fresh.
The skill travels well, too. If you camp or love the RV life, the same routine keeps RV sinks, camper wash areas, and portable cooking stations clean and germ-free on the road.
It works just as nicely for cabin kitchen basins and outdoor prep sinks, where bugs and standing water cause trouble quickly. Once you know how to clear debris, scrub gently, and deodorize a drain, you can keep any sink hygienic anywhere you cook.
Tools and Materials You’ll Need
You don’t need fancy products for this job. A few simple staples handle almost any sink, so gather these before you start and keep them within arm’s reach.
- Dish soap – cuts grease and lifts everyday grime
- Baking soda – a gentle scrub that tackles stains and odor
- White vinegar – dissolves water spots and mineral buildup
- Soft sponge – cleans without scratching the surface
- Microfiber cloth – buffs the basin dry and streak-free
- Old toothbrush – reaches tight spots around the drain opening
- Rubber gloves – keeps your hands smooth and protected
- Spray bottle (optional) – makes applying a vinegar-water mix quick and even
That spray bottle isn’t essential, but it makes light daily cleaning effortless when you just want a fast refresh between deep cleans.
Step-by-Step Guide on How To Clean Kitchen Wash Basin
Step 1 – Clear out dishes and debris
Start with an empty sink. Move any dishes, mugs, and utensils to the counter or dishwasher so you have the whole basin to work with.
Scoop out loose food scraps with your hand or a paper towel, and toss them in the trash rather than washing them down the drain. Big chunks of food residue cause clogs and slow drainage over time.

Check the drain opening and pull out any trapped bits caught in the strainer. You’ll feel and see the difference once it’s clear.
A tidy starting point makes everything that follows quicker and cleaner. Take this thirty-second habit seriously, and you’ll spend far less time scrubbing stuck-on grime later.
Step 2 – Rinse the basin with warm water
Now give the whole sink a good warm rinse. Turn the tap to hot and let the water run over every surface, washing away the loose grease and crumbs you missed.
Use your hand or the sponge to push water into the corners and along the edges where grime likes to hide. Warm water loosens dried-on food and softens grease buildup, so your cleaning products work better afterward.
Pay attention to how the water moves toward the drain. If it pools or drains slowly, you’ve got debris to clear before going further.
Don’t skip this rinse. A clean, wet surface helps dish soap spread evenly and lift dirt instead of just smearing it around the basin.
Step 3 – Apply dish soap and scrub gently
Squeeze a little dish soap onto your damp sponge and work up a light lather. Then move across the sink basin in steady, even strokes, covering the bottom, the sides, and the lip around the top.
Scrub gently and let the soap do the work. There’s no need to press hard, since dish soap cuts grease on contact. You’ll feel the surface go from slick and grimy to clean and squeaky under your fingers.
Knowing how to clean kitchen wash basin surfaces well means matching your motion to the material. On stainless steel, follow the grain you can see in the metal to avoid leaving swirl marks.
Reach into the corners with the sponge edge where food residue loves to settle.
Step 4 – Tackle stains with baking soda
For stubborn stains and dull spots, baking soda is your best friend. Sprinkle a generous layer over the damp basin, focusing on any marks, coffee rings, or discolored patches.
Let it sit for a few minutes so it can start lifting the stain. Then scrub gently with your sponge in small circles. The baking soda acts as a mild abrasive, scrubbing away grime without scratching the surface.
You’ll notice the gritty paste turning gray as it pulls up the dirt. That’s exactly what you want to see.
For a composite sink, baking soda works wonders on those white water deposits and faint food stains. Add a splash of water if you need a thicker paste to cling to vertical sides.
Step 5 – Clean and deodorize the drain
The drain opening hides plenty of trapped grime and the source of most sink odor. Grab your old toothbrush and scrub around the rim and into the strainer where slime collects.
Then pour a few tablespoons of baking soda straight down the drain, followed by a slow stream of white vinegar. You’ll hear it fizz and bubble as it breaks down grease and food residue stuck in the pipe.
Let that foaming mix work for five minutes. The smell of stale food gives way to a clean, fresh scent.
Finish by flushing with hot water to rinse everything down. This simple deodorizing trick keeps your drain clear and your kitchen smelling pleasant for days.
Step 6 – Banish water spots with vinegar
Those cloudy white water spots come from minerals in your tap water, and plain soap won’t shift them. White vinegar dissolves them with ease.
Dampen a cloth with vinegar, or spray a vinegar-water mix straight onto the spotted areas. Wipe across the surface and watch the haze disappear, leaving the metal or composite clear again.

For really stubborn mineral buildup around the faucet base, lay a vinegar-soaked paper towel over the spot and leave it ten minutes. The acid loosens the deposits so they wipe right off.
Vinegar is safe for stainless steel and most composite sinks, but always rinse it away fully afterward. Left too long, the acid can dull certain finishes, so a quick water rinse keeps things safe.
Step 7 – Rinse everything thoroughly
With all your cleaning done, give the entire sink a complete rinse. Run warm water over every surface to flush away soap film, baking soda residue, and any lingering vinegar.
Use your hand to splash water into the corners and along the back wall of the basin, where cleaning product likes to pool. Leftover residue dries into streaks and a dull film, undoing your hard work.
Rinse the drain area well, too, pushing water through the strainer until it runs clear. Run your fingertip across the surface to check for any gritty spots you missed.
A truly clean basin feels smooth and slick, with no soapy slipperiness left behind. Take your time here so the next step gives you that perfect shine.
Step 8 – Dry and polish for a lasting shine
Here’s the step most people skip, and it makes all the difference. Grab a dry microfiber cloth and buff the whole basin until it’s completely dry.
Drying stops new water spots from forming the moment your sink air-dries. Work the cloth along the grain on stainless steel for an even, streak-free finish.
For an extra gleam, add a tiny drop of olive oil or baby oil to the cloth and lightly polish the metal. It fills micro-scratches and leaves a soft, mirror-like shine.
Step back and admire your work in good light. A dry, polished sink looks brand new and resists fingerprints and stains far longer between cleans.
Critical Mistakes When Cleaning a Kitchen Wash Basin
A few common slip-ups can leave your sink scratched, dull, or smelling worse than before. Dodging them keeps your basin looking great for years.
The biggest mistake is reaching for harsh, abrasive scrubbers like steel wool or scouring pads. They feel powerful, but they carve fine scratches into stainless steel and composite surfaces. Those scratches trap grime and rust, and once they’re there, they’re permanent. Stick to a soft sponge and baking soda, which clean just as well without the damage.
Another classic error is washing food scraps down the drain. Coffee grounds, grease, and rice swell or harden in the pipe, causing slow drainage and stubborn clogs. Always scoop debris into the trash first.
Plenty of people also leave their sink wet after cleaning. Air-drying causes those cloudy water spots and mineral deposits to build right back up, so a quick buff with a microfiber cloth is worth the extra minute.
Mixing cleaning products is a serious one, too. Never combine bleach with vinegar or other cleaners, since the fumes can be dangerous. Finally, many folks ignore the drain entirely, then wonder why an odor keeps returning. A regular baking soda and vinegar flush solves that for good.
Expert Tips
A handful of pro habits make your sink shine effortlessly. On stainless steel, always wipe and scrub with the grain, following the faint lines you see in the metal. Going against it leaves visible swirl marks that catch the light.
Skip the harsh scrubbers for good. A soft sponge paired with baking soda lifts almost any stain without risking a single scratch.
Deodorize your drain on a regular schedule, not just when it smells. A quick baking soda and vinegar flush once a week keeps odor away before it ever starts.
Get into the habit of drying your basin after heavy use, since standing water is what causes most water spots. And to maintain that showroom shine, buff occasionally with a drop of oil on a microfiber cloth.
Frequently Asked Questions
How often should I clean my kitchen sink?
Give your sink a quick rinse and wipe every day after dishes, then a deeper clean once a week. Daily care stops food residue and grease buildup from settling in, while the weekly routine handles stains, water spots, and drain odor. If you cook heavily or wash lots of greasy pans, bump the deep clean to twice a week to keep everything fresh and hygienic.
Can I use bleach on my stainless steel sink?
It’s best to avoid bleach on stainless steel. Bleach can pit and discolor the metal, leaving permanent marks that ruin the finish. Stick with gentler options that clean just as effectively:
- Dish soap for everyday grease and grime
- Baking soda for stains and light scrubbing
- White vinegar for water spots and disinfecting
These three handle nearly every job without risking damage to your basin.
What’s the best way to remove sink odor?
Odor almost always comes from the drain. Pour a few tablespoons of baking soda down the opening, followed by a slow stream of white vinegar, and let it fizz for five minutes. Flush with hot water afterward. The reaction breaks down trapped food residue and grease that cause the smell. Repeat weekly, and your drain stays fresh and clear without any expensive products.
Is baking soda safe for composite sinks?
Yes, baking soda is gentle enough for composite sinks and works beautifully on them. Its mild abrasiveness lifts stains and water deposits without scratching the surface. Make a paste with a little water, spread it over the stained area, let it sit a few minutes, then scrub gently with a soft sponge. Rinse well afterward. Just avoid harsh scouring pads, which can dull and scratch the composite finish.
Why does my sink keep getting water spots?
Water spots come from minerals in your tap water that get left behind as droplets dry on the surface. The fix is simple: dry your basin with a microfiber cloth after heavy use instead of letting it air-dry. For spots that already formed, wipe them with white vinegar to dissolve the mineral buildup, then rinse and buff dry for a clear, streak-free shine.
Conclusion
Keeping your sink fresh really comes down to a simple, repeatable routine. You’ve got the full process now: clear the dishes and debris, rinse with warm water, then scrub gently with dish soap and baking soda to lift grime and stains.
Deodorize the drain with that fizzy baking soda and vinegar trick, banish water spots with vinegar, rinse everything thoroughly, and finish by drying and polishing for a lasting shine.
Steer clear of the big traps, too, like harsh scrubbers, washing food down the drain, and leaving the basin wet. A few minutes of care saves you from scratches, clogs, and stubborn odor.
The payoff feels great. You get a hygienic, sparkling sink without harsh chemicals or a pricey service call, plus the confidence to keep any basin clean, whether it’s at home, in your RV, or at a cabin.
So grab your sponge and baking soda and give it a go. Now that you know how to clean kitchen wash basin surfaces the right way, you can keep yours gleaming all on your own.

About
Nick Hall has spent the last seven years working at the intersection of kitchen design and home repair — first as a design assistant at a residential renovation studio, then as a freelance writer covering everything from cabinet layouts to leaky faucet fixes.
Her approach is simple: kitchens should look good and function well. That means she’s just as comfortable talking about color palettes and counter materials as she is walking readers through how to fix a wobbly cabinet hinge or troubleshoot a garbage disposal.
Nick has worked directly with homeowners on small-space kitchen makeovers, budget-conscious renovations, and the kind of everyday repairs that don’t need a contractor — just the right instructions. She writes from experience, not theory, and tests most of the fixes and tips she shares before publishing them.
When she’s not writing, Nick is usually hunting for mid-century kitchen finds at estate sales or helping friends plan their own renovations. She lives in Columbus, Ohio.