
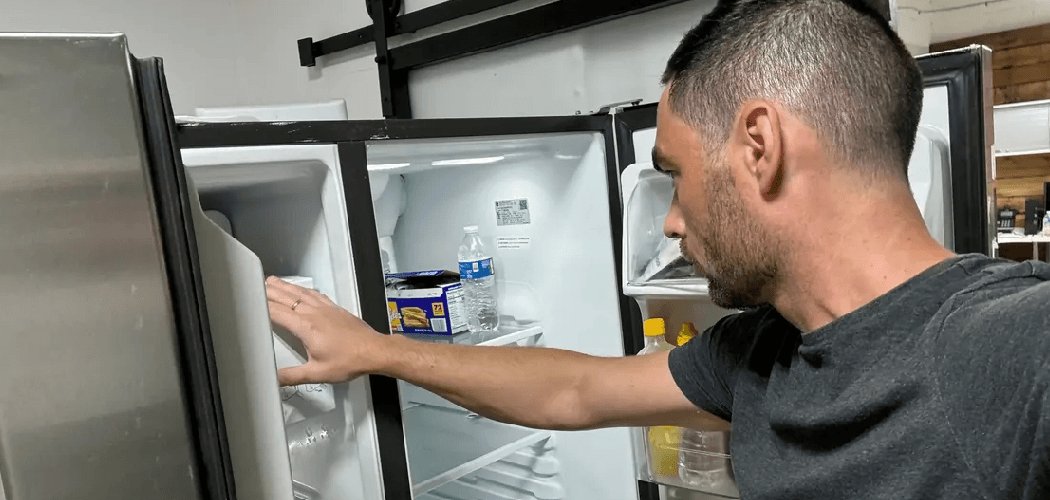
Few things beat dropping fresh ice into a cold drink on a warm afternoon. But over time, your ice maker quietly collects mineral scale, slimy film, and even a faint musty smell that taints every cube it makes.
If your ice has started tasting off or looking cloudy, your machine is begging for a good clean. The best part? You don’t need a technician or expensive service call to fix it.
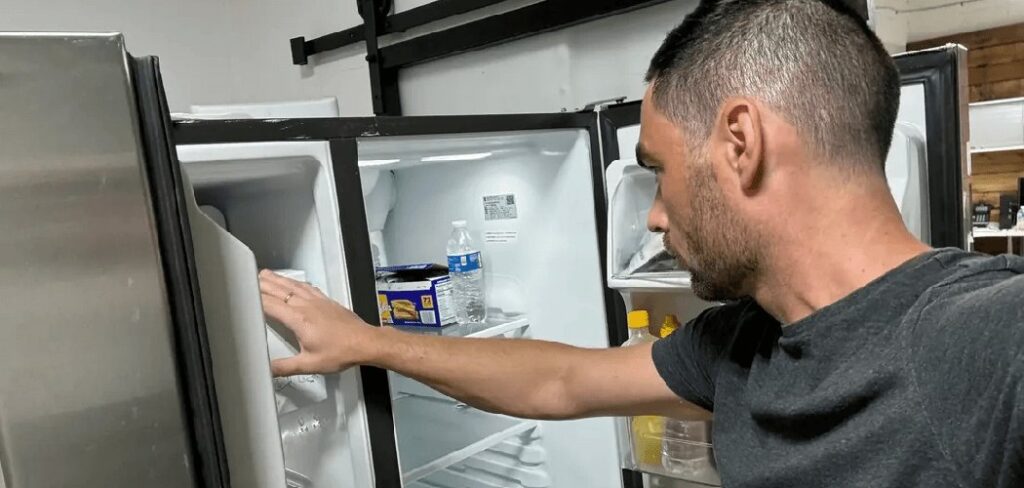
Learning how to clean kitchen aid ice machine units yourself keeps your ice fresh, your machine running smoothly, and your wallet happy.
This guide walks you through every step, from unplugging the unit to that satisfying first batch of crystal-clear cubes, so even a complete beginner can do it with confidence.
Why Cleaning a KitchenAid Ice Machine Matters
A clean ice maker is about more than taste. The cool, damp inside of your machine is the perfect home for mold, mildew, and mineral buildup. Left alone, these spread fast and end up in the ice you serve your family, which nobody wants.
Regular cleaning keeps your machine efficient, too. When mineral scale coats the evaporator plate, the unit works harder, freezes slower, and wears out sooner.
This skill travels well, too. If you love the RV life or weekend camping, the same routine keeps RV ice makers, camper kitchen setups, and cabin beverage stations sanitary and ready to use.
It’s just as handy for outdoor entertaining areas, where heat and moisture speed up grime. Once you know the steps, you can keep any ice maker fresh, fast, and safe wherever you go.
Tools and Materials You’ll Need
You won’t need much for this job, and you likely have most of it on hand. Gather everything before you start so you’re not searching mid-clean with wet hands.
- Food-safe cleaner or manufacturer-approved solution – safely dissolves scale and sanitizes
- White vinegar – a natural option for descaling mineral buildup
- Warm soapy water – cleans removable parts and the ice bin
- Soft cloth – wipes surfaces without scratching
- Microfiber towel – dries components streak-free
- Soft-bristle brush or old toothbrush – reaches tight corners and crevices
- Clean bucket or bowl – holds soapy water for soaking parts
- Rubber gloves (optional) – keeps your hands comfortable and protected
That pair of gloves isn’t strictly necessary, but it makes handling cleaning solution far more pleasant, especially if you have sensitive skin.
Step-by-Step Guide on How To Clean Kitchen Aid Ice Machine
Step 1 – Unplug the machine and empty the ice bin
Safety comes first, so pull the plug before you touch anything inside. Working on a live appliance around water is a risk you never need to take.
Next, scoop out all the existing ice and toss it. Even if it looks fine, that ice has been sitting in a dirty environment, so it goes in the sink, not your glass.
Lift out the ice bin completely if your model allows it. You’ll often notice a faint, stale smell the moment you open the unit, which is exactly what you’re about to fix.
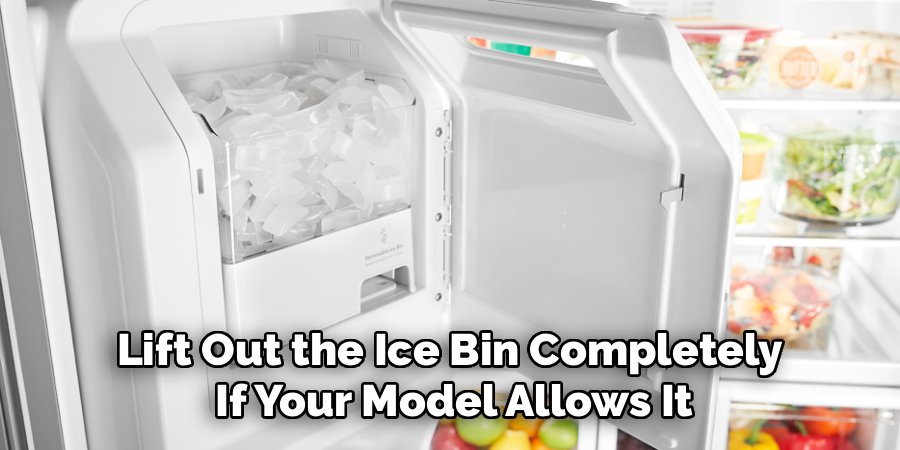
Set the ice bin aside for washing. Starting with an empty, powered-off machine gives you full, safe access to every surface.
Step 2 – Remove the washable parts
With the machine off, take out every removable component you can. That usually includes the ice bin, the scoop, and any trays or baffles your model uses.
Check your manual if you’re unsure which parts lift out. Pulling them gently keeps the clips and tabs from snapping, since cold plastic can turn brittle over time.
Lay the parts out on a towel beside the sink. As you remove each one, look for slimy film, cloudy spots, or pink and black patches that signal mold or mildew.
Knowing how to clean kitchen aid ice machine parts properly starts here, because clean, separated components are far easier to scrub than a crowded interior. Take a quick photo first if you worry about putting things back.
Step 3 – Wash components with warm soapy water
Fill your sink or bucket with warm soapy water, using a few drops of mild dish soap. Submerge the ice bin, scoop, and other removable parts and let them soak for several minutes.
The warm water loosens grease, slime, and stuck-on residue so it wipes away easily. Use your soft-bristle brush to scrub corners, ridges, and the scoop handle where grime hides.
You’ll feel the surfaces shift from slick and filmy to clean and squeaky under your fingers. That texture tells you the slime is gone.
Pay close attention to any spot that showed mold. Scrub it thoroughly, then rinse the part under running water. Set each clean piece on a fresh towel to drain while you turn to the inside.
Step 4 – Wipe slime and mineral film from the interior
Now focus on the inside of the machine. Dampen your soft cloth with warm soapy water and wipe down every reachable surface, including the walls and the area around the ice bin slot.
You’ll likely feel a slippery film under your cloth, which is the slime that causes bad odor and off-tasting ice. Keep wiping until the surface feels clean and smooth.
For tight corners and seams, switch to your soft-bristle brush. Gentle pressure lifts buildup without scratching the finish.
Watch for chalky white patches, too. That’s mineral scale from hard water, and you’ll tackle it head-on in the next step. For now, just clear away the soft grime and slime so the descaler can reach the tougher deposits underneath.
Step 5 – Descale the interior and evaporator plate
Mineral scale is the stubborn stuff, and it needs more than soap. Mix your food-safe cleaner according to the label, or use a solution of equal parts white vinegar and water.
Dampen a cloth with the solution and wipe the interior surfaces, paying special attention to the evaporator plate where cloudy ice and scale love to form. For heavy buildup, let the solution sit a few minutes to soften the deposits.
You’ll see the chalky film start to dissolve and lift away. Wipe again until the surface feels smooth, not gritty.
Avoid harsh scraping here, since the evaporator plate is delicate. A patient wipe with the right cleaner beats aggressive scrubbing every time and protects the part that actually makes your ice.
Step 6 – Clean the water reservoir and sensors
The water reservoir is where fresh water waits before freezing, so it deserves a careful clean. Wipe it out with your cleaning solution to clear away scale and any slimy buildup clinging to the walls.
Rinse it with clean water afterward so no cleaner lingers in the supply. Leftover solution here can affect the taste of your next batch.
Find the sensors, often small metal or plastic points near the ice-making area. Wipe them gently with a damp soft cloth, since buildup on a sensor can confuse the machine and mess up its cycles.
Never scrub sensors hard or use abrasive pads. A light, careful touch keeps them reading correctly so your machine knows exactly when to freeze and release ice.
Step 7 – Rinse everything thoroughly
Now wash away every trace of cleaner. Rinse the ice bin, scoop, and all removable parts under running water until no soap or vinegar smell remains.
Run a damp clean cloth over the interior surfaces several times, refreshing it with plain water as you go. Leftover cleaning solution causes off-tasting ice, so this step truly matters.
Pay extra attention to the water reservoir and any grooves where solution can pool. Rinse thoroughly until the water runs clear and the surfaces smell fresh and neutral.
Run your fingertip across each piece to check for slickness or residue. A properly rinsed machine feels clean and smells like nothing at all, which is exactly the goal before you put it back together.
Step 8 – Air-dry, reassemble, and restart
Let every component air-dry completely before reassembly. Lay the parts on a microfiber towel, or pat them dry to speed things along, since trapped moisture invites mold to return.
Once everything feels dry, fit the parts back exactly as they came out. Slide the ice bin into place, return the scoop, and double-check that each piece clicks in securely.
Plug the machine back in and switch it on. The first batch or two of ice should be discarded, just to flush any remaining residue from the system.
After that, you’ll be rewarded with clear, fresh-tasting ice. Listen for the unit running smoothly and quietly, a happy sign that your cleaning paid off and the machine is back in top shape.
Critical Mistakes When Cleaning a KitchenAid Ice Machine
A few common errors can damage your machine or leave your ice tasting worse than before. Steering clear of them keeps your unit safe and your cubes fresh.
The biggest mistake is cleaning while the machine is still plugged in. Water and electricity never mix, so always unplug the unit first. Skipping this risks both a shock and a damaged appliance.
Another frequent slip is using harsh or non-food-safe chemicals. Bleach, strong solvents, and abrasive powders can leave behind toxic residue and corrode delicate parts. Stick to a food-safe cleaner or a simple vinegar solution that you know is safe around things you’ll eat and drink.
Many people also rush the rinse. Leftover cleaner clings to surfaces and taints the next several batches of ice with a strange taste or smell. Rinse thoroughly until every trace is gone.
Reassembling parts while they’re still damp is another trap. That trapped moisture becomes a breeding ground for mold and mildew, undoing all your hard work within days. Let everything air-dry fully first.
Finally, scrubbing the evaporator plate or sensors with rough pads can scratch and ruin them. Treat these delicate components gently, and your machine will keep performing for years.
Expert Tips
A handful of smart habits keep your ice maker spotless with far less effort. Aim to deep clean the unit every three to six months, and more often if you have hard water or run it heavily.
Always reach for a manufacturer-approved or food-safe cleaner. It protects both your machine and the people drinking the ice.
Handle removable parts with a gentle touch, especially when they’re cold and brittle. Forcing a clip or tray often cracks it.
To prevent mold and mineral buildup, wipe down the interior between deep cleans and keep the scoop stored clean and dry, never tossed inside the bin. A dirty scoop reintroduces germs fast.
If your ice ever tastes or smells off, that’s your cue to clean. Fresh, well-maintained machines reward you with clear, odor-free cubes every single time.
Frequently Asked Questions
How often should I clean my KitchenAid ice machine?
Plan on a full deep clean every three to six months for most homes. If you live somewhere with hard water or use your machine daily, lean toward the shorter end. Between deep cleans, give the interior a quick wipe and keep the scoop clean. Regular attention prevents mineral scale, mold, and odor from building up and keeps your ice tasting fresh year-round.
What’s the best cleaner to use inside the unit?
Stick with a manufacturer-approved or food-safe cleaner, since anything you use will touch the ice you consume. A natural homemade option works well, too:
- White vinegar mixed with equal parts water for descaling mineral buildup
- Warm soapy water for the ice bin, scoop, and removable parts
Avoid bleach, harsh solvents, and abrasive powders, which can corrode parts and leave unsafe residue behind.
Why does my ice taste or smell bad?
Bad odor and off-tasting ice almost always come from slime, mold, or mineral scale building up inside the machine. The damp interior breeds bacteria that taint every batch. A thorough cleaning of the ice bin, water reservoir, and interior surfaces usually fixes it fast. Afterward, toss the first batch or two of ice to flush out any lingering residue before serving.
Can I use bleach to clean my ice maker?
It’s best to avoid bleach. While it disinfects, bleach can leave behind a harsh residue and unpleasant taste, and it may corrode delicate components over time. Since the ice goes straight into drinks, you want a food-safe option instead. A vinegar-and-water solution descales and sanitizes effectively without the risks, keeping your ice both clean and safe to consume.
How do I stop mold from coming back?
Mold thrives on trapped moisture, so the key is keeping things dry. Always air-dry every part fully before reassembling, and wipe down the interior between deep cleans. Store the scoop clean and dry outside the bin, never tossed inside. Cleaning regularly and never letting water sit stagnant keeps mold and mildew from getting a foothold in the first place.
Conclusion
Keeping your ice maker fresh really comes down to a simple, repeatable routine. You’ve got the whole process now: unplug the unit, empty the ice bin, and remove the washable parts before you start scrubbing.
Wash the components in warm soapy water, wipe away slime and mineral film, descale the interior and evaporator plate, then clean the water reservoir and wipe the sensors gently. Rinse thoroughly, let everything air-dry, reassemble, and restart for that first batch of crystal-clear cubes.
Dodge the big mistakes, too, like cleaning while plugged in, using harsh chemicals, rushing the rinse, or reassembling damp parts. A little care protects both your machine and your family.
The payoff is real. You get fresh-tasting ice, a machine that runs efficiently, and the confidence to maintain it without a costly service call, whether at home, in your RV, or at the cabin.
So grab your cloth and cleaner and give it a go. Now that you know how to clean kitchen aid ice machine units the right way, you can keep yours running clean and cool all on your own.

About
Nick Hall has spent the last seven years working at the intersection of kitchen design and home repair — first as a design assistant at a residential renovation studio, then as a freelance writer covering everything from cabinet layouts to leaky faucet fixes.
Her approach is simple: kitchens should look good and function well. That means she’s just as comfortable talking about color palettes and counter materials as she is walking readers through how to fix a wobbly cabinet hinge or troubleshoot a garbage disposal.
Nick has worked directly with homeowners on small-space kitchen makeovers, budget-conscious renovations, and the kind of everyday repairs that don’t need a contractor — just the right instructions. She writes from experience, not theory, and tests most of the fixes and tips she shares before publishing them.
When she’s not writing, Nick is usually hunting for mid-century kitchen finds at estate sales or helping friends plan their own renovations. She lives in Columbus, Ohio.