
Tired of staring at dated, scratched, or just plain ugly countertops every time you make coffee? Replacing them costs a small fortune, but there’s a budget-friendly fix that gives your kitchen a fresh new look in a single weekend. Painting your counters lets you transform that tired surface without ripping anything out or calling in a contractor. It’s one of those projects that feels intimidating at first, then surprisingly doable once you start.
Learning how to paint kitchen counters gives you control over the color, finish, and feel of your space, all for the price of a few supplies. Whether you have laminate, tile, or worn butcher block, the right method delivers a smooth, durable surface you’ll be proud of. This guide walks you through every step, from prep work to curing, so your counters come out looking professional and lasting for years.
Why Painting Kitchen Counters Matters
Knowing how to refresh a countertop with paint matters because it saves real money and breathes new life into a tired kitchen. A full replacement can run into the thousands, while a quality paint job costs a fraction of that.
This skill stretches far beyond your home kitchen, too. RV owners and van lifers often work with old laminate surfaces that look dated but cost a fortune to swap out in tight builds. A coat of countertop paint instantly modernizes the space.
Campers and outdoor beginners fixing up a trailer galley benefit from the same trick. Cabin users refreshing a rustic kitchen on a budget lean on it as well. Anyone updating a compact or temporary kitchen can use this method to create a clean, durable surface without the cost or hassle of a remodel.
Tools and Materials You’ll Need
Round up everything before you start, so you’re not running to the store mid-project with wet primer drying on your counter. Most of these supplies are affordable and easy to find at any hardware store.
- Countertop paint kit or specialty countertop coating
- Bonding primer made for slick surfaces
- A degreaser or trisodium phosphate cleaner
- A sanding sponge and fine-grit sandpaper
- Painter’s tape and plastic sheeting
- A quality foam roller and an angled brush
- Two-part epoxy or polyurethane topcoat for sealing
- Clean rags, a tack cloth, and a putty knife
- Filler or epoxy for repairing chips and scratches
One optional item worth grabbing is a small foam paint pyramid set or painter’s tripods. They lift loose pieces like cutting boards or sample tiles off the surface, letting you coat edges cleanly without smudging. They make the job feel a lot more professional.
Step-by-Step Guide on How to Paint Kitchen Counters
Step 1 – Clear and Prep the Workspace
Start by emptying everything off your counters and out of the way. Move the toaster, the knife block, the fruit bowl, and anything else that lives on the surface into another room.
Open a window or two for ventilation, since primers and coatings give off strong fumes. A box fan in the doorway keeps fresh air moving and your head clear.
Lay drop cloths across the floor and over nearby cabinets to catch drips. Knowing how to paint kitchen counters well begins with a clean, open work zone where you can move freely. Give yourself room to walk around the entire surface without bumping into clutter. A clear space helps you work calmly and spot every section that needs attention, which makes the whole project smoother.
Step 2 – Clean and Degrease the Surface
Kitchen counters carry years of invisible grease, oil splatter, and cooking residue, even when they look clean. Paint simply won’t stick to a greasy surface, so this step really matters.
Spray the entire counter with a strong degreaser or a trisodium phosphate solution, then scrub with a rough sponge. You’ll be surprised how much grime lifts off, especially near the stove.
Pay extra attention to the corners and the caulk line along the backsplash, where buildup hides. Wipe everything down with clean water afterward to remove any cleaner residue. Run your fingertips across the dry surface, and it should feel squeaky, not slick or filmy. A truly clean countertop is the foundation of a finish that won’t start peeling or flaking a few months down the road.
Step 3 – Repair Chips and Scratches
Now hunt for damage. Deep scratches, chipped edges, and gouges show through paint and ruin a smooth finish, so fix them before you go further.
Fill any chips or dents with a two-part epoxy filler, pressing it in firmly with a putty knife. Overfill each spot slightly, since the filler shrinks a touch as it dries.
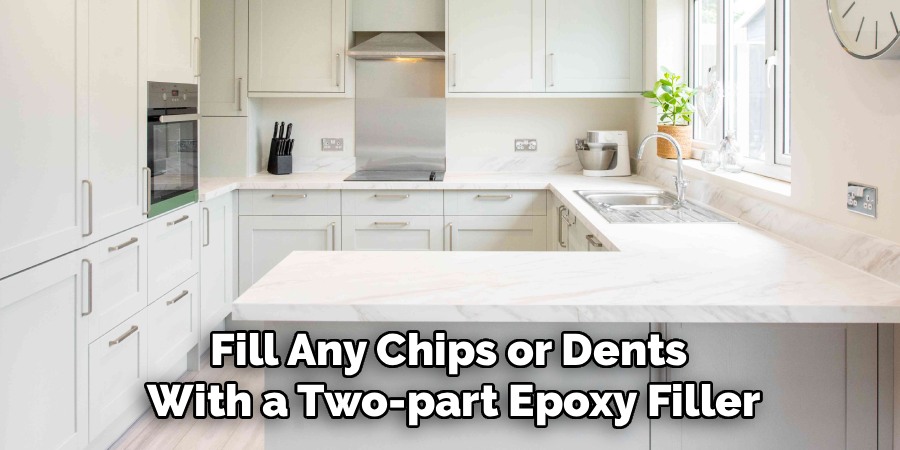
Let it cure fully according to the package directions, usually a few hours. Resist the urge to rush this part. Once hardened, sand each repair flush with the surrounding laminate surface until you can’t feel the edge with your hand. Glide your palm across the area to check. A perfectly level base now means your paint glides on evenly later, with no bumps or dips catching the light once everything dries.
Step 4 – Sand the Entire Counter
Slick countertops need a bit of roughness so primer can grip. Take your sanding sponge and scuff the whole surface with light, even pressure.
You’re not trying to remove material, just dull the shine. Work in small circles until the glossy finish turns hazy and matte. That faint cloudy look tells you the surface is ready to bond.
Don’t forget the edges and any rounded fronts, since those spots get skipped easily and peel first. The grit makes a soft scratching sound as you go, and you’ll feel the surface grow slightly toothy under your fingers. Sand evenly across every inch for consistent adhesion. This quick bit of prep work is what separates a coating that lasts years from one that flakes by spring.
Step 5 – Mask and Protect Surrounding Surfaces
Before any paint touches the counter, protect everything around it. Run painter’s tape along the backsplash, the sink edge, the stove, and the front lip where the counter meets your cabinets.
Press each strip down firmly with your fingernail so paint can’t bleed underneath. A crisp tape line gives you clean, sharp borders that look professional when you peel it away.
Drape plastic sheeting over your cabinet faces and tape it in place, since rollers fling tiny droplets farther than you’d expect. Tuck a strip of tape right along the caulk line at the backsplash for the sharpest edge possible. Take your time here. Five extra minutes of careful masking saves you an hour of scraping dried paint off your sink and tile later.
Step 6 – Apply the Bonding Primer
Primer is the glue that holds your whole project together, so don’t skip it. Pour your bonding primer into a tray and load your foam roller lightly.
Roll a thin, even coat across the surface using smooth, overlapping passes. Cut in around the edges and corners with an angled brush first, then roll the open areas. Thin is the goal here, since thick primer drips and dries unevenly.
The fresh primer has a sharp chemical smell, so keep that fan running. Let the first coat dry completely, then add a second if the package recommends it. A solid primer base stops your color coat from peeling and gives the paint something to truly grab onto for a long-lasting, durable surface.
Step 7 – Apply the Countertop Paint or Coating
This is the fun part, where your counter starts to transform. Stir your countertop paint thoroughly, then load your roller for thin, even coverage.
Work in sections, rolling in one direction for a uniform texture. Brush the edges and tight spots first, then roll the larger fields to blend it all together. Thin coats beat thick ones every time, since heavy layers sag and take forever to dry.
Plan on two or three coats, letting each dry fully before the next. If your kit includes decorative chips or a stone-look finish, sprinkle them on while the coat is still wet. Stand back between coats and check for thin spots in good light. Patient layering rewards you with a rich, even color and a smooth finish.
Step 8 – Seal and Cure the Counter
The topcoat is what makes your new counter tough enough for daily kitchen life. Mix your two-part epoxy or polyurethane sealer exactly as directed, since the ratio matters for proper hardening.
Pour or roll it on in a thin, even layer, working quickly before it starts to set. This clear coat seals everything, resists water and heat, and gives that glossy, finished look.
Now comes the hardest part: waiting. Let the surface cure fully before using it, which often means several days. Rushing the curing time leaves you with soft, dentable paint that scratches easily. Keep the area free of clutter and avoid setting anything down. Once it cures rock-hard, you’ll have a durable surface ready to handle real cooking, spills, and everyday wear.
Critical Mistakes When Painting Kitchen Counters
The biggest mistake is skimping on prep work. People get excited and start painting over a greasy, glossy surface, then watch their hard work peel off in sheets weeks later. Always clean, degrease, and sand thoroughly. That dull, scuffed surface is what lets the primer and paint actually bond and stay put.
Another common error is rushing between coats. Painting over a layer that isn’t fully dry traps moisture, causes bubbling, and leaves a tacky mess. Read the dry times on your products and respect them, even when you’re eager to finish.
Applying paint too thick trips up plenty of beginners as well. Heavy coats sag, drip, and dry unevenly, leaving roller marks and an uneven texture. Thin, patient layers always look smoother and last longer.
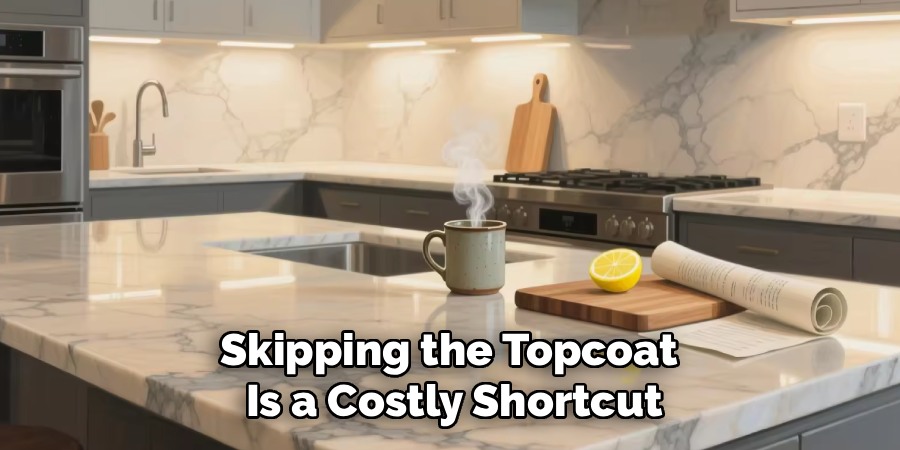
Skipping the topcoat is a costly shortcut, too. Without that sealer, your color coat scratches, stains, and wears through fast in a busy kitchen. The clear coat is what creates a truly durable surface.
Finally, using the counter before it fully cures ruins everything. Set a hot pan or heavy mixer down too soon, and you’ll dent or peel the finish instantly.
Expert Tips
Work in natural daylight whenever you can. Good lighting reveals thin spots, drips, and missed areas that hide under dim kitchen bulbs, so your finish comes out flawless.
Keep a damp rag and some cleaner within reach the whole time. Wiping a stray drip or smudge right away is effortless, while dried paint becomes a scraping headache.
Test your color and process on a hidden spot first, like the underside of an overhang or a scrap of laminate. You’ll see how the coating behaves before committing to the whole counter.
Finally, peel your painter’s tape while the final coat is still slightly wet. Pulling it at a slow, low angle gives you a crisp, clean caulk line and prevents the dried paint from tearing along the edge.
Frequently Asked Questions
How Long Do Painted Kitchen Counters Last?
With proper prep and a quality topcoat, painted counters can last several years before needing a refresh. Longevity depends mostly on three things:
- Thorough cleaning and sanding before you start
- A durable sealer like two-part epoxy
- Gentle daily care, such as using cutting boards and trivets
Treat the surface kindly and avoid harsh scrubbing, and your finish will hold up beautifully through years of everyday cooking.
Can I Paint Over Laminate or Tile Countertops?
Yes, both work well with the right products. Laminate takes paint beautifully once you scuff it and use a bonding primer made for slick surfaces. Tile works too, though you’ll want to fill the grout lines first for a smooth, even result. The secret for either material is solid prep and a primer designed to grip non-porous surfaces, which stops peeling down the line.
Do I Really Need a Primer and a Topcoat?
Absolutely, and skipping either one almost always leads to disappointment. The bonding primer helps the paint stick to your slick counter so it won’t peel, while the topcoat seals everything and creates a tough, water-resistant shield. Without primer, your color flakes off. Without a topcoat, the paint scratches and stains fast. Together they turn ordinary paint into a long-lasting, durable surface.
How Soon Can I Use My Counters After Painting?
Light use, like setting down a dry dish, is usually fine after a couple of days. Full curing, though, often takes a week or more depending on your topcoat. Wait until the surface feels rock-hard before placing hot pans, heavy appliances, or anything sharp on it. Rushing the curing time leaves the finish soft and easy to dent, so patience here really pays off.
Is Painting Counters Cheaper Than Replacing Them?
Far cheaper, which is exactly why it’s so popular. A full countertop replacement can cost thousands once you add materials and installation. A painting kit, primer, and topcoat usually run well under a couple hundred dollars, and you supply the labor yourself. You get a fresh, modern look for a fraction of the price, making it one of the best budget upgrades in any kitchen.
Conclusion
Refreshing your countertops with paint is one of the most rewarding budget projects you can tackle in a single weekend. The secret to success comes down to patience and prep. Clear your space, clean and degrease every inch, repair chips, and sand the surface so your primer grips. From there, mask carefully, prime well, build up thin coats of color, and seal it all with a tough topcoat. Then give it time to cure fully before you put the kitchen back to work.
Take it one step at a time, and you’ll be amazed at how professional the results look. Your tired old counters become a fresh, durable surface that makes the whole room feel new again, all without the cost of a remodel.
So grab your supplies, open a window, and dive in. Now that you know how to paint kitchen counters with confidence, you can transform your space, save serious money, and enjoy a kitchen you’re genuinely proud of. You’ve got this.

About
Nick Hall has spent the last seven years working at the intersection of kitchen design and home repair — first as a design assistant at a residential renovation studio, then as a freelance writer covering everything from cabinet layouts to leaky faucet fixes.
Her approach is simple: kitchens should look good and function well. That means she’s just as comfortable talking about color palettes and counter materials as she is walking readers through how to fix a wobbly cabinet hinge or troubleshoot a garbage disposal.
Nick has worked directly with homeowners on small-space kitchen makeovers, budget-conscious renovations, and the kind of everyday repairs that don’t need a contractor — just the right instructions. She writes from experience, not theory, and tests most of the fixes and tips she shares before publishing them.
When she’s not writing, Nick is usually hunting for mid-century kitchen finds at estate sales or helping friends plan their own renovations. She lives in Columbus, Ohio.