
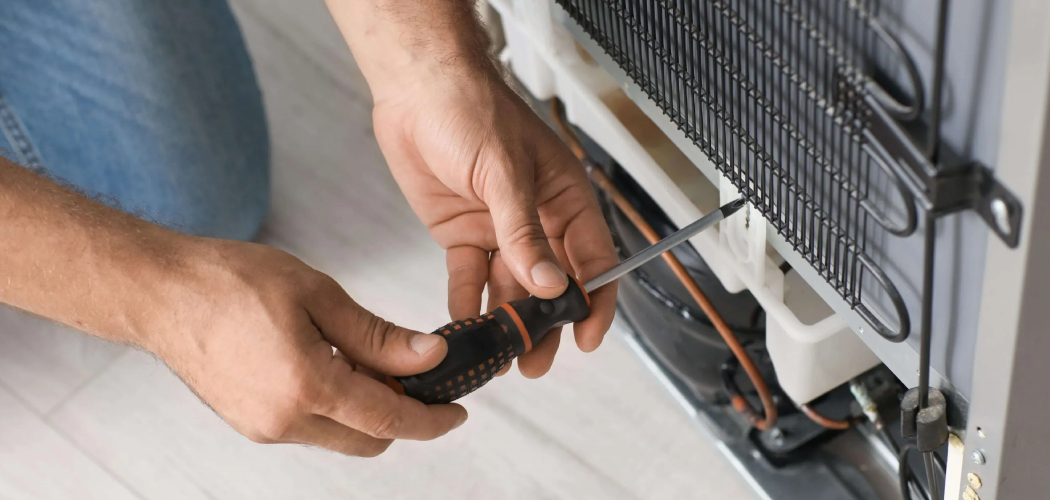
Does your gas oven take forever to heat up, or do you hear that nervous clicking sound before it finally catches? A dirty or worn igniter is often the culprit. The good news is that learning how to clean oven igniter parts is a beginner-friendly task you can handle in an afternoon.
When grease and carbon buildup coat the igniter, it struggles to glow hot enough to light the gas. That means slow preheating, uneven baking, and sometimes no flame at all. A simple cleaning can bring your oven roaring back to life.
You don’t need fancy tools or a technician’s bill. With a little patience and a few household items, you’ll restore reliable heat. This guide walks you through every step so you can clean your oven igniter safely and confidently at home.
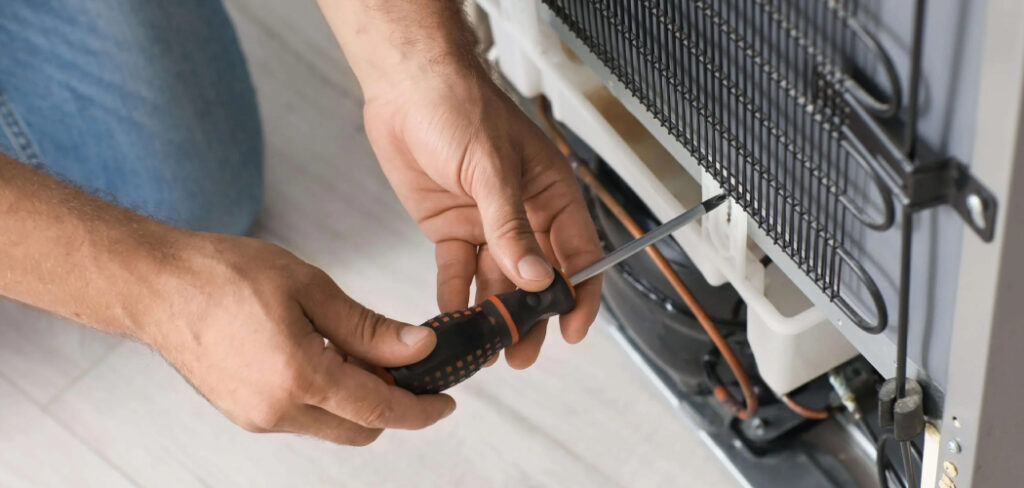
Why Cleaning Your Oven Igniter Matters
A clean igniter keeps your gas oven working the way it should. When the glow bar igniter is coated in grease and grime, it can’t reach the temperature needed to spark the gas. That leads to ignition delay, wasted gas, and meals that come out underbaked.
Regular cleaning also protects your safety. Unburned gas pooling because of a weak igniter is something nobody wants in their kitchen. A quick clean reduces that risk and helps your burner assembly run smoothly.
There’s a bigger benefit too. Anyone who values self-reliance with cooking equipment and gas-heated appliances gains real confidence here. Whether you’re a busy home cook, a DIY enthusiast, or someone who simply likes maintaining their own gear, this skill pays off. You’ll save money, avoid service calls, and trust your oven again.
Tools and Materials You’ll Need
Most of these items are probably already tucked away in a drawer. Gather everything before you start so you’re not hunting around with the oven half apart.
- Screwdriver (Phillips and flathead, since models vary)
- Soft brush or an old, clean toothbrush for gentle scrubbing
- Microfiber cloths for wiping surfaces dry
- Flashlight to see inside the dark oven cavity
- Work gloves to protect your hands from sharp edges
- Mild dish soap mixed with warm water
- Dry cotton swabs for tight corners around the wire connection
For an optional convenience item, grab a small can of compressed air. It blasts loose crumbs and dust out of the burner assembly without you touching the delicate igniter at all. It makes the whole job faster and a lot cleaner.
Step-by-Step Guide on How To Clean Oven Igniter
Step 1 – Shut Off Power and Gas Completely
Safety always comes first, so don’t skip this step. Unplug your oven from the wall outlet, or switch off the breaker if the cord is hard to reach. You want zero electricity running to the appliance while you work.
Next, turn off the gas supply valve behind or beneath the oven. You’ll usually find a small lever you rotate until it sits crosswise to the pipe. This stops any gas flow and keeps you completely safe.
Give the oven plenty of time to cool if you’ve used it recently. The metal interior holds heat for a surprisingly long time, and a burned fingertip will ruin your afternoon. Once everything feels cool and the power is off, you’re ready to begin.
Step 2 – Remove the Oven Racks and Bottom Panel
Open the oven door and slide out all the racks. Set them aside on a towel so they don’t scratch your floor or counter. With the racks gone, you’ll have a clear view of the oven floor.
Most ovens have a metal panel covering the bake burner at the bottom. Look for a couple of screws holding it in place, then loosen them with your screwdriver. Some panels simply lift out once the screws are gone.
Shine your flashlight inside as you work. You’ll spot the burner assembly and, nearby, the slim igniter. Notice the dusty, greasy film coating these parts. Keep your screws in a small cup so none roll away and disappear under the stove.
Step 3 – Locate the Glow Bar Igniter
Now find the igniter itself. The glow bar igniter usually sits at one end of the bake burner, looking like a small flat bar or a coiled element. It’s often a dark gray or blackish color, sometimes tinged with a chalky white.
For the broil burner, you’ll find a similar igniter near the top of the oven cavity. Check your owner’s manual if you’re unsure which part you’re looking at, since layouts differ between models.
Take a good look before touching anything. The igniter is fragile and can crack with rough handling, so treat it gently. Notice how the wire connection runs from the igniter to the gas valve. Understanding this layout now makes reassembly much easier later on.
Step 4 – Disconnect the Igniter Carefully
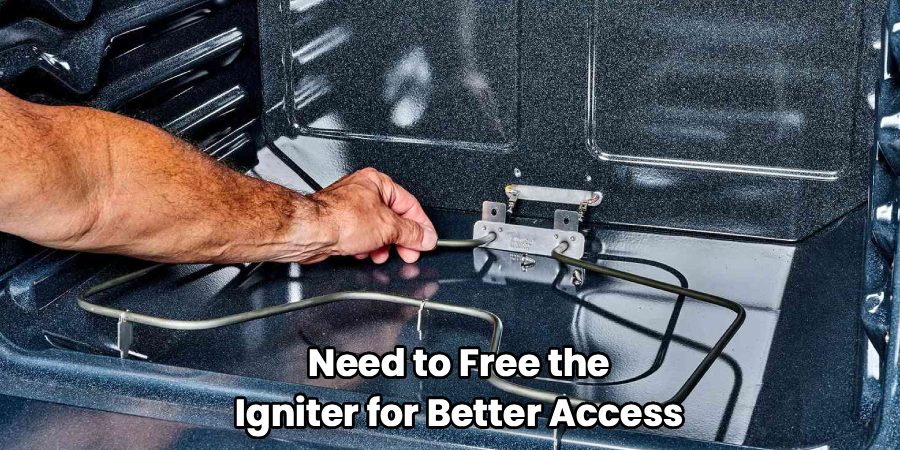
Before cleaning, you may need to free the igniter for better access. Locate the screws or mounting bracket holding it to the burner assembly and loosen them slowly with your screwdriver.
Trace the wire connection to its plug, usually a ceramic block connector. Gently squeeze and pull the connector apart rather than yanking the wires. Tugging the wires themselves can snap them and turn a simple cleaning into a part replacement.
Handle the igniter only by its metal bracket or ceramic base, never by the delicate glowing element. Even the oils on your skin can weaken it over time. Lay it on a clean cloth once it’s free. Knowing how to clean oven igniter components without breaking them is half the battle here.
Step 5 – Brush Away Grease and Carbon Buildup
This is where the real cleaning happens. Take your soft brush and gently sweep the igniter to loosen grease and carbon buildup. You’ll see flaky black bits and dusty residue fall away with each light stroke.
Work slowly and keep your touch feather-light. The igniter element is brittle, so pressing too hard can crack it instantly. Brush along the length of the bar, then around the base where grime tends to gather thickest.
For stubborn spots, your old toothbrush reaches into tight grooves nicely. If you grabbed that can of compressed air, give the igniter a few short bursts to clear dust you can’t reach. The fresh, clean surface should look noticeably lighter once you’ve cleared the worst of the gunk.
Step 6 – Clean the Surrounding Burner Assembly
Don’t stop at the igniter alone. The bake burner and surrounding metal collect just as much grease, and that grime can drift back onto your freshly cleaned part.
Dampen a microfiber cloth with warm soapy water, wring it out well, and wipe down the burner assembly. Avoid soaking anything, since dripping water near electrical connections is a bad idea. For the small gas ports along the burner, use a dry cotton swab to clear any clogs.
You’ll smell that familiar greasy odor lift as the surfaces come clean. Take your time around the broil burner area too if you can reach it. A clean environment helps your igniter stay efficient and lowers the chance of future ignition delay.
Step 7 – Let Everything Dry Thoroughly
Patience pays off here. Before you reconnect anything, make sure every part is bone dry. Any leftover moisture near the wire connection or igniter can cause problems when you restore power.
Wipe down the metal surfaces one more time with a dry cloth. Then give the igniter ten to fifteen minutes of air-drying time, especially if you used compressed air that left a slight chill on the surface.
Use this pause to double-check your work. Look over the burner assembly for any spots you missed, and confirm your screws are accounted for in their cup. A quick visual sweep with your flashlight helps you catch stray debris. Once everything feels completely dry, you’re ready to put it all back together.
Step 8 – Reassemble and Test the Oven
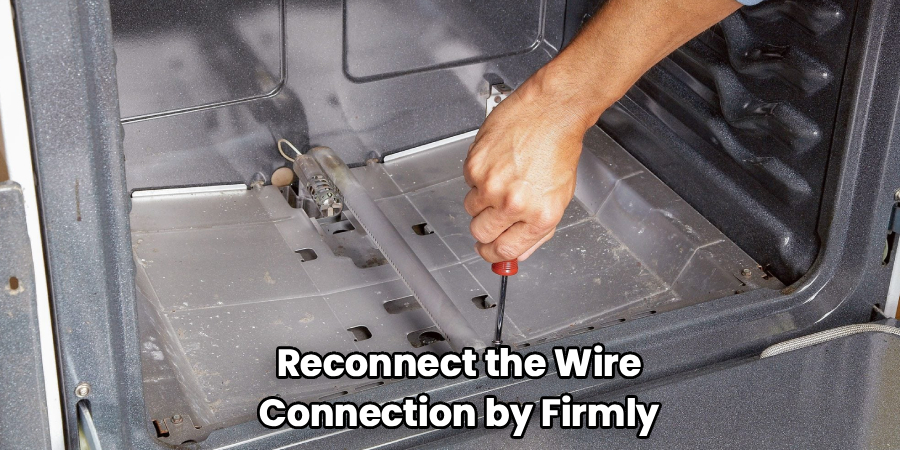
Reverse your steps to put everything back. Reconnect the wire connection by firmly pressing the ceramic plug together until it clicks. Then remount the igniter to the bake burner and tighten its screws snugly, but not so hard that you stress the bracket.
Replace the bottom panel, screw it down, and slide your oven racks back into place. Restore the gas supply by turning the valve back, then plug the oven in or flip the breaker on.
Now for the satisfying part. Turn on the oven and watch the igniter glow a warm orange before the burner lights with a soft whoosh. If the flame catches quickly, you’ve nailed it. Enjoy the faster, more reliable heat you just earned.
Critical Mistakes When Cleaning Your Oven Igniter
A few common errors can turn this easy job into a frustrating one, so let’s keep you out of trouble. The biggest mistake is touching the igniter element with bare fingers. The oils from your skin weaken the brittle material, and it may fail weeks later even though it survived the cleaning. Always handle it by the bracket or base.
Another frequent slip-up is forgetting to shut off both the power and the gas. People often kill the electricity but leave the gas valve open, which is genuinely dangerous. Take the extra ten seconds to turn off both before you touch anything.
Many beginners also scrub too aggressively. The glow bar igniter cracks under pressure, so heavy scrubbing with a stiff brush often breaks it. Use light, gentle strokes only.
Yanking the wires instead of the connector is another costly error. Pulling on the wires can snap them right off, forcing a full replacement. Grip the ceramic plug instead.
Finally, don’t rush reassembly while parts are still damp. Moisture near the wire connection can cause shorts or delay ignition, undoing all your careful work.
Expert Tips
Want results that last? Clean your igniter at the first sign of trouble, not after weeks of clicking and slow heating. Catching grease early keeps carbon buildup from baking on hard.
Snap a quick photo with your phone before disconnecting anything. When it’s time to reassemble, you’ll have a perfect reference for where every screw and wire belongs. This simple trick saves so much guesswork.
Keep your gas ports clear too. A blocked port forces the burner to work harder and can mimic igniter problems. A dry cotton swab clears them in seconds.
If your oven still shows ignition delay after a thorough cleaning, the igniter may simply be worn out. They typically last several years, and a replacement is inexpensive. Cleaning buys you time, but no part lasts forever.
Frequently Asked Questions
How do I know if my oven igniter needs cleaning?
Watch for telltale signs like slow preheating, clicking without a flame, or weak, uneven heat. If your gas oven takes much longer than usual to reach temperature, grease and carbon buildup on the igniter are likely to blame. You might also notice the igniter glowing but failing to light the burner. These symptoms usually point to a cleaning being overdue.
Can I clean the igniter without removing it?
Sometimes, yes. If you can reach the igniter easily after removing the bottom panel, you can gently brush away debris in place. Just be careful not to bump it. However, removing it gives you better access and lets you clean the surrounding burner assembly more thoroughly. For a deeper clean, taking it out is usually worth the small extra effort.
Is it safe to clean a gas oven igniter myself?
Absolutely, as long as you follow basic safety steps. Always:
- Unplug the oven or switch off the breaker
- Shut off the gas supply valve
- Let everything cool completely
With power and gas off, the job is low-risk. The igniter itself carries no danger when handled gently and reconnected properly afterward.
How often should I clean my oven igniter?
For most home cooks, once a year is plenty. If you cook greasy or splattery meals frequently, check it every six months. Regular cleaning prevents heavy carbon buildup and keeps ignition delay from creeping in. Pairing it with a deep oven clean makes the task easy to remember and keeps your whole gas oven running efficiently.
What if cleaning doesn’t fix the problem?
If your oven still struggles after a careful cleaning, the igniter has likely worn out. These parts naturally weaken over years of use and stop glowing hot enough to light the gas. The good news is that a replacement glow bar igniter is affordable and swaps in much like cleaning. Check your model number and order the matching part.
Conclusion
Cleaning your oven igniter is one of the most satisfying DIY wins in the kitchen. With a soft brush, a screwdriver, and a little patience, you can clear away the grease and carbon buildup that slows your gas oven down. The key is working safely: power and gas off, gentle hands on that fragile glow bar igniter, and everything bone dry before you reassemble.
You’ve now got a complete routine, from removing the bottom panel to testing that satisfying whoosh of a flame. Each step builds your confidence and saves you a costly service call. Better yet, you’ll enjoy faster preheating and reliable heat for every meal.
Mastering how to clean oven igniter parts puts you in control of your own appliances. So grab your tools, set aside an afternoon, and give your oven the care it deserves. Once you hear that burner light right up on the first try, you’ll feel like the kitchen pro you’re becoming. Your next perfectly baked dish is waiting.

About
Nick Hall has spent the last seven years working at the intersection of kitchen design and home repair — first as a design assistant at a residential renovation studio, then as a freelance writer covering everything from cabinet layouts to leaky faucet fixes.
Her approach is simple: kitchens should look good and function well. That means she’s just as comfortable talking about color palettes and counter materials as she is walking readers through how to fix a wobbly cabinet hinge or troubleshoot a garbage disposal.
Nick has worked directly with homeowners on small-space kitchen makeovers, budget-conscious renovations, and the kind of everyday repairs that don’t need a contractor — just the right instructions. She writes from experience, not theory, and tests most of the fixes and tips she shares before publishing them.
When she’s not writing, Nick is usually hunting for mid-century kitchen finds at estate sales or helping friends plan their own renovations. She lives in Columbus, Ohio.