
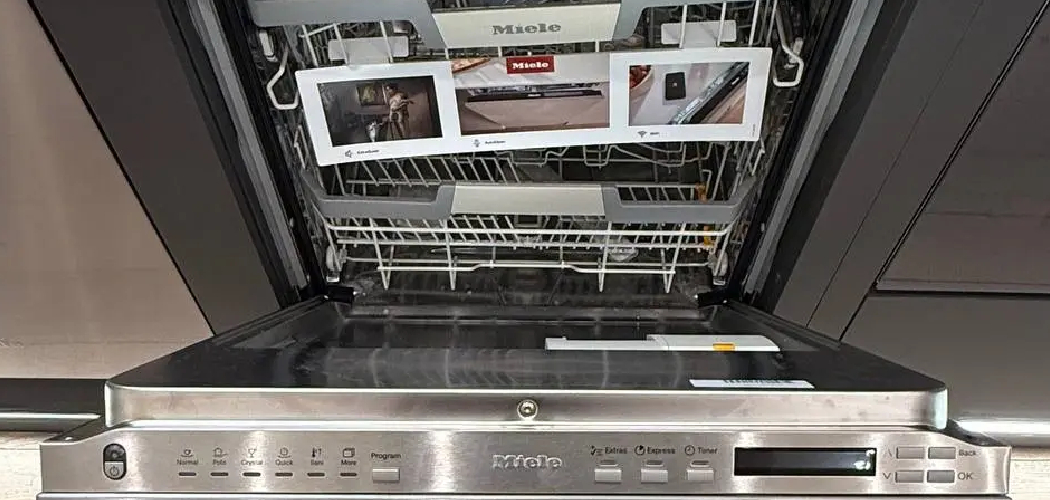
Standing in front of a Viking dishwasher for the first time can feel a little intimidating. The panel looks sleek, the buttons seem mysterious, and you just want your dishes clean without any fuss.
Here’s the comforting truth: starting one is simple once you know the order of operations. Viking builds these machines to be reliable, and most cycles begin with a few easy presses and a firm push of the door.
Learning how to start a viking dishwasher means no more guessing, no more wasted cycles, and no more calling someone for help with a basic task. You’ll feel in control of your own kitchen.
This guide walks you through every step, from confirming power to hearing that first satisfying rush of water, so you can run your dishwasher with total confidence.
Why Learning to Start a Viking Dishwasher Matters
This skill stretches further than your kitchen sink. Campers and outdoor beginners who set up compact or portable units in RVs, cabins, or off-grid kitchens face the same basics: confirm power, check the water supply, and select a cycle. Master the routine on a home unit, and you’ll handle any machine, anywhere.
For home cooks and kitchen-focused readers, the payoff is daily ease. You stop wasting water on half-started cycles and you load smarter, which means cleaner dishes every single time.
DIY appliance owners gain something bigger, too. Understanding how the control panel, door latch, and water inlet work together helps you spot small issues early. That confidence saves service fees and keeps your kitchen humming along without a hitch.
Tools and Materials You’ll Need
You won’t need a toolbox for this one. Most of these items already live in your kitchen.
- Dishwasher detergent (pods, powder, or gel that suits your machine)
- Rinse aid to fight water spots and speed up drying
- A clean cloth to wipe the door seal and control panel
- Your Viking owner’s manual for cycle details and symbols
- A flashlight to check the spray arms and water inlet
- Dirty dishes, sorted and ready for rack loading
For one optional convenience item, grab a small funnel. It makes pouring rinse aid into the dispenser far tidier and keeps drips off your door. No more sticky messes or wasted product when you refill.
Step-by-Step Guide on How To Start A Viking Dishwasher
Step 1 – Confirm the Power Is On
Before anything else, make sure your dishwasher actually has power. Glance at the control panel. If it’s dark and lifeless, the machine isn’t getting electricity.
Head to your breaker box and check the switch labeled for the dishwasher or kitchen. If it sits in the middle or off position, flip it firmly back to on. You’ll often hear a soft click.
Some homes also have a wall switch near the counter that controls the unit. Give that a flip if the panel stays dark.
Once power returns, the control panel should light up with a gentle glow. Those indicator lights tell you the machine is awake and ready. A responsive panel means you’re set to move forward.
Step 2 – Check the Water Supply Valve
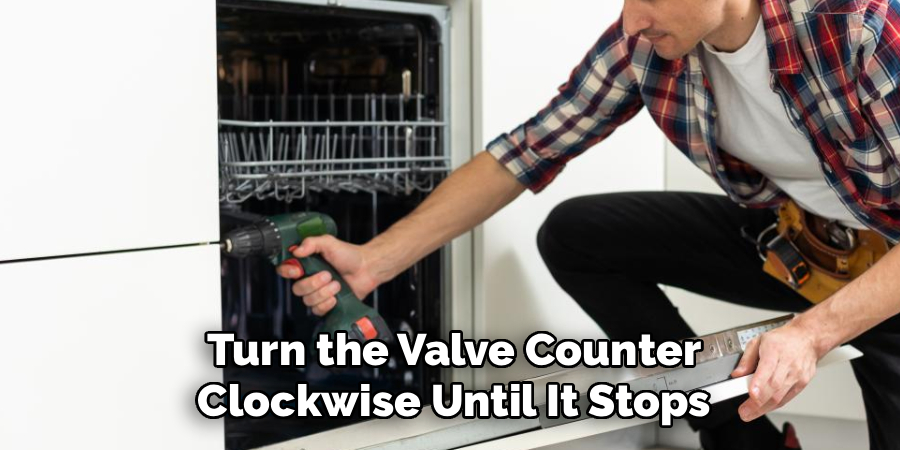
A dishwasher needs water to do its job, so this quick check saves you a frustrating dry cycle. Open the cabinet under your kitchen sink and look for the small shutoff valve on the water line.
Turn the valve counterclockwise until it stops. This opens the water inlet fully so your machine fills properly when the cycle begins.
Run your fingers along the supply hose. Feel for kinks or tight bends that might choke the flow. Straighten any you find.
If you recently shut the water off for plumbing work, double-check that you reopened it. A closed valve is one of the most common reasons a dishwasher hums but never fills. Two seconds here prevents real headaches later.
Step 3 – Load the Dishes Correctly
Smart rack loading makes the difference between sparkling dishes and a disappointing rerun. Place plates and bowls on the bottom rack, angling them toward the center so the spray arms can reach every surface.
Put cups, glasses, and smaller items on the top rack. Tip them at a slight angle so water drains instead of pooling.
Keep tall items from blocking the spray arms. Give one a gentle spin with your hand to confirm it turns freely.
Scrape off heavy food scraps first, but skip the pre-rinse. Modern detergent works best with a little grease to grab onto.
Leave space between items so water circulates. Cramming dishes together creates shadows where grime survives the wash cycle.
Step 4 – Add Detergent and Rinse Aid
Now fill the detergent dispenser, usually found on the inside of the door. Add one pod or the recommended scoop of powder, then close the little flap until it clicks shut.
That click matters. It keeps the detergent sealed until the right moment in the cycle.
Next, check your rinse aid level. Twist open the nearby cap and pour rinse aid in until it reaches the full line. This is where that small funnel earns its keep, keeping every drop off the door.
Rinse aid sheets water off your dishes, so they dry faster and shine brighter with fewer spots. If you skip it, expect cloudy glasses. Wipe away any spills before closing up.
Step 5 – Select the Right Cycle
Look at your control panel and find the cycle selection buttons. Viking offers several options, from a quick rinse to a heavy-duty scrub for crusted pots.
For everyday loads, the normal wash cycle handles things beautifully. Choose heavy or pots-and-pans only when dishes carry baked-on grime, since those cycles run longer and use more water.
Press your chosen cycle and watch for its indicator light to glow. That little light confirms your selection registered.
Add any extras you like, such as a heated dry or sanitize boost. Each press should light up clearly.
Matching the cycle to your load saves energy and gets better results. A delicate glass load doesn’t need the same power as a roasting pan.
Step 6 – Close and Latch the Door Fully
This step trips up more people than you’d think. Push the door closed with steady, even pressure until you feel and hear the door latch engage.
That solid click is your green light. If the latch doesn’t catch, the machine won’t start, no matter how many buttons you press.
Make sure nothing blocks the path. A tall handle on the top rack or a stray utensil can stop the door from sealing.
Press firmly at the center of the door, not just one corner. An uneven push leaves a gap that breaks the seal.

Once latched, the control panel stays lit and ready. A properly closed door keeps water inside where it belongs and lets the cycle begin on command.
Step 7 – Press Start and Watch for Indicator Lights
Here’s the moment you’ve been building toward. Knowing how to start a viking dishwasher really comes down to this final press, so find the start button on your control panel.
Press it firmly and hold for a second if your model requires it. The indicator lights should change, often shifting to a steady glow or a cycle countdown.
Watch the panel closely. A blinking light sometimes means the door isn’t fully latched or a cycle needs confirming.
If the panel doesn’t respond at all, check whether the child lock is on. Hold the lock button a few seconds to release it, then try again.
Still nothing? Revisit the door latch and breaker. Those three suspects solve most no-start mysteries.
Step 8 – Listen for the First Fill and Wash
Now lean in and listen. A working dishwasher greets you with a soft whir, followed by the gentle rush of water through the inlet. That sound means the fill stage has begun.
Within a minute or two, you’ll hear the spray arms kick on with a rhythmic swishing. That’s your dishes getting their bath.
If the unit hums but no water flows, pause the cycle. Recheck the water supply valve and your loading, since a blocked arm can stall things.
Press cancel drain if you need to stop and reopen the door. Wait for the water to clear before lifting the latch.
Once you hear that steady wash rhythm, you’re done. Walk away and let your Viking handle the rest.
Critical Mistakes When Starting a Viking Dishwasher
A few common slip-ups cause most failed starts, so let’s keep you clear of them. The biggest one is not latching the door completely. People assume a gentle nudge is enough, but if you don’t feel that firm click, the machine simply won’t run. Always press the center of the door until the latch engages fully.
Another frequent error is forgetting about the child lock. Beginners press the start button over and over, growing frustrated as nothing happens. Meanwhile, the lock sits active, ignoring every command. Hold the lock button for a few seconds to release it before you panic.
Many folks also overload the racks. Cramming dishes together blocks the spray arms, so water can’t reach everything. You end up with dirty plates and a wasted cycle. Leave breathing room between items.
Skipping rinse aid is another quiet mistake. Without it, glasses come out cloudy and spotted, which makes the whole wash feel like a letdown. Keep that dispenser topped off.
Finally, people overlook a closed water supply valve. The unit hums but never fills, leaving you confused. Always confirm the valve is open before you start.
Expert Tips
Want smoother starts every time? Wipe the door seal and control panel weekly with a clean cloth. A clean seal latches better, and a clean panel reads your presses without hesitation.
Run hot water at your kitchen sink for a few seconds before starting a cycle. This clears cold water from the line, so your dishwasher fills with warm water right away and cleans more effectively.
Get familiar with your cycle selection symbols early. Snap a photo of the panel and match it to your manual, so you never second-guess which button does what.
Check the spray arms once a month. Give them a spin and clear any food bits from the tiny holes. Free-moving arms mean cleaner dishes and quieter cycles.
Finally, keep rinse aid topped off. It’s the easiest way to guarantee spot-free, fast-drying results.
Frequently Asked Questions
Why won’t my Viking dishwasher start when I press the button?
The most common culprits are easy fixes:
- The door latch isn’t fully engaged, so press the center firmly until it clicks
- The child lock is active, so hold the lock button for a few seconds to release it
- The breaker tripped, so check your panel and flip it back on
Run through these three checks and the panel usually responds right away.
How do I know which wash cycle to choose?
Match the cycle to your load. For everyday dishes with light food residue, the normal wash cycle works perfectly. Pick heavy or pots-and-pans only when dealing with baked-on grime, since those run longer and use more water. Choose a quick or rinse setting for lightly used items. Your owner’s manual lists each option and its symbol clearly.
Do I really need rinse aid in my dishwasher?
Yes, rinse aid makes a real difference. It sheets water off your dishes during the final rinse, so they dry faster and come out without cloudy spots. Without it, glasses often look hazy and streaked. Just fill the dispenser to the line, and the machine releases the right amount automatically during each wash cycle. Top it off when the indicator shows low.
What does it mean if the dishwasher hums but no water flows?
That hum usually points to a water problem. First, check that the water supply valve under your sink is fully open. Next, look for kinks in the supply hose feeding the water inlet. Overloaded racks can also block the spray arms and stall the fill. Pause the cycle, fix the issue, then restart. The fill sound should return within a minute.
How do I cancel a cycle once it has started?
Look for a cancel or cancel drain button on your control panel. Press and hold it for a few seconds until the indicator lights change and the unit begins draining. Wait until the water clears and the sounds stop completely before opening the door. This prevents spills and lets you reload, add a dish, or switch to a different cycle safely.
Conclusion
Starting your Viking dishwasher comes down to a simple, repeatable routine. Confirm the power is on, open the water supply valve, and load your racks so the spray arms reach every dish. From there, add detergent and rinse aid, pick the right cycle, and latch the door until it clicks.
Then press the start button, watch the indicator lights, and listen for that satisfying rush of water. If something stalls, you now know to check the child lock, door latch, and breaker before worrying.
Take it slow your first few times, and the whole process will become second nature. You’ll load smarter, choose better cycles, and waste fewer runs along the way.
Best of all, you’ve skipped the service call and handled it yourself. Now that you understand how to start a viking dishwasher the right way, you can run clean, efficient loads with total confidence, every single day. Your sparkling dishes are just one firm press away.

About
Nick Hall has spent the last seven years working at the intersection of kitchen design and home repair — first as a design assistant at a residential renovation studio, then as a freelance writer covering everything from cabinet layouts to leaky faucet fixes.
Her approach is simple: kitchens should look good and function well. That means she’s just as comfortable talking about color palettes and counter materials as she is walking readers through how to fix a wobbly cabinet hinge or troubleshoot a garbage disposal.
Nick has worked directly with homeowners on small-space kitchen makeovers, budget-conscious renovations, and the kind of everyday repairs that don’t need a contractor — just the right instructions. She writes from experience, not theory, and tests most of the fixes and tips she shares before publishing them.
When she’s not writing, Nick is usually hunting for mid-century kitchen finds at estate sales or helping friends plan their own renovations. She lives in Columbus, Ohio.