
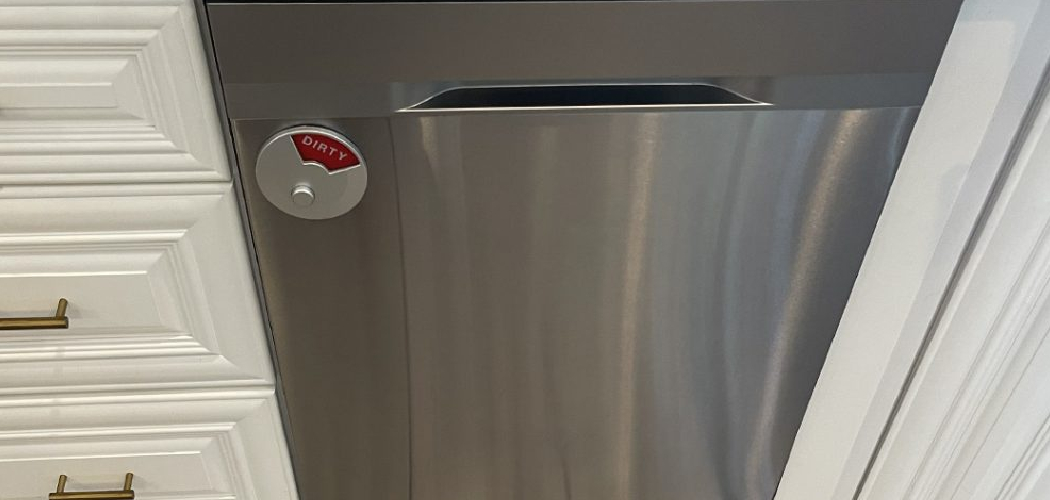
A dishwasher door that won’t close right can throw off your whole kitchen rhythm. Maybe it sags, bounces open, or rubs against the frame every time you push it shut. Annoying, isn’t it?
Here’s the good news: most door problems come from simple, fixable causes like a loose hinge, a worn latch, or a tired spring. You don’t need a technician or a fat repair bill to set things straight.
Learning how to fix door on dishwasher gives you back control over a machine you rely on every single day. With a screwdriver and a little patience, you can handle this yourself.
This guide walks you through the entire repair, step by step, so you can diagnose the problem, fix it safely, and get that door sealing snugly again.
Why Learning to Fix a Dishwasher Door Matters
This skill travels well beyond your kitchen. Campers and outdoor beginners who run compact units in RVs, cabins, or tiny off-grid kitchens face the same door headaches: misaligned hinges, weak springs, and latches that quit. Master the basics on a home unit, and you can patch up any door, anywhere, without waiting days for a service call.
For home cooks and kitchen-focused readers, the payoff is daily peace of mind. A door that seals properly means no leaks on your floor and dishes that actually come out clean.
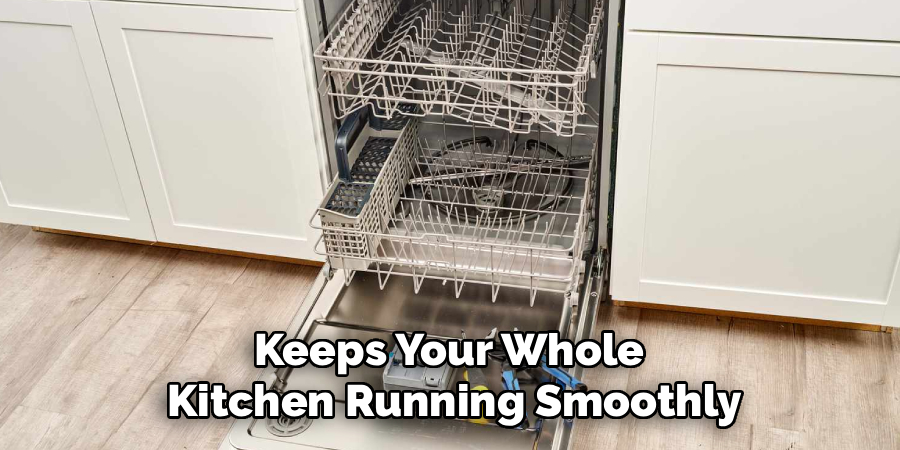
DIY appliance owners gain the most. Once you understand how the latch assembly, hinges, and door seal work together, you spot trouble early. That awareness saves money, prevents water damage, and keeps your whole kitchen running smoothly.
Tools and Materials You’ll Need
You won’t need a full workshop for this repair. Most of these items already sit in a kitchen drawer or garage bin.
- A Phillips and flathead screwdriver for mounting screws and panel fasteners
- A nut driver or socket set for any bolts on the hinges
- A replacement door latch or springs, if yours are worn
- A clean cloth to wipe the door seal and frame
- Towels to catch any leftover water
- Your owner’s manual for part numbers and diagrams
- A flashlight to inspect the hinges and inner panel
For one optional convenience item, grab a magnetic parts tray. It holds every screw and clip in one spot, so nothing rolls under the dishwasher or vanishes while you work. Trust me, it saves real frustration.
Step-by-Step Guide on How To Fix Door On Dishwasher
Step 1 – Disconnect the Power Safely
Safety comes first, always. Before you touch a single screw, cut the power to your dishwasher. Head to your breaker box and flip the switch labeled for the kitchen or dishwasher until you feel that firm click.
Some units also plug into an outlet under the sink. If yours does, unplug it directly for extra peace of mind.
Give the control panel a quick glance afterward. If it stays dark and lifeless, you’ve killed the power correctly.
Working on a live appliance risks a nasty shock, and water nearby makes it worse. Take this minute seriously. Once the machine sits cold and quiet, you’re ready to inspect the door without any worry hanging over you.
Step 2 – Shut Off the Water Supply
You might not need this step for every door fix, but it’s smart insurance. If your repair means opening the inner panel or touching anything near the water lines, shut the supply off first.
Open the cabinet under your kitchen sink and find the small shutoff valve on the dishwasher’s water line. Turn it clockwise until it stops. That closes the flow completely.
Run your fingers along the hose to feel for any lingering drips. Keep a towel handy just in case.
A closed valve means no surprise spray while you work, and no puddle creeping across your floor. It takes ten seconds and spares you a soggy mess later. Better safe than sopping wet.
Step 3 – Inspect the Door Alignment
Now step back and study the door closely. Open and close it slowly a few times, watching how it moves. Does it sag on one side? Does it rub against the frame or bounce back open?
Each of these signs points to a different culprit. Sagging usually means tired springs or loose hinges. Rubbing hints at poor alignment or shifted mounting screws.
Run your eyes along both edges where the door meets the frame. A gap on one side tells you the alignment has drifted.
Press the door shut gently and feel the resistance. A healthy door closes smoothly and stays put. Noting these symptoms now helps you target the exact fix instead of guessing your way through the repair.
Step 4 – Check the Latch and Strike Plate
A door that won’t stay shut often blames the latch. Look at the latch assembly at the top of the door and the strike plate it clicks into on the frame.
Push the door closed and listen. A solid click means the latch grabs properly. A weak or missing click signals trouble.
Inspect the latch for cracks, worn plastic, or a spring that no longer snaps back. Wiggle it with your finger to test the tension.
Check the strike plate too. If it sits loose or bent, the latch can’t find its home. Tighten its screws or straighten it gently.
Sometimes a quick cleaning of grime around the latch fixes everything. Other times, you’ll need a fresh part, which we’ll cover soon.
Step 5 – Examine the Hinges and Springs
The hinges and springs carry the weight of your door, so they wear out over time. Open the door fully and look down at the lower corners where the hinges connect.
A sagging or fast-dropping door usually means a broken spring or stretched cable. Healthy springs hold the door steady at any angle, letting it glide open with control.
Feel for the right tension. If the door slams down on its own or feels heavy and lifeless, the springs have lost their fight.
Check the hinge arms for bends, rust, or loose bolts. Tighten what you can with your nut driver.
Knowing how to fix door on dishwasher often comes down to spotting one tired spring before it strains the rest of the assembly. Catch it early.
Step 6 – Remove the Inner Panel if Needed
If your fix reaches deeper parts, you’ll need to open the inner door panel. Open the door flat and look along its edge for the row of mounting screws.
Grab your Phillips screwdriver and loosen each one, dropping them into your parts tray so none roll away. Work your way around the perimeter.
Gently separate the inner panel from the outer panel. Go slow here, since wires for the latch assembly and control panel often run between them.
You’ll likely see insulation tucked inside, which keeps the wash cycle quiet. Don’t yank it out. Just ease it aside to reach the latch or hinge hardware.
Lay the panel on a towel, screws nearby, so reassembly stays simple and stress-free later.
Step 7 – Tighten or Replace Worn Parts
Now you fix the real problem. If loose mounting screws caused the sag, tighten every one until snug, but don’t overtighten and strip the threads.
For a broken latch, unclip the old latch assembly and swap in your replacement, matching the part number from your manual. Snap it firmly into place.
If a spring lost its tension, hook the new spring onto the same anchor points as the old one. Use gentle, steady pressure, since these springs carry real force.
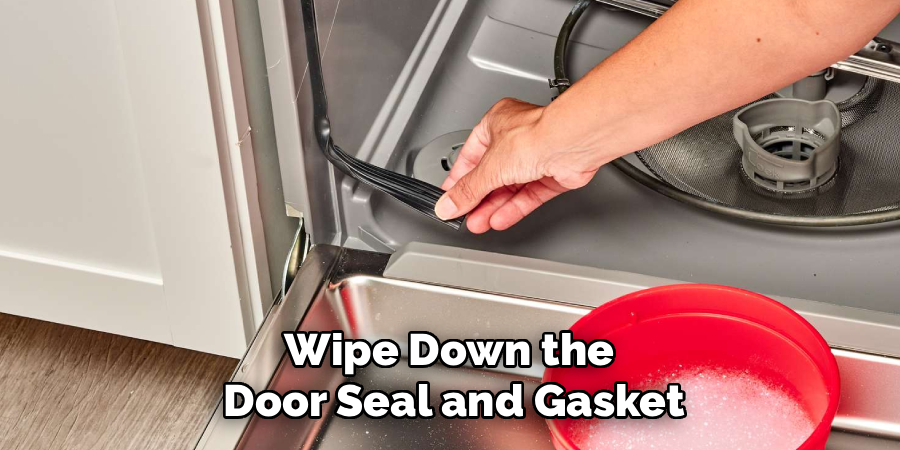
Wipe down the door seal and gasket while everything sits open. A clean, supple gasket seals far better than a grimy one.
Double-check the strike plate and frame alignment once more. Every part should sit square and snug before you close things up.
Step 8 – Reassemble and Test the Door
Time to put it all back together. Tuck the insulation back where it belongs, then line up the inner panel with the outer panel. Reconnect any wires you moved, making sure each clip seats fully.
Drive in the mounting screws in a crisscross pattern, snugging them evenly so the panel sits flat. Avoid forcing them.
Restore the water supply by turning the valve counterclockwise, then flip the breaker back on. The control panel should light up again.
Now test your work. Close the door slowly and feel for that firm latch click. Open and shut it a few times, checking for smooth motion and no rubbing against the frame.
Run a short cycle and watch for leaks. A dry floor and a snug seal mean success.
Critical Mistakes When Fixing a Dishwasher Door
A few common slip-ups turn an easy repair into a frustrating afternoon, so let’s keep you clear of them. The biggest mistake is skipping the power shutoff. People rush in, screwdriver in hand, while the machine still has electricity flowing. Near water, that’s a genuine danger. Always cut the breaker first, every single time.
Another frequent error is yanking the inner panel apart without watching for wires. Cables for the latch assembly and control panel often hide between the panels, and a hard pull tears them loose. Separate the panels slowly and look before you tug.
Many beginners also overtighten the mounting screws. They figure tighter means stronger, but they strip the threads or crack the plastic instead. Snug is the goal, not gorilla-tight.
Mismatched replacement parts cause headaches too. Grabbing a spring or latch that almost fits leads to poor tension and a door that still misbehaves. Match the part number to your model.
Finally, folks forget to test before declaring victory. They reassemble, walk away, then find a puddle later. Always run a short cycle and check the door seal first.
Expert Tips
Want your repair to last? Wipe the door seal and gasket clean every couple of weeks. Grease and food bits harden into a crust that breaks the seal and strains the latch over time.
Snap a photo before you disconnect anything. When you separate the inner and outer panel, that picture shows exactly where each wire and clip belongs, so reassembly never turns into a puzzle.
Check the hinge bolts and mounting screws once a season. A quick snug-up stops slow sagging before it stretches your springs.
Keep your owner’s manual handy and note your model number on your phone. Ordering the right latch assembly or spring the first time saves days of waiting.
Finally, don’t force a stubborn door. A door that rubs the frame or fights you signals an alignment issue worth fixing now, not later.
Frequently Asked Questions
Why does my dishwasher door fall open instead of staying shut?
A door that drops open usually means worn or broken springs. These springs hold the door’s weight and let it move with control. When they stretch or snap, the door loses tension and falls fast. Check both lower hinges for a loose cable or a tired spring. Replacing them with matching parts restores that smooth, steady motion and keeps the door balanced.
How do I know if my door latch needs replacing?
Listen and look for these signs:
- The latch gives a weak click or no click when you close the door
- The plastic shows cracks or feels loose when you wiggle it
- The door won’t stay shut even after you clean around it
- The strike plate sits loose or bent on the frame
If cleaning and tightening don’t help, swap in a new latch assembly that matches your model.
Can I fix a dishwasher door leak myself?
Yes, most door leaks come from a dirty or worn door seal. Open the door and inspect the gasket around the edge. Wipe away any grease, food, or hardened grime that breaks the seal. If the gasket feels stiff, cracked, or flattened, replace it with the right part for your model. A clean, supple seal usually stops the leak completely.
Do I really need to remove the inner panel for every door fix?
No, not always. Many fixes, like tightening hinge bolts, adjusting the strike plate, or cleaning the gasket, happen from the outside. You only open the inner panel when you need to reach the latch assembly wiring or replace internal hinge parts. Start with the simple checks first. Open the panel only if the problem clearly sits inside, and always disconnect power beforehand.
How long does a dishwasher door repair usually take?
Most door repairs take 30 minutes to an hour for a beginner. Simple jobs like tightening mounting screws or cleaning the seal go quickly. Replacing a latch, spring, or hinge takes a bit longer, especially if you open the inner panel. Working slowly and keeping your screws organized actually speeds things up, since you avoid mistakes and skip frustrating do-overs.
Conclusion
Fixing a dishwasher door comes down to a calm, careful routine. Cut the power, shut off the water if needed, and study how the door moves so you spot the real problem. From there, check the latch and strike plate, examine the hinges and springs, and open the inner panel only when the repair truly calls for it.
Tighten loose mounting screws, swap out worn parts that match your model, and clean the door seal before you button everything up. Then reassemble, restore power, and test the door for a firm latch and a leak-free seal.
Take your first repair slow, and the whole process becomes second nature. You’ll diagnose faster, fix smarter, and trust your own hands instead of waiting on a service call.
Now that you understand how to fix door on dishwasher the right way, grab your screwdriver and your owner’s manual, and give that stubborn door the attention it needs. A snug, quiet, leak-free door is closer than you think.

About
Nick Hall has spent the last seven years working at the intersection of kitchen design and home repair — first as a design assistant at a residential renovation studio, then as a freelance writer covering everything from cabinet layouts to leaky faucet fixes.
Her approach is simple: kitchens should look good and function well. That means she’s just as comfortable talking about color palettes and counter materials as she is walking readers through how to fix a wobbly cabinet hinge or troubleshoot a garbage disposal.
Nick has worked directly with homeowners on small-space kitchen makeovers, budget-conscious renovations, and the kind of everyday repairs that don’t need a contractor — just the right instructions. She writes from experience, not theory, and tests most of the fixes and tips she shares before publishing them.
When she’s not writing, Nick is usually hunting for mid-century kitchen finds at estate sales or helping friends plan their own renovations. She lives in Columbus, Ohio.