
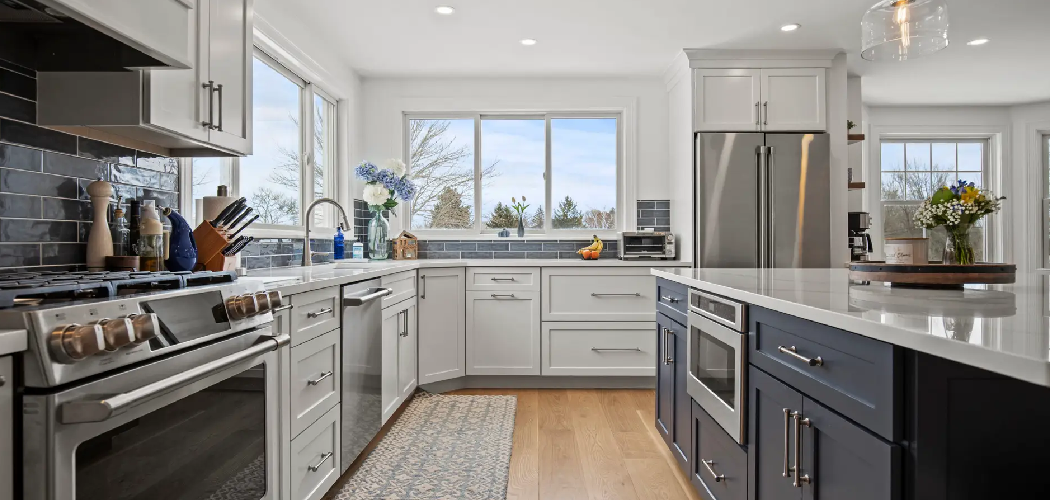
A cramped kitchen can slow you down, waste power, and make simple tasks feel harder than they should. That matters even more when you cook in a camper, cabin, RV, or compact outdoor setup where every inch counts. Learning how to arrange kitchen appliances helps you create a space that feels safer, cleaner, and much easier to use.
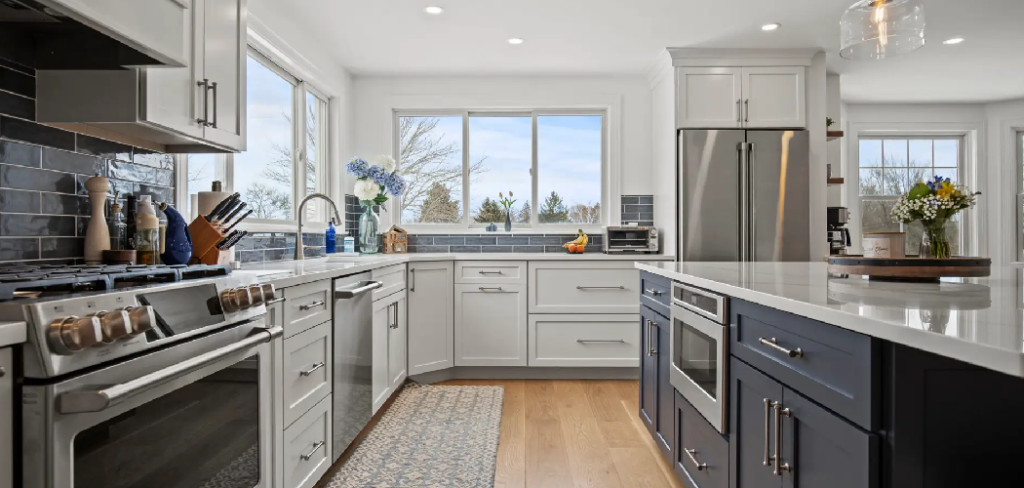
Good appliance placement is not just about looks. It shapes your workflow, protects cords and outlets, and gives each machine the room it needs to run well. In this guide, you’ll learn a simple way to place your appliances based on use, size, heat, access, and safety.
Tools and Materials You’ll Need
- Measuring tape for checking counter depth, width, and clearance
- Notepad or phone notes app to sketch a simple layout
- Painter’s tape to mark appliance footprints on counters or tables
- Extension cord with surge protection rated for kitchen use
- Cord clips or cable ties to keep wires neat and out of walkways
- Microfiber cloth to clean surfaces before placing appliances
- Small bins or trays for accessories like blender lids or coffee pods
- Appliance manuals to confirm venting space and safety needs
- Optional: a rolling utility cart for extra storage and flexible placement
Step-by-Step Guide on How to Arrange Kitchen Appliances
Step 1 – Measure Your Space First
Start by measuring every usable surface in your kitchen area. Include fixed counters, rolling carts, fold-down shelves, and any table you plan to use for cooking. Write down the width, depth, and height of each space so you know what can fit without overhang or crowding.
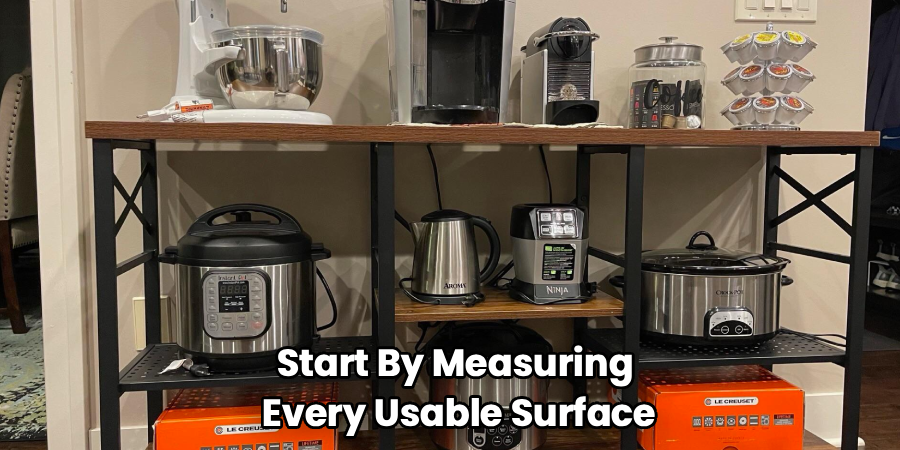
Next, look above and around each surface. A toaster oven under a low cabinet can trap heat, while a blender under a shelf may be hard to use. Notice outlets, windows, wall hooks, and walking paths. This first step gives you a real picture of the space, not just a guess. When you know your limits, you can arrange appliances with confidence and avoid moving everything again later.
Step 2 – Group Appliances by Daily Use
Before you place anything, sort your appliances into three groups: daily use, occasional use, and rare use. Daily-use items might include a coffee maker, microwave, kettle, or toaster. Occasional items may include a blender, slow cooker, or air fryer. Rare-use items often include specialty gear you only pull out for certain meals or seasons.
This simple grouping keeps your kitchen practical. The appliances you reach for each morning should live where your hand naturally goes. The rest can stay in a cabinet, storage bench, or gear bin until needed. A beginner often tries to keep everything out at once, but that makes a small kitchen feel packed. Clear zones save time and help you see what really deserves prime counter space.
Step 3 – Create Zones for Prep, Cooking, and Cleanup
A well-arranged kitchen works best when each area has a job. Set up one zone for food prep, one for heating or cooking, and one for washing or cleanup. Even in a tiny camper kitchen, these zones can exist side by side. The key is to avoid overlap that causes clutter or heat risk.
Place prep-friendly appliances like a blender near your cutting board space. Keep heat-producing items such as toaster ovens, hot plates, and air fryers in a cooking zone with good airflow. Put the dish rack, drying mat, or trash bin near the cleanup zone. If you want to master how to arrange kitchen appliances, think in terms of motion. You should be able to rinse, chop, cook, and clean without crossing over cords, hot surfaces, or stacked gear.
Step 4 – Keep Heat-Producing Appliances Safe
Heat changes everything in a compact kitchen. Appliances that get hot need breathing room on all sides, especially near walls, curtains, paper goods, or wood surfaces. Read each manual for the right clearance, then follow it. This step protects your setup and helps the appliance perform as intended.
Set toaster ovens, electric skillets, air fryers, and hot plates on stable, heat-safe surfaces. Do not push them tight against a backsplash or tuck them under a fabric shelf liner. Let the space feel open around them. You should be able to feel that warm air move away instead of building up in one spot. In an outdoor kitchen or RV, heat can rise fast in a small area, so smart spacing is just as important as the appliance itself.
Step 5 – Place Heavy Items Low and Stable
Heavy appliances can strain weak shelves and create awkward lifting angles. Put the heaviest items on sturdy lower counters, strong shelves, or rolling carts with locks. A stand mixer, microwave, or large air fryer should never wobble when in use. Stability matters more than appearance.
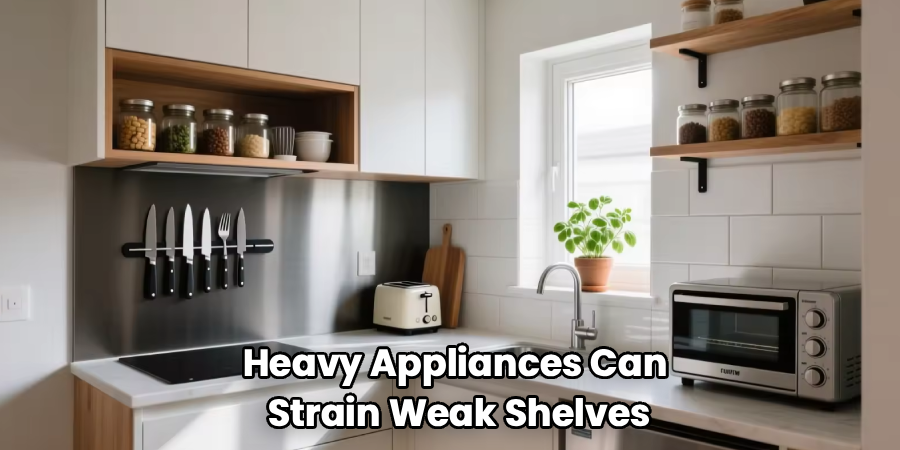
Think about how you lift, open, and clean each appliance. If you need both hands to move it, the storage spot should be easy to reach without twisting your back. Low and stable placement also reduces the chance of tipping during travel or while cooking outdoors. In mobile setups, this is especially useful. A secure base keeps noise down, stops sliding, and makes the whole kitchen feel more organized and calm.
Step 6 – Manage Cords and Outlet Access
Messy cords can turn a neat kitchen into a frustrating one. Check where outlets sit, then place appliances close enough to plug in safely without stretching cords across sinks, burners, or walkways. Avoid daisy-chaining multiple extension cords or overloading one outlet with several high-wattage devices.
Use cord clips, ties, or trays to guide wires along the back edge of a counter. Keep them dry, visible, and easy to unplug. You want a setup that feels clean and controlled, not tangled and risky. This is a key part of how to arrange kitchen appliances because layout is not only about where the appliance sits. It is also about how power flows to it safely and without getting in your way during prep and cooking.
Step 7 – Prioritize Easy Access to Everyday Essentials
Now place your most-used appliances where you can reach them without shifting anything else. Your coffee maker should not sit behind a blender you use once a month. Your toaster should not block the only clear prep area. Give top spots to the appliances that support your normal routine.
Stand in your kitchen and act out a real morning or dinner prep. Reach for mugs, bread, utensils, and water. Open lids and doors. If you have to shuffle three items just to toast bread or make coffee, your layout needs work. The right setup feels smooth and natural. It almost disappears because it supports your habits instead of forcing new ones. That is the sign of a kitchen arrangement that truly fits your life.
Step 8 – Test the Layout and Adjust
The first layout is rarely the final one. Use your kitchen for a few days, then notice what slows you down. Maybe the kettle blocks your only outlet, or the microwave door swings into your prep space. Small problems become clear once you cook real meals.
Adjust one thing at a time so you can tell what improves the flow. Shift appliances by a few inches, swap zones, or move low-use items off the counter. Pay attention to sound, heat, smell, and motion. If an appliance feels cramped, loud, or hard to clean around, it probably needs a better spot. A good arrangement should feel efficient, safe, and easy to keep tidy. With a bit of testing, even a tiny kitchen can work like a much larger one.
Common Mistakes When Arranging Kitchen Appliances
One common mistake is giving every appliance a permanent place on the counter. That may seem convenient, but it quickly steals prep space and makes a small kitchen feel crowded. Beginners often keep out blenders, mixers, toaster ovens, and coffee gear all at once, even if they only use one or two of those items every day.
Another mistake is ignoring heat and ventilation. Appliances that generate heat need space around them, yet many people push them tight against walls or under cabinets. That can shorten appliance life and raise safety concerns. Poor cord placement is another frequent issue. Cords stretched across sinks, stove areas, or walkways create clutter and increase risk.
People also forget to plan around workflow. A microwave placed far from dishes, or a coffee maker far from water and mugs, adds extra steps every day. Finally, many first-time outdoor cooks underestimate surface strength and stability. A wobbly folding table may hold an appliance, but that does not mean it is the right place for one. Safe, steady placement matters just as much as saving space.
Expert Tips
Start with function, then style. A neat kitchen looks great, but an easy kitchen works better. If an appliance supports your daily habits, keep it close. If it only comes out once in a while, store it out of sight but still within reach.
Use trays or mats to define appliance stations. This makes surfaces easier to clean and helps small items stay grouped together. In outdoor kitchens, choose one multi-use appliance when possible instead of bringing several single-use machines. That saves power, room, and setup time. Finally, review your layout with the seasons. What works for summer camping may need changes for colder months, longer trips, or a busier cooking routine.
Frequently Asked Questions
How much space should I leave around kitchen appliances?
It depends on the appliance, but heat-producing models need the most clearance. Check the manual for exact venting space and keep the area open around air vents. As a general rule, never crowd hot appliances against walls, cabinets, or fabric. Giving them room helps with airflow, safety, and long-term performance.
Which appliances should stay on the counter?
Keep only the appliances you use often and need quick access to. For most people, that means one or two daily-use items such as a coffee maker, toaster, or microwave. Everything else can go in storage if it takes up needed prep room. The goal is to balance convenience with open workspace.
Can I use a rolling cart for kitchen appliances?
Yes, a sturdy rolling cart can work very well, especially in small kitchens or outdoor setups. Choose one with a solid top, enough weight capacity, and wheels that lock in place. It is best for appliances you use often but do not want on your main counter. Just make sure cords stay tidy and the cart does not block movement.
What is the safest place for heat-producing appliances?
Place them on a flat, heat-safe surface with good airflow and easy access to an outlet. Keep them away from curtains, paper towels, plastic containers, and any edge where they could be bumped. In a camper or outdoor kitchen, avoid unstable tables and tight corners where heat can build up too quickly.
How often should I rethink my appliance layout?
Review your layout any time your routine changes. A new appliance, a new season, or a longer camping trip can all affect what works best. It is also smart to reassess after a week or two of regular use. Real cooking habits reveal problems that are easy to miss during the first setup.
Conclusion
A good kitchen layout does more than save space. It makes cooking easier, cleaning faster, and your whole setup safer. When you measure your space, group appliances by use, create clear zones, and manage heat and cords well, even a small kitchen can feel calm and efficient.
The best part is that you do not need a perfect kitchen to get great results. You just need a layout that supports the way you cook. Start simple, test what works, and adjust as you go. That is the most practical way to learn how to arrange kitchen appliances without feeling overwhelmed.
This week, try clearing your counter and putting back only the appliances you use most. Then build your layout around prep, cooking, and cleanup. A few smart changes can transform your kitchen from crowded and awkward to smooth and beginner-friendly.

About
Nick Hall has spent the last seven years working at the intersection of kitchen design and home repair — first as a design assistant at a residential renovation studio, then as a freelance writer covering everything from cabinet layouts to leaky faucet fixes.
Her approach is simple: kitchens should look good and function well. That means she’s just as comfortable talking about color palettes and counter materials as she is walking readers through how to fix a wobbly cabinet hinge or troubleshoot a garbage disposal.
Nick has worked directly with homeowners on small-space kitchen makeovers, budget-conscious renovations, and the kind of everyday repairs that don’t need a contractor — just the right instructions. She writes from experience, not theory, and tests most of the fixes and tips she shares before publishing them.
When she’s not writing, Nick is usually hunting for mid-century kitchen finds at estate sales or helping friends plan their own renovations. She lives in Columbus, Ohio.