
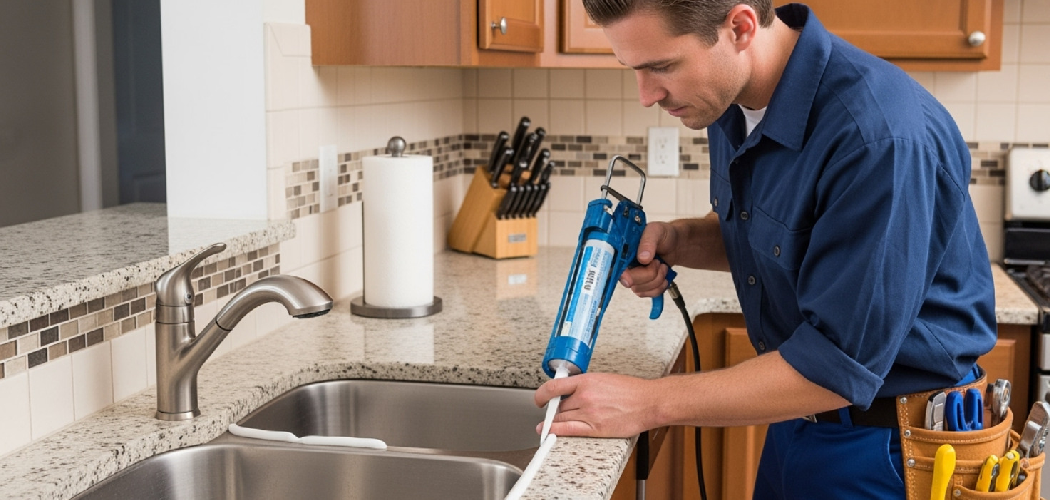
A sink that looks fine can still hide a slow leak. Water can slip under the rim, soak the countertop, and lead to stains, swelling, mold, or a loose fit over time. That is why learning how to seal kitchen sink to countertop is such a useful DIY skill for any homeowner. You do not need advanced plumbing experience, but you do need the right prep, the right sealant, and a careful hand.
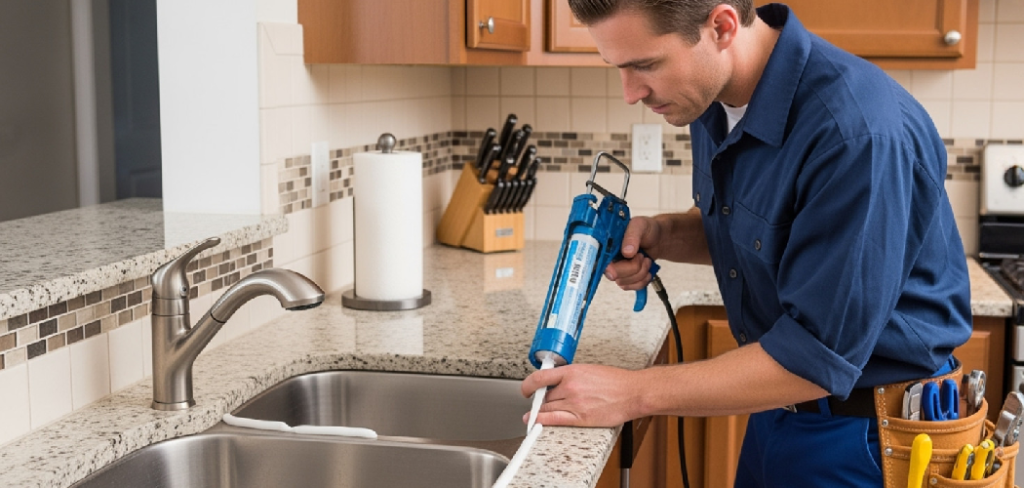
In this guide, you will learn what tools to gather, how to prep the surface, how to apply a clean bead of caulk, and how to avoid the mistakes that cause leaks later. The goal is to help you create a watertight, durable seal with confidence.
Why Sealing Your Sink Matters
Sealing the edge where your sink meets the countertop does more than improve appearance. It keeps water, soap residue, and food debris from slipping into the gap around the sink rim. That matters because trapped moisture can damage laminate, weaken wood-based counters, stain stone, and create odors that are hard to remove.
For homeowners and first-time DIYers, this is a small job with a big payoff. A good seal helps protect your kitchen from water damage, keeps cleanup easier, and supports the sink so it feels secure during daily use. It can also save you money by preventing repairs that start with a tiny leak and turn into a swollen counter or mold problem. In short, sealing is simple preventive maintenance that protects both function and finish.
Tools and Materials
Before you begin, gather everything so you can work without stopping halfway through. A smooth, even seal depends on steady progress once the old caulk is removed and the surfaces are clean.
- 100% silicone kitchen and bath sealant or sink-approved caulk
- Caulk gun
- Utility knife or caulk removal tool
- Plastic scraper
- Rubbing alcohol or mineral spirits for cleanup
- Paper towels or clean lint-free cloths
- Mild cleaner or dish soap
- Sponge
- Painter’s tape
- Disposable gloves
- Small bucket of warm water
- Dry cloth or microfiber towel
- Optional: caulk smoothing tool for a neater finish
These tools help you remove old material, prep the sink rim and countertop, and apply a clean waterproof bead that lasts.
Step-by-Step Guide on How to Seal Kitchen Sink to Countertop
Step 1 – Clear the Area and Inspect the Sink
Start by removing everything around the sink. Move soap bottles, sponges, drying racks, and anything else that may get in the way. Wipe the countertop so crumbs and grease do not stick to your hands or tools while you work. Good visibility matters here, especially if the old seal has cracks, gaps, or mildew stains.
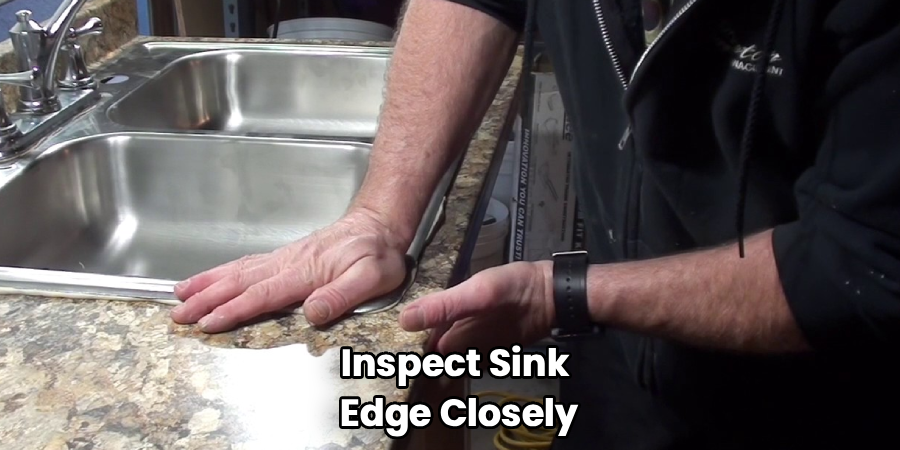
Now inspect the sink edge closely. Run your finger along the rim where it meets the countertop. You may feel rough spots, lifted caulk, or soft residue from an old bead. Look under bright light so you can spot places where water may already be getting in.
This inspection tells you how much cleanup is needed before resealing. If you skip it, you may seal over damage instead of fixing it.
Step 2 – Remove the Old Caulk Completely
A fresh seal will only hold if it bonds directly to clean surfaces. Use a utility knife or caulk removal tool to cut along both sides of the old bead. Work slowly so you do not scratch the sink or chip the countertop edge. Once the bead loosens, lift it with a plastic scraper and pull away as much as you can.
Some sections may come off in long strips. Others may break into sticky bits, especially near corners. That is normal. Keep working until the rim feels mostly bare. If stubborn residue remains, soften it with rubbing alcohol or a caulk remover approved for your surface.
This step takes patience, but it is the base for everything that follows. A new bead over old silicone often fails fast.
Step 3 – Clean and Dry the Surfaces Thoroughly
After the old caulk is gone, clean the sink rim and surrounding countertop. Use mild cleaner or dish soap first to remove grease and grime. Then wipe the joint with rubbing alcohol to remove leftover film. The surface should feel smooth, not slick, dusty, or tacky.
Drying is just as important as cleaning. Use a microfiber cloth and then let the area air dry for several minutes. If moisture stays trapped in the gap, the new sealant may not stick well. In some kitchens, especially humid ones, a fan can help speed this up.
If you are learning how to seal kitchen sink to countertop, this is the step that most affects long-term results. Clean, dry surfaces give silicone the best chance to form a tight waterproof bond.
Step 4 – Apply Painter’s Tape for Clean Lines
Painter’s tape is not required, but it helps beginners get a neat result. Place one strip along the countertop edge and another along the sink rim, leaving a narrow even gap where the new sealant will go. Keep the spacing consistent so the finished bead looks straight rather than wavy.
Press the tape down firmly with your finger. Pay extra attention at the corners, since those are the places where caulk often spreads or smears. If the tape lifts, silicone can creep underneath and leave ragged edges.
This simple prep step saves cleanup later. It also gives you a visual guide, which makes it easier to move at a steady speed once the caulk gun is in your hand.
Step 5 – Cut the Nozzle and Load the Caulk Gun
Insert the sealant tube into the caulk gun and cut the nozzle at a slight angle. Start with a small opening. It is easier to add a slightly larger bead than to control one that is too thick. A narrow cut usually gives better results around a sink because the joint is not very wide.
Before applying the bead to the sink, test the flow on cardboard or a paper towel. Squeeze the trigger gently and see how the silicone comes out. You want a smooth, even line rather than a blob. This test helps you get a feel for pressure and speed.
A few seconds of practice here can prevent a lot of mess. It also helps you work with more confidence on the actual seam.
Step 6 – Apply a Continuous Bead Around the Rim
Now apply the silicone around the full edge where the sink meets the countertop. Hold the nozzle at a consistent angle and move slowly enough to fill the gap without overloading it. Try to make one continuous pass on each side. Smooth motion matters more than speed.
If you need to pause, stop at a corner where the break will be less visible. Make sure the bead fully bridges the seam. You should see a slightly raised line of sealant, not a flat or patchy streak. Corners often need a little extra attention because water tends to collect there.
When people ask about how to seal kitchen sink to countertop, this is the step they picture most. A steady bead is what creates the waterproof barrier, so focus on even coverage rather than perfection.
Step 7 – Smooth the Bead and Remove Excess
Once the bead is down, smooth it right away before the silicone skins over. You can use a caulk smoothing tool or a gloved finger lightly dampened with water, if the sealant instructions allow it. Use gentle pressure and make one clean pass at a time to shape the bead into a smooth curve.
Wipe excess silicone off your tool or glove after each pass. If you drag buildup back across the seam, the finish can become lumpy. This part is where the seal starts to look professional. You are not just making it pretty. You are pressing the sealant into the joint so it bonds better.
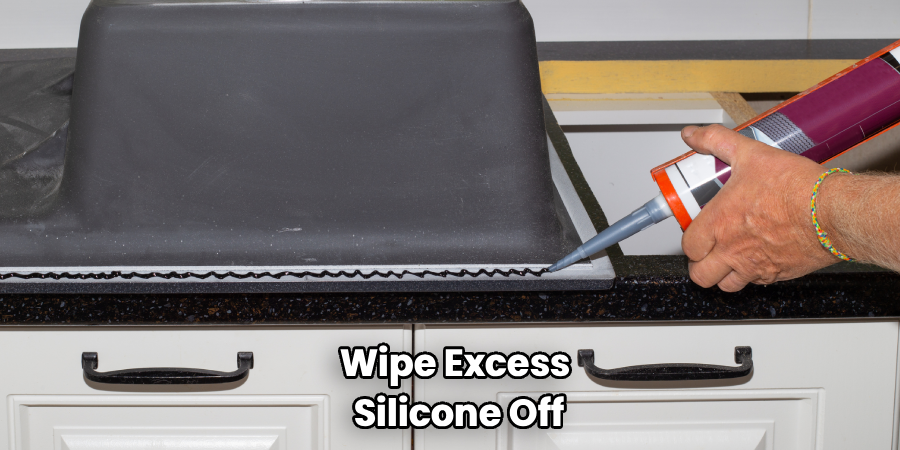
Remove the painter’s tape while the caulk is still fresh. Pull it back slowly at an angle for the cleanest line.
Step 8 – Let the Seal Cure Before Using the Sink
The bead may look finished right away, but it still needs time to cure. Check the product label for the recommended cure time. Some sealants set quickly on the surface but need much longer before they can handle splashing, scrubbing, or standing water.
During this time, keep the sink dry and avoid wiping the rim. If possible, use another sink or plan the job for a low-use period. Even a small splash can weaken a fresh seal before it fully bonds.
Once cured, inspect the bead again in good light. It should look continuous, flexible, and firmly attached with no gaps. That final wait is what turns a decent job into a lasting one.
Common Mistakes
The most common mistake is sealing over old caulk or residue. New silicone does not bond well to leftover material, so the bead may peel up within days or weeks. Even if the surface looks clean, a thin invisible film can weaken adhesion. Taking extra time to strip and wipe the seam properly is often the difference between a short-term patch and a durable repair.
Another mistake is applying caulk to a damp surface. Moisture trapped around the sink rim can keep the sealant from sticking well, especially in corners and low spots. Many beginners also cut the nozzle too wide, which lays down too much material at once. That creates messy edges and makes smoothing harder than it needs to be.
A rushed application causes trouble too. If you stop and start too often, the bead may have thin gaps or uneven ridges. Those weak points can let water in later. Some people also wait too long to smooth the bead or remove tape, which leads to tearing and rough edges.
Finally, many DIYers use the sink too soon. Even if the seal looks dry, it may still be curing underneath. Respecting cure time is essential if you want the seal to hold under daily kitchen use.
Expert Tips
Choose a high-quality 100% silicone labeled for kitchens or baths. It handles moisture, temperature changes, and daily cleaning better than general-purpose caulk. If your countertop is natural stone, check that the product is safe for that surface, since some formulas can stain or react.
Work in good light so you can spot gaps as you go. A small flashlight aimed across the seam makes uneven spots easier to see. If you are nervous, practice laying a bead on cardboard first. That short practice run helps you control the gun and smooth the line with less stress.
One more tip: less is often better. A smaller, clean bead that fully seals the seam usually performs better and looks better than a thick, messy one.
Frequently Asked Questions
How often should I reseal a kitchen sink?
Most sink seals last several years, but that depends on use, cleaning habits, and the quality of the original caulk. Check the rim every few months for cracks, peeling, discoloration, or spots where water sits. If the bead looks damaged or loose, reseal it before moisture reaches the countertop below.
What type of caulk is best for a kitchen sink?
For most kitchens, 100% silicone sealant made for kitchen and bath use is the best choice. It stays flexible, resists moisture, and holds up well against daily washing and splashes. Avoid cheap general-purpose products that may shrink or crack sooner, especially around a busy sink area.
Can I seal the sink without removing the old caulk?
It is not a good idea. New sealant does not bond reliably to old silicone, grease, or residue. You may get a temporary fix, but it often fails quickly. For a strong waterproof seal, remove the old bead fully, clean the surfaces well, and let everything dry before applying fresh silicone.
How long does the sealant need to dry?
Dry time varies by brand, temperature, and humidity. Many products form a skin within minutes, but full curing often takes 24 hours or more. Always read the label and follow the manufacturer’s timing. If you use the sink too early, the bead can shift, weaken, or pull away from the seam.
What if my bead looks messy after I finish?
A messy bead is common on your first try, and it is usually fixable. If the sealant is still fresh, smooth it gently and clean excess right away. If it has already cured and looks uneven or has gaps, remove it and redo the seam. A clean second attempt is better than leaving a weak seal in place.
Conclusion
Sealing a kitchen sink is a small project, but it protects one of the busiest areas in your home. When you remove old caulk fully, clean the seam well, apply a steady bead, and allow full cure time, you create a barrier that keeps water out and helps your countertop last longer. The process is simple, but the details matter.
Now you know how to seal kitchen sink to countertop with the right tools, the right prep, and a beginner-friendly step-by-step method. If you are tackling this for the first time, do not rush. Start by clearing the sink area and inspecting the old seal. A careful hour of work today can prevent leaks, stains, and expensive repairs later.

About
Nick Hall has spent the last seven years working at the intersection of kitchen design and home repair — first as a design assistant at a residential renovation studio, then as a freelance writer covering everything from cabinet layouts to leaky faucet fixes.
Her approach is simple: kitchens should look good and function well. That means she’s just as comfortable talking about color palettes and counter materials as she is walking readers through how to fix a wobbly cabinet hinge or troubleshoot a garbage disposal.
Nick has worked directly with homeowners on small-space kitchen makeovers, budget-conscious renovations, and the kind of everyday repairs that don’t need a contractor — just the right instructions. She writes from experience, not theory, and tests most of the fixes and tips she shares before publishing them.
When she’s not writing, Nick is usually hunting for mid-century kitchen finds at estate sales or helping friends plan their own renovations. She lives in Columbus, Ohio.