
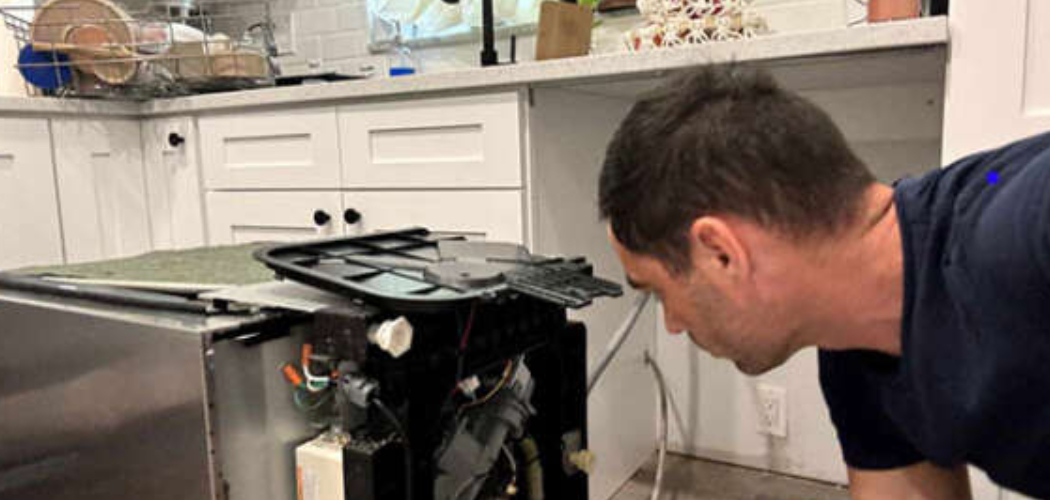
Open your dishwasher after a full cycle and catch a whiff of something sour, or notice grit clinging to your “clean” glasses, and the culprit is almost always one hidden part: the filter. Over time, food debris and greasy residue collect down there, choking water flow and leaving your dishes worse off than before.
The good news? Learning how to clean kitchenaid dishwasher filter is one of the easiest fixes you’ll ever tackle, and you won’t need a technician or any special skills.
With a few minutes and items you already own, you can pull out that gunk, banish the smell, and get your machine washing like new again. This guide walks you through the whole process step by step, so you can do it safely and confidently on your own.
Why Cleaning a Dishwasher Filter Matters
A clogged filter quietly wrecks your wash performance. Trapped food debris blocks proper drainage, leaves standing water in the bottom, and starves the spray arm of the pressure it needs. The result is cloudy dishes, greasy residue, and foul smells that drift out every time you open the door.
This little task matters even more in compact spaces. Campers, RV owners, cabin users, and outdoor beginners often rely on small dishwashers with limited water flow, so a single clog hits hard and fast.
Anyone living in a tight kitchen feels the difference too, since lingering odors travel quickly through small rooms. Staying on top of this simple bit of appliance care keeps water moving freely, dishes sparkling, and your kitchen smelling fresh. A few minutes now saves you from bigger headaches later.
Tools and Materials You’ll Need
The best part about this job is how little it demands. Almost everything sits within arm’s reach already.
Start with warm running water, a squirt of liquid dish soap, and a soft brush, an old toothbrush works perfectly for getting into the mesh screen. You’ll also want a clean cloth or paper towels for wiping down the filter housing and sump area once the filter is out.
Keep a pair of rubber gloves handy, since the trapped particles down there can feel slimy and unpleasant. A small bowl helps too, giving you a spot to set the filter while you rinse and scrub.
If you want one optional convenience item, grab some white vinegar. It cuts through stubborn greasy residue and helps freshen the drain area without any harsh chemicals.
Step-by-Step Guide on How to Clean Kitchenaid Dishwasher Filter
Step 1 – Turn Off the Dishwasher
Safety comes first, always. Before you reach inside, make sure the machine is completely powered down. Cancel any running cycle, then switch the dishwasher off at the control panel.
For extra peace of mind, unplug it or flip the breaker that feeds the appliance. This stops any chance of the machine starting up while your hands are deep in the sump area.
Give it a moment too, since the water inside can stay hot right after a cycle. You’ll feel the interior cool slightly as it settles. Taking these few seconds protects you from burns and electric surprises, and it sets a calm, careful tone for the whole job. A safe start makes everything that follows smoother and stress-free.
Step 2 – Remove the Lower Rack
With the power off, open the door fully and slide out the lower rack. Most racks roll out on tracks, so pull steadily until you feel it reach the stop, then lift it free and set it aside.
Getting the rack out of the way gives you clear access to the bottom of the tub, where the filter assembly lives. You’ll spot it as a round, slotted piece near the center or back of the floor.
Take a quick look around as you go, noting any bits of food debris or standing water pooled in the drain area. Setting the rack somewhere safe, like on a towel, keeps your floor dry and your workspace tidy for the steps ahead.
Step 3 – Locate the Filter Assembly
Now peer down at the floor of the tub. The filter assembly usually sits in a slight well, often toward the back-center of the machine. On most models you’ll see a cylindrical filter, a tall tube with a twist handle, paired with a flat mesh screen surrounding it.
Run your eyes over the setup so you understand how the pieces fit together before you touch anything. This quick study makes reassembly far easier later.
You may notice a coating of greasy residue or trapped particles clinging to the surface, which is completely normal. That buildup is exactly what you’re here to remove. Knowing how to clean kitchenaid dishwasher filter starts with recognizing these parts, so take a moment to get familiar before lifting anything out.
Step 4 – Unlock and Lift Out the Filter
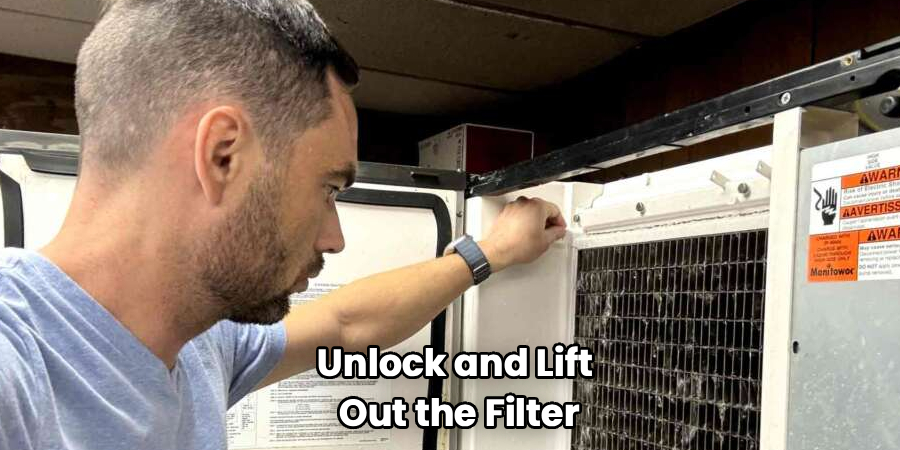
Time to remove the main piece. Grip the cylindrical filter by its handle and turn it counterclockwise, usually a quarter turn, until it unlocks. You’ll feel it release with a gentle click or loosening.
Lift it straight up and out, holding it over your bowl to catch any drips. The filter often comes out coated in a slick layer of food debris, so go slow and steady.
If your model has a separate flat filter beneath or around the cylinder, lift that out next. It typically just sits in place and pulls free with light pressure. Set both pieces in your bowl. Handle them gently, since the fine mesh screen can bend if you yank or twist too hard.
Step 5 – Rinse Under Warm Water
Carry the filter pieces to the sink and turn on the warm tap. Hold each part under the running stream and let the water flush away the loose gunk first.
You’ll watch chunks of trapped particles and greasy residue swirl down the drain, and the relief of seeing that grime go is genuinely satisfying. Rotate the cylindrical filter so the water reaches every side and works through the slots.
For the flat mesh screen, run water through both faces to clear the tiny holes. Avoid boiling-hot water or harsh sprays that could warp the plastic. Warm and steady does the trick. This first rinse handles most of the buildup and makes the scrubbing step much quicker and easier.
Step 6 – Scrub Away Grease and Trapped Debris
For whatever the rinse leaves behind, reach for your soft brush and a drop of dish soap. Add a little soap to the brush, then gently work it over the mesh screen and inside the cylindrical filter.
Move in small circles and pay extra attention to the fine holes, where greasy residue loves to hide. A toothbrush bristle slips right into those tight spots.
You’ll feel the surface turn smooth as the last of the trapped debris lifts away. If grease clings stubbornly, a quick soak in warm water with a splash of vinegar loosens it fast. Skip anything abrasive, since scratches give grime new places to cling. Rinse once more after scrubbing until the water runs clear and the filter looks bright again.
Step 7 – Wipe the Filter Housing and Sump
While the filter dries, turn your attention to the empty well it left behind. Dampen a cloth or paper towel and carefully wipe down the filter housing and the sump area at the bottom of the tub.
You’ll often find soft sludge, bits of food, and a film of greasy residue lingering down there. Wipe gently around the opening and into the drain area, clearing anything that could cause a fresh clog.
Reach in carefully and feel around for stray debris, but watch for any sharp edges. If you spot standing water that won’t drain, that’s a sign of a blockage to investigate. A clean housing means your freshly scrubbed filter goes back into a tidy spot, keeping water flowing the way it should.
Step 8 – Reinstall the Filter and Test
Now put everything back exactly as you found it. Lower the flat mesh screen into place first if your model uses one, then set the cylindrical filter into its opening and turn it clockwise until it locks firmly.
Give it a gentle wiggle to confirm it’s seated, since a loose filter lets debris slip past. Slide the lower rack back onto its tracks until it rolls smoothly.
Restore power, then run a short rinse cycle with the machine empty. Listen for steady water flow and check that the drain area clears properly at the end. When everything runs clean and quiet, you’ve successfully tackled how to clean kitchenaid dishwasher filter, and your next load of dishes will show the difference.
Critical Mistakes When Cleaning a Kitchenaid Dishwasher Filter
A handful of common slip-ups can turn this easy job into a frustrating one, so let’s clear them up before you start.
The biggest mistake is forcing the filter out without unlocking it first. The cylindrical filter twists free with a gentle quarter turn, and yanking it straight up can crack the housing or bend the mesh screen. Always feel for that release before lifting.
Another frequent error is reaching for steel wool or scouring pads. These scratch the plastic and create rough patches where food debris clings even faster next time. A soft brush and a little dish soap do everything you need without the damage.
People also tend to skip the sump entirely. They rinse the filter, pop it back, and ignore the sludge sitting in the drain area below. That leftover gunk causes foul smells and clogs again within days, so always wipe the housing too.
Finally, many folks reinstall the filter loosely or off-center. A filter that isn’t locked in lets particles bypass it completely, leading to cloudy dishes and poor wash performance. Take an extra second to twist it firmly into place and confirm it’s snug before you run the machine.
Expert Tips
Want this chore to stay quick and painless? Scrape plates well before loading them. The less food debris that washes down, the slower your filter clogs and the longer it stays fresh.
Make filter cleaning a regular rhythm rather than a rescue mission. A quick rinse every couple of weeks beats battling a thick layer of greasy residue once a month.
For a deeper refresh, run an empty hot cycle with a cup of white vinegar on the top rack. It cuts grease in the spray arm and drain area while freshening the whole tub.
And keep a dedicated toothbrush just for this task. Those tiny mesh holes hold the worst grime, and a soft-bristled brush reaches them far better than any cloth. These small habits keep your appliance care simple and your dishes spotless.
Frequently Asked Questions
How often should I clean my dishwasher filter?
For most households, a thorough clean every two to four weeks keeps things running smoothly. If you wash heavily soiled pans or rarely scrape plates first, lean toward the shorter end. Watch for warning signs like cloudy dishes, slow drainage, or foul smells, since these mean food debris has built up and the filter needs attention sooner rather than later.
Can I put the filter in the dishwasher to clean it?
No, the filter won’t get clean sitting in a normal cycle, since it’s the very part trapping all the gunk. You need to remove it and clean it by hand:
- Rinse it under warm running water first.
- Scrub gently with a soft brush and dish soap.
- Rinse again until the water runs clear.
Hand cleaning reaches the trapped particles a wash cycle simply can’t.
Why does my dishwasher still smell after cleaning the filter?
Lingering odors often come from the sump and drain area, not just the filter. Wipe down the housing thoroughly, then run an empty hot cycle with a cup of white vinegar to freshen everything. Also check the spray arm holes for trapped food debris. If the smell persists, the drain hose or garbage disposal connection may need attention too.
Is it normal to find standing water under the filter?
A small amount of water in the sump is normal between cycles. But if you see persistent standing water that won’t drain, that points to a clog in the drain area or filter. Clear any visible debris, confirm the filter is seated correctly, and check the drain hose. Stubborn drainage problems usually trace back to a blockage you can clear yourself.
Do I need any special tools to remove the filter?
Not at all, which is the beauty of this job. Most filters twist out by hand with no tools required. You’ll only need a soft brush or old toothbrush, some dish soap, warm water, and a cloth for wiping the sump. Rubber gloves are optional but nice. If a part feels stuck, check your manual rather than forcing it.
Conclusion
Keeping that hidden filter clean is one of the simplest, most rewarding bits of appliance care you can do, and now you know exactly how to handle it. The secret isn’t hard work, it’s a steady routine: power down, lift the rack, twist out the filter, rinse, scrub, wipe the sump, and lock everything back in place.
Remember the key habits. Scrape plates before loading, clean the filter every couple of weeks, and never force a stuck part or skip the sump. Avoid steel wool, seat the filter firmly, and your machine rewards you with steady water flow and spotless dishes.
Once you’ve mastered how to clean kitchenaid dishwasher filter, you’ll never dread that sour smell or gritty glassware again. It’s a fix that saves you money, skips the technician, and takes just a few minutes.
So grab your toothbrush, pull out that filter, and give it a try today. Your next load will come out cleaner, your kitchen will smell fresher, and you’ll feel great knowing you handled it all yourself.

About
Nick Hall has spent the last seven years working at the intersection of kitchen design and home repair — first as a design assistant at a residential renovation studio, then as a freelance writer covering everything from cabinet layouts to leaky faucet fixes.
Her approach is simple: kitchens should look good and function well. That means she’s just as comfortable talking about color palettes and counter materials as she is walking readers through how to fix a wobbly cabinet hinge or troubleshoot a garbage disposal.
Nick has worked directly with homeowners on small-space kitchen makeovers, budget-conscious renovations, and the kind of everyday repairs that don’t need a contractor — just the right instructions. She writes from experience, not theory, and tests most of the fixes and tips she shares before publishing them.
When she’s not writing, Nick is usually hunting for mid-century kitchen finds at estate sales or helping friends plan their own renovations. She lives in Columbus, Ohio.