
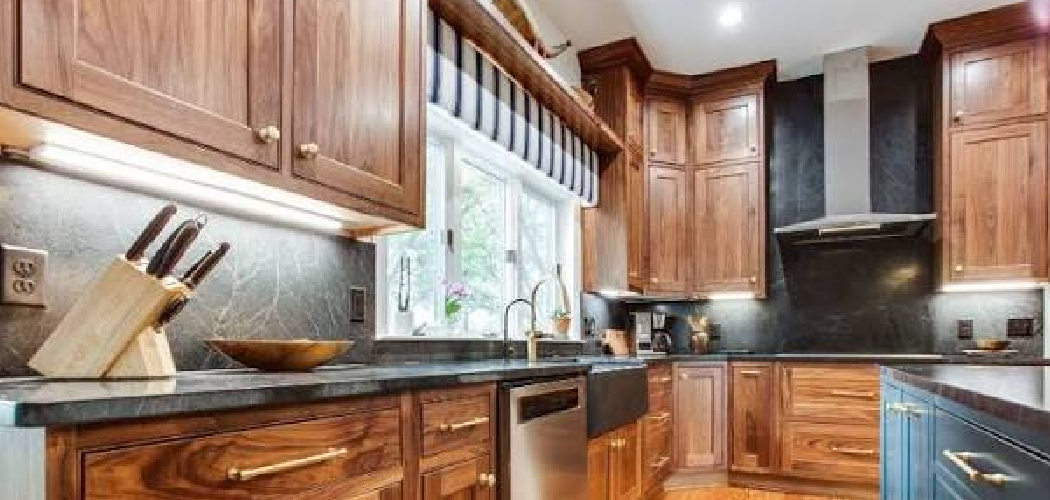
Oak cupboards bring warmth and character to any kitchen, but they also catch every splatter, fingerprint, and greasy fume that drifts off the stove. Over time, that buildup dulls the wood and hides the gorgeous grain you fell in love with.
The good news? Bringing them back to life is easier than you think. Learning how to clean oak cupboards the right way protects the finish, lifts grease film, and keeps grime from settling deep into the wood grain. You don’t need fancy products or a professional touch.
With a few gentle supplies and a little care, you can refresh tired oak cabinet doors in an afternoon. This guide walks you through every step so you can clean your cupboards safely, confidently, and without risking that beautiful natural wood.
Why Cleaning Oak Cupboards Matters
Dirty oak isn’t just an eyesore. A sticky layer of cooking residue and grease film slowly works its way into the grain, where it attracts more dust and grows harder to remove. Left alone, it can dull or even damage the cabinet finish over time.
This skill matters even more in compact cooking spaces. Campers, RV users, cabin owners, and outdoor beginners often rely on wooden storage packed tightly near a small stove, so grease builds up fast with nowhere to escape. Regular kitchen cabinet care keeps that wood looking fresh and prevents grime from baking into the surface.
Good cabinet maintenance also stretches the life of natural wood cabinets for years. A little wood-safe cleaning now saves you from costly refinishing later, and well-kept oak simply makes the whole kitchen feel cleaner.
Tools and Materials You’ll Need
The best part? Most of this is already sitting under your sink.
Start with a couple of soft microfiber cloths, your gentlest friend for wood. Keep a bowl of warm water nearby and a small squirt of mild dish soap, which cuts grease without stripping the finish. You’ll also want a dry drying cloth to buff away moisture as you go.
For sticky buildup around handles, a soft toothbrush helps you reach into carved edges and seams. A second clean cloth lets you rinse with plain water after washing, lifting any leftover soap.
If you want one optional convenience item, grab a quality wood polish or conditioner. It adds a soft shine once your oak cabinet doors are clean and helps protect the surface between deeper cleanings.
Step-by-Step Guide on How to Clean Oak Cupboards
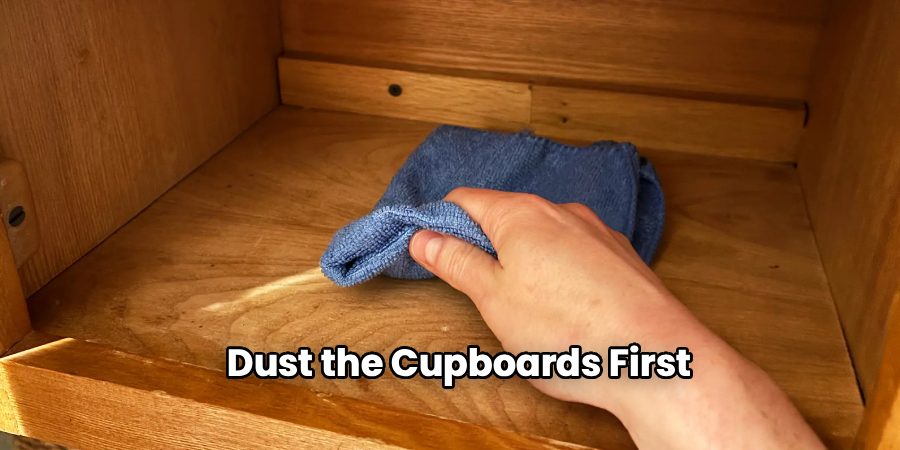
Step 1 – Dust the Cupboards First
Always start dry. Before any water touches the wood, wipe down every surface with a clean, dry microfiber cloth to lift loose dust, crumbs, and cobwebs.
Skip this and you’ll just smear that dust into mud the moment you add a damp cloth. Work from the top of each cabinet downward, so anything you knock loose lands lower and gets caught on the next pass.
Pay attention to the tops of upper cabinets, where greasy dust loves to settle thick and grey. Run your cloth along the grooves and edges of the oak cabinet doors too. You’ll feel the surface change from gritty to smooth as the loose layer comes away, leaving a clean base for the gentle washing ahead.
Regular kitchen cabinet care keeps that wood looking fresh and prevents grime from baking into the surface
Step 2 – Check the Wood Finish
Knowing your finish guides everything that follows. Most oak cupboards wear a sealed coat, like polyurethane or varnish, while older or restored ones may have an oil or wax finish that needs extra gentleness.
Run your fingertips across the surface. A sealed finish feels smooth and slightly glossy, while an oiled finish looks more matte and natural. If you’re unsure, check an inside edge or the back of a door where wear shows less.
This quick look tells you how much moisture the wood can handle. Sealed cabinet finish surfaces tolerate a damp cloth well, while oiled wood prefers barely-damp wiping and quick drying. Matching your method to the finish is the heart of safe cabinet maintenance and keeps your oak looking rich for years.
Step 3 – Mix a Gentle Cleaning Solution
Now mix something kind to wood. Fill a bowl with warm water and add just a few drops of mild dish soap, swirling until you see light suds. You want it gentle, not sudsy and harsh.
This simple blend cuts grease film beautifully without soaking or stripping the finish. Knowing how to clean oak cupboards really comes down to using the mildest solution that still does the job.
A quick word on vinegar caution: many people reach for it, but undiluted vinegar is acidic and can dull or etch a wood finish over time. If you use it, keep it heavily diluted and away from oiled surfaces. For most kitchens, warm water and a touch of dish soap is all you truly need.
Step 4 – Test in a Hidden Spot
Never trust a new solution on the whole cabinet right away. Pick a hidden spot first, like the inside edge of a door or a low corner near the floor.
Dip a corner of your microfiber cloth, wring it out well, and wipe that small area. Then dry it and look closely. You’re checking for any dullness, cloudiness, or color change in the wood.
Wait a few minutes and inspect again. If the test spot still looks rich and even, your solution is safe to use everywhere. This small habit takes thirty seconds but saves you from a heartbreaking surprise across a whole row of oak cabinet doors. When it comes to natural wood cabinets, a quick test always beats regret.
Step 5 – Wipe Along the Grain
Here’s where the magic happens. Dampen your microfiber cloth in the soapy water and wring it out firmly, until it feels barely moist rather than dripping wet.
Wipe each surface gently, always moving along the wood grain rather than against it. Following the grain works the cleaner into the natural lines where grime hides, and it keeps any faint streaks invisible.
Knowing how to clean oak cupboards well means letting the cloth, not hard scrubbing, do the work. You’ll see the wood deepen in color as the grease film lifts away, revealing that warm oak glow underneath. Rinse and re-wring your cloth often, since a dirty cloth just spreads grime around. Work one section at a time for the best, most even results.
Step 6 – Tackle Sticky Grease Near Handles and the Stove
Some spots fight back, especially around handles and stove-adjacent cupboards. These areas collect the heaviest sticky buildup from greasy fingers and airborne cooking residue.
For stubborn grime around handles, dip a soft toothbrush into your soapy water and gently work the bristles into the seams and carved edges. You’ll feel the tackiness give way as the grease loosens.
For thicker grease film near the stove, let a damp, soapy cloth rest on the spot for a minute to soften it before wiping. Resist the urge to scrub hard, which can wear down the finish. Instead, repeat the gentle soak-and-wipe until the surface feels smooth and clean again. Patience always beats force on natural oak.
Step 7 – Rinse and Dry Thoroughly
Don’t leave soap behind. Wipe each cleaned surface with a fresh cloth dampened in plain warm water, lifting away any leftover dish soap residue that could dull the wood.
Then grab your dry drying cloth and buff every surface completely dry. This step matters more than most people realize. Wood and standing moisture don’t mix, and lingering dampness can seep into the grain or cloud the finish over time.
Run your hand across the cabinet to check for any cool, damp patches you missed. Pay special attention to corners, grooves, and the spots under handles where water likes to pool. A thoroughly dried surface feels smooth and looks bright, with that rich oak grain showing through clearly once again.
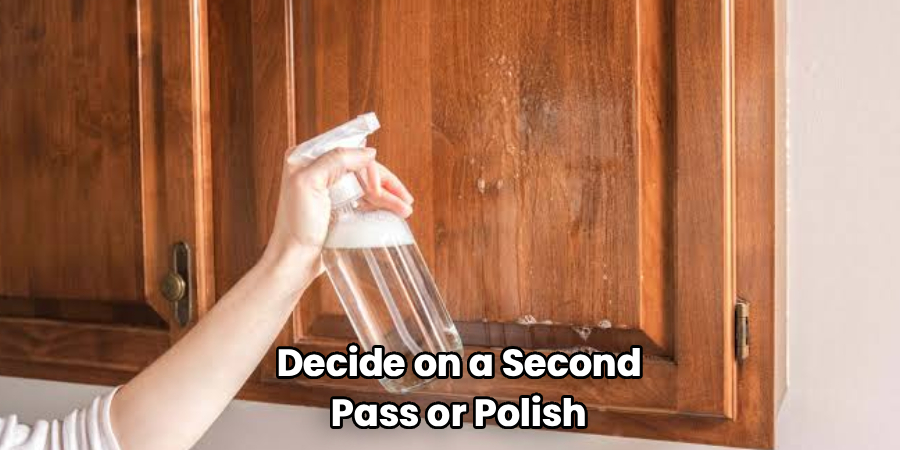
Step 8 – Decide on a Second Pass or Polish
Now step back and take an honest look. In good light, scan for any leftover grease film, dull patches, or sticky spots you missed the first time around.
If you spot trouble areas, simply repeat the gentle wash and dry on those sections. Heavily soiled oak cabinet doors near the stove often need a second pass, and that’s perfectly normal.
Once everything looks clean and even, you can finish with an optional polish or wood conditioner. Apply a thin layer with a soft cloth, following the grain, then buff to a soft shine. This adds protection and brings out the warmth of the wood. Polishing isn’t required every time, but it’s a lovely touch for a freshly cleaned kitchen.
Critical Mistakes When Cleaning Oak Cupboards
A few common slip-ups can dull your oak or damage the finish, so let’s clear them up before you begin.
The biggest mistake is using too much water. Wood and moisture are not friends, and a soaking-wet cloth can seep into the grain, swell the wood, or cloud the finish. Always wring your cloth until it feels barely damp, and dry every surface right after washing.
Another frequent error is reaching for harsh or abrasive products. All-purpose sprays, ammonia, and rough scrubbing pads strip protective coatings and leave scratches that trap even more grime. Stick with mild dish soap and a soft microfiber cloth instead.
Many people also overuse vinegar. While diluted vinegar can help in some cases, its acidity can slowly etch and dull a wood finish, especially on oiled surfaces. When in doubt, leave it out.
Scrubbing against the grain causes trouble too. It pushes grime deeper into the wood and can leave faint scratches across natural wood cabinets. Always wipe along the grain.
Finally, skipping the hidden-spot test invites disaster. A quick test saves a whole kitchen of cabinets from an unexpected reaction.
Expert Tips
Want your oak to stay gorgeous with less effort? Wipe down high-traffic areas, like the cupboards beside the stove and around handles, once a week so cooking residue never has a chance to harden.
For a natural shine boost, mix a tiny bit of olive oil into your final buff on sealed cabinets, working it in thin and along the grain. It revives that warm glow beautifully.
Keep a dedicated microfiber cloth tucked near the sink for quick daily touch-ups. Catching small splatters early means you’ll rarely face heavy grease film later.
Always dry as you go rather than letting cabinets air-dry, since trailing moisture is the number-one enemy of wood. A little consistent cabinet maintenance keeps your oak looking freshly cleaned far longer between deep cleans.
Frequently Asked Questions
Can I use vinegar to clean oak cupboards?
You can, but with real caution. Vinegar is acidic, so undiluted use can dull or etch the wood finish over time, especially on oiled or waxed oak. If you choose vinegar, dilute it heavily with warm water and test a hidden spot first. For most kitchens, warm water with a few drops of mild dish soap is gentler and just as effective.
How often should I clean my oak cabinets?
It depends on how much you cook. A good rhythm looks like this:
- Wipe high-grease areas near the stove and handles weekly.
- Give all cabinet fronts a gentle wash monthly.
- Deep clean and polish every few months.
Catching cooking residue early keeps grease from baking into the grain, making each cleaning faster and protecting that beautiful cabinet finish long-term.
What’s the best cloth for cleaning wood cabinets?
A soft microfiber cloth wins every time. It lifts dust, grease, and grime without scratching the finish, and it holds just enough moisture when wrung out well. Keep a few on hand: one for washing, one for rinsing with plain water, and one dry cloth for buffing. Avoid abrasive sponges or paper towels, which can leave fine scratches or lint on natural wood cabinets.
How do I remove sticky grease buildup near the stove?
Sticky buildup needs patience, not force. Lay a warm, soapy, well-wrung cloth over the spot for a minute to soften the grease, then wipe gently along the grain. For seams and grooves around handles, use a soft toothbrush dipped in the same solution. Repeat the soak-and-wipe rather than scrubbing hard, which can wear down the finish over time.
Do I need to polish oak cabinets after cleaning?
No, polishing isn’t required, but it’s a nice finishing touch. A thin layer of wood polish or conditioner adds a soft shine and helps protect the surface between cleanings. Apply it sparingly with a soft cloth, always following the grain, then buff well. Skip heavy wax buildup, since too much product can leave a dull, tacky film on the wood.
Conclusion
Refreshing tired oak is far simpler than it looks, and now you have a clear routine to follow. Dust first, check the finish, mix a gentle soapy solution, test a hidden spot, then wipe along the grain, dry thoroughly, and decide whether a second pass or polish is needed.
Hold on to the key points. Never soak the wood, skip the harsh chemicals and abrasive pads, go easy on vinegar, and always wipe along the grain rather than against it. A second pass near the stove is completely normal, so take your time and let gentle care do the work.
Once you’ve mastered how to clean oak cupboards, you’ll never dread a greasy cabinet front again. It’s a simple, low-cost fix that protects your wood, brightens your whole kitchen, and saves you from expensive refinishing down the road.
So grab a soft cloth, mix a little warm soapy water, and give your oak the fresh start it deserves today. Your cupboards will look richer, feel cleaner, and last for many years to come.

About
Nick Hall has spent the last seven years working at the intersection of kitchen design and home repair — first as a design assistant at a residential renovation studio, then as a freelance writer covering everything from cabinet layouts to leaky faucet fixes.
Her approach is simple: kitchens should look good and function well. That means she’s just as comfortable talking about color palettes and counter materials as she is walking readers through how to fix a wobbly cabinet hinge or troubleshoot a garbage disposal.
Nick has worked directly with homeowners on small-space kitchen makeovers, budget-conscious renovations, and the kind of everyday repairs that don’t need a contractor — just the right instructions. She writes from experience, not theory, and tests most of the fixes and tips she shares before publishing them.
When she’s not writing, Nick is usually hunting for mid-century kitchen finds at estate sales or helping friends plan their own renovations. She lives in Columbus, Ohio.