
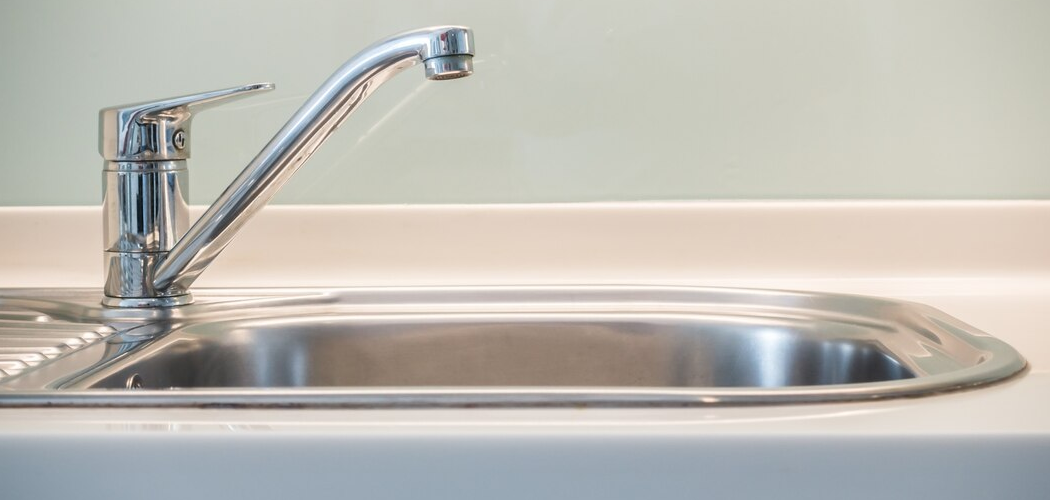
A kitchen faucet head can look fine on the outside while hiding mineral buildup, grease, and tiny bits of debris inside the spray face. Over time, that buildup can slow the water flow, make the spray uneven, and leave you with a weak stream when you just want to rinse dishes fast. If you have never done this before, the good news is that the job is simple, low-cost, and usually takes less than an hour.

Learning how to clean kitchen sink faucet head helps you keep your sink working well without calling a plumber for a basic fix. You do not need special skills, and you can do most of the work with common items from home. This guide will show you exactly what to do, step by step, so you can clean your faucet head safely and confidently.
Why Cleaning a Kitchen Sink Faucet Head Matters for Campers and Outdoor Beginners
If you camp often or spend time outdoors, you already know how important clean, steady water flow can be. The same habits that help you care for portable water gear also help you maintain fixtures at home. A clogged faucet head can waste water, reduce pressure, and make simple tasks like filling bottles or washing produce more frustrating than they need to be.
For beginners, this is also a useful home skill that builds confidence. Many campers and outdoor beginners like practical maintenance tasks because they save money and reduce reliance on repairs for small issues. When you know how to remove residue, rinse sediment, and restore a smooth spray pattern, you become better at spotting water flow problems early. That kind of hands-on care is useful whether you are cleaning up after a weekend trip or just trying to keep your kitchen running smoothly.
Tools and Materials You’ll Need
Before you start, gather everything and set it near the sink so the process feels easy and organized. You will not need much, but having the right items nearby helps you work without stopping halfway through.
You should have white vinegar, a small bowl or cup, dish soap, a soft toothbrush or small cleaning brush, and a microfiber cloth or soft rag. A toothpick or wooden skewer can help loosen debris from spray holes without scratching the finish. You may also want an adjustable wrench if your faucet head unscrews tightly, though many models come off by hand. Keep a towel in the sink or on the counter to protect parts as you work. An optional item that makes cleanup easier is a small zip-top bag, which is useful if you want to soak the faucet head while it is still attached.
Step-by-Step Guide on How to Clean Kitchen Sink Faucet Head
Step 1 – Check the Faucet Head and Water Flow
Start by turning on the faucet and paying close attention to the water. Notice whether the stream comes out evenly or sprays in odd directions. If the pressure feels weak or the spray pattern looks patchy, mineral deposits are likely blocking some of the tiny openings.
Run your fingers lightly over the face of the faucet head and look for visible scale, cloudy spots, or grime around the nozzles. Listen to the sound of the water too. A sputtering or uneven hiss often points to trapped debris inside the aerator or spray plate. This quick check helps you understand how much buildup you are dealing with before you take anything apart.
Step 2 – Protect the Sink Area and Shut Off the Faucet
Clear dishes, sponges, and soap bottles out of the way so you have room to work. Lay a towel in the bottom of the sink or across the counter near the faucet. This protects the finish on small parts and keeps anything from bouncing into the drain.

Make sure the faucet is fully off before you begin. You usually do not need to shut off the water valves for a basic cleaning, but if your faucet head feels loose or you plan to remove more than the spray face, turning off the supply under the sink can give you extra peace of mind. A calm setup makes the whole task easier, especially if this is your first time trying how to clean kitchen sink faucet head on your own.
Step 3 – Remove the Faucet Head Carefully
Most pull-down and pull-out kitchen faucet heads twist off by hand. Hold the hose firmly with one hand and turn the head counterclockwise with the other. Work slowly so you do not strain the hose or scratch the metal finish. If the head feels stuck, wrap it in a soft cloth first, then use a wrench gently for extra grip.
As soon as the head comes off, check for a rubber washer, screen, or aerator insert inside. Set each part on the towel in the order you removed it. That simple habit makes reassembly much easier later. If your faucet model does not detach, you can still clean it by soaking the spray face in vinegar with a bag secured around the head.
Step 4 – Rinse Away Loose Debris First
Before soaking anything, rinse the faucet head under warm running water. This clears away loose grit, dust, and bits of sediment that may be sitting just inside the screen. Turn the part in your hand as the water runs through it so you can flush from different angles.
If you see sand-like particles or flakes of scale, that is a sign the inside needs a deeper clean. Add a drop of dish soap and rub the outside with your fingers or a soft cloth. This removes grease and kitchen residue that can trap grime around the edges. Starting with a rinse keeps the vinegar soak from turning cloudy too fast and helps you see what buildup remains.
Step 5 – Soak the Parts to Break Down Mineral Buildup
Fill a bowl or cup with enough white vinegar to cover the faucet head and any removable inserts. Place the parts in the vinegar and let them soak for about 30 minutes. If the buildup is heavy, you can leave them longer, but check the manufacturer’s care notes if your faucet has a delicate or specialty finish.
As the vinegar works, you may notice a faint sharp smell and tiny bubbles around the mineral crust. That is normal. The soak loosens hard water deposits that block the nozzles and dull the spray pattern. This is one of the most important parts of how to clean kitchen sink faucet head, because it softens the buildup without harsh scrubbing or strong chemical cleaners.
Step 6 – Scrub the Nozzles and Screen Gently
Take the parts out of the vinegar and place them on the towel. Use a soft toothbrush to scrub the spray face, edges, and any visible screen. The softened mineral deposits should come off much more easily now, often as chalky white residue or thin flakes.
If a few nozzle holes still look blocked, use a toothpick or wooden skewer to loosen the debris. Avoid metal pins or sharp tools, since they can widen the holes or scratch the surface. Work with a light touch and rotate the head as you clean. You want the rubber nozzles and fine mesh parts to stay intact. This step is where you restore the clean, even flow that makes a faucet feel almost new again.
Step 7 – Flush the Inside Thoroughly
Once the scrubbing is done, rinse every piece under warm water again. Hold the faucet head so water runs through the openings and out the back. This flushes away vinegar, loosened scale, and any particles you dislodged with the brush.

Take a moment to inspect the inside carefully. If the water now passes through clearly and the screen looks clean, you are ready to reassemble. If not, repeat the soak for another 15 to 20 minutes and rinse again. Some faucet heads collect years of hard water buildup, so a second round is not unusual. Pat the outside dry with a cloth so the parts are easier to grip in the next step.
Step 8 – Reassemble and Test the Spray Pattern
Put the washer, screen, and any inserts back in the same order you removed them. Screw the faucet head back onto the hose by hand until it feels snug. Do not overtighten it, since too much force can damage threads or make future cleaning harder.
Turn the water on slowly and test both stream and spray settings if your faucet has more than one mode. Watch the water closely. A smooth, even pattern and stronger flow tell you the cleaning worked. Wipe the outside dry and check for drips around the connection point. If you see leaking, unscrew the head and make sure the washer is seated correctly. A proper fit matters as much as a clean spray face.
Common Mistakes When Cleaning a Kitchen Sink Faucet Head
One common mistake is using tools that are too harsh. Metal picks, knives, and stiff wire brushes may seem useful when deposits are stubborn, but they can scratch the finish and damage the tiny spray holes. Once that happens, your faucet head may never spray evenly again.
Another mistake is skipping the rinse before soaking. If loose grit stays trapped inside, it can shift deeper into the screen during cleaning and create a new blockage. A quick warm-water rinse at the start helps prevent that problem and makes the rest of the process smoother.
Many beginners also leave parts unorganized after removal. Small washers and screens are easy to misplace, and even a tiny missing piece can cause leaks or weak pressure later. Setting each part down in order saves time and frustration.
Using strong chemical cleaners is another issue. Products that are too aggressive can wear down finishes, especially on brushed nickel, matte black, or coated surfaces. Vinegar and mild soap are usually enough for mineral scale and everyday grime.
The last mistake is assuming one cleaning solves everything. If the spray is still weak after a careful cleaning, the problem may be deeper in the hose, valve, or water supply line. Cleaning the faucet head is a smart first step, but it is not the only possible fix.
Expert Tips
If you live in an area with hard water, make faucet head cleaning part of your regular kitchen routine. A quick vinegar soak every month or two is far easier than dealing with thick mineral crust after a year of buildup. Small maintenance habits keep the water flow strong and reduce wear on the spray settings.
Try drying the spray face after heavy sink use, especially if water spots show up quickly in your home. That simple step slows mineral deposits and keeps the finish looking cleaner. It also helps to wipe around the base of the head where grime and soap residue tend to collect.
If your faucet still sputters after cleaning, check the aerator, hose connection, or shutoff valves under the sink. A faucet head often gets the blame first, but water pressure issues can come from more than one place.
Frequently Asked Questions
How often should I clean my kitchen sink faucet head?
Most people should clean the faucet head every one to three months, depending on water quality and daily use. If you have hard water, visible white scale, or a weak spray pattern, clean it sooner. Regular light cleaning is easier than waiting until the buildup becomes thick and stubborn.
Can I use something other than vinegar?
Yes, but choose carefully. A mild descaling solution made for kitchen fixtures can work well, and dish soap helps with grease and surface grime. Still, white vinegar is one of the safest and most effective options for mineral deposits. Avoid harsh cleaners that may damage protective finishes or rubber parts.
What if my faucet head does not come off?
You can still clean it. Fill a small plastic bag with vinegar, place it around the faucet head, and secure it so the spray face stays submerged. Let it soak, then remove the bag, scrub gently, and run warm water through the faucet. This method works well for fixed heads or stubborn fittings.
Why is my faucet still spraying unevenly after cleaning?
If the spray stays uneven, some debris may still be trapped inside the nozzle plate or screen. Try a second soak and flush. If that does not help, inspect the washer, aerator, or hose connection. In some cases, internal wear or sediment farther back in the plumbing system may be causing the issue.
Is it safe to clean a faucet head with a toothbrush?
Yes, as long as the brush is soft and clean. A soft toothbrush is excellent for reaching around nozzle openings, seams, and screens without scratching most finishes. Use gentle pressure and avoid aggressive scrubbing. For delicate finishes, test a small area first and pair the brush with warm water or vinegar.
Conclusion
Cleaning a kitchen sink faucet head is one of those small home tasks that pays off right away. You get better water flow, a cleaner spray pattern, and a sink that feels easier to use every day. For first-time users, the process is simple: inspect the flow, remove the head if possible, rinse, soak in vinegar, scrub gently, flush well, and reassemble with care.
The key is patience, not force. Soft tools, mild cleaners, and careful reassembly protect the finish and help you avoid leaks or damage. Once you do it once, the job becomes routine, and future cleanings will feel much faster.
If you have been putting off faucet maintenance because it seemed technical, now you know better. Learning how to clean kitchen sink faucet head gives you a practical skill you can use again and again at home. Set aside a few minutes this week, clean it properly, and enjoy the difference the next time you turn on the tap.

About
Nick Hall has spent the last seven years working at the intersection of kitchen design and home repair — first as a design assistant at a residential renovation studio, then as a freelance writer covering everything from cabinet layouts to leaky faucet fixes.
Her approach is simple: kitchens should look good and function well. That means she’s just as comfortable talking about color palettes and counter materials as she is walking readers through how to fix a wobbly cabinet hinge or troubleshoot a garbage disposal.
Nick has worked directly with homeowners on small-space kitchen makeovers, budget-conscious renovations, and the kind of everyday repairs that don’t need a contractor — just the right instructions. She writes from experience, not theory, and tests most of the fixes and tips she shares before publishing them.
When she’s not writing, Nick is usually hunting for mid-century kitchen finds at estate sales or helping friends plan their own renovations. She lives in Columbus, Ohio.